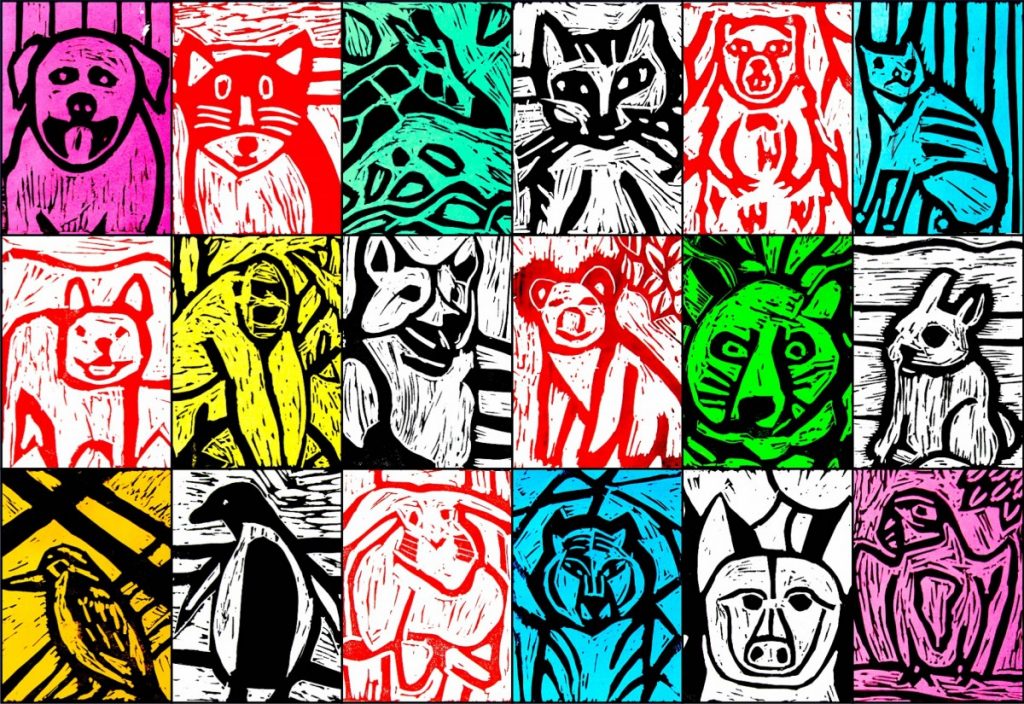
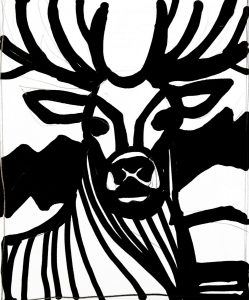
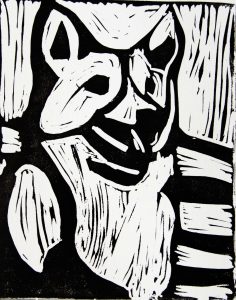
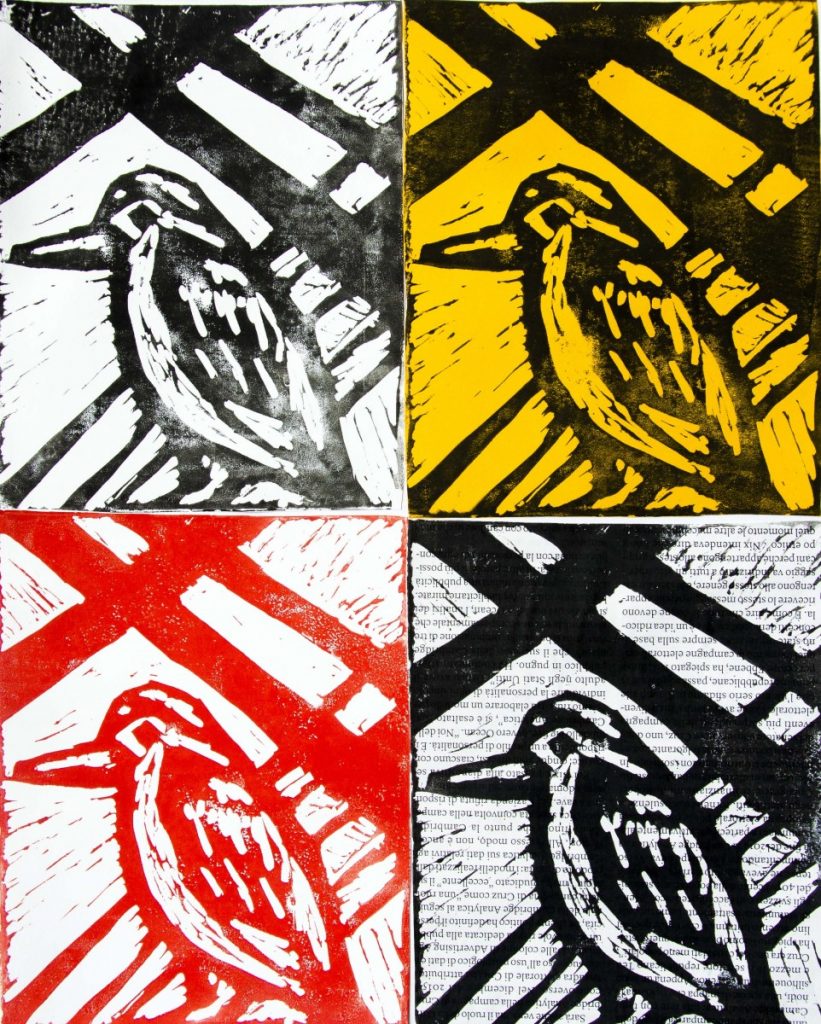
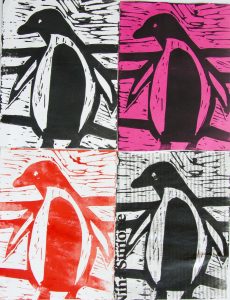
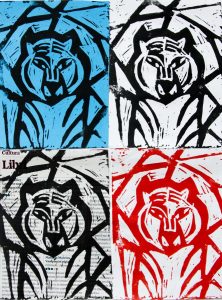
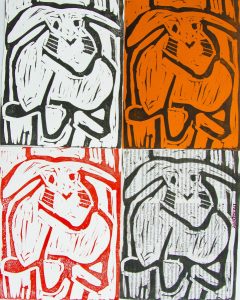
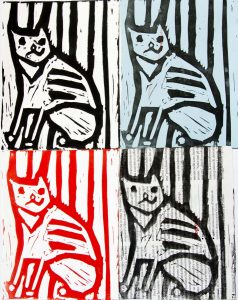
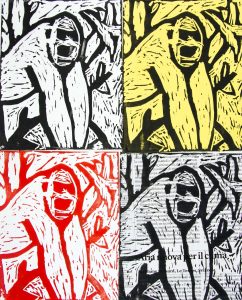
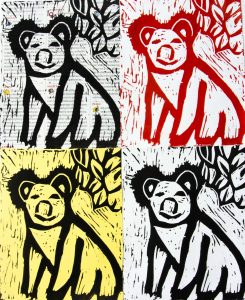
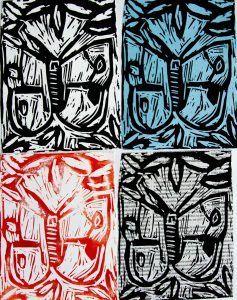
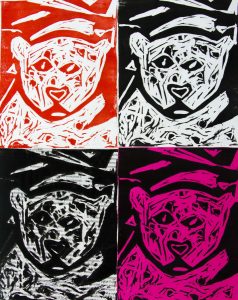
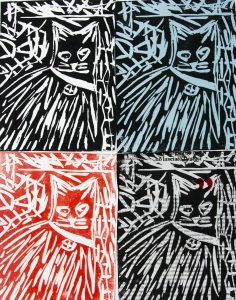
The wide variety of animals has inspired us to create these prints. We studied Expressionism in art and the use of xylography (woodblock engraving) in the early 1900s, this topic has inspired us to create prints with strong marks and high contrast.
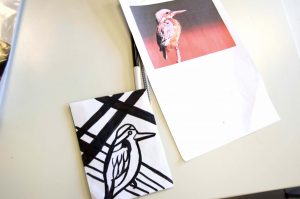
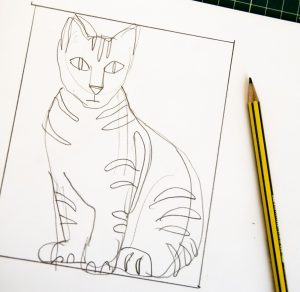
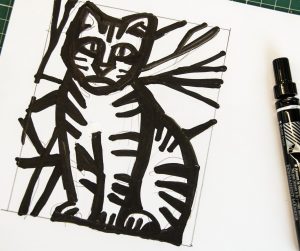
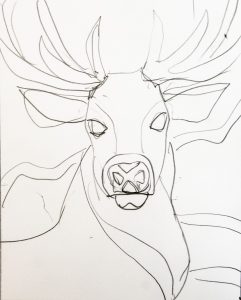
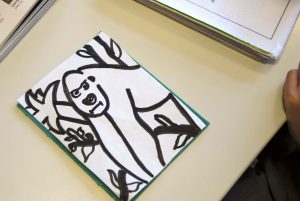
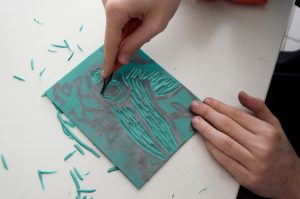
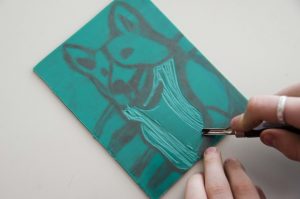
Every student chose a picture of an animal and created a sketch with pencil and a thick marker. The realistic image haas been simplified and stylized in order to obtain a picture in black and white. The rubber printing plate was engraved with a gouge and then has been inked and printed on different supports. The outcomes are very expressive and original in the authentic expressionist style.

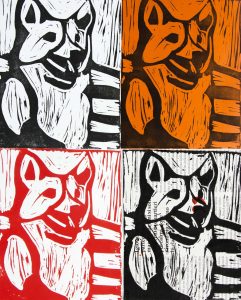
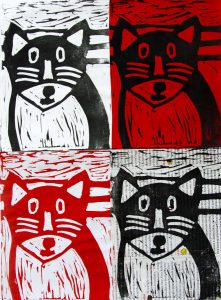
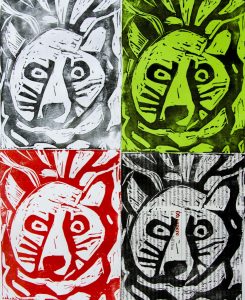
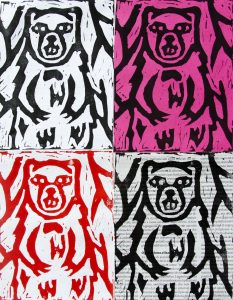
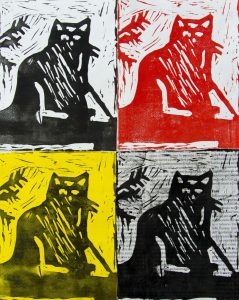
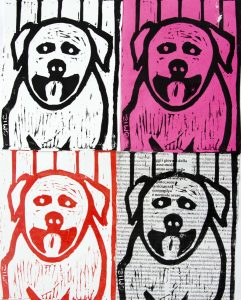
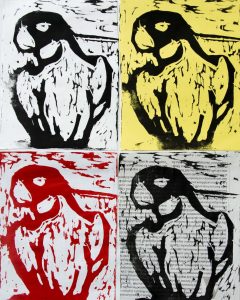
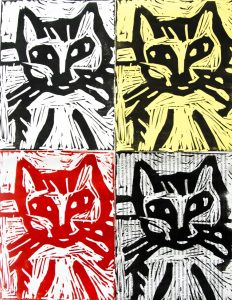
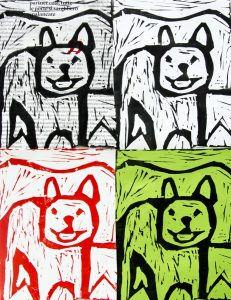
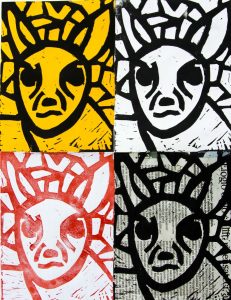
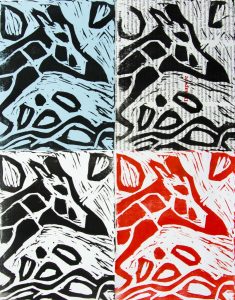
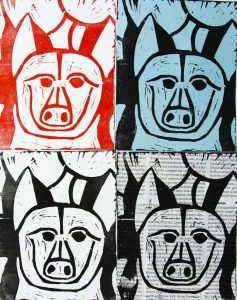
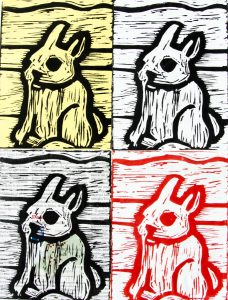
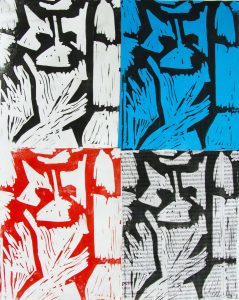
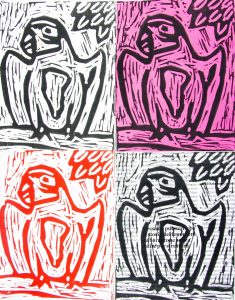
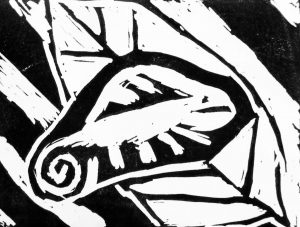
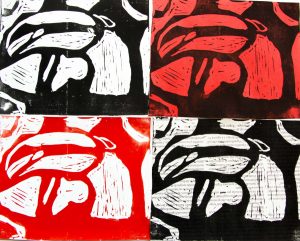
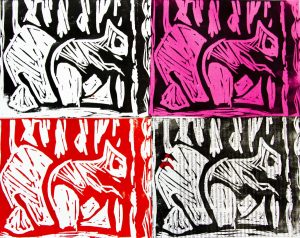
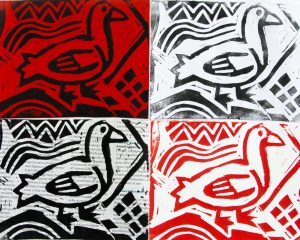
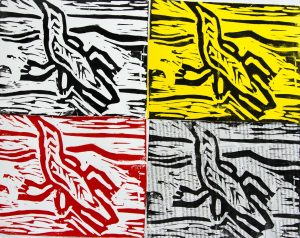
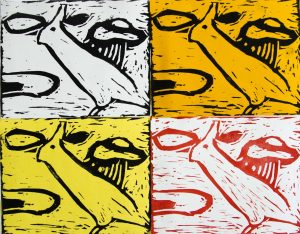
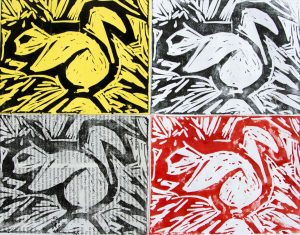
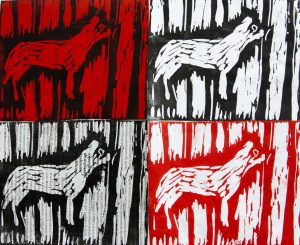
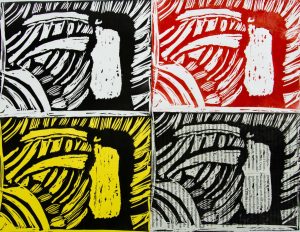
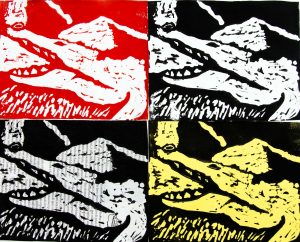
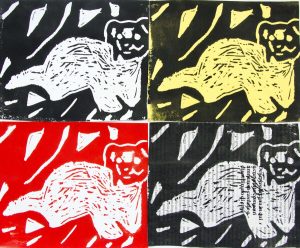
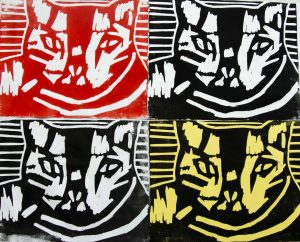
Love these! How did you transfer the marker drawing to the printing block?
I actually didn’t explain it because is a bit complicated, but I’ll try with you 🙂
Students prepare a sketch with a thick marker on a paper the same size of the printing plate. After that they turn down the sketch and stick it on a window. Then they color every black part of the drawing with a soft pencil, drawing on the back of the sketch. After that they overlap the sketch on the printing plate, in this step the pencil’s graphite leans against the rubber surface of the printing plate. Finally students retraced the drawing with a colored pencil (so you can see where you’ve already drew), coloring the black part of the drawing in order to press the graphite on the printing plate’s surface. Is difficult to understand without pictures, you can find the whole process here http://arteascuola.com/2017/05/printing-expressionist-houses/
let me know if you have any further question 😉
Hi! How old are the students? I’d love to this with my daughter’s 5th grade class. Did the kids carve it out?
The students are 13 years old, but the printing plate is quite soft. I think your daughter will be able to carve it out. The gum printing plate is called Adigraf here in Italy, maybe you could buy it online https://www.greatart.co.uk/adigraf-plastic-cutting-block.html