To make these ceramic fish, we first drew the shape of a fish on paper, inspired by fish images and shapes like these below.

With the clay we created a 6-7 mm thick slab, first flattening the clay with our hands and then with a rolling pin and the side guide slats to keep the thickness uniform. The template in paper was cut out and overlapped on the clay to cut out the shape of the fish from the clay.


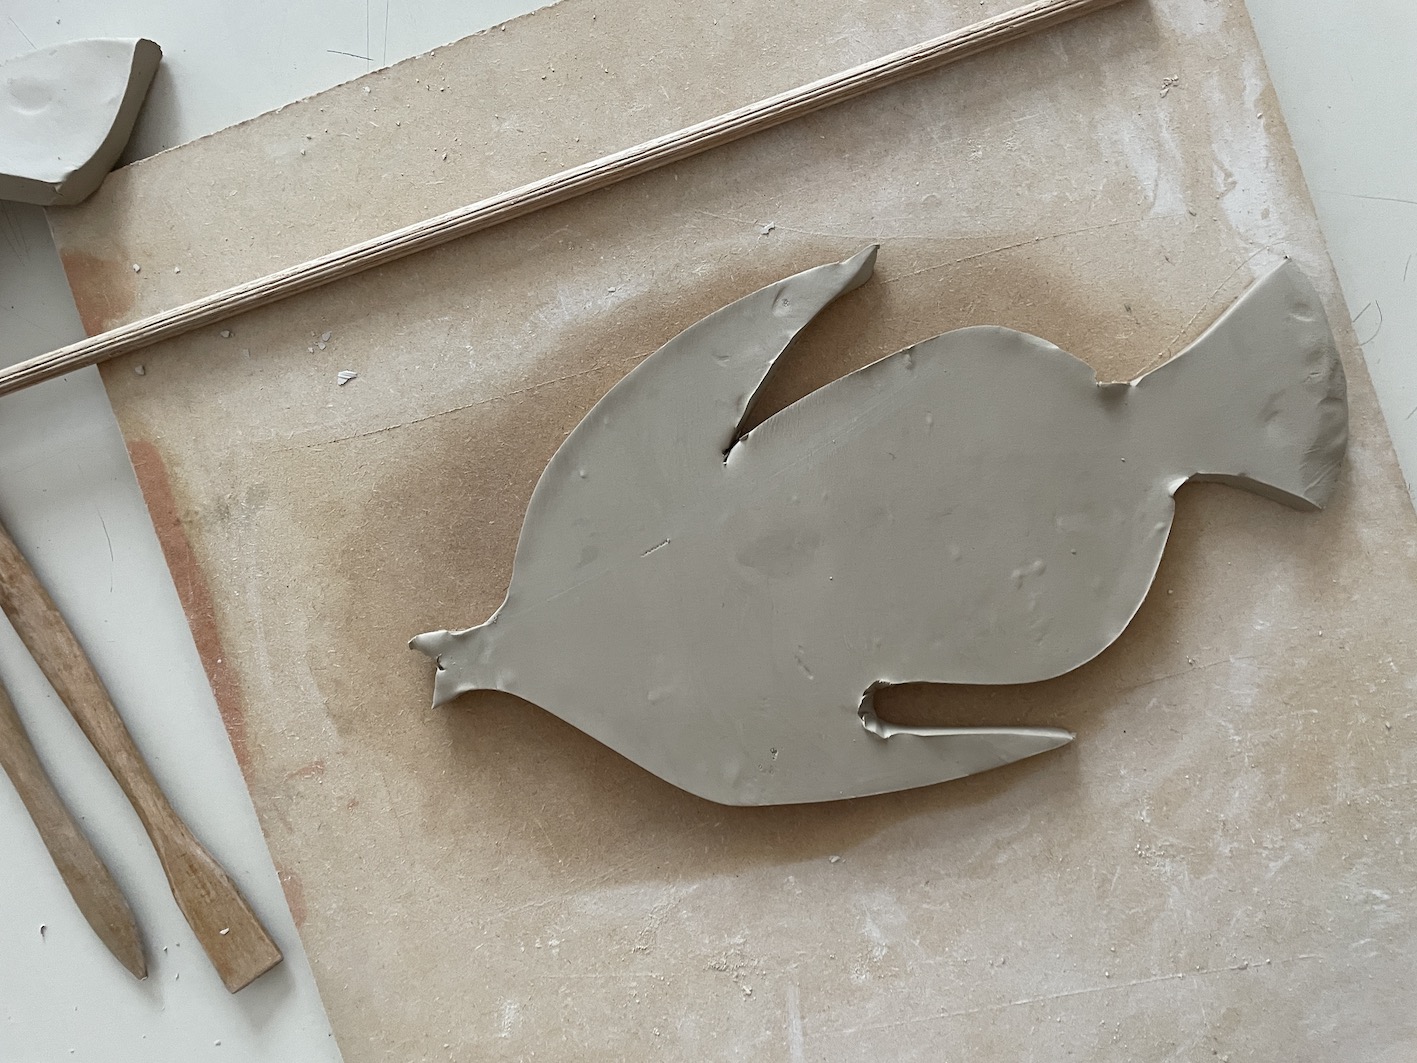
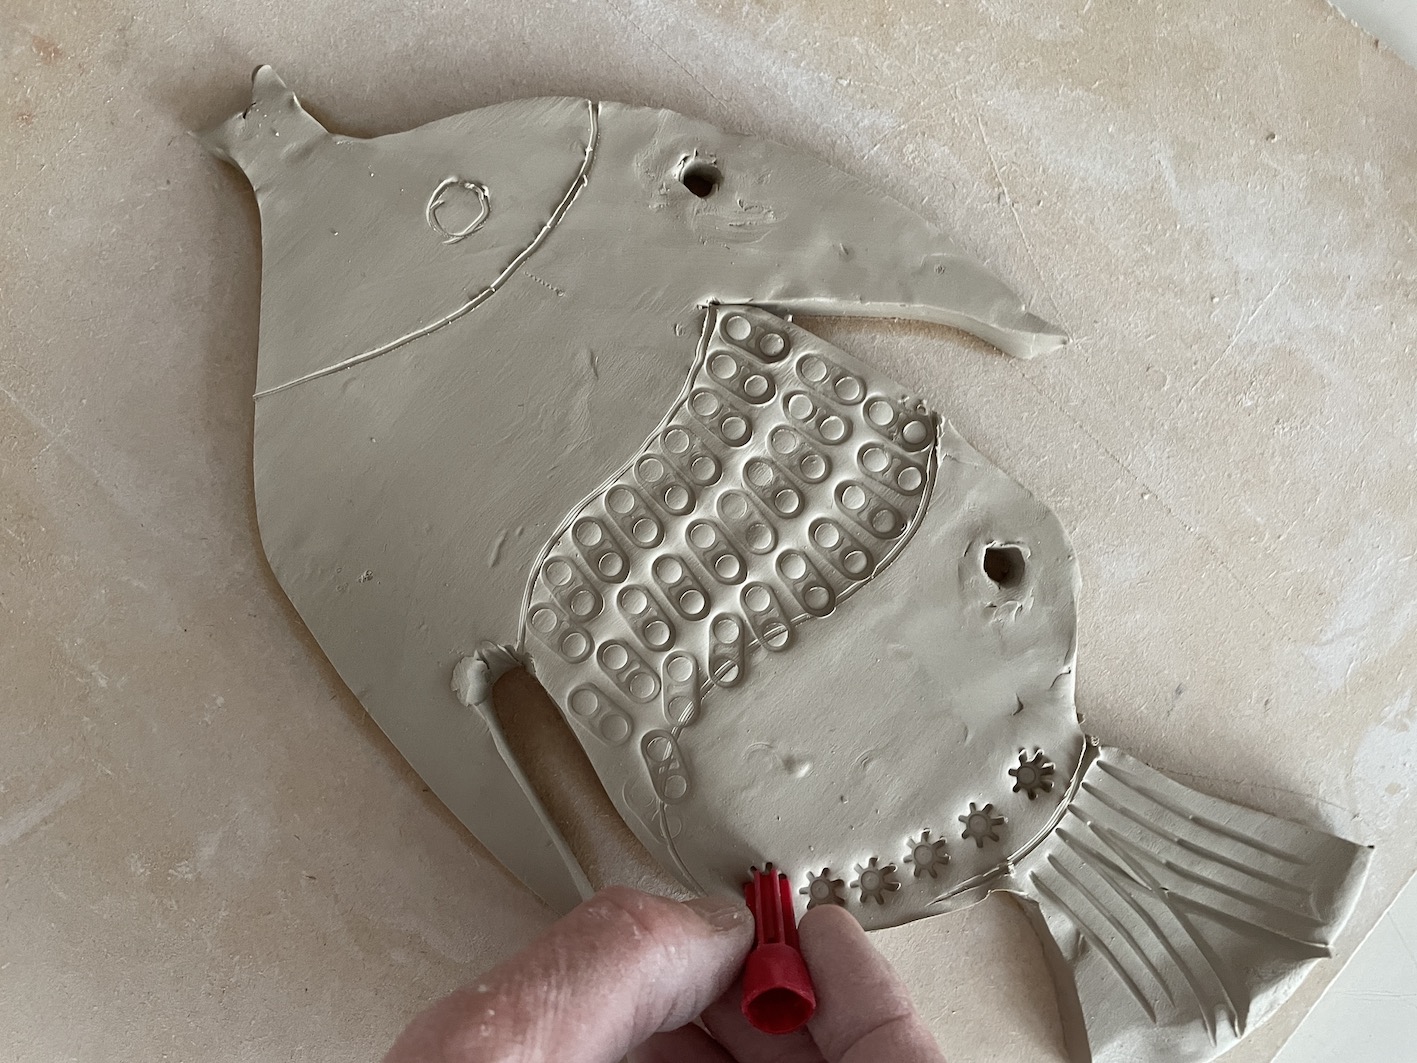
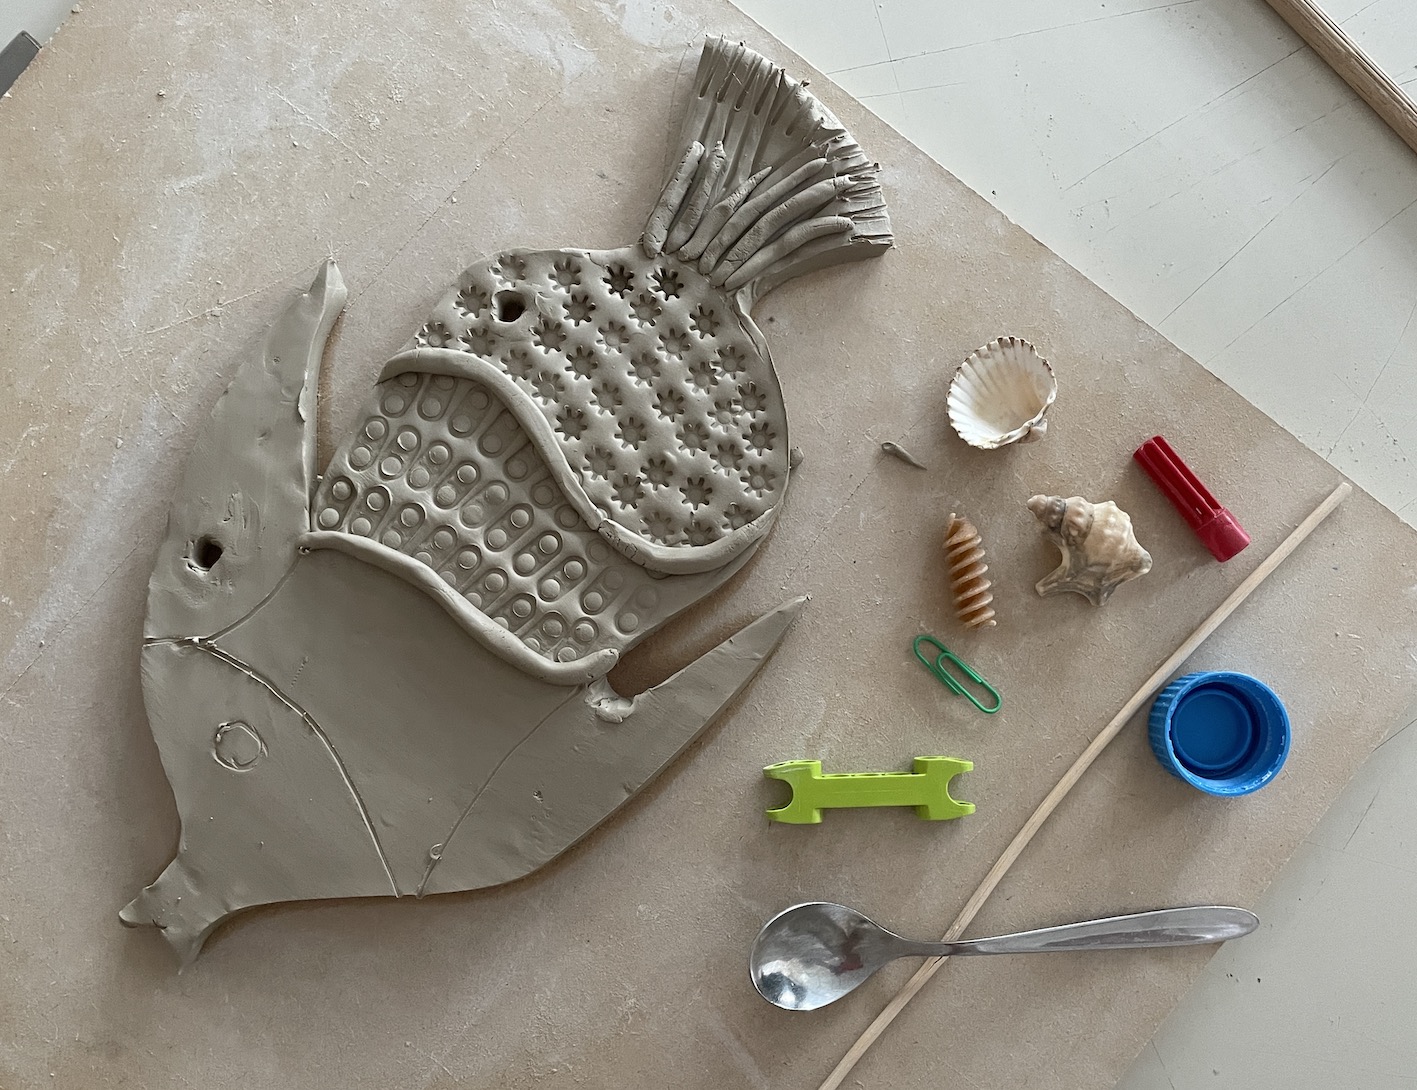
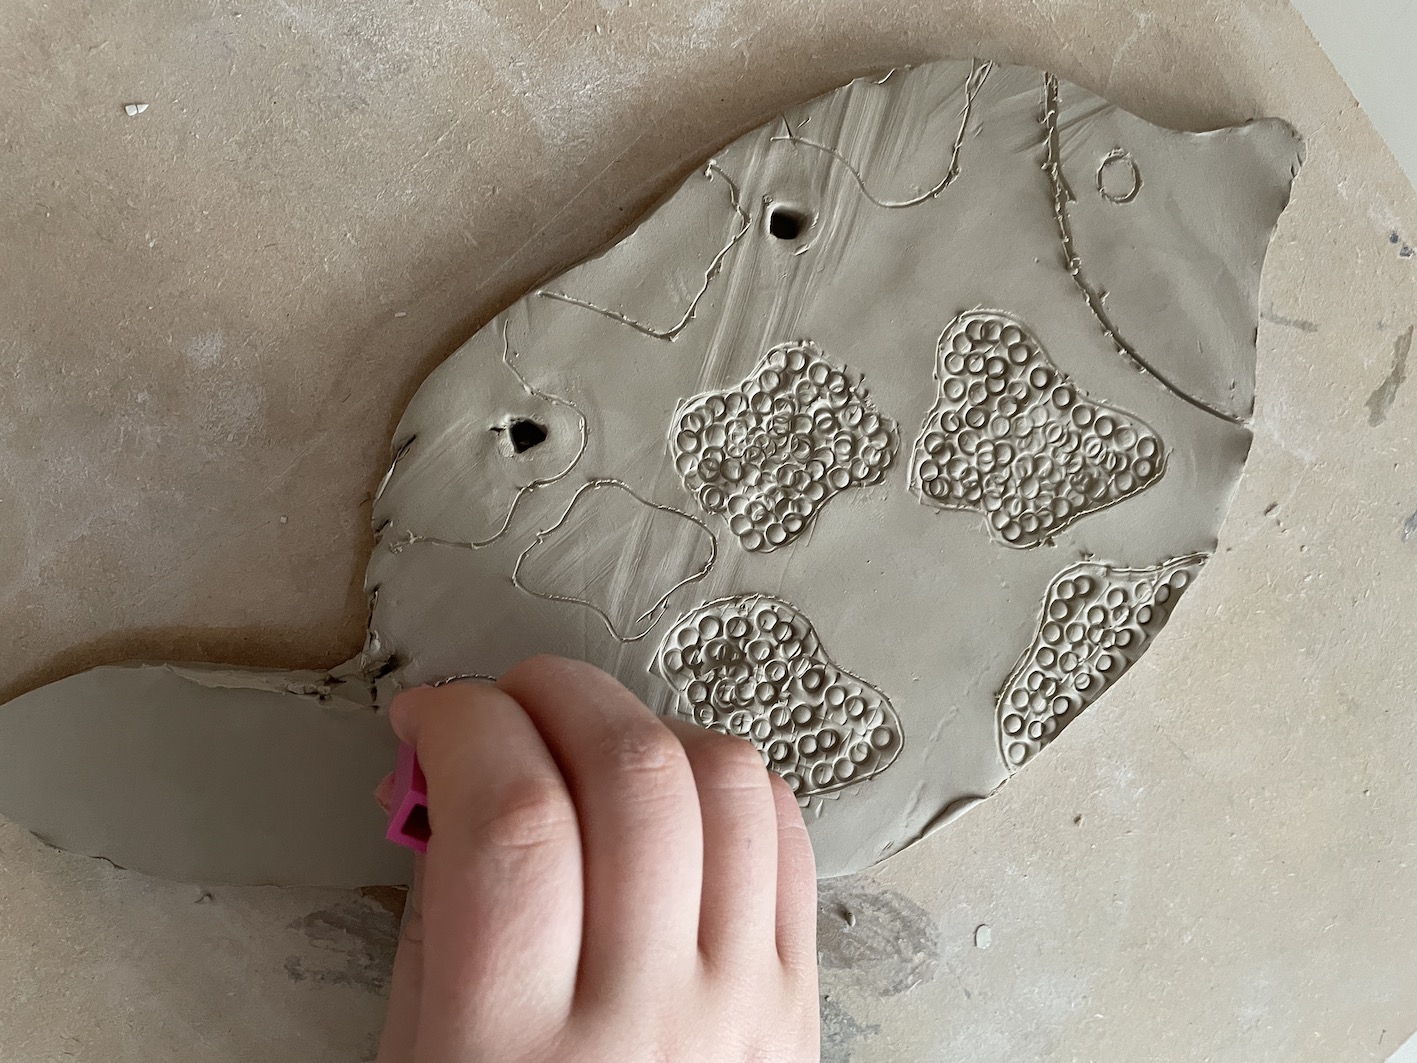
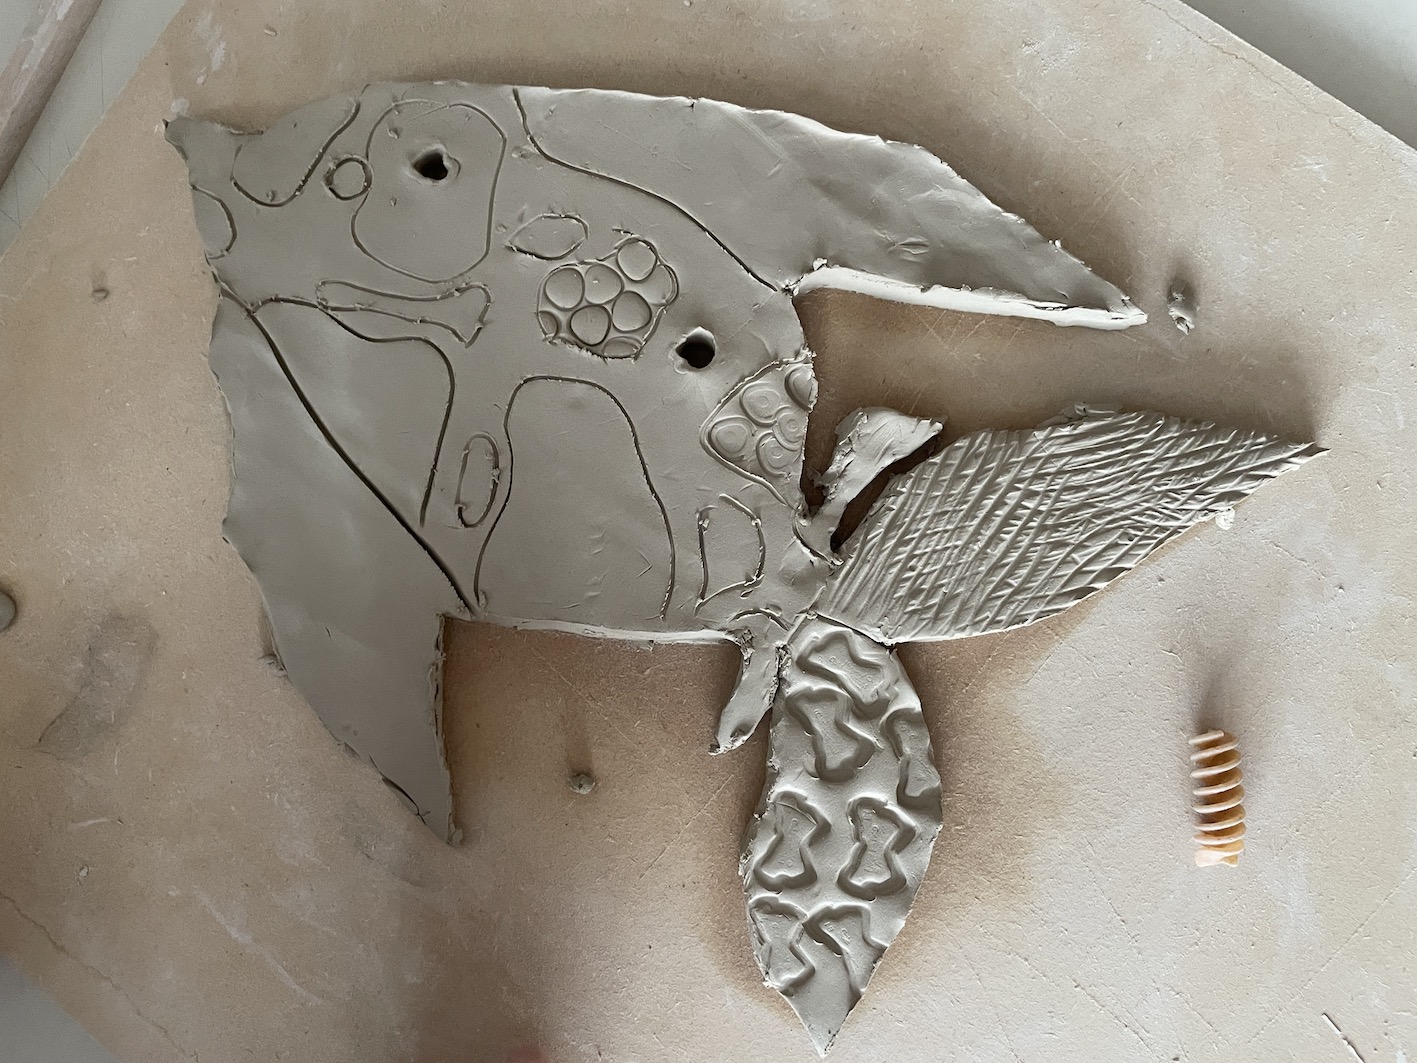
Once the shape was cut out, we created a series of textured decorations in relief on the surface, by imprinting various wooden or plastic objects on the clay. The fish was decorated in an imaginative way with the addition of fins or small coils of clay. To complete the work, we made two holes on the top to hang the fish on the wall with a ribbon or string.


After the first firing, we applied the colored glaze with a brush in two/three layers on the biscuit, and we carried out the second firing. Here are our finished fish:


