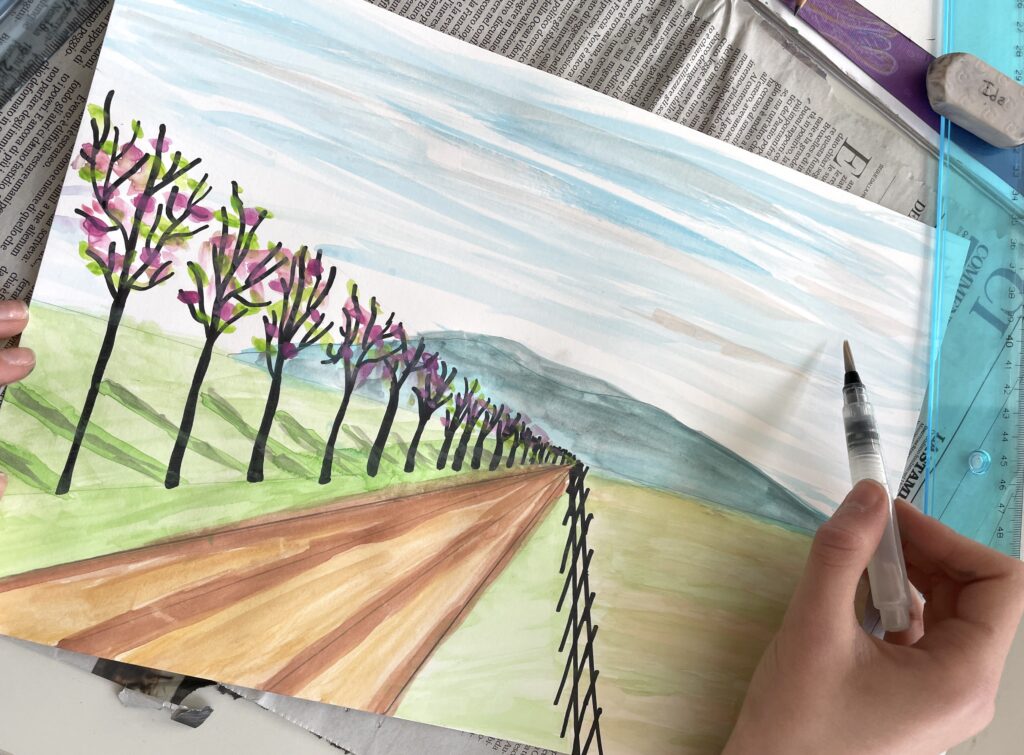
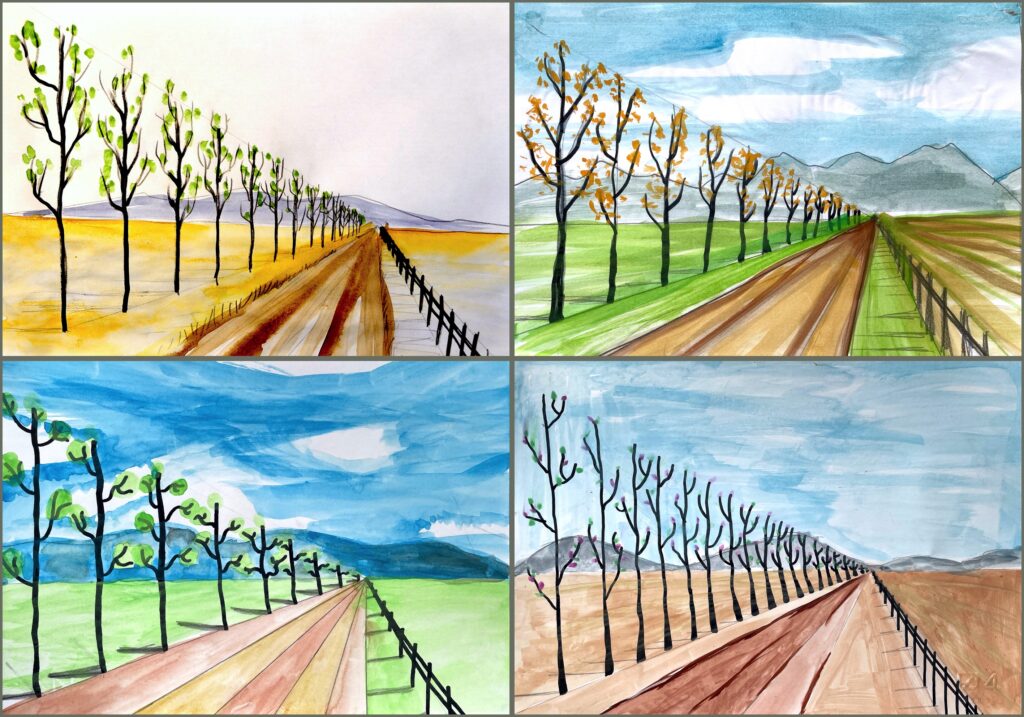
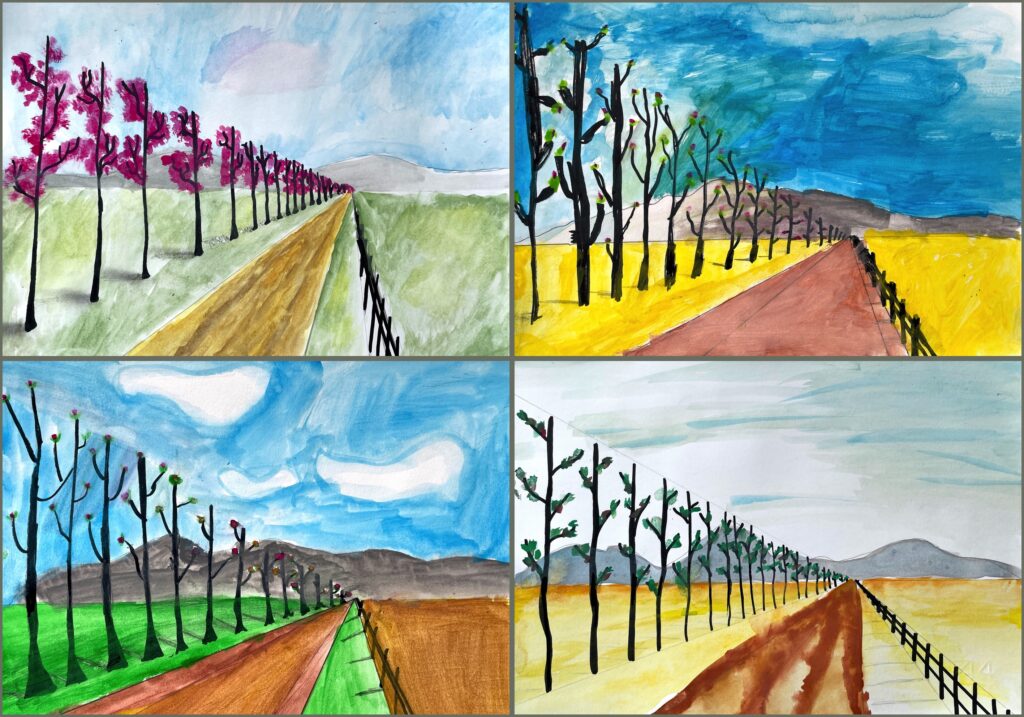
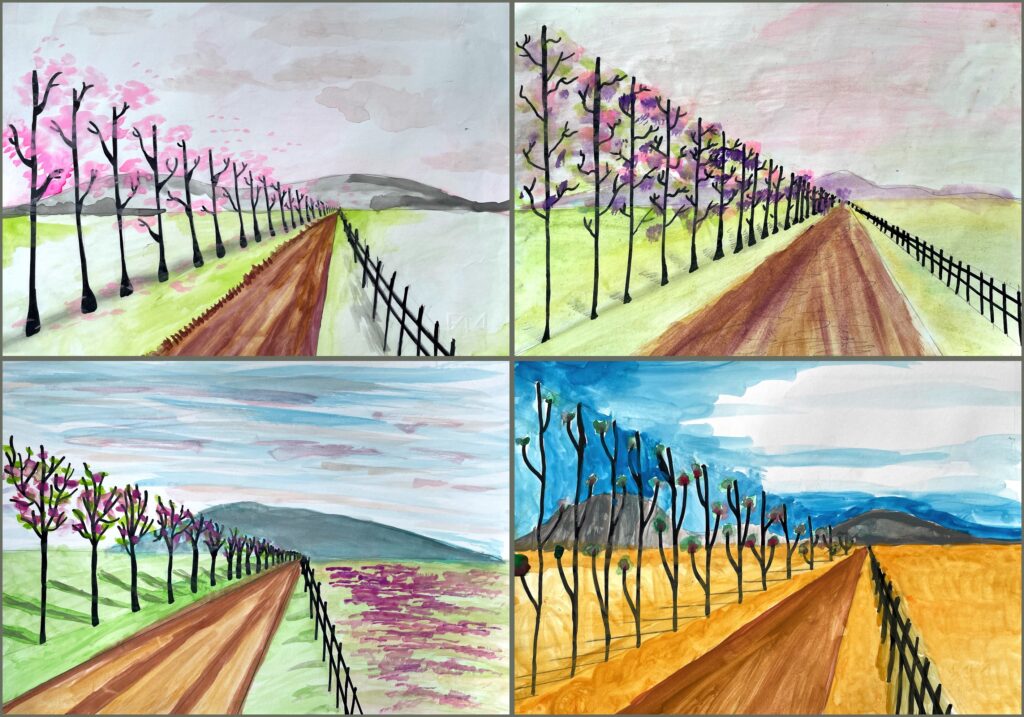
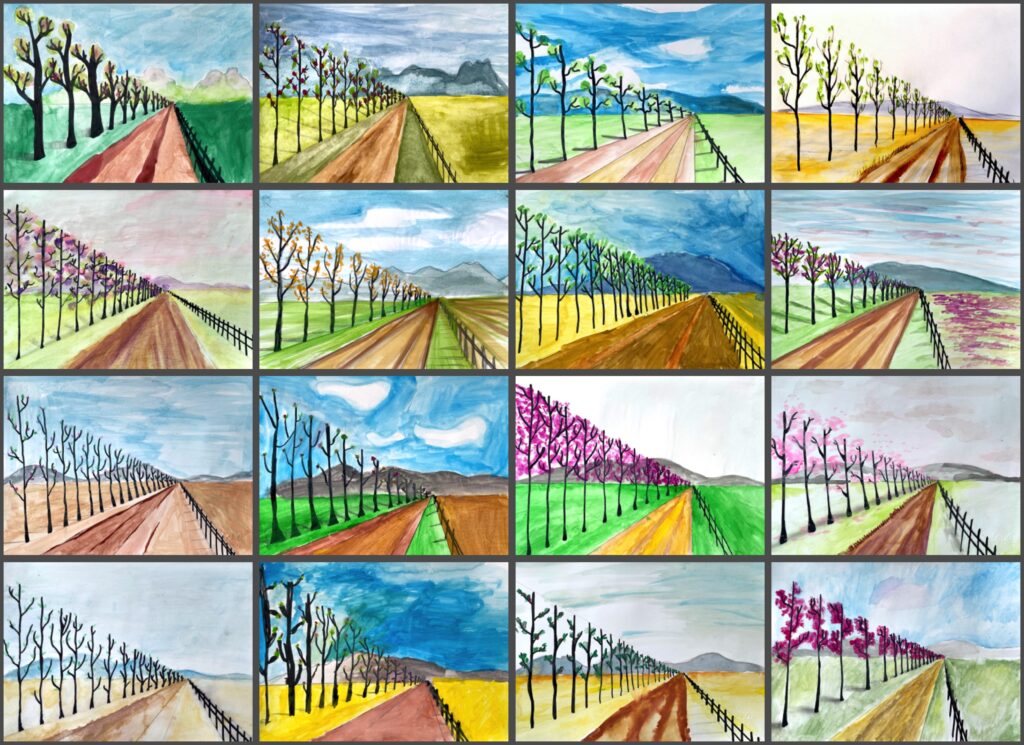
Let’s re-propose the landscape that we can see in this video tutorial in a new spring version:
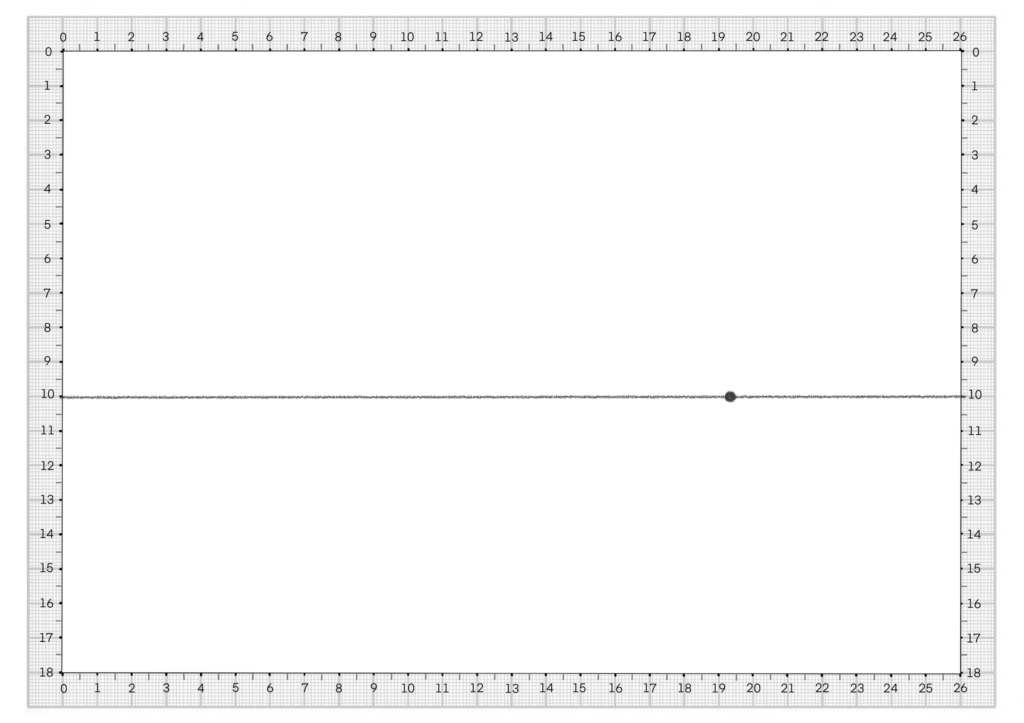
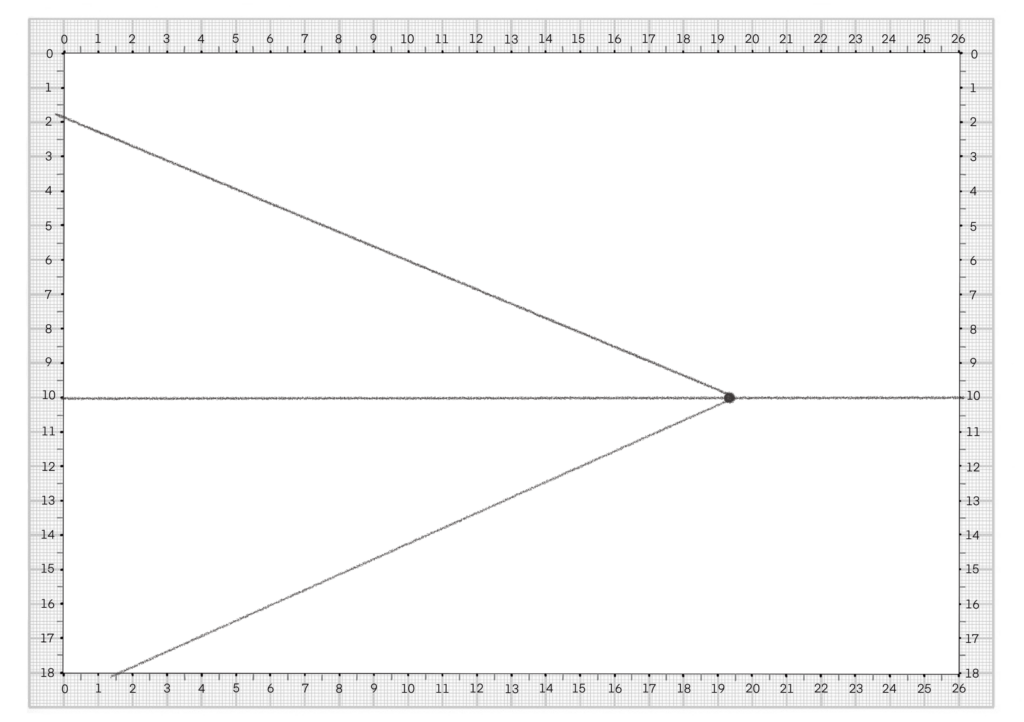
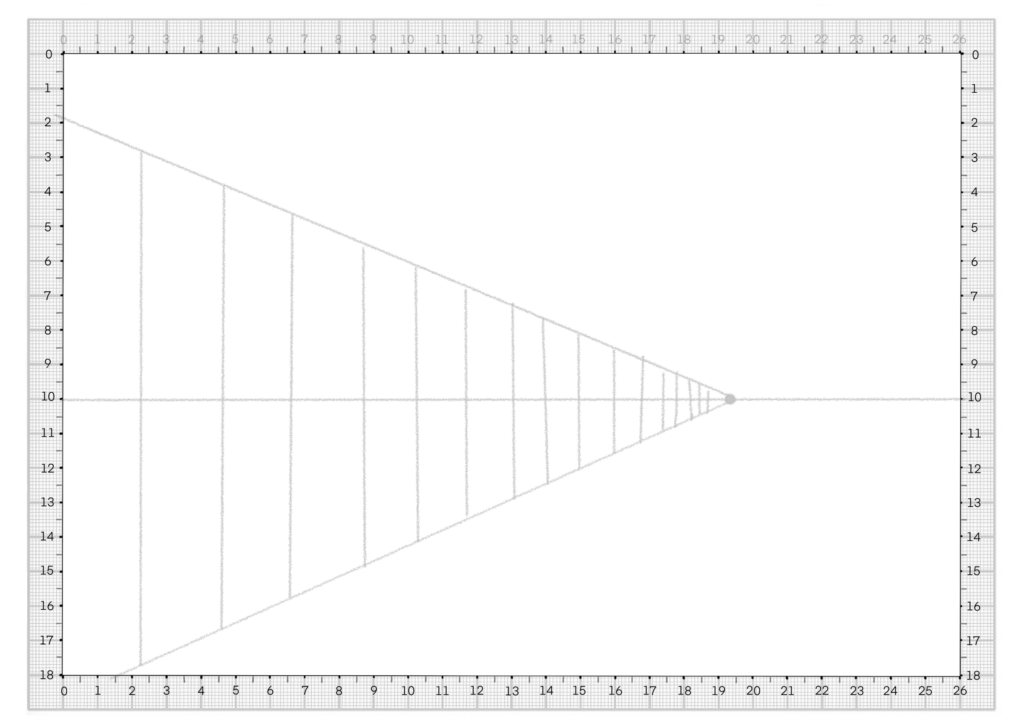
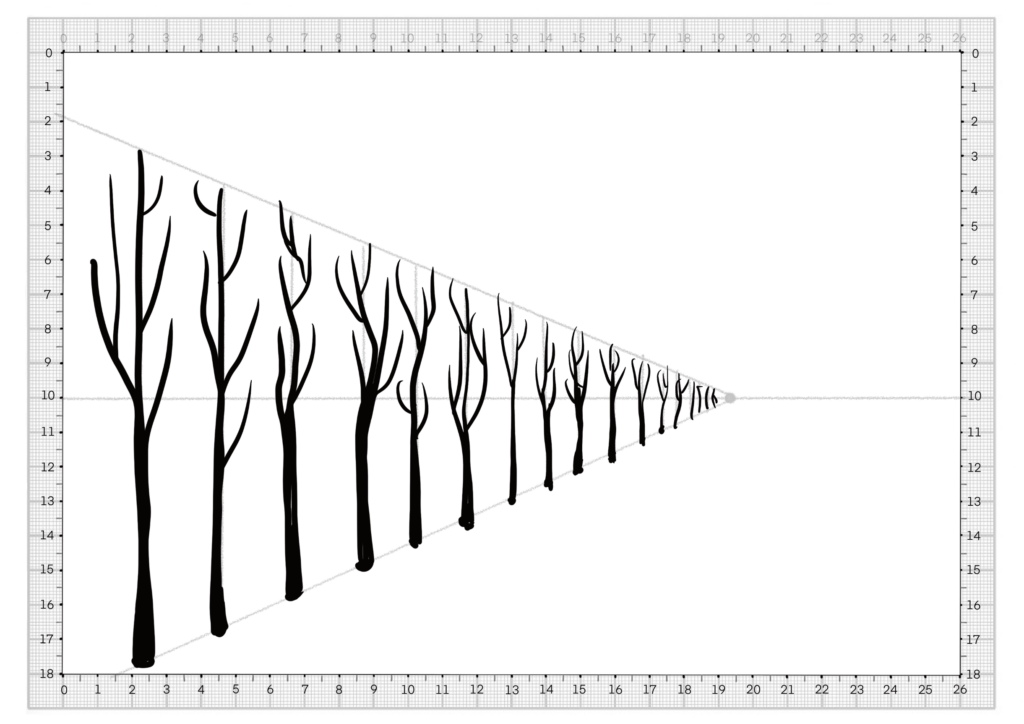
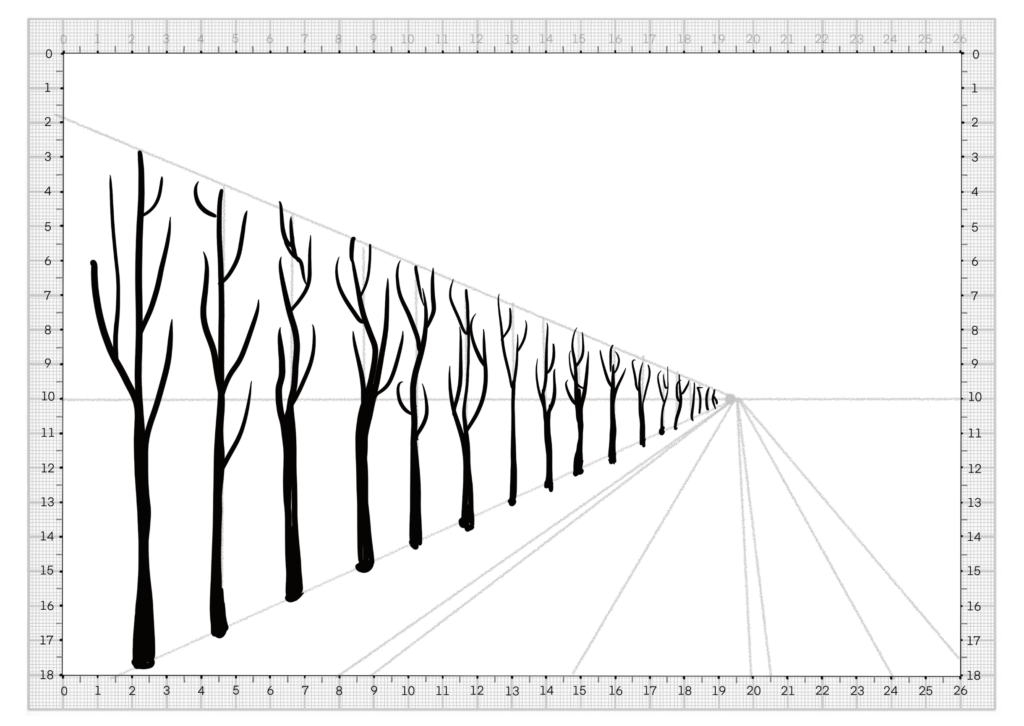
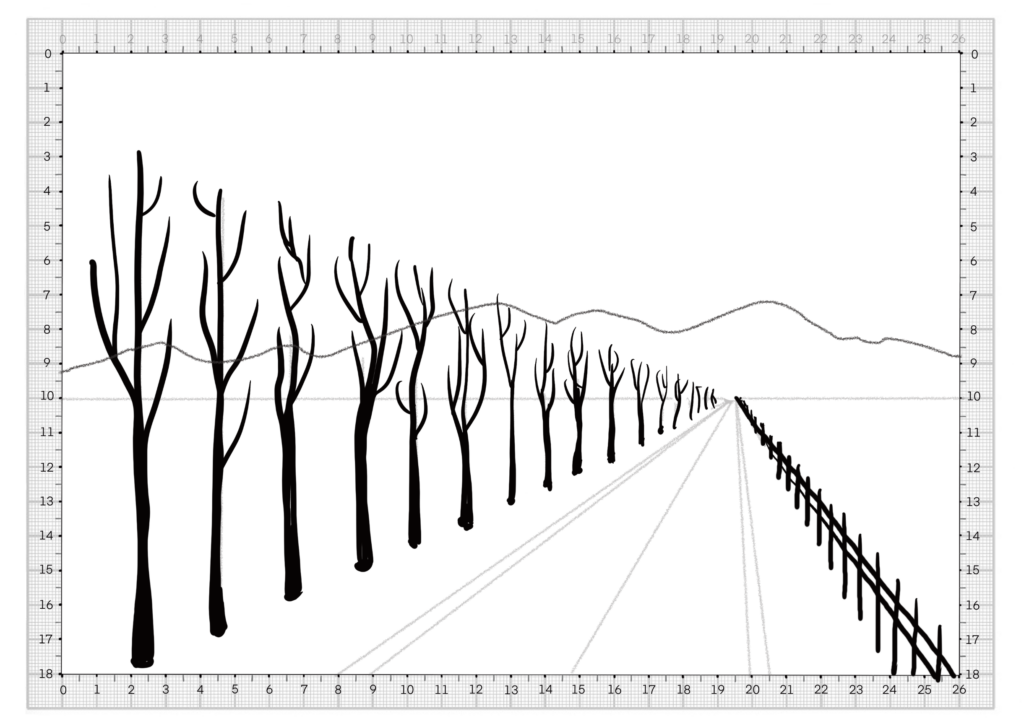
We draw the same sequence of lines starting from the horizon line and from the vanishing point, which will be set to the right of the sheet. After that we draw the convergence lines of the trees, and the vertical trunks.
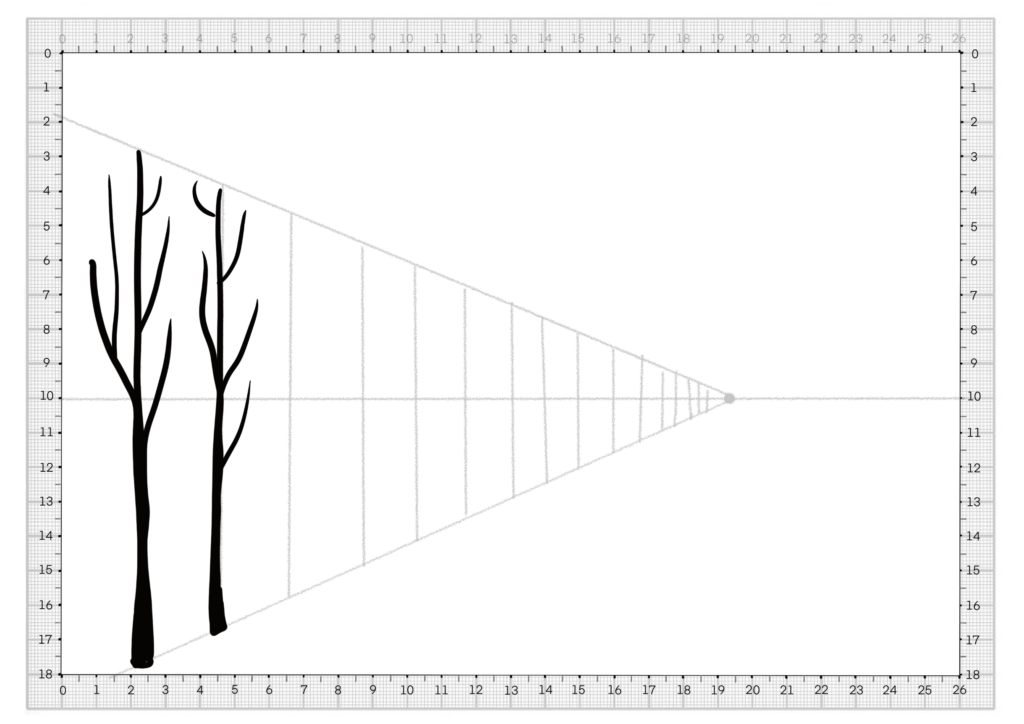
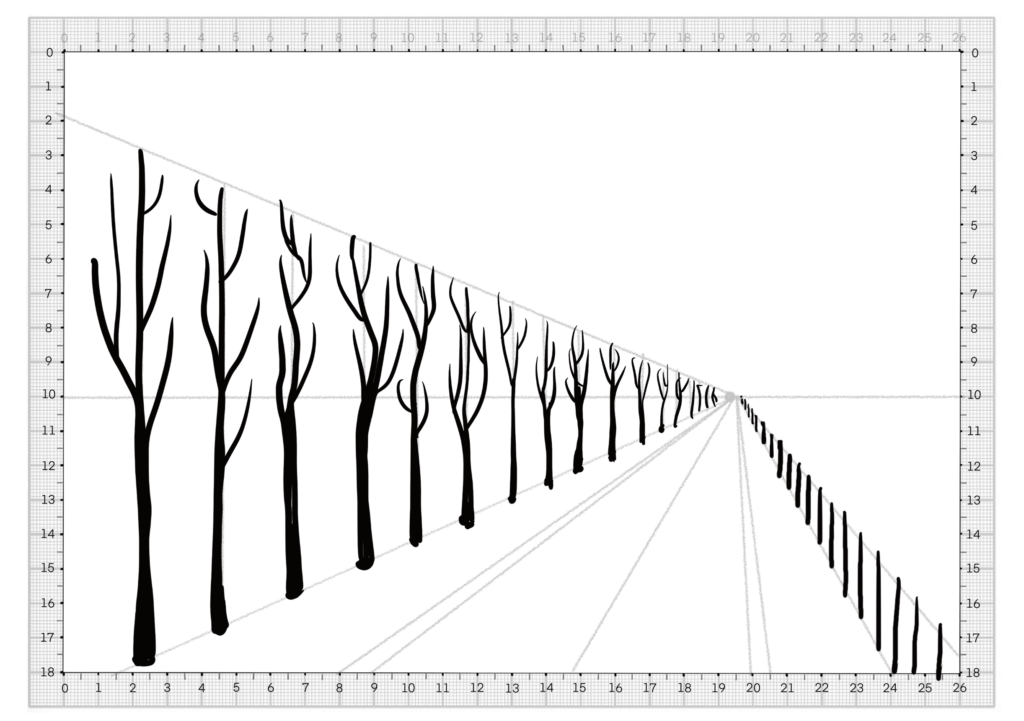
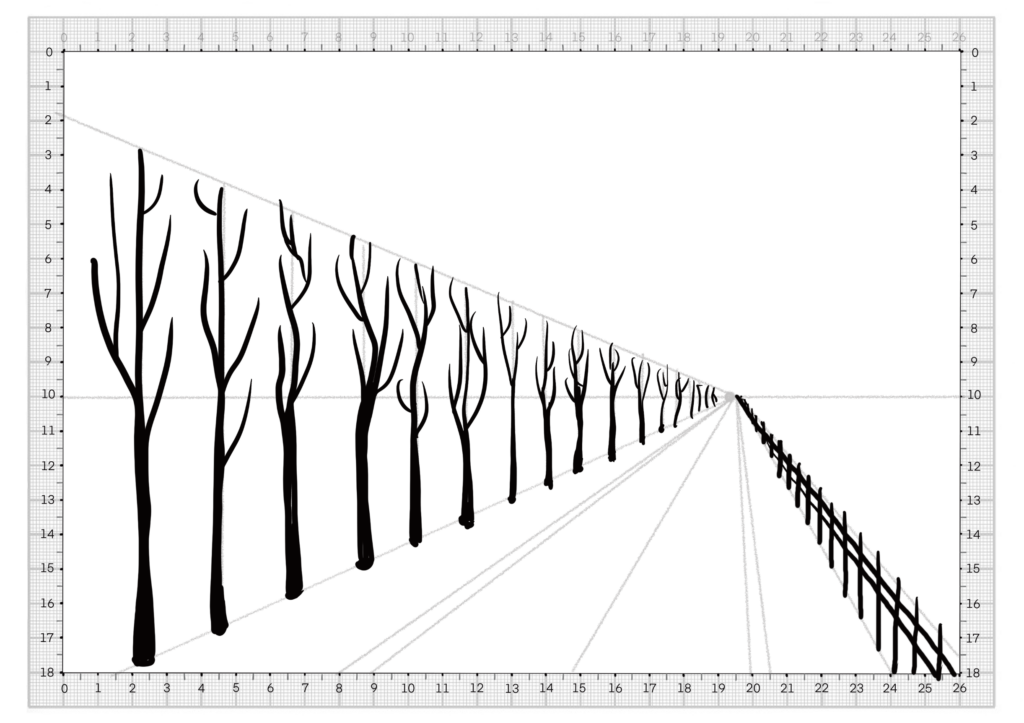
The trees are drawn with an indelible black marker, respecting the heights of the converging lines, adding the branches to the stems and trying to thin the lines of the trees in the distance. The convergence guidelines will then be erased. After the trees we draw the lines of the road and the fence, which always converge at the vanishing point.
To draw the fence, we draw two more lines alongside the road and draw the posts of the fence, taking care to draw them perfectly VERTICAL and within the convergence guidelines. On the horizon line we draw the line of the mountains or hills that will be the background of our spring landscape.
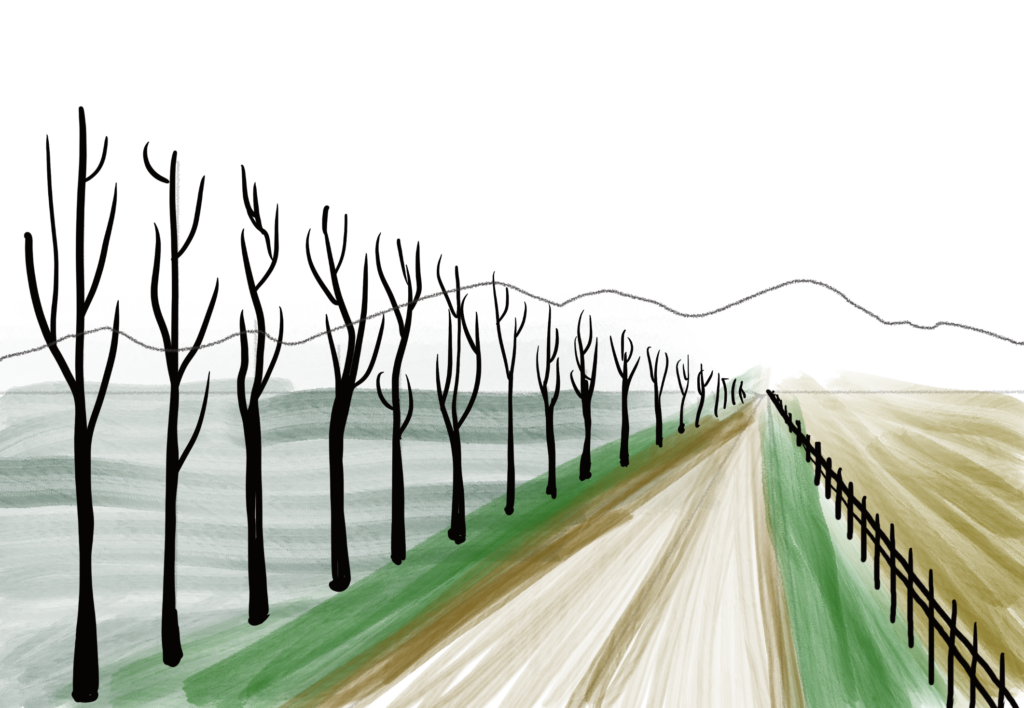
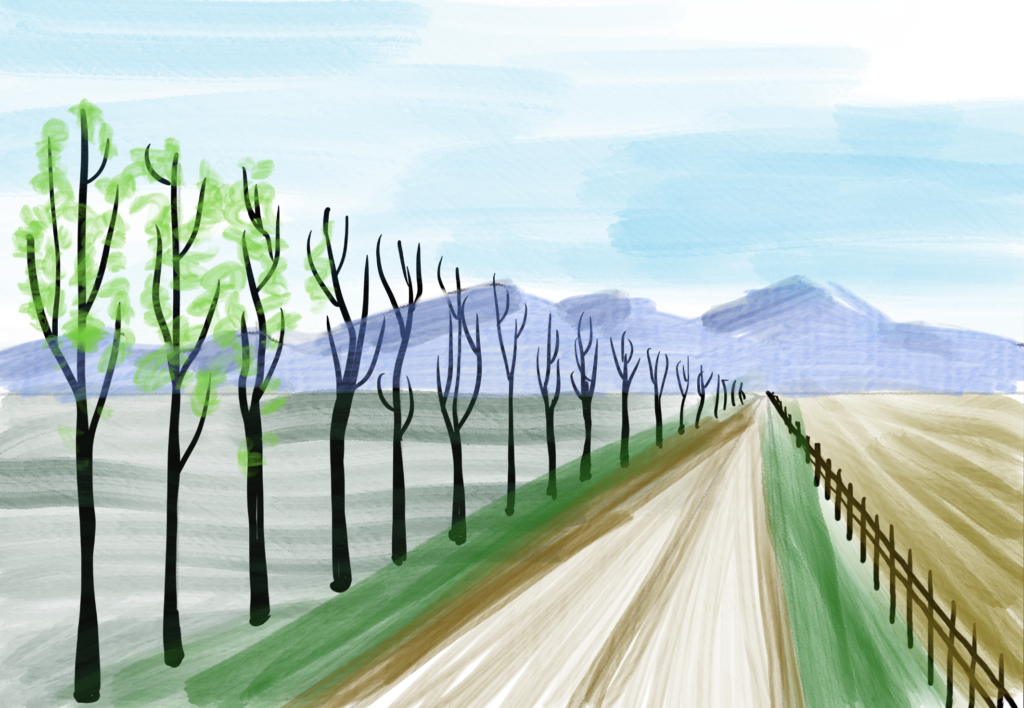
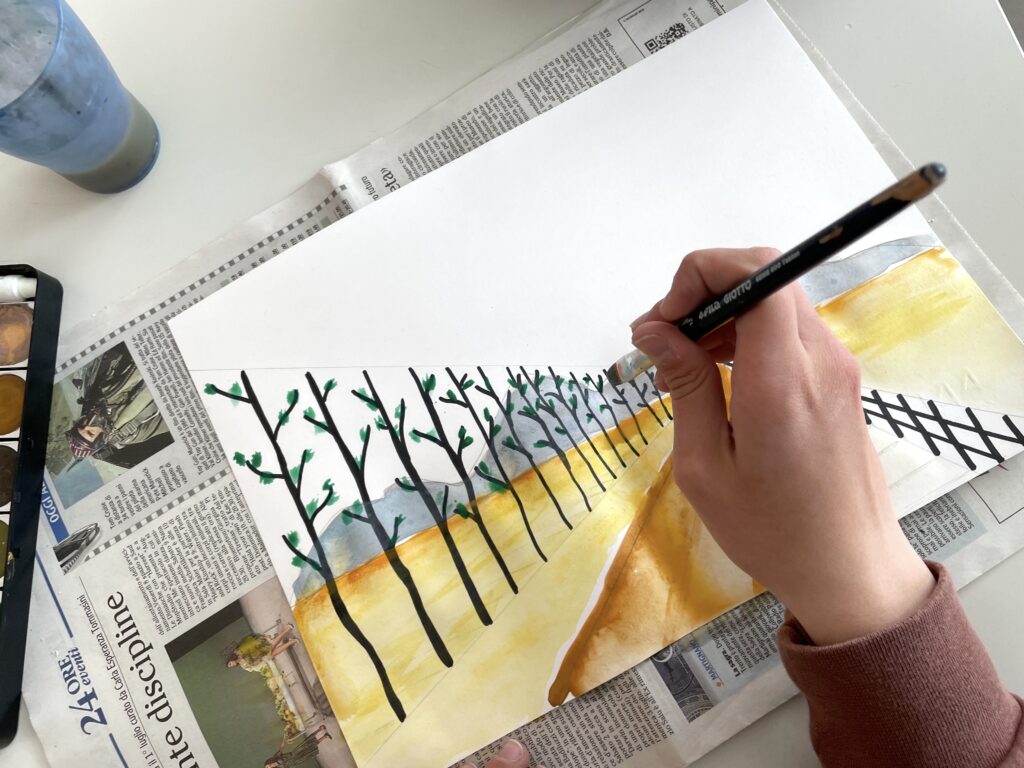
Once the drawing is complete, it can be colored freely with watercolors, with green fields, leaves and flowers on the trees, the country dirt road and the blue mountains in the distance. To make the landscape more realistic at the end we add the CAST SHADOWS of the trees and the fence, with pencil or watercolors.





Thank you so much for posting this. Is there a video tutorial? I’m not sure where to find it?
Hi Nada, I have just the video tutorial for the Winter landscape in omìne point perspective. The process and method are quite the same, but you add watercolors.Here is the video https://youtu.be/-mlCKqWj7zg