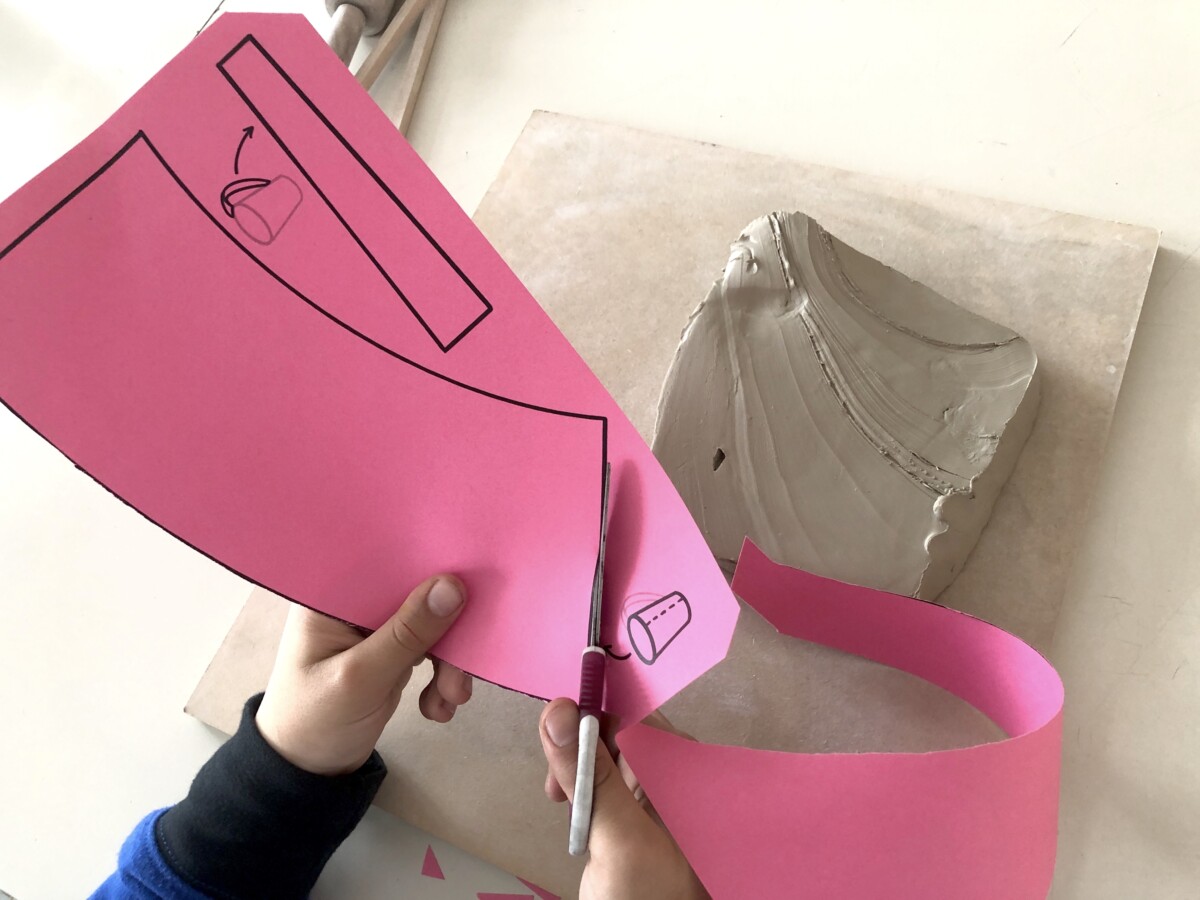
To create this ceramic cup we used the slab technique, using paper templates to reproduce the outlines of the shapes on the clay. You can find the template here below
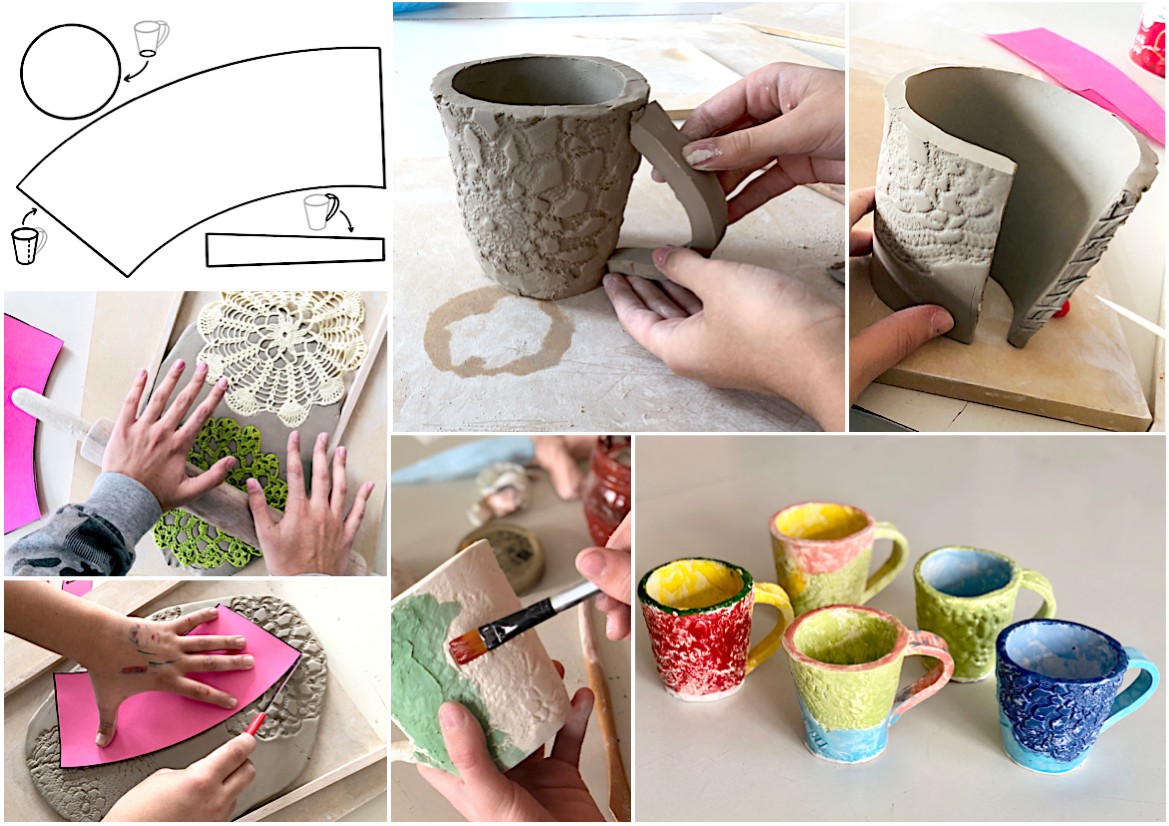
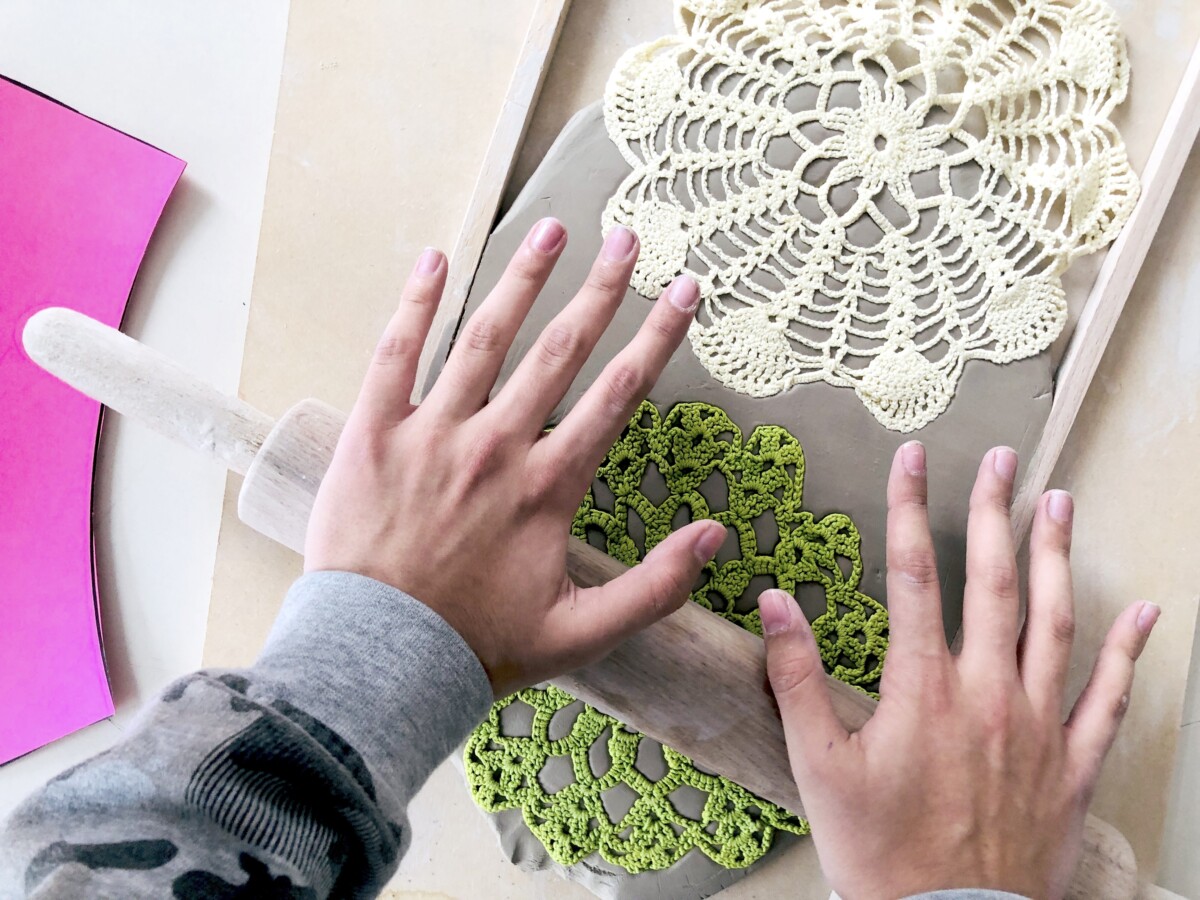
First, you flatten the clay first with your hands and then with a rolling pin, creating a slab with a thickness of 5-6mm. To do this, you use wooden sticks on the sides of the slab, so that by pressing the clay with a rolling pin, the slab is of the same thickness over its entire surface. You prepare enough clay to cut out the cup template.

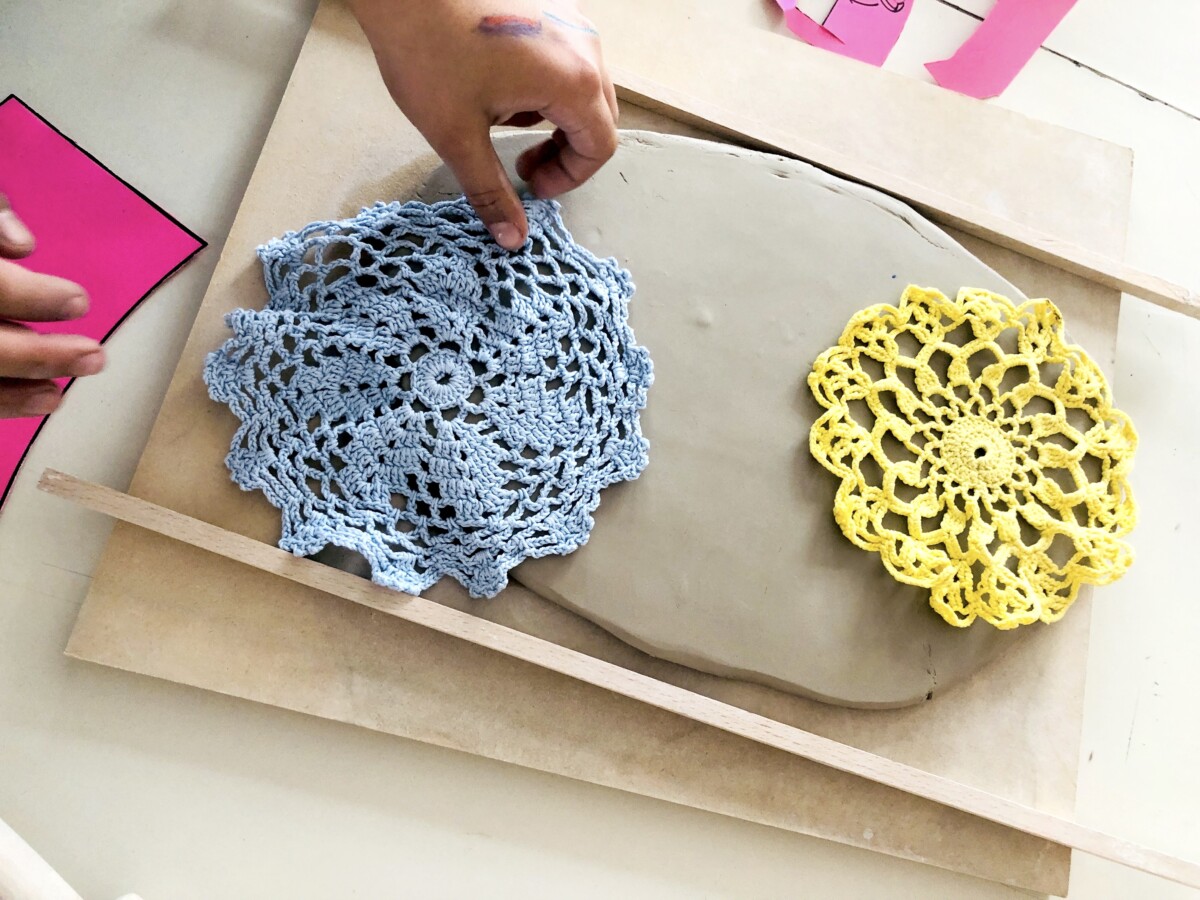
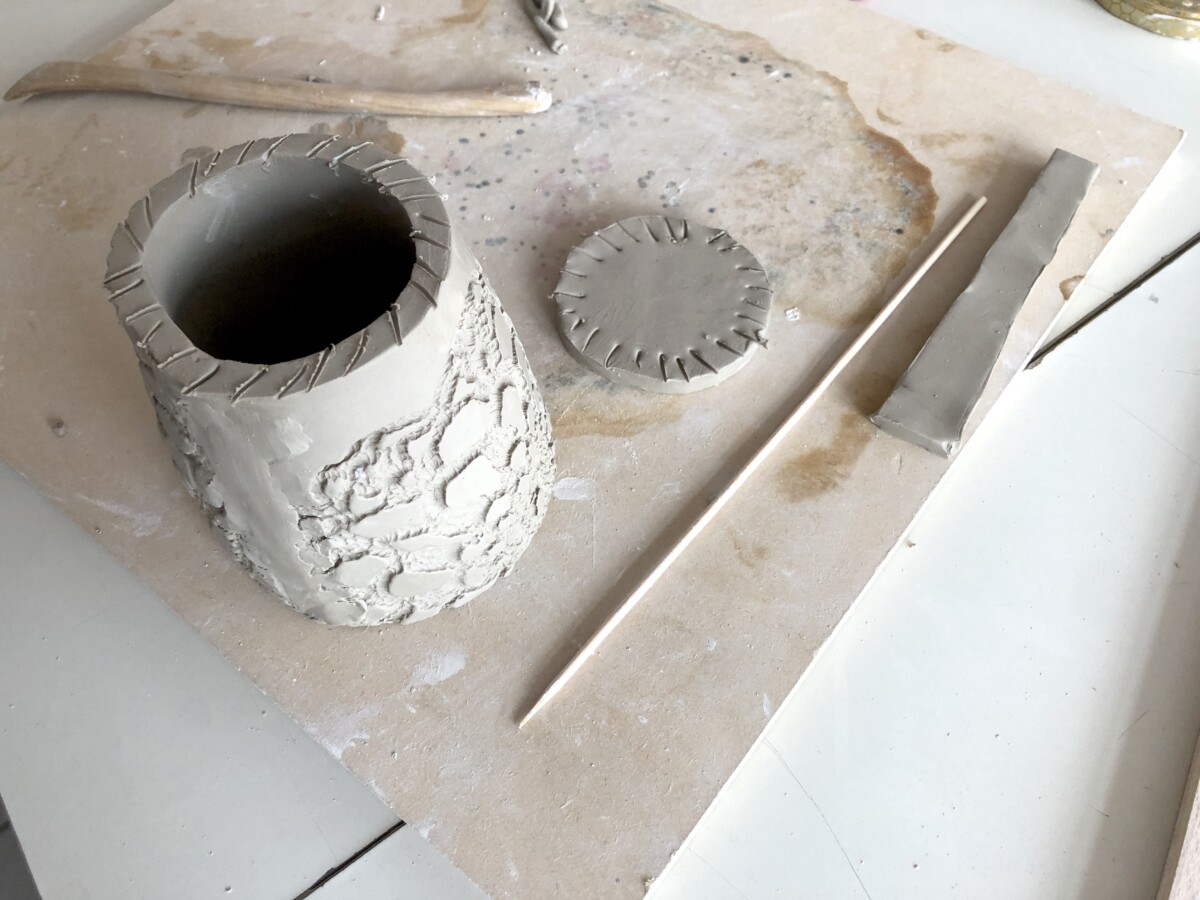
The slab is decorated with a crochet doily: with a rolling pin, we press the doily into the clay, so that a relief texture is formed. Other objects can also be used to decorate the slab with various textures, flowers, leaves, or any type of shape.

The slab is cut out following the outline of the template and is set upright to shape the cup. The two edges of the clay slab are joined by knurling the two surfaces and applying the SLIP, a “cream” of fluid clay that works like glue and allows the pieces to stick to each other. In fact, without this operation, it is not possible to join pieces together.


After making the body of the cup we proceed with the bottom and the handle, using the templates in the same way. These pieces must always be assembled with the slip, taking care to join the parts with your fingers or with special wooden tools. This operation is delicate because the clay is still soft and therefore requires some attention to keep the mug shape.


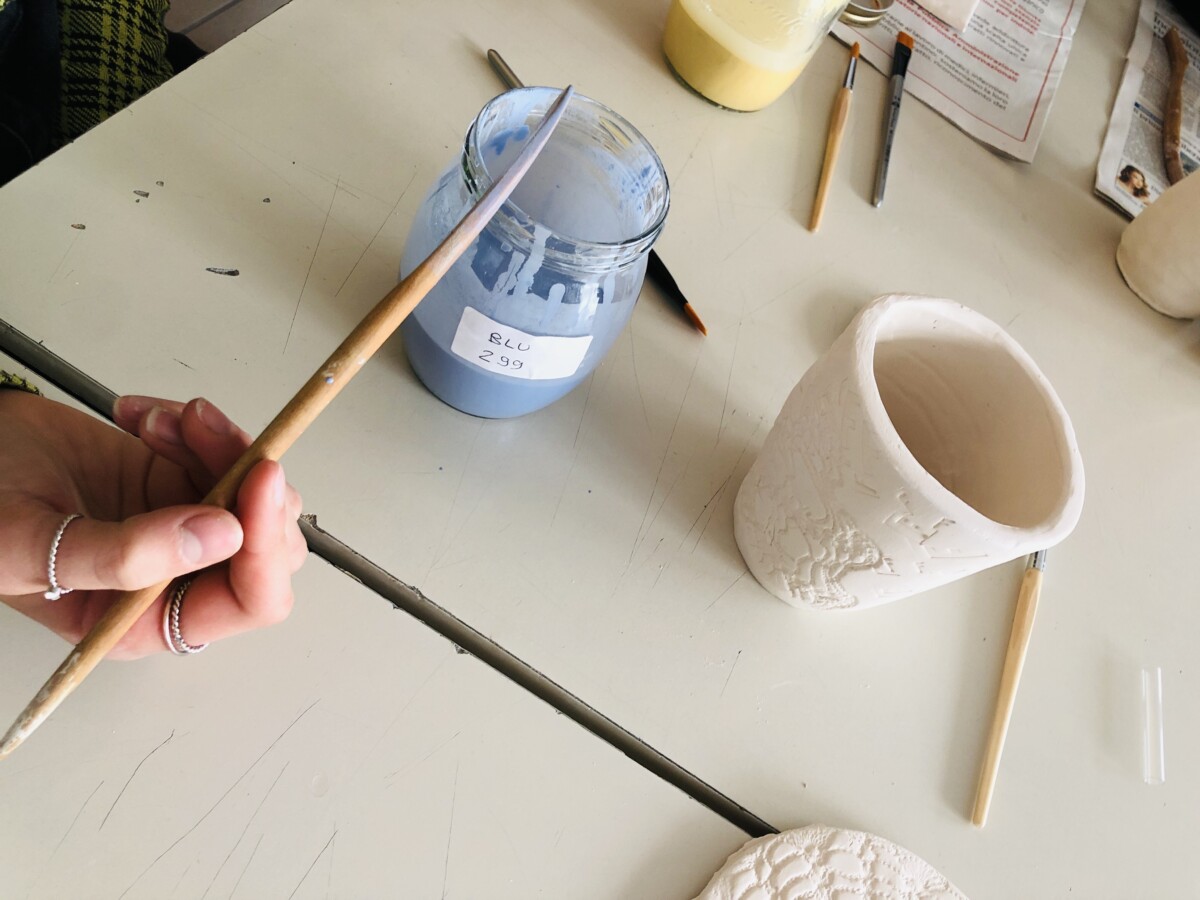
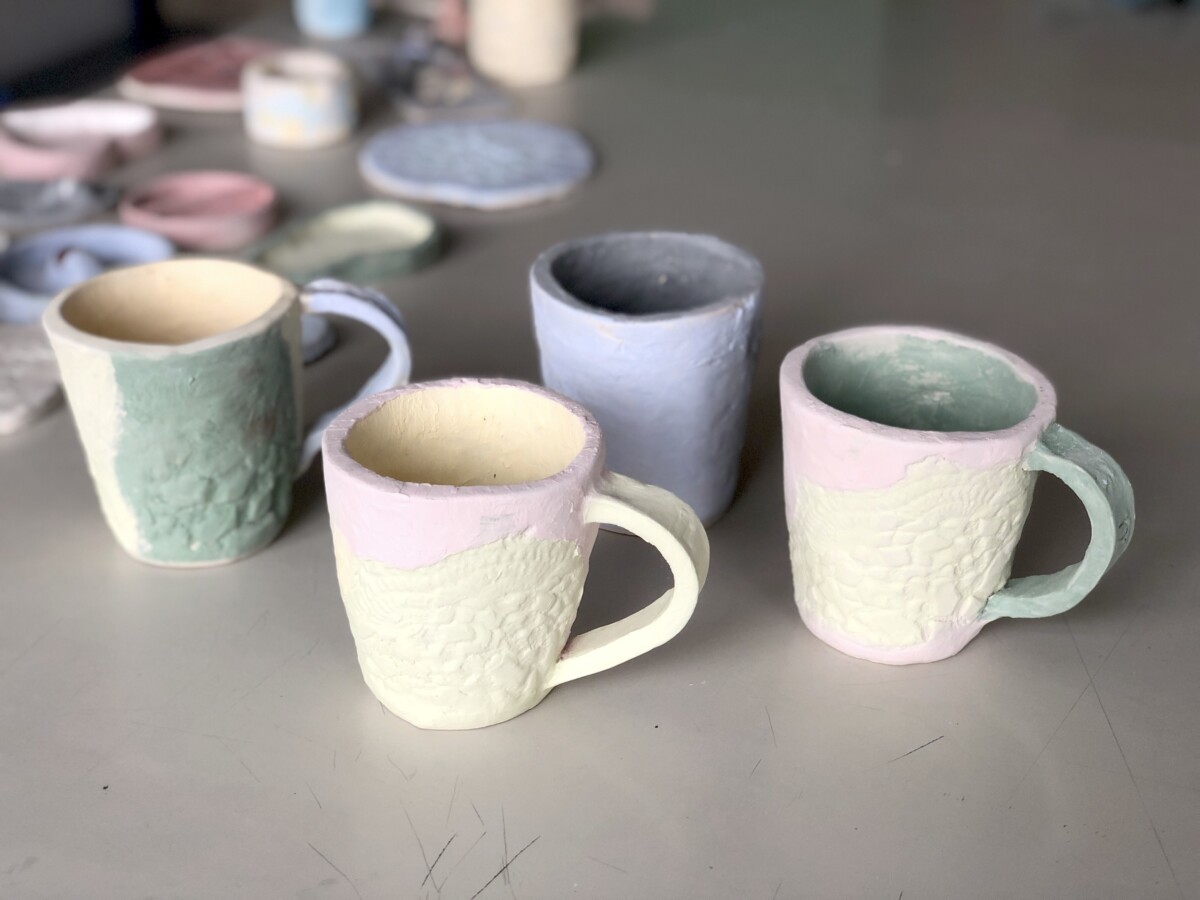
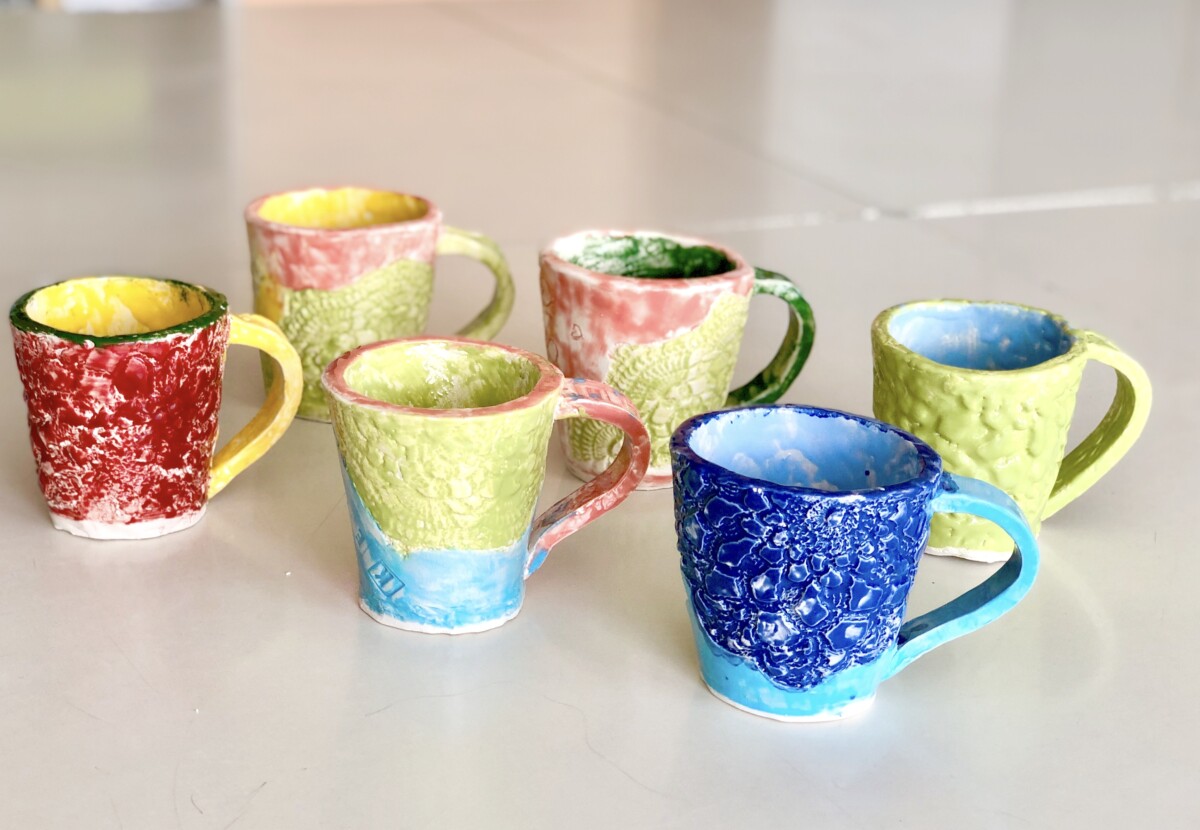
Once fired with the first fire in the ceramic kiln at about 1000° C, the cups become white earthenware, this material is called BISCUIT. The cups are then decorated with colored ENAMELS by brush, taking care to cover the entire surface well, especially the inside of the cups. After the second firing, the glazes are vitrified and we can use the cups for our favorite drinks!


What a great way to ensure making a successful cup! Love using the doilies for texture.