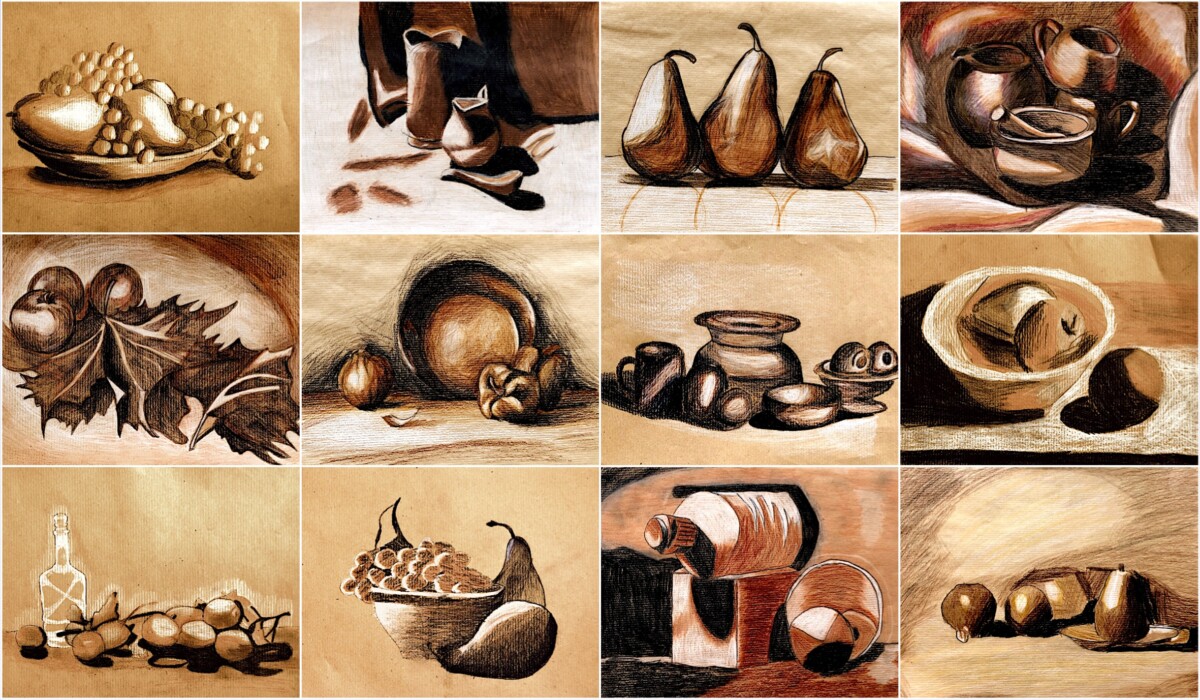
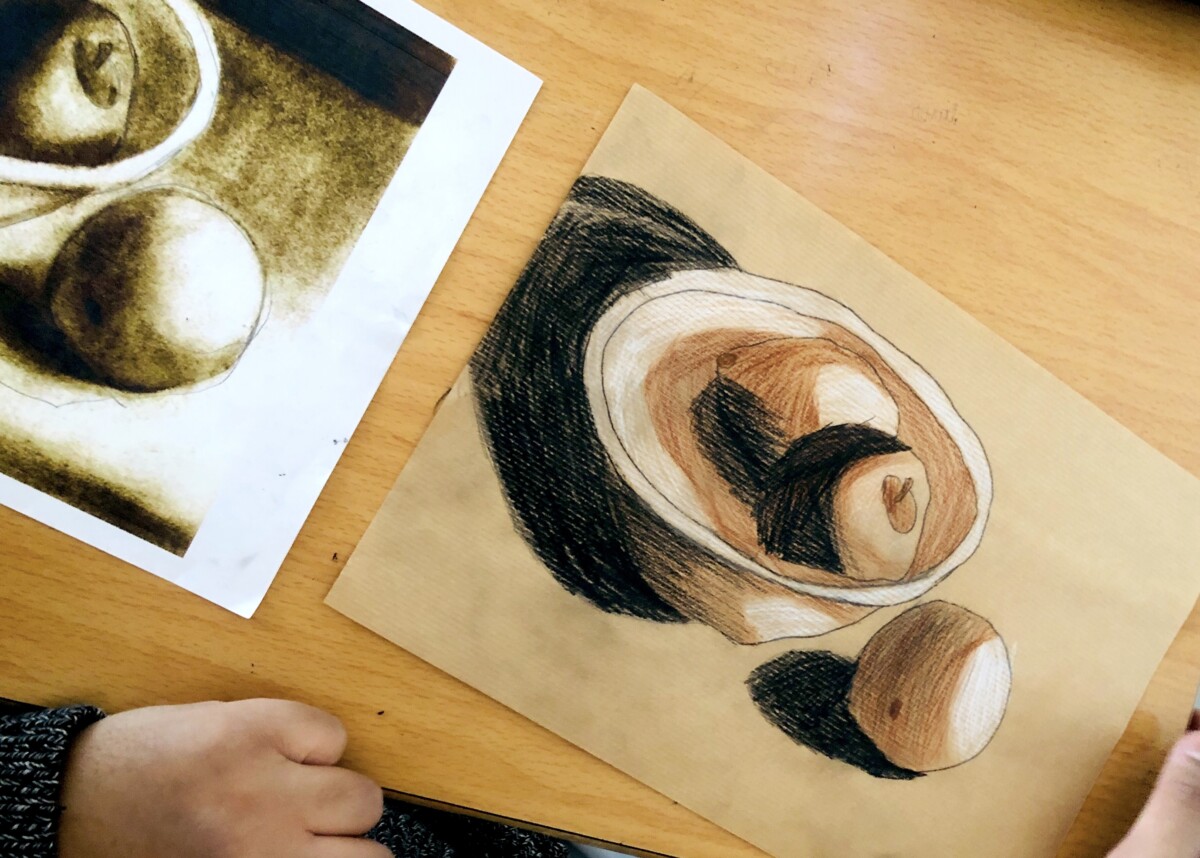
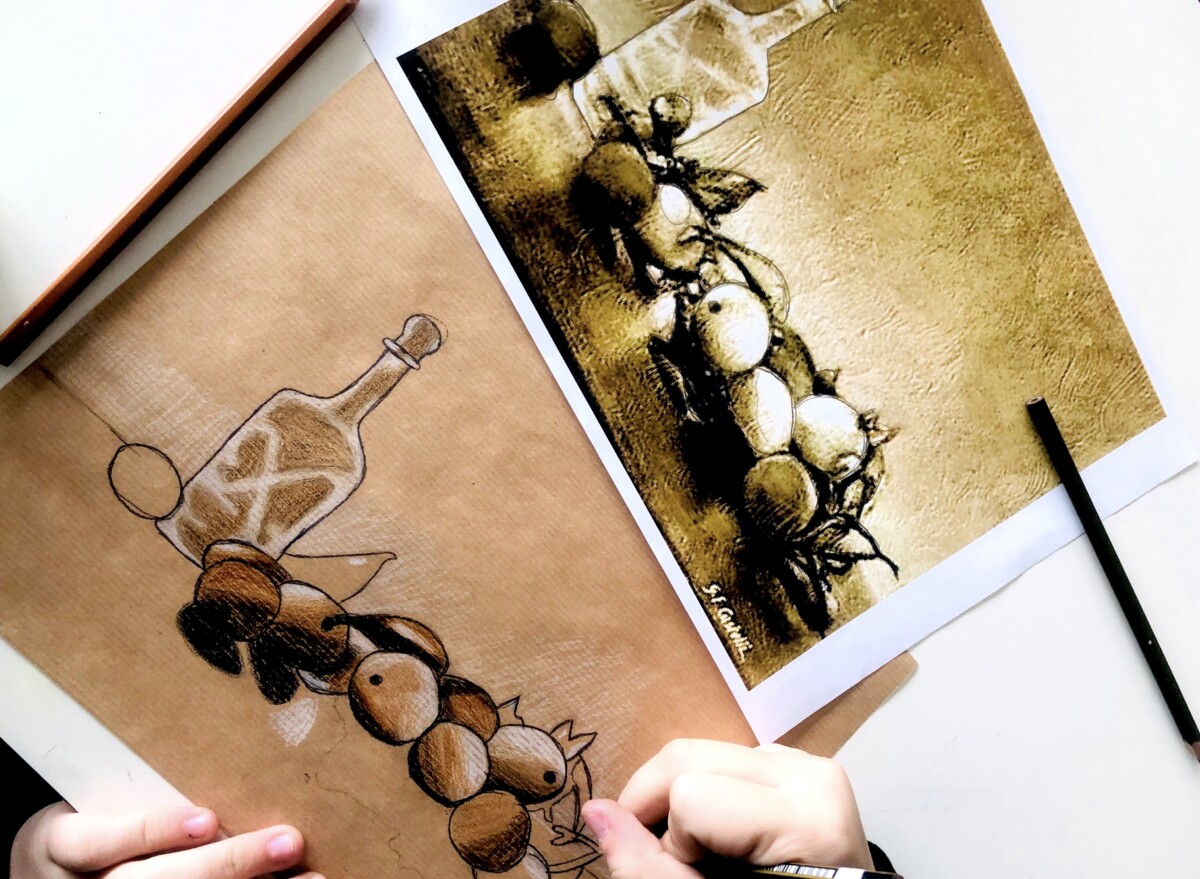
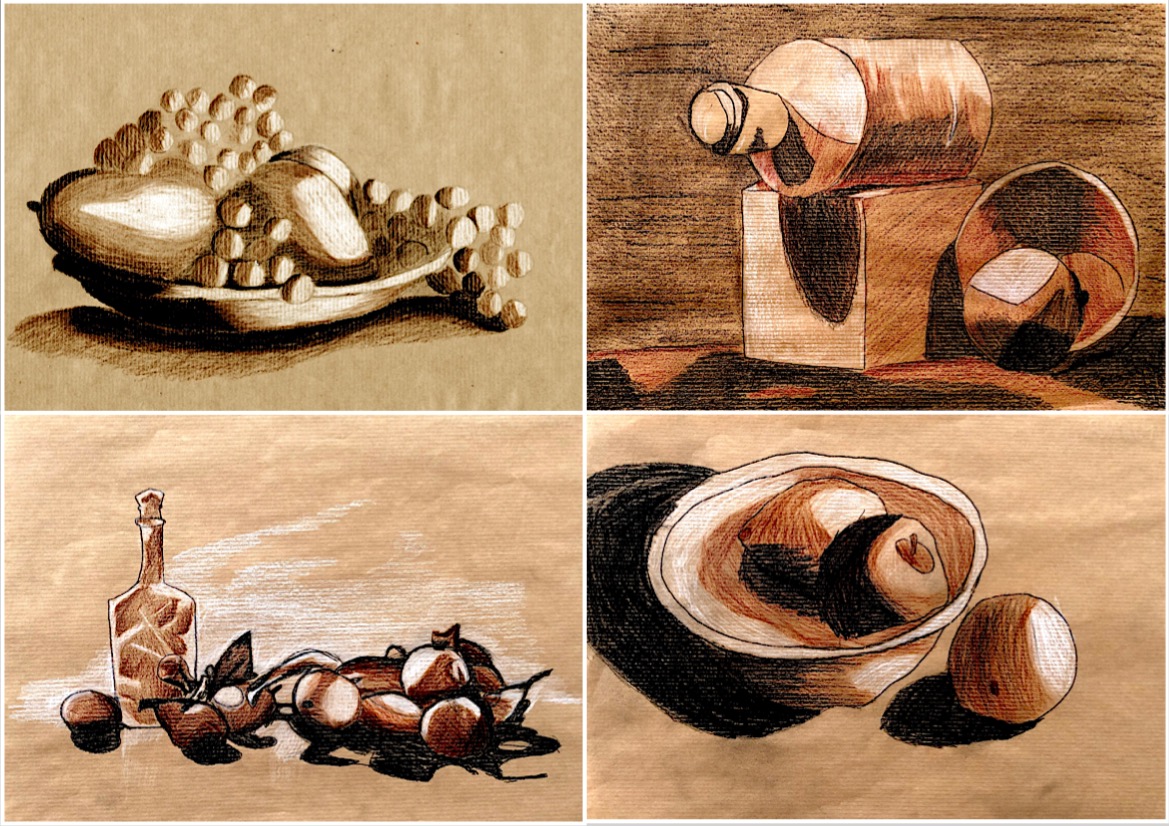
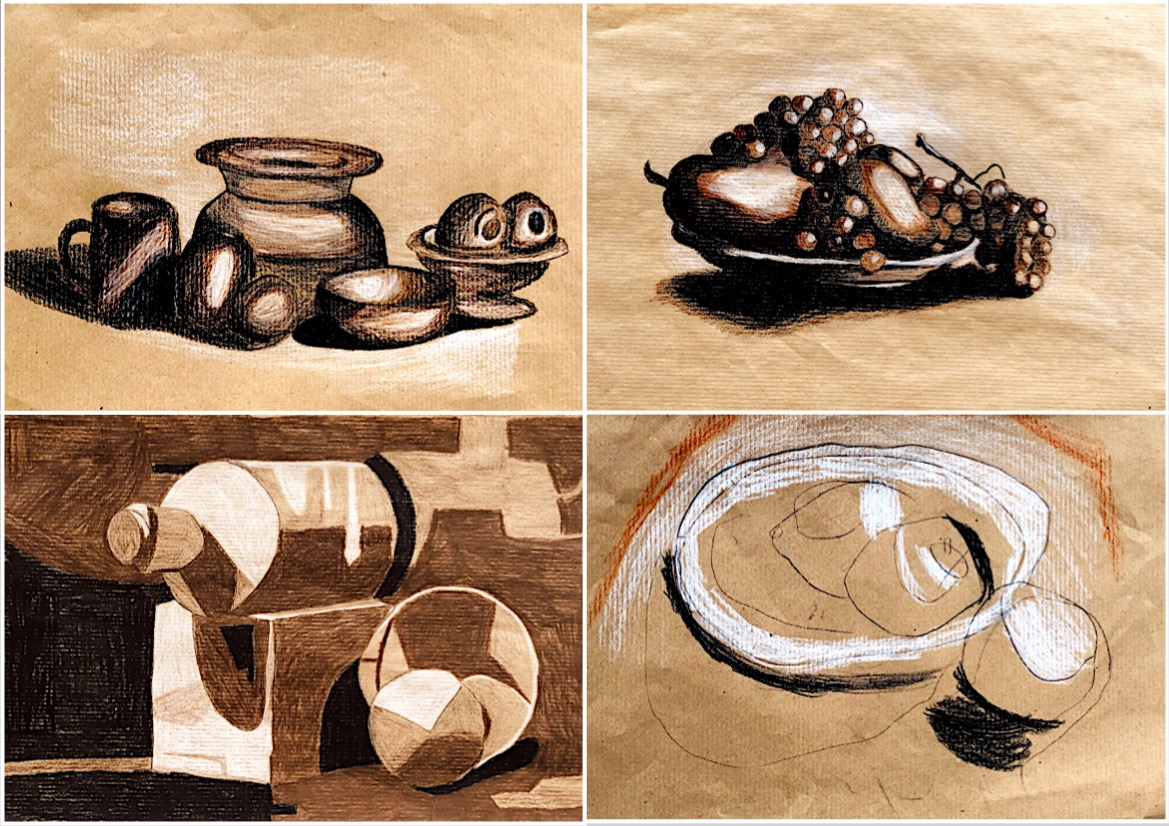
To create these monochrome drawings on brown package paper, my 7th-grade students used three pencils: one white, one brown, and one black.
In the video tutorial below you can follow every step of the activity. You need a photocopy of still life, a sheet of brown package paper, carbon paper, and pencils. You can find other videos on my YouTube channel Miriam Paternoster.
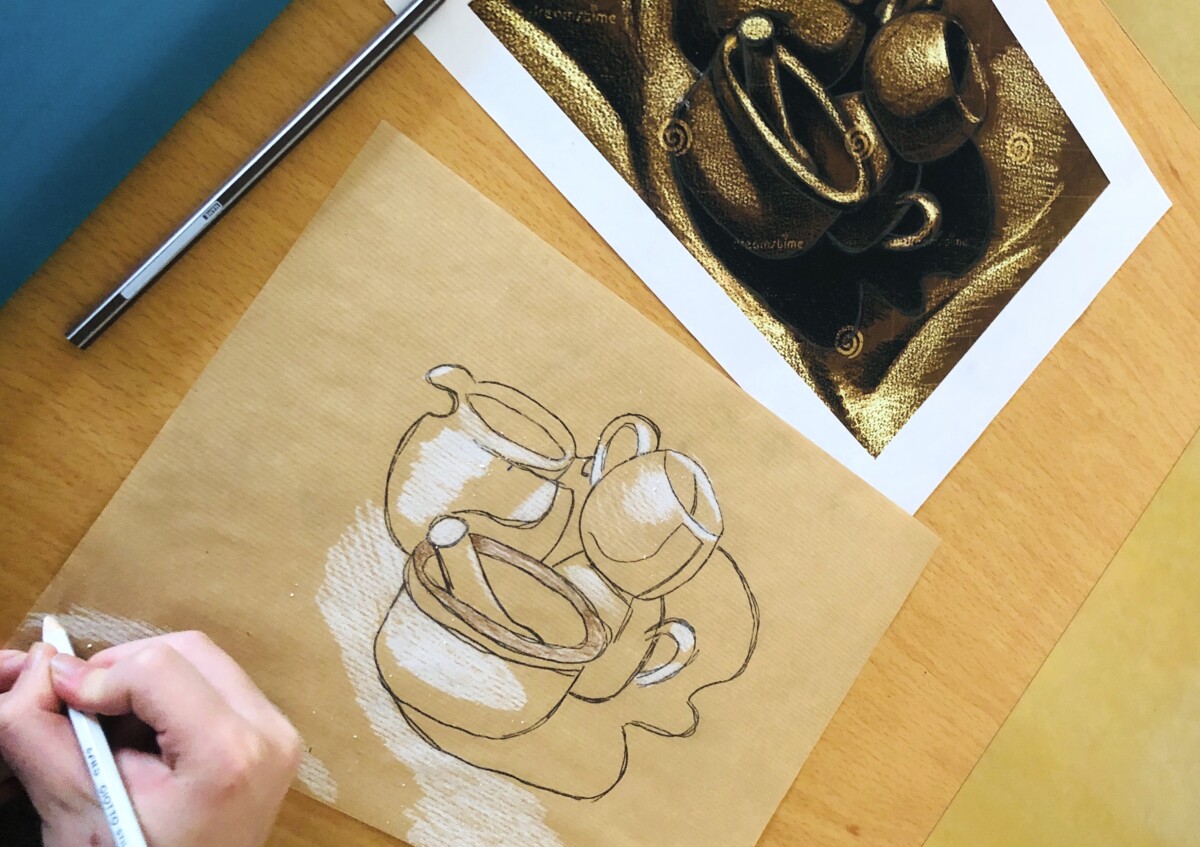
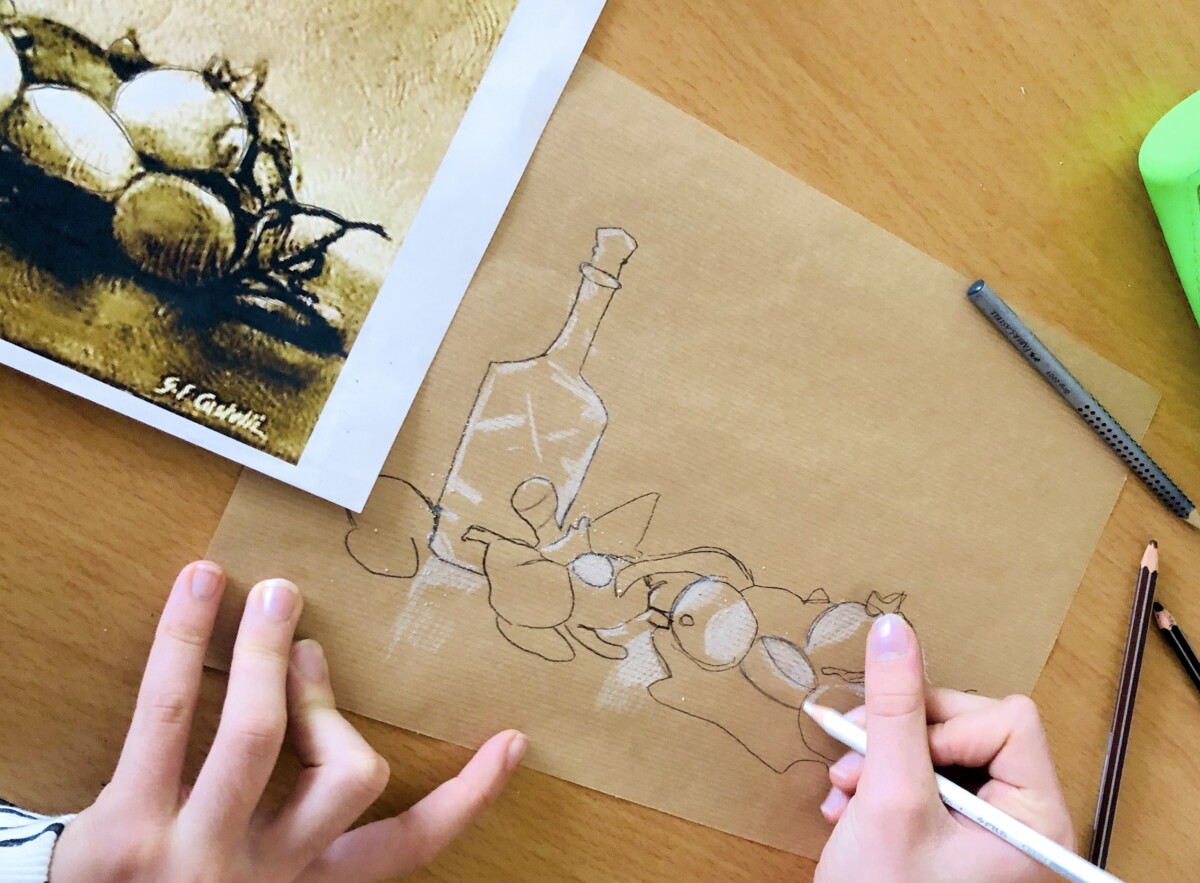
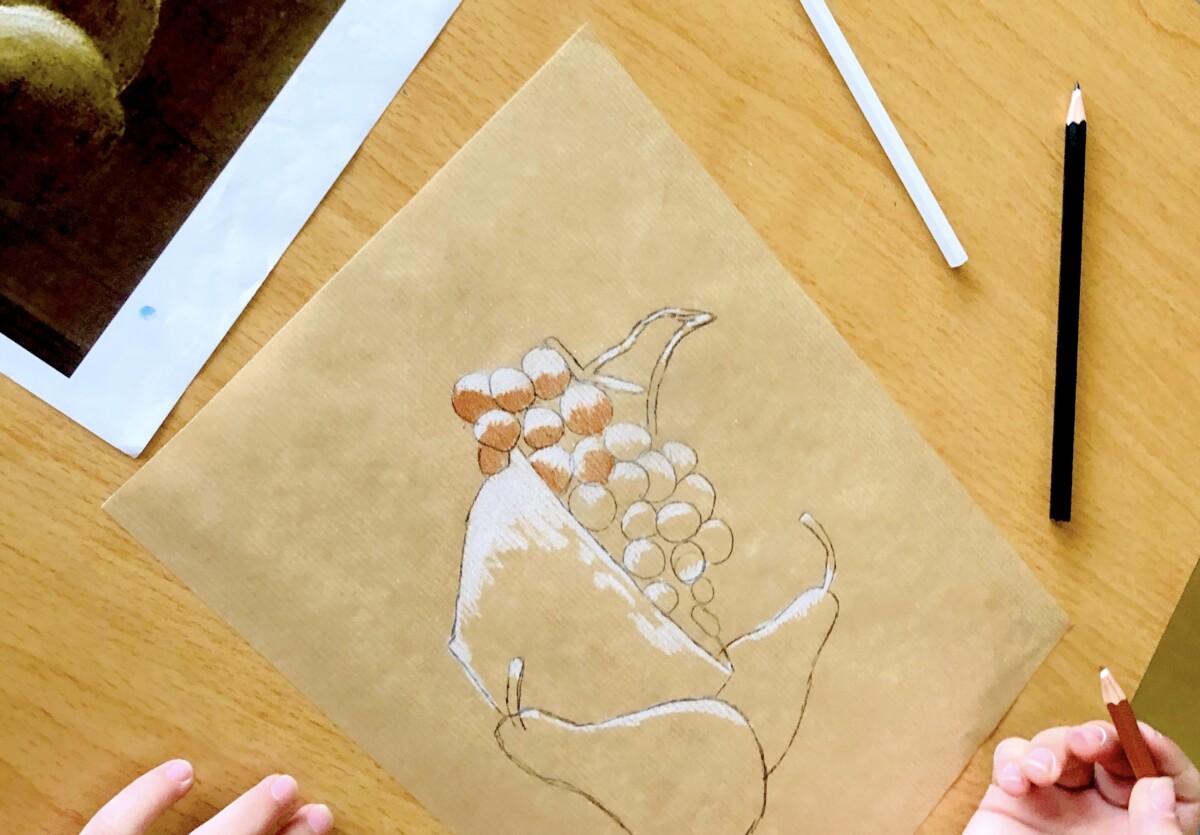
To copy the main lines of the picture you can use carbon paper, tracing the outlines of the objects on the wrapping paper. You can also copy the picture with a free-hand drawing or with a grid, depend on the time you have to complete the drawing.
First, we copy the LIGHTS with the white pencil, then we color the middle tones with the brown and the darker shadows with the black. At every step we see the drawing being more realistic and increasing the three-dimensional effect.


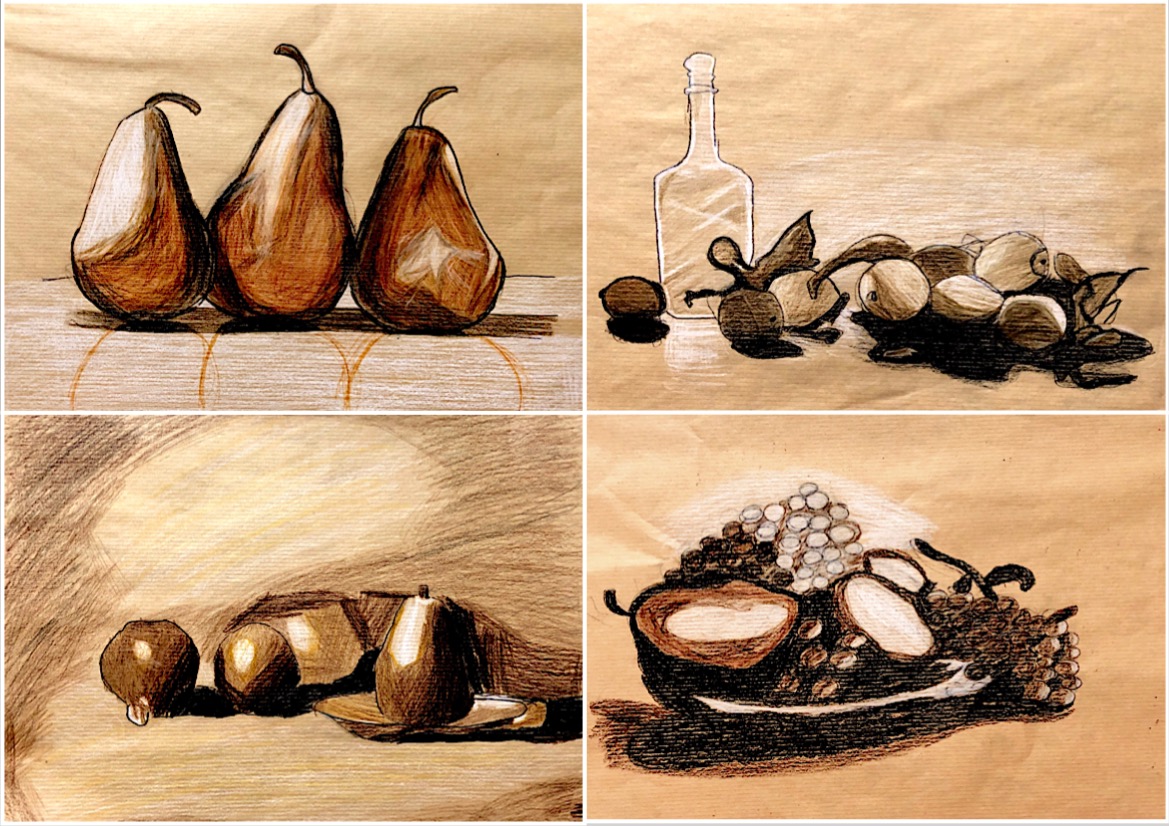
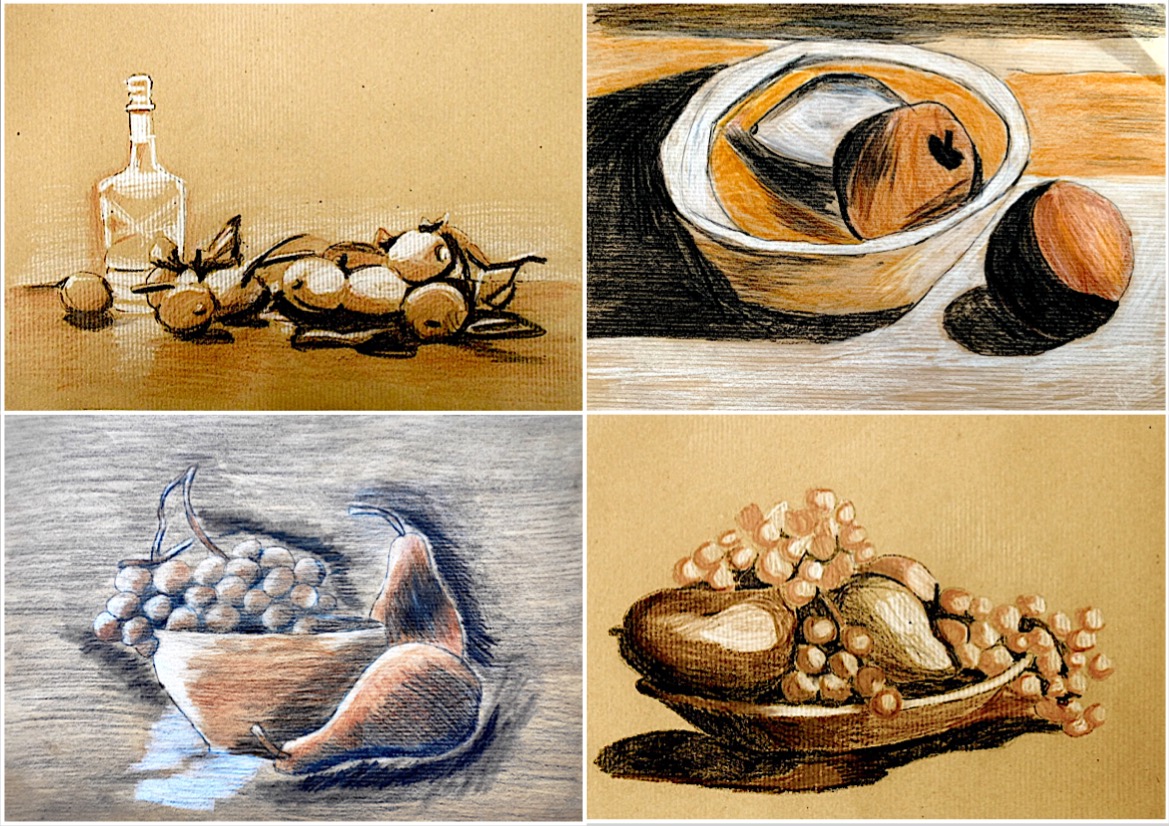
Here we have the students’ drawings


Hi Miriam,
Where do you get the monotone paintings? Can you share the name of a/some artists? Thank you.
Best,
P
Hi Patricia, I found them on the internet, searching for sepia still life, I don’t have an artist in particular. I can’t post them because of copyright. If you need I could send you a file privately, not for sharing online, but for using them in your lesson.
That would be great! Thank you! I am willing to donate to your site as well!
Thanks Patricia, I appreciate your support!
Could you send them to me, as well?
Hi Miriam! I’m so thankful for your site and would love to do this with my students. Iis there anyway you could send me the file of the sepia toned photo references too? I teach K-12 and this would save me a ton of time if you wouldn’t mind sharing. Thank you so very much <3… kat.garrett@gmail.com
Hi Miriam. Are you using white charcoal pencil or white colored pencil for lights? thanks so much, Leslie
Hi Leslie, I used white colored pencil, as you can see in the video 😉
Hi Miriam,
Could you please send me the site for the sepia toned photo references also? I am looking forward to doing this activity with my class! Thanks in advance!
Hi Miriam,
I would love the site for the sepia toned images! I did this lesson before with my own images and it was a success but I am interested in the sepia ones you used. Thank you@
Hi Miriam,
Could you send me the sepia toned images?
I’d love to try this lesson too. COuld I please receive sepia images as well? This is an awesome lesson.
Irvinej@whitehallsd.k12.wi.us