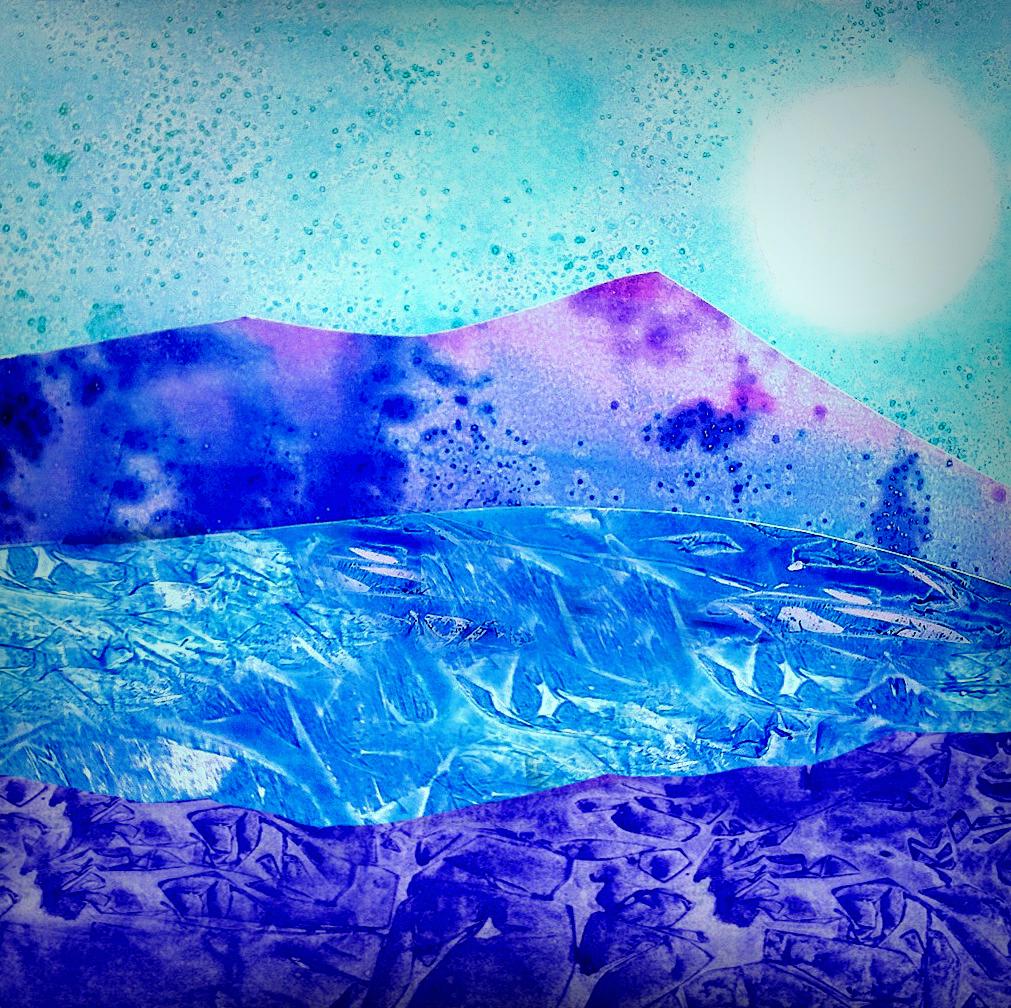
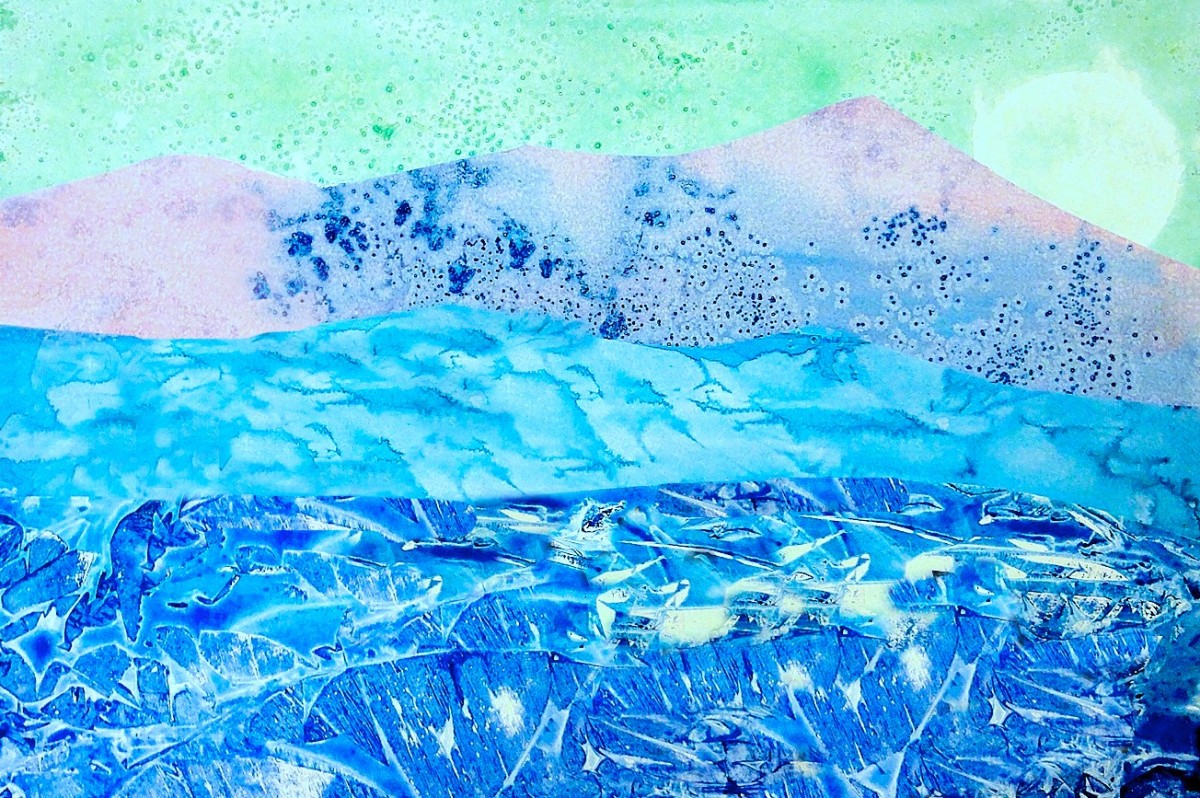
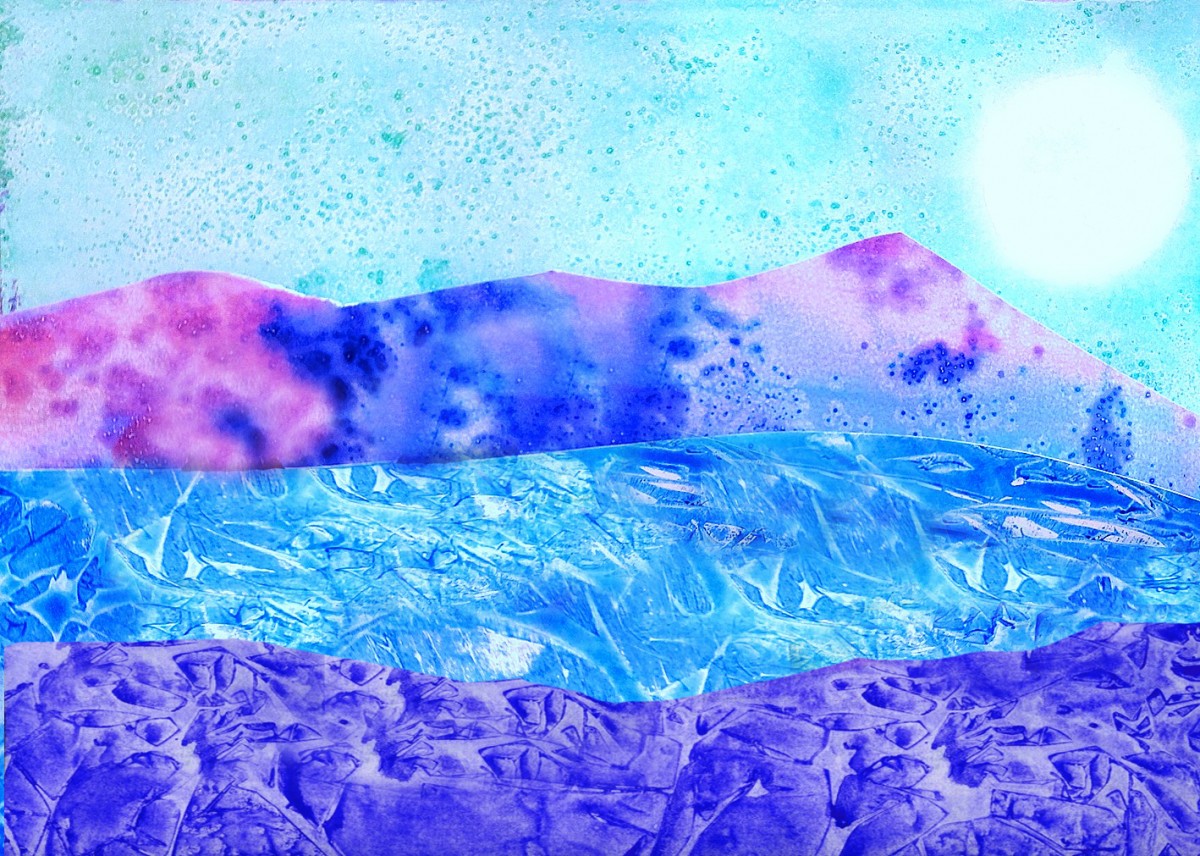
We prepared some Polars Landscapes painting with watercolors or gouache.
We used several simple techniques to create different textures in order to achieve various effects in the landscape. This exercise is inspired by the amazing blog of Gail Bartel: That artist woman. Each student tries techniques on different sheets and then the sheets shall be cut and shared to create different landscapes with collage.
We just need:
– white cardboards
– gouache paintings or watercolors
– large paintbrushes
– kitchen paper and a glass (for the sun)
– salt (for the sky effect)
– cling film (for the ice effect)
– scissors and glue
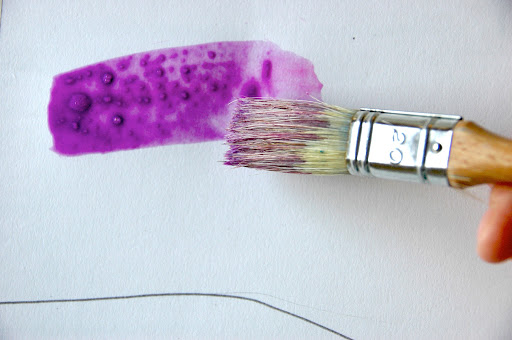 |
| quickly put the color |
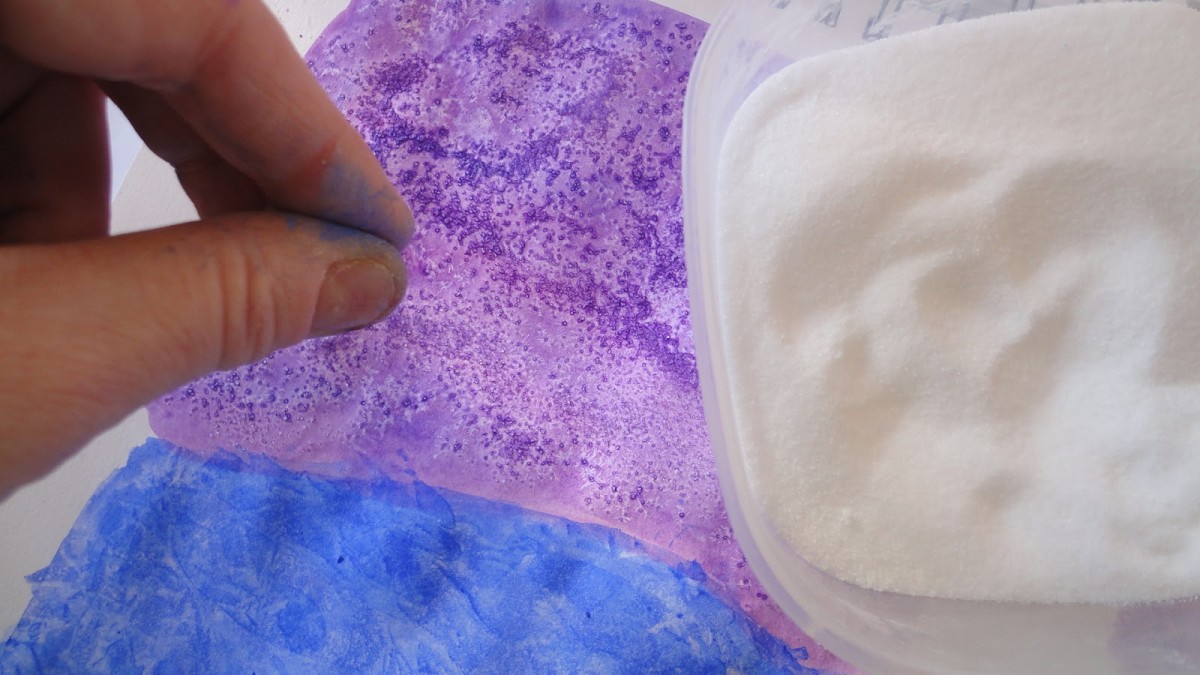 |
| put salt on watercolor still wet |
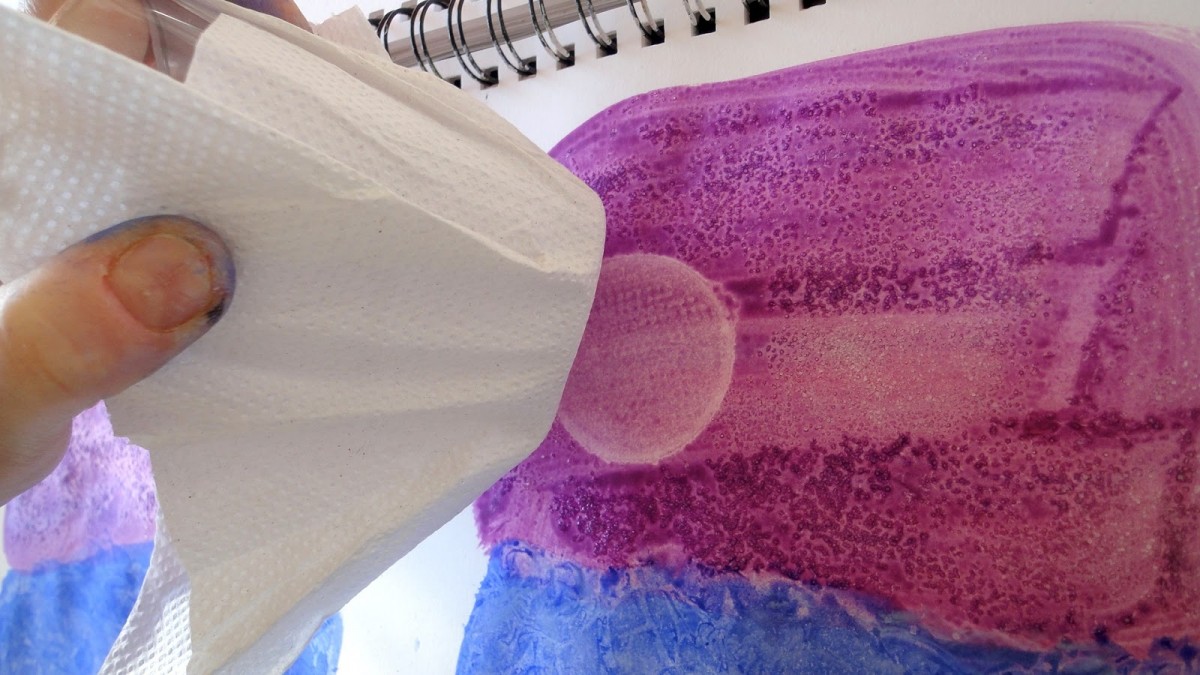 |
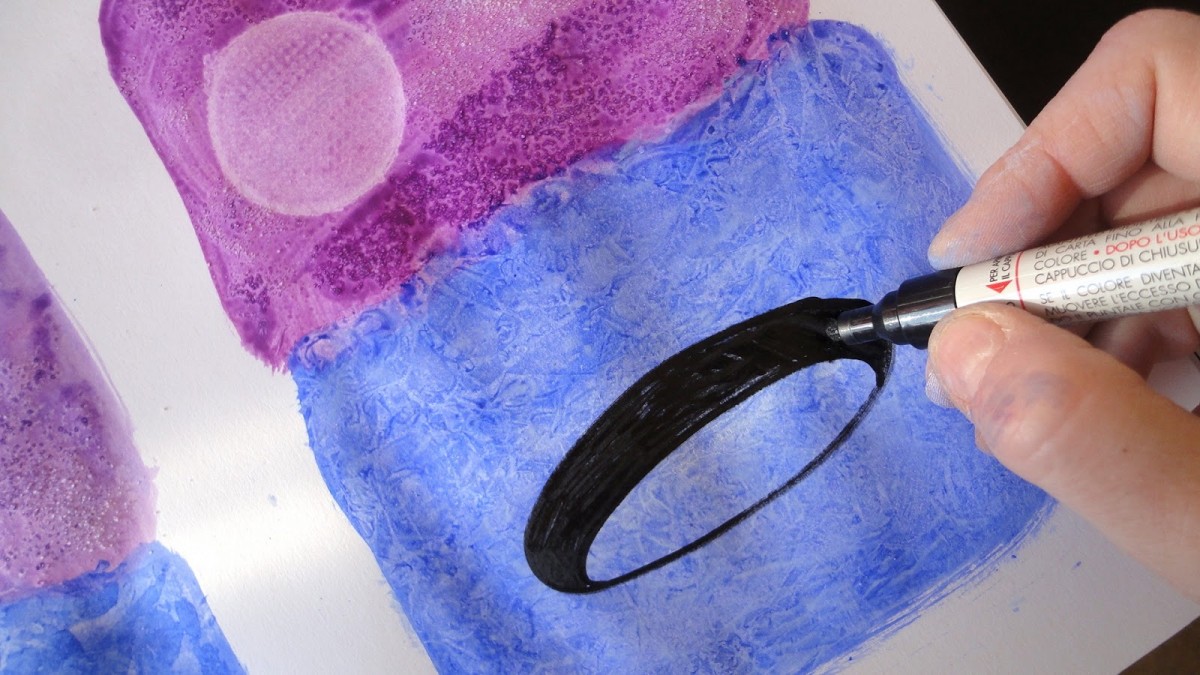
| paper towel on the bottom of a glass: when the watercolor is still wet absorbs the color to make the sun |
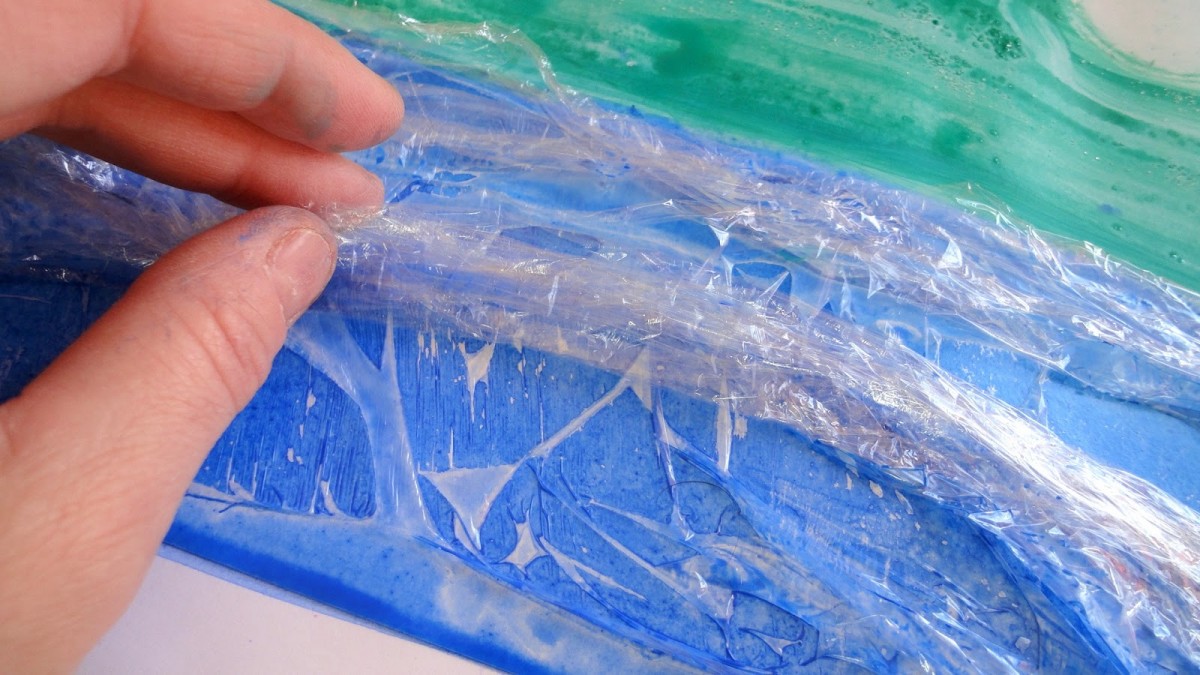 |
| cling film on wet watercolor creates the effect of ice |
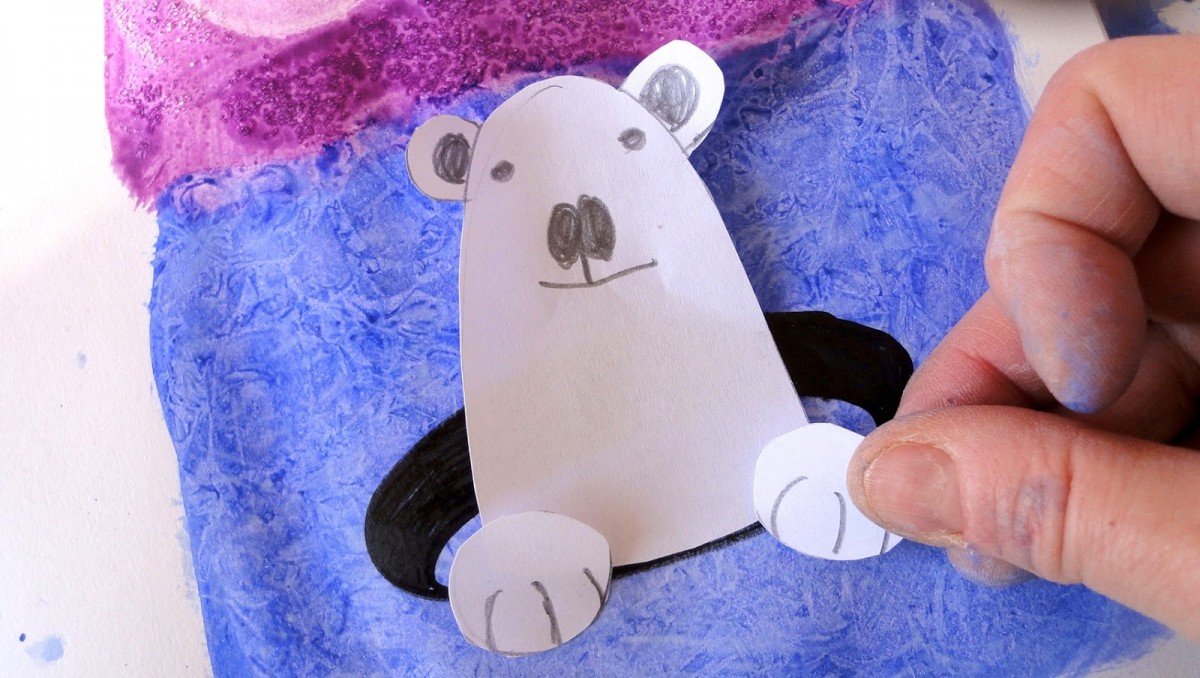
For lessons about Arctic and Antarctic animals you can also draw some polar animals on the landscapes: NORTH POLE with white bears and igloo and SOUTH POLE with penguins and seals. You just need pencils, black marker, white paper, scissors and glue.



Che effetti ….MERAVIGLIOSI!!!!! Miriam hai sempre delle idee fantastiche …………… a presto
Grazie Patrizia!Come sempre ti auguro buon lavoro e seguo quello che fai con i tuoi ragazzi… anche tu sei sempre una sorpresa!
Vien voglia di provare… Sei sempre creativa!
Fabulous!! I'm pinning this lesson! The student work is beautiful and I love the simple ways you did each step. Thank you!
Ciao Rossella! prova! è davvero facile e l'effetto è assicurato
Thanks for your comment Phyl! It's very simple to do! I saw the suggestion in a wonderful blog of another Art teacher but I don't remember the link!
These absolutely beautiful! Well done! 🙂
Yes! And simple! We could do it with children of Primary school but also with pupils of secondary , tying to do different landscapes, deserts, rocks mountains or forests…
che bello! cerco sempre di rubacchiare qua e là…confesso la pigrizia di provare con le mie manine.posso usarla con i miei ragazzotti di 5ª?complimenti per il blog
certo Chiara! Con i ragazzi di 5° è perfetto e l'effetto è assicurato! si può fare sia con acquerelli che con tempere piuttosto diluite… Buon lavoro!!
Questa è proprio una bella idea che sfrutterò! Per fortuna che c'è il tuo blog! Brava. Un bacione Laura
I love this project! In fact I have selected you as one the top 5 winter art projects on my blog! LOVE IT! https://artreekids.wordpress.com/2015/01/07/top-5-winter-landscapes-art-projects-for-kids/
Thanks arTree !! Your blog is amazing, I appreciate very much your quote to my site! Keep in touch 😉
ArTree thanks to you for mentioning my site in the Top 5 Winter Landscapes ! I posted your link on my Facebook page https://www.facebook.com/pages/Arte-a-Scuola/608828355832232?ref=hl and I mentioned your link on the sidebar about art website, because your blog is amazing! keep in touch! 🙂
This is a wonderful project! However, after many attempts with the cling wrap we decided we must be doing something wrong. The effects are nothing like those in the images here, which are so beautiful…I used cling wrap on wet watercolor on watercolor paper ( as well as other papers). Can you please let me know how the effect was done successfully? My students are dying to know! Thanks!
Hi Kim! thanks for your message and your experience! Perhaps is there too much water in watercolors? When i did this project I did many attempt as well, so i know that is much better use a lot of color with few water and then you press the film crumpled over the color. Wait a bit that the color is dry and then remove the film. Let me know if it works! 🙂