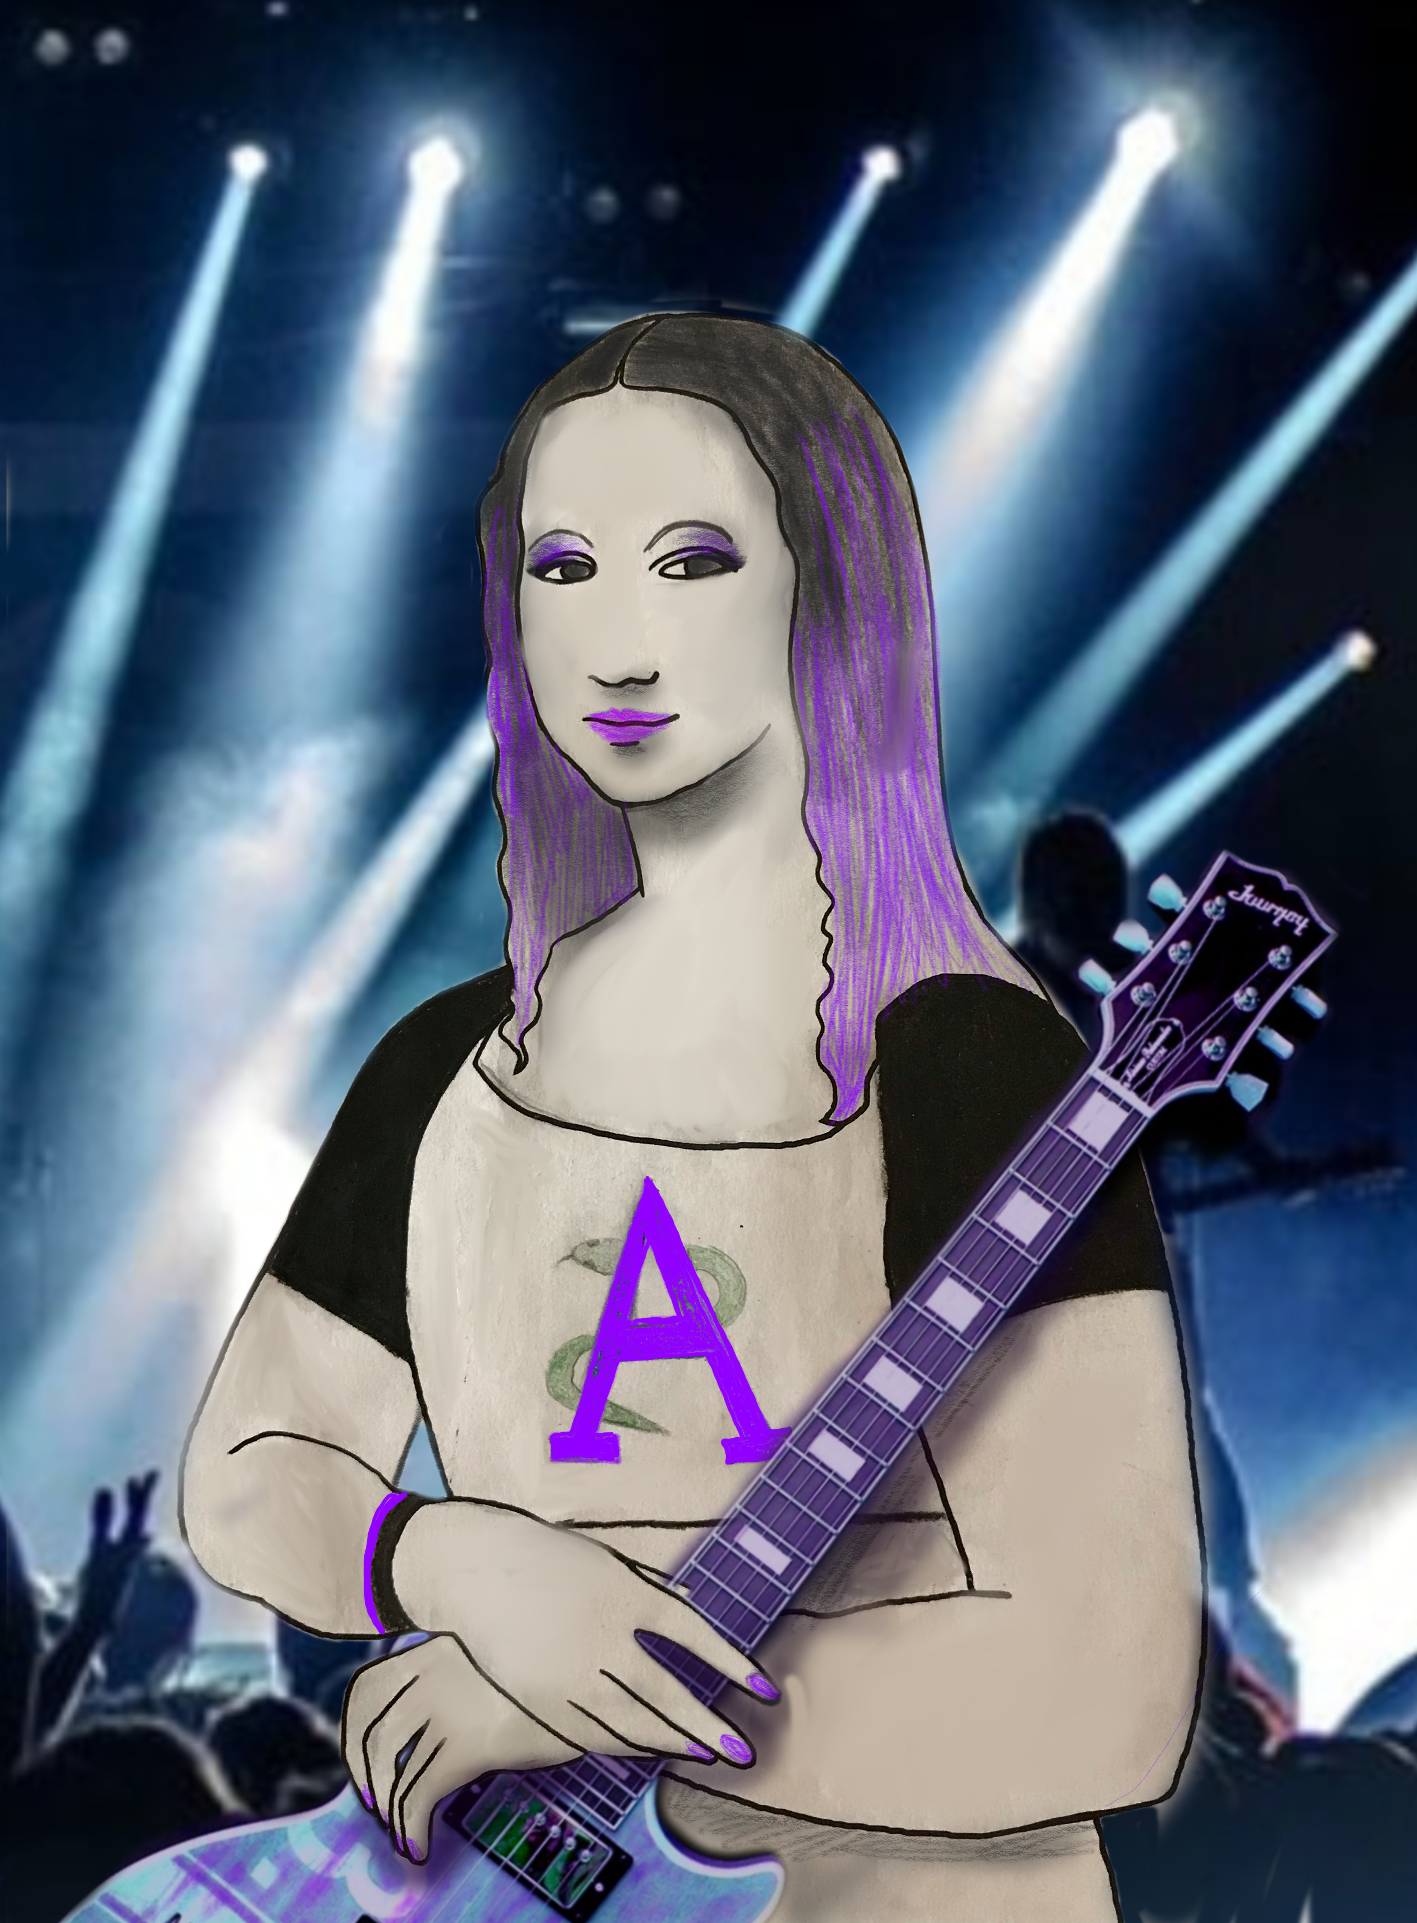
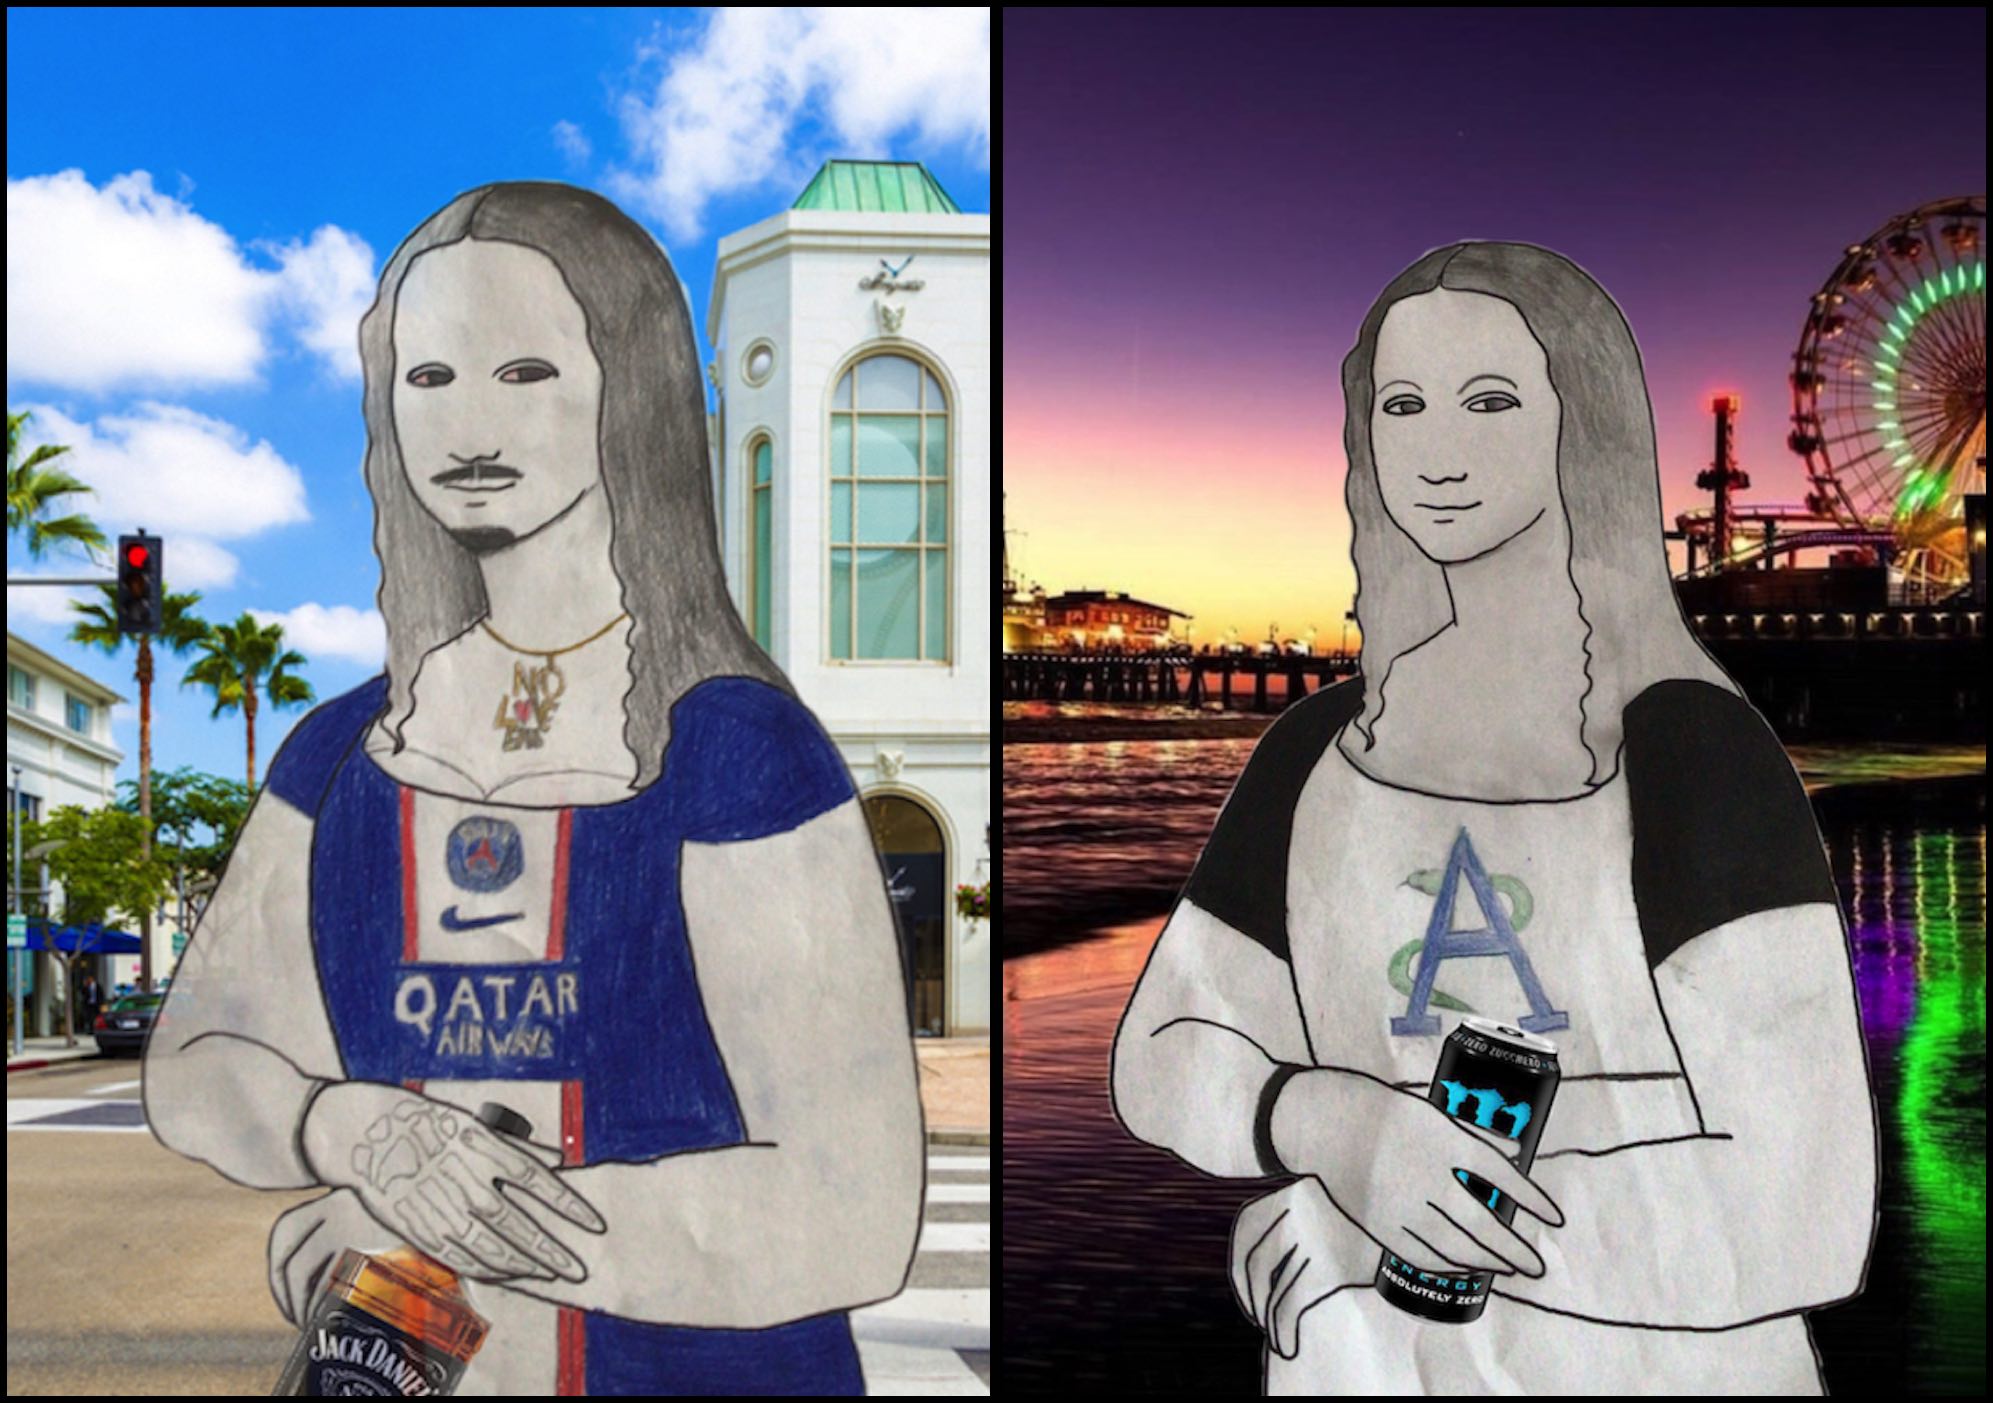
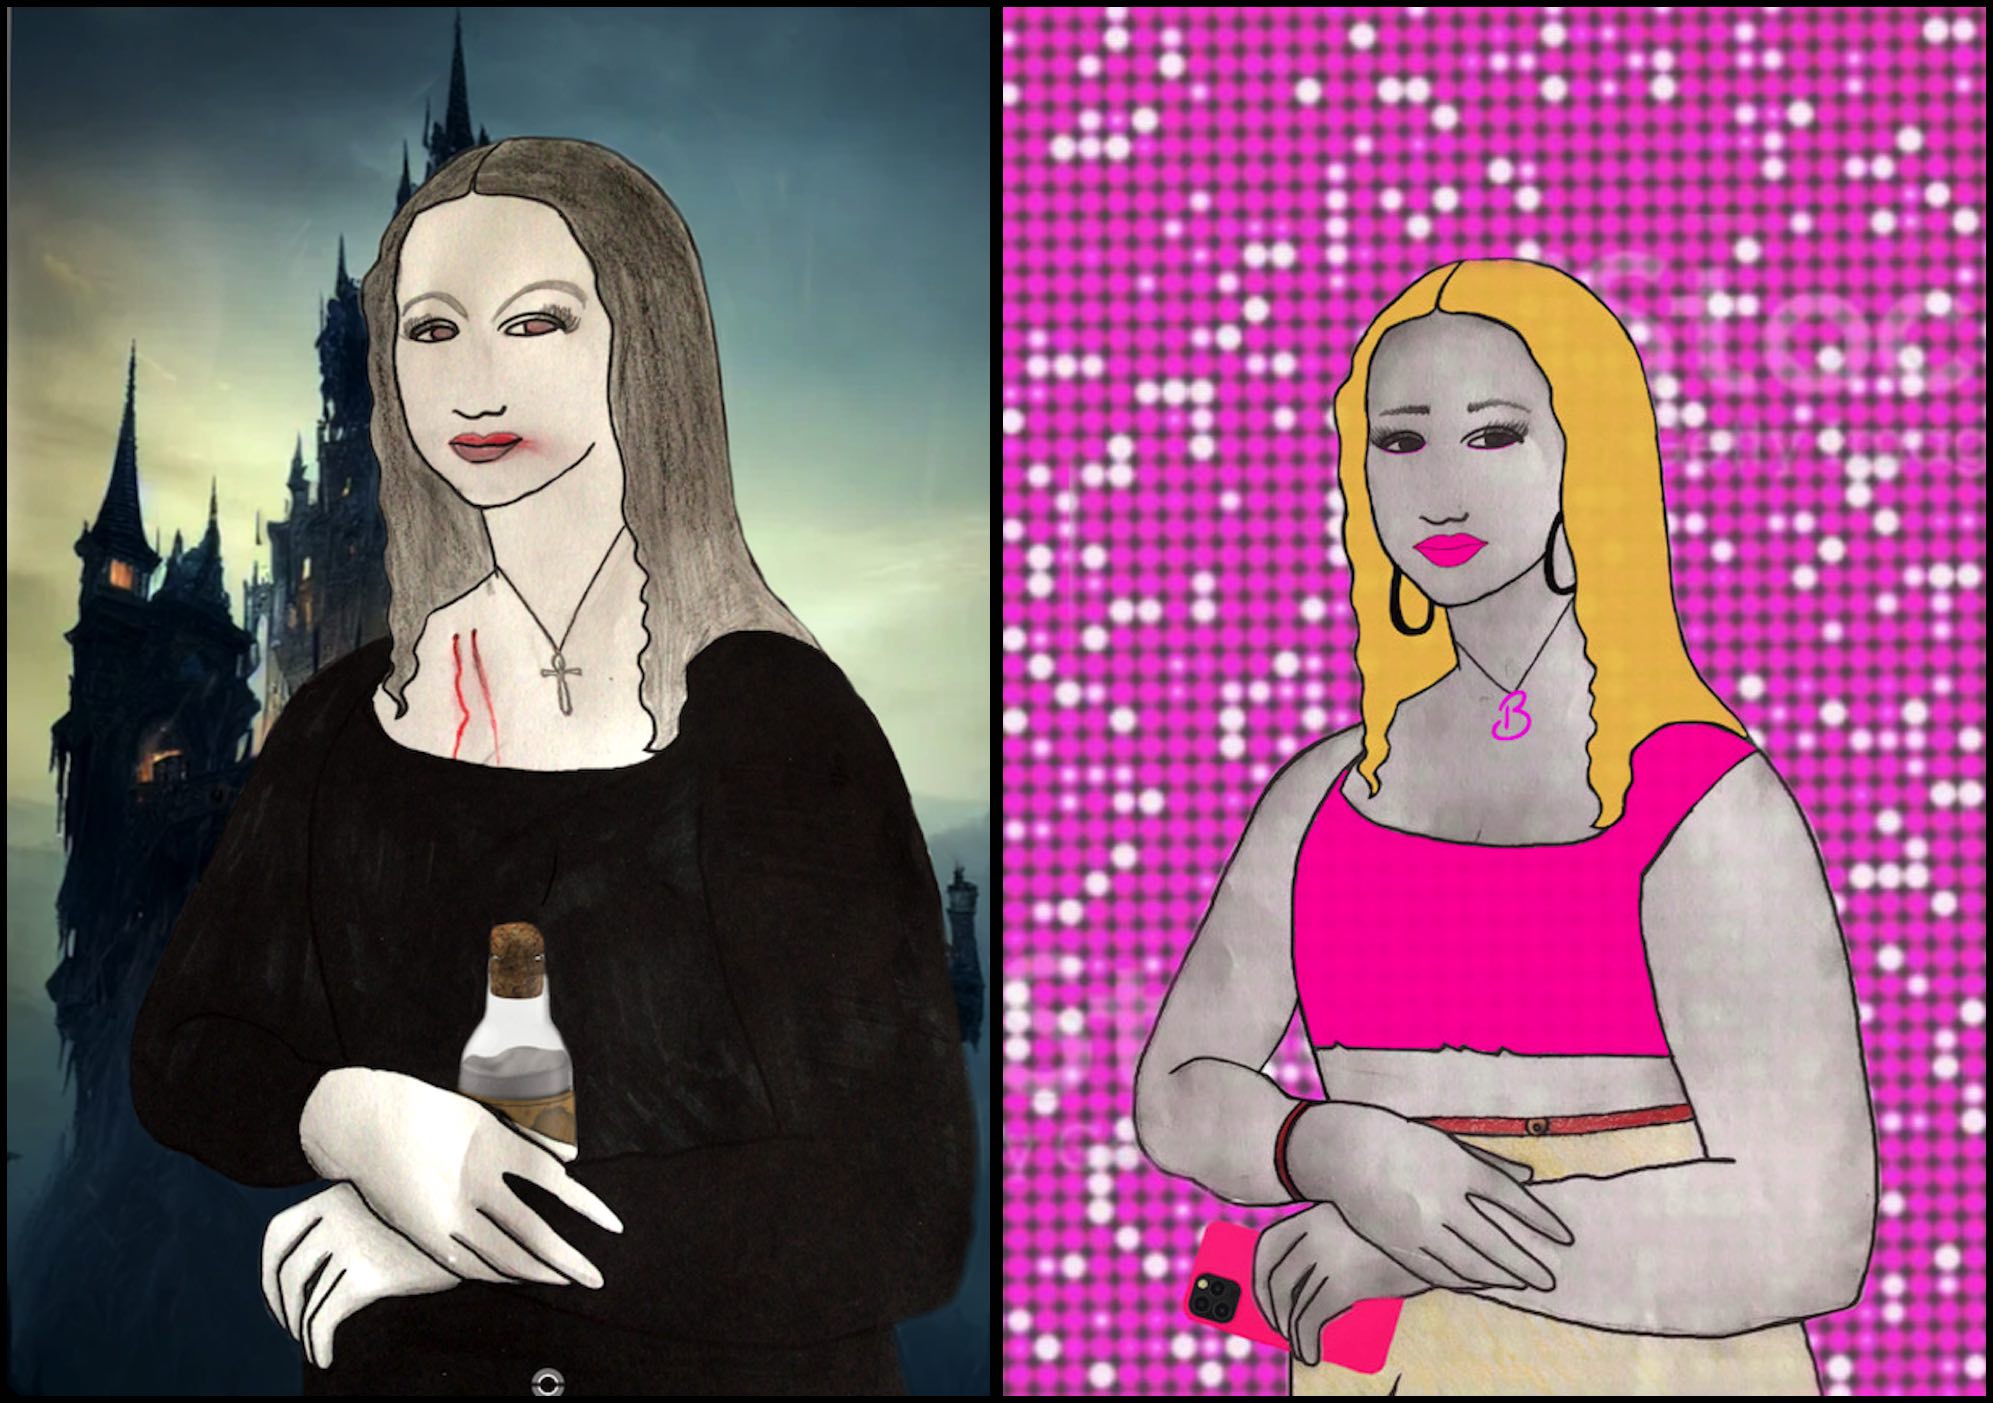
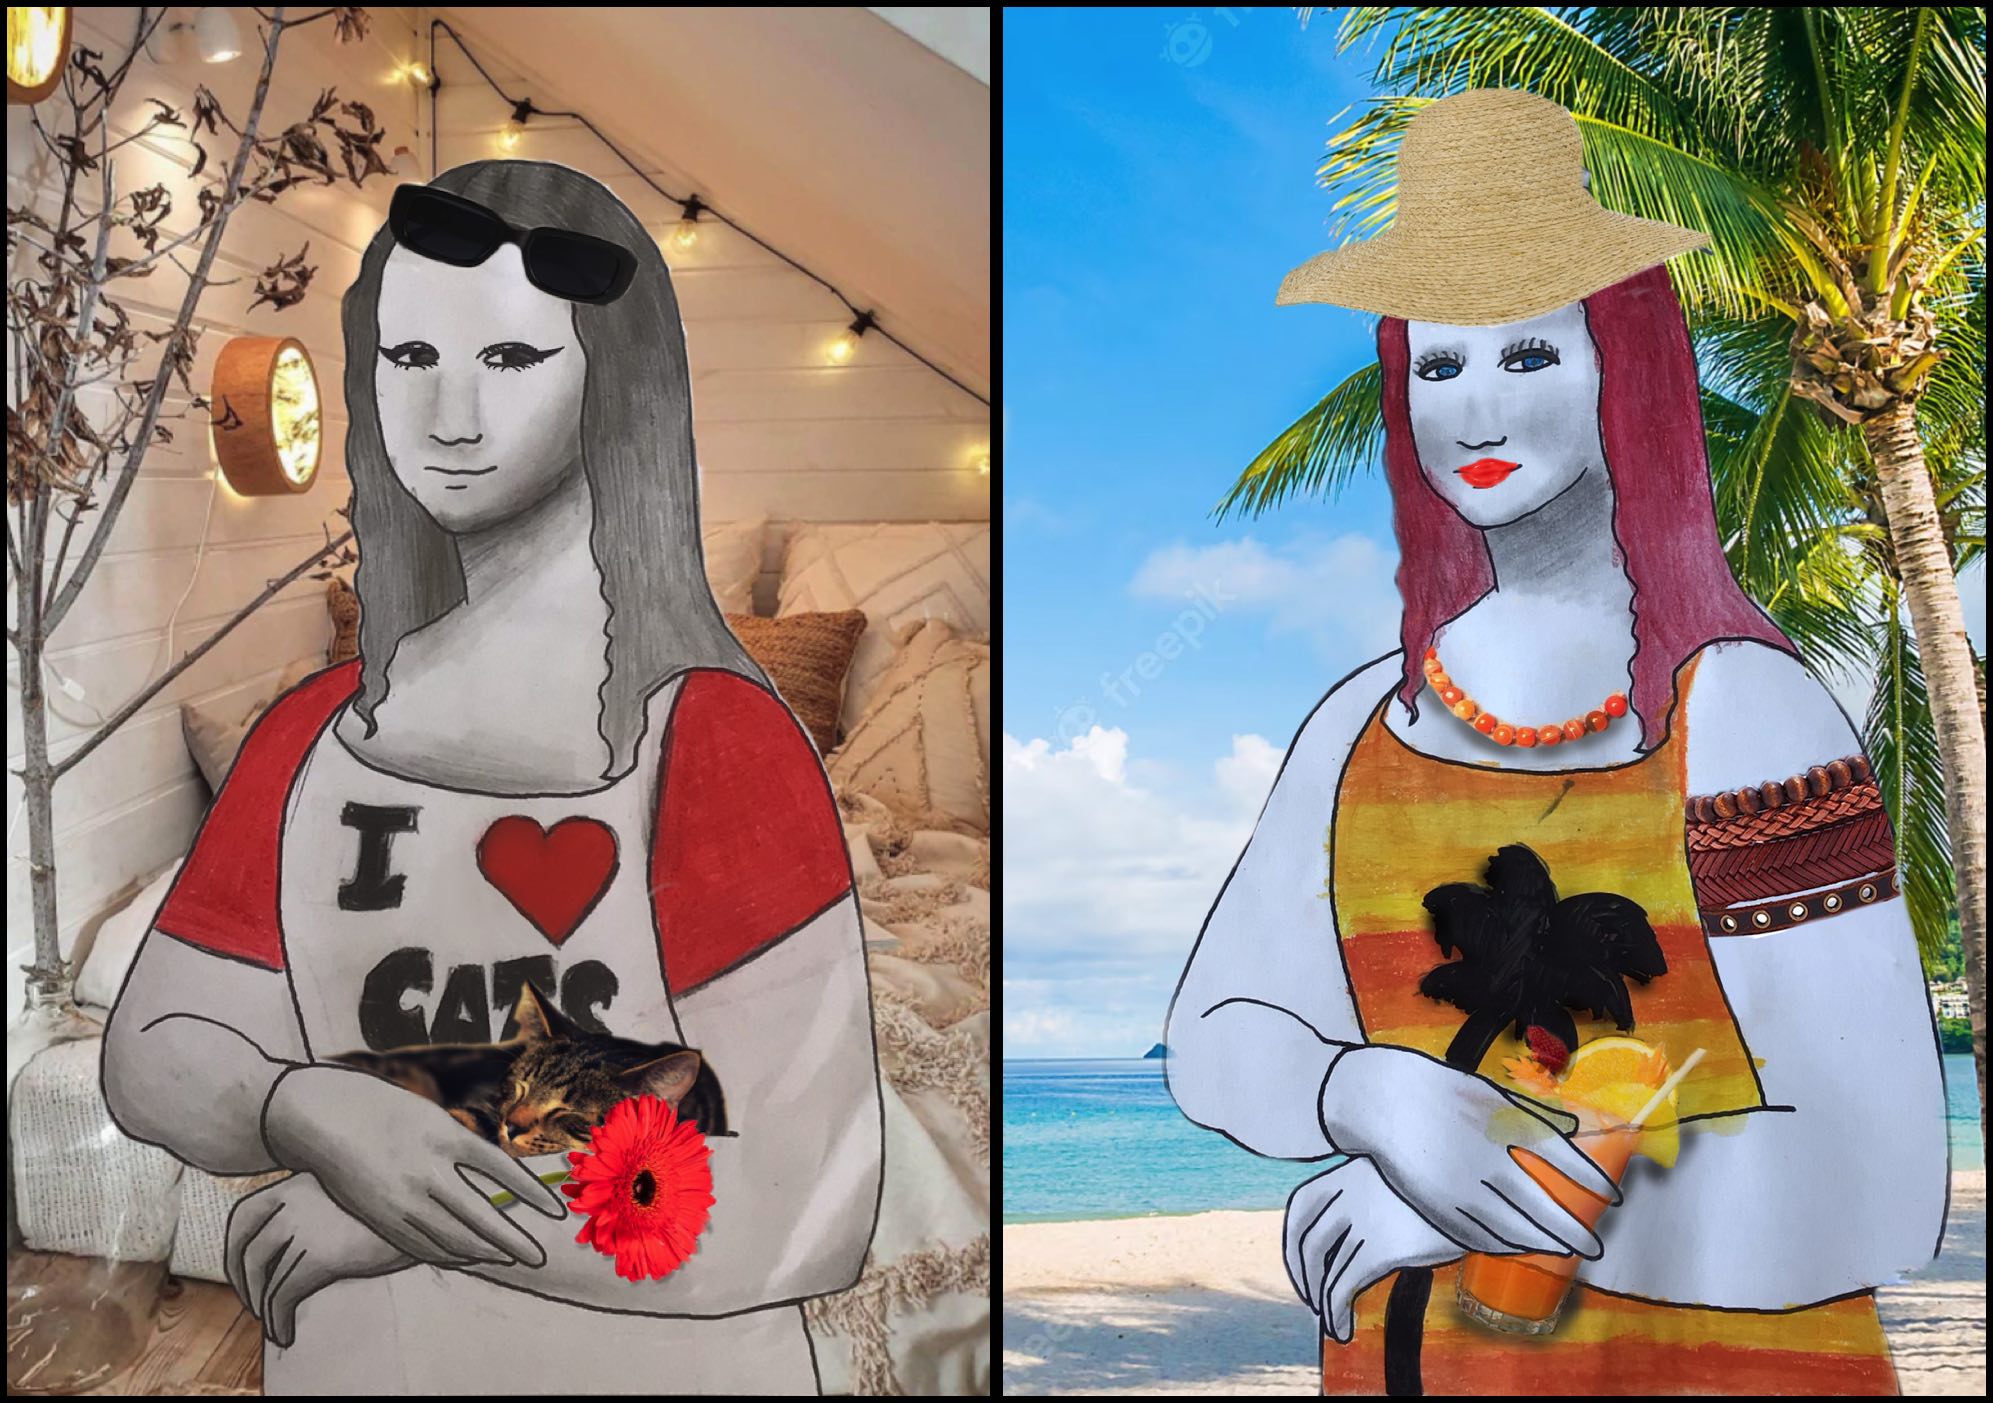
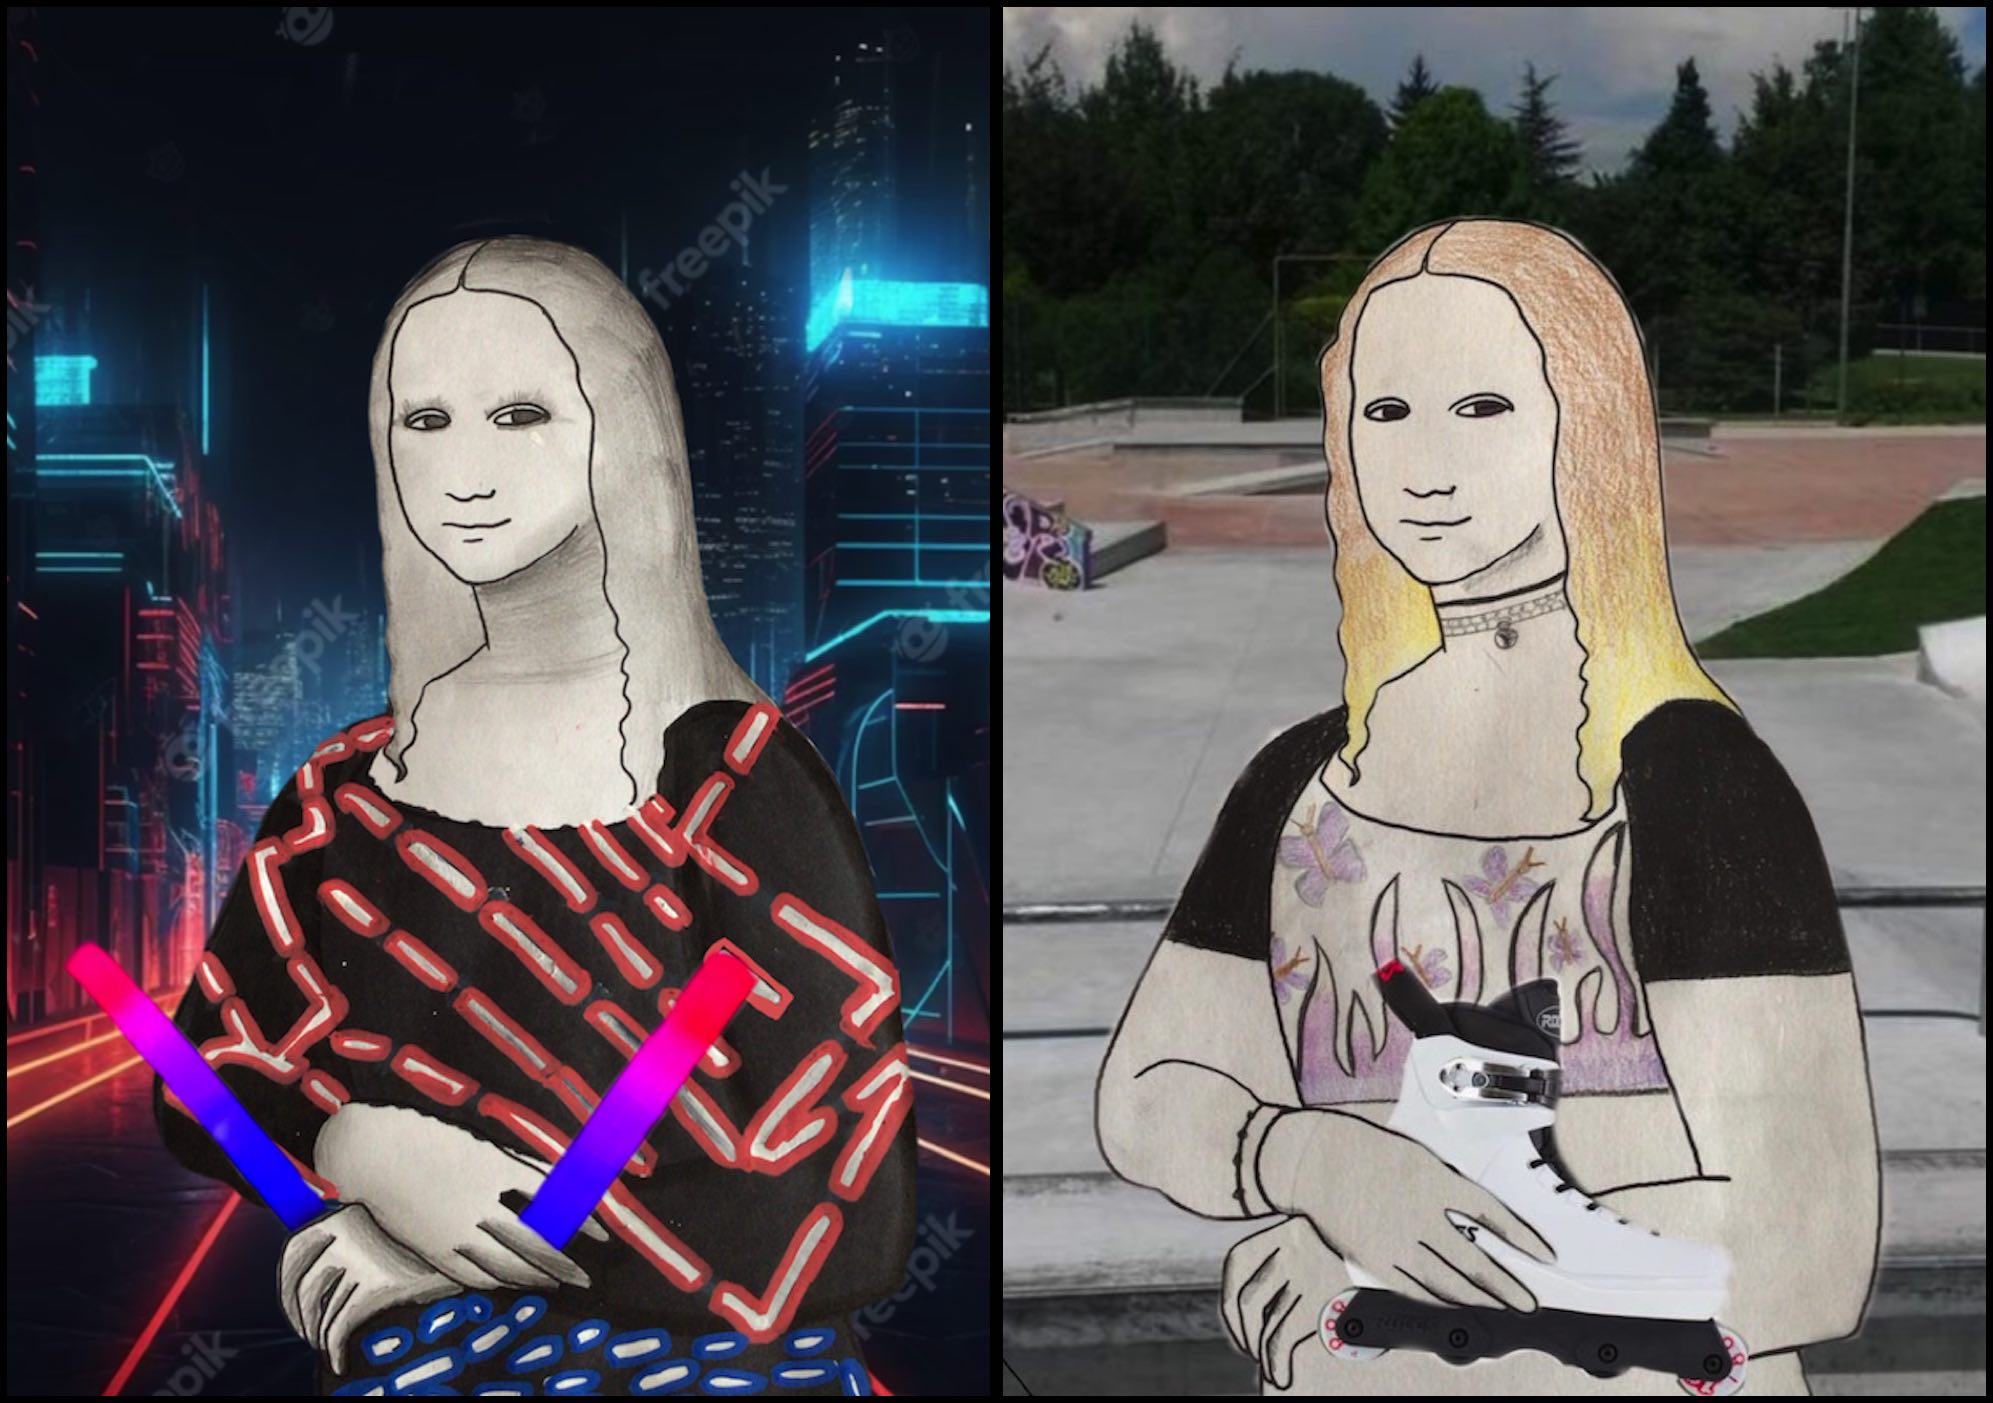
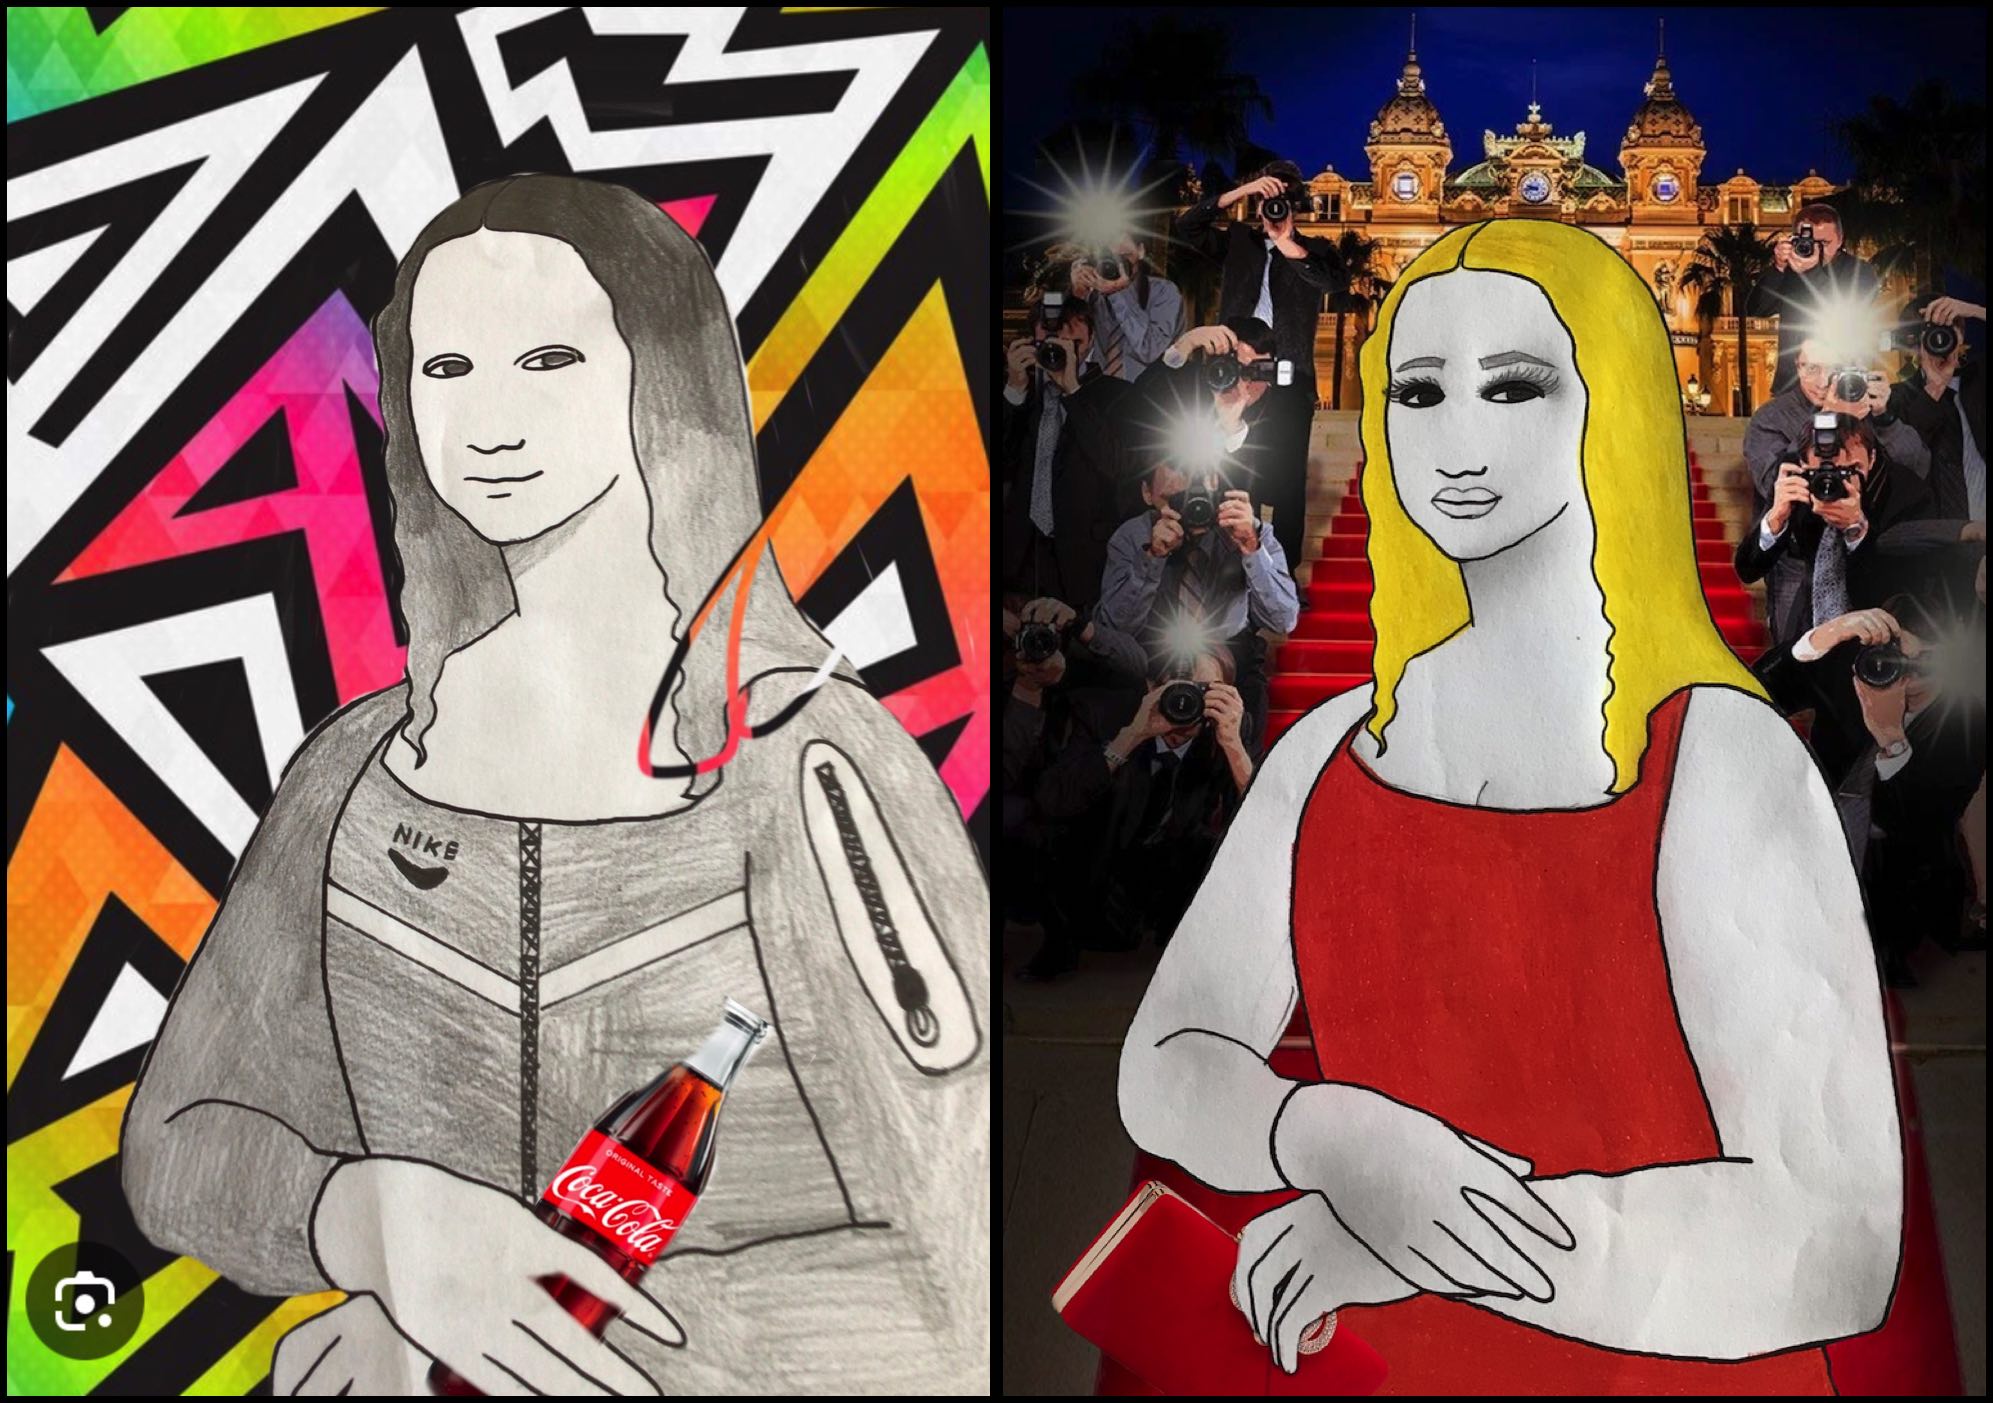
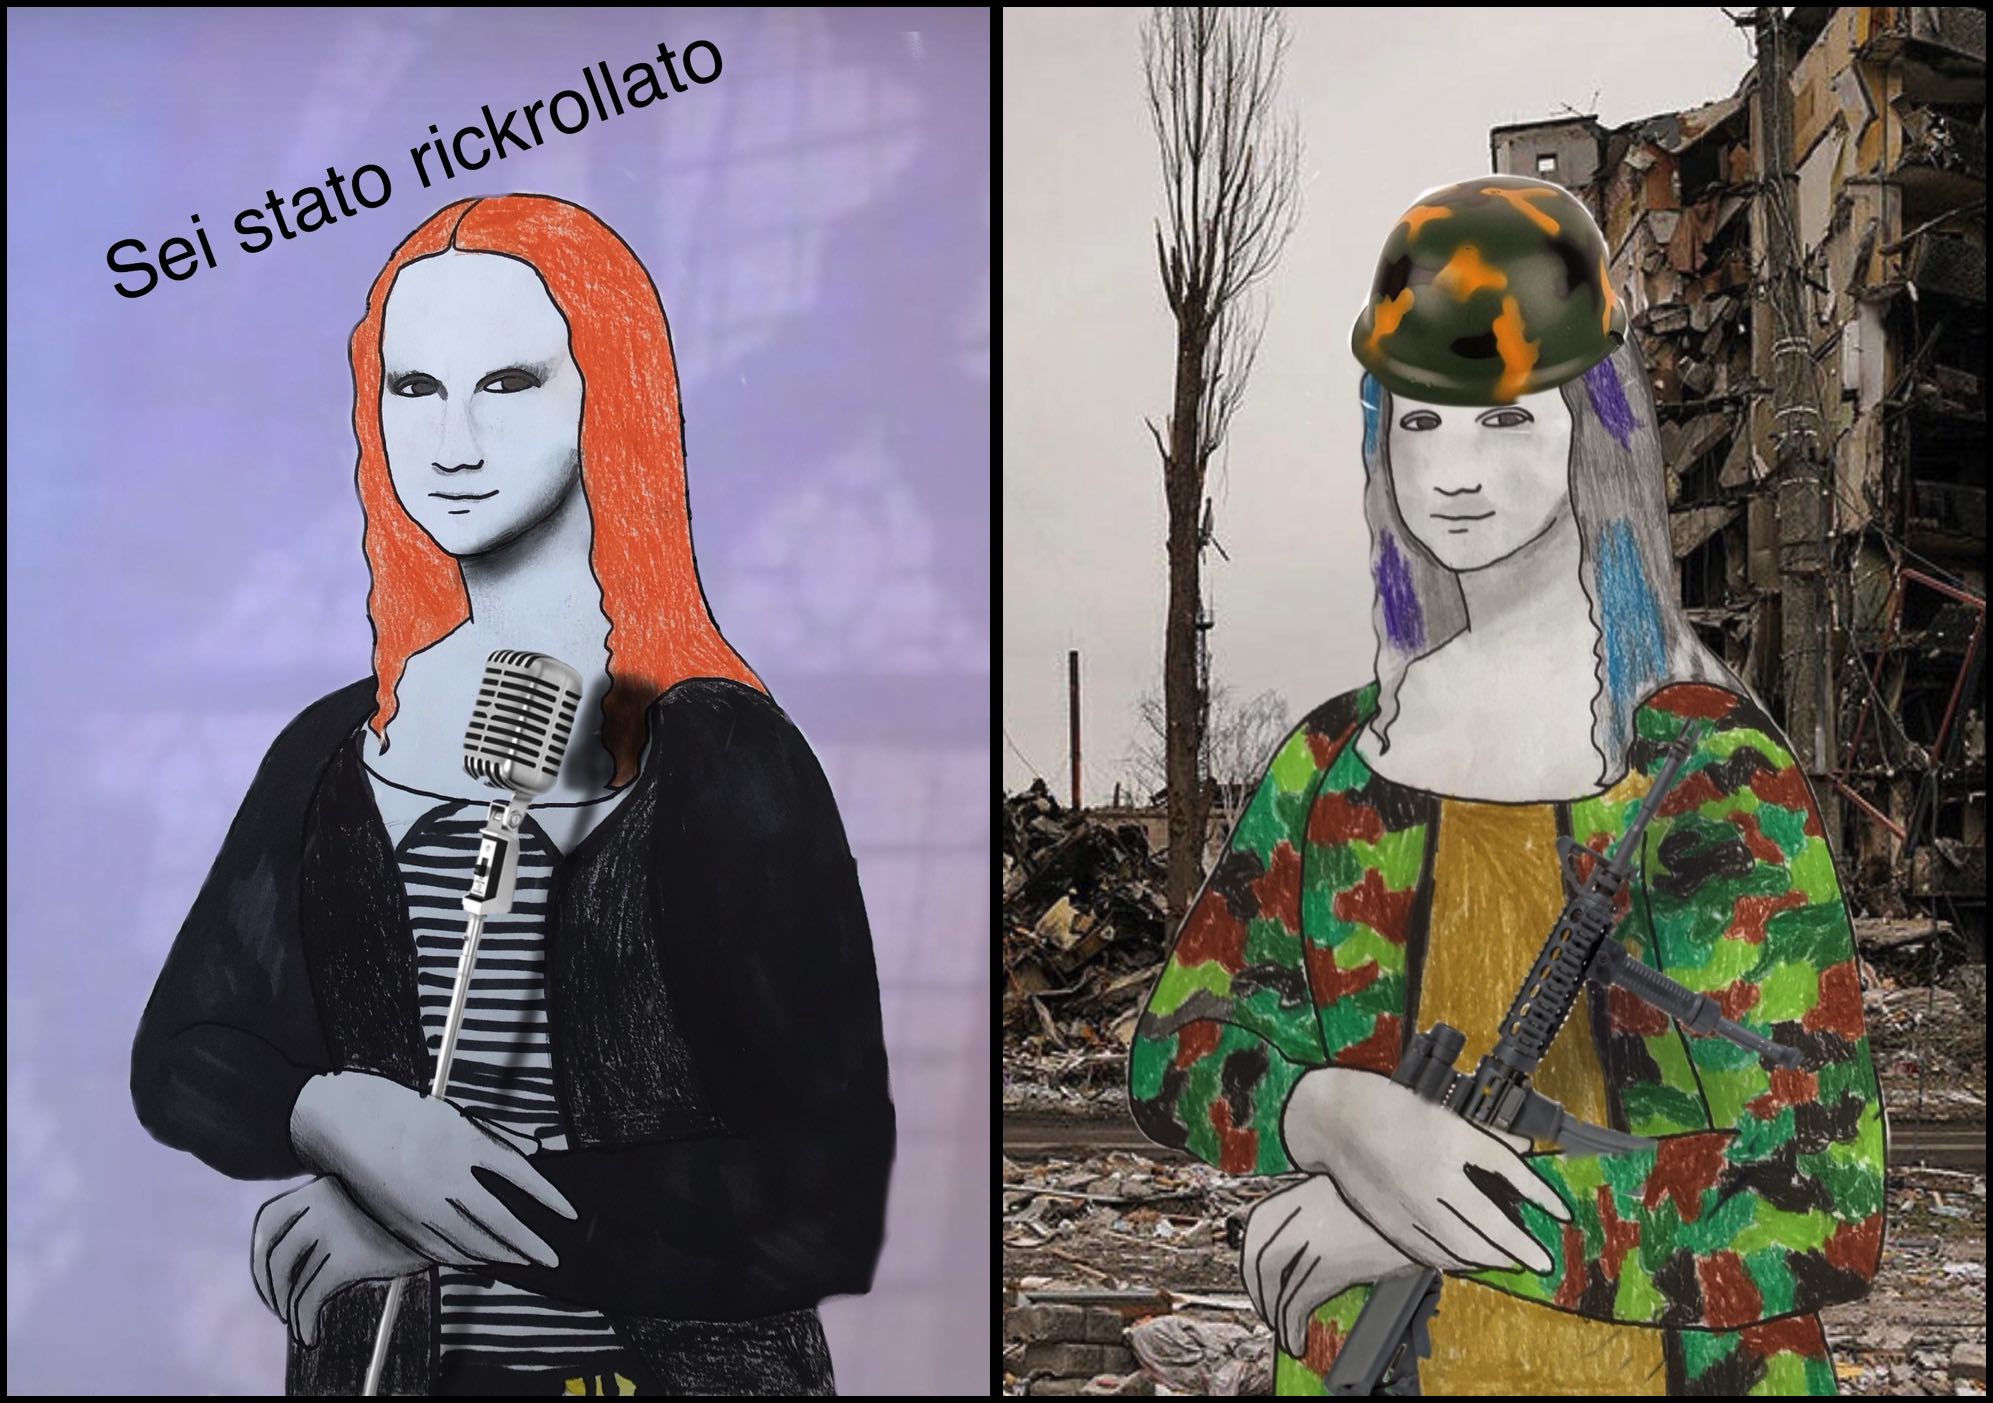
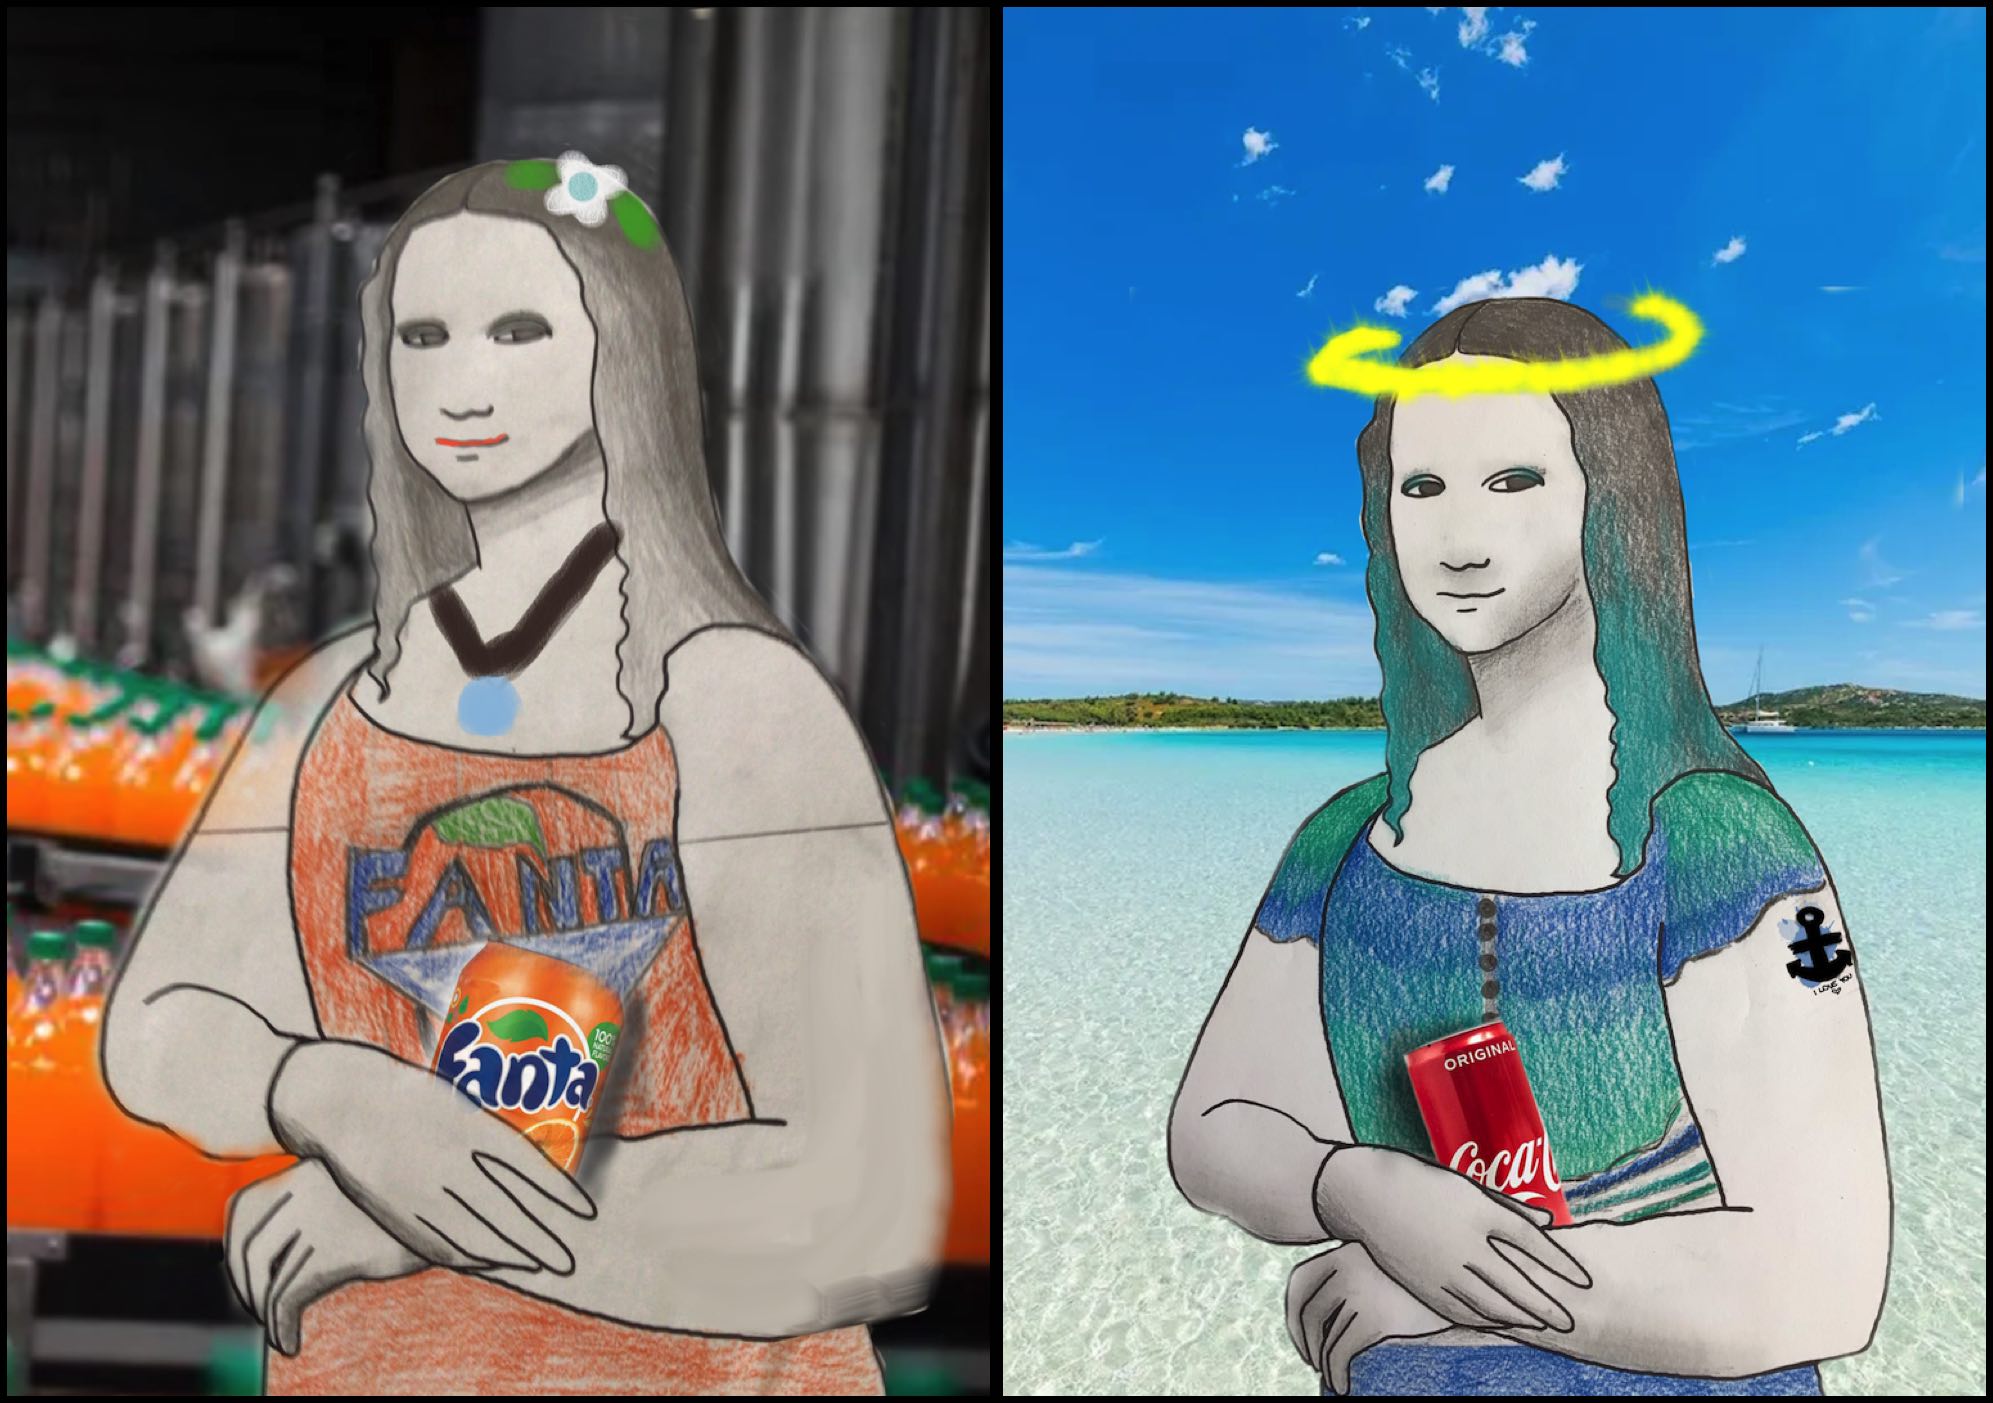
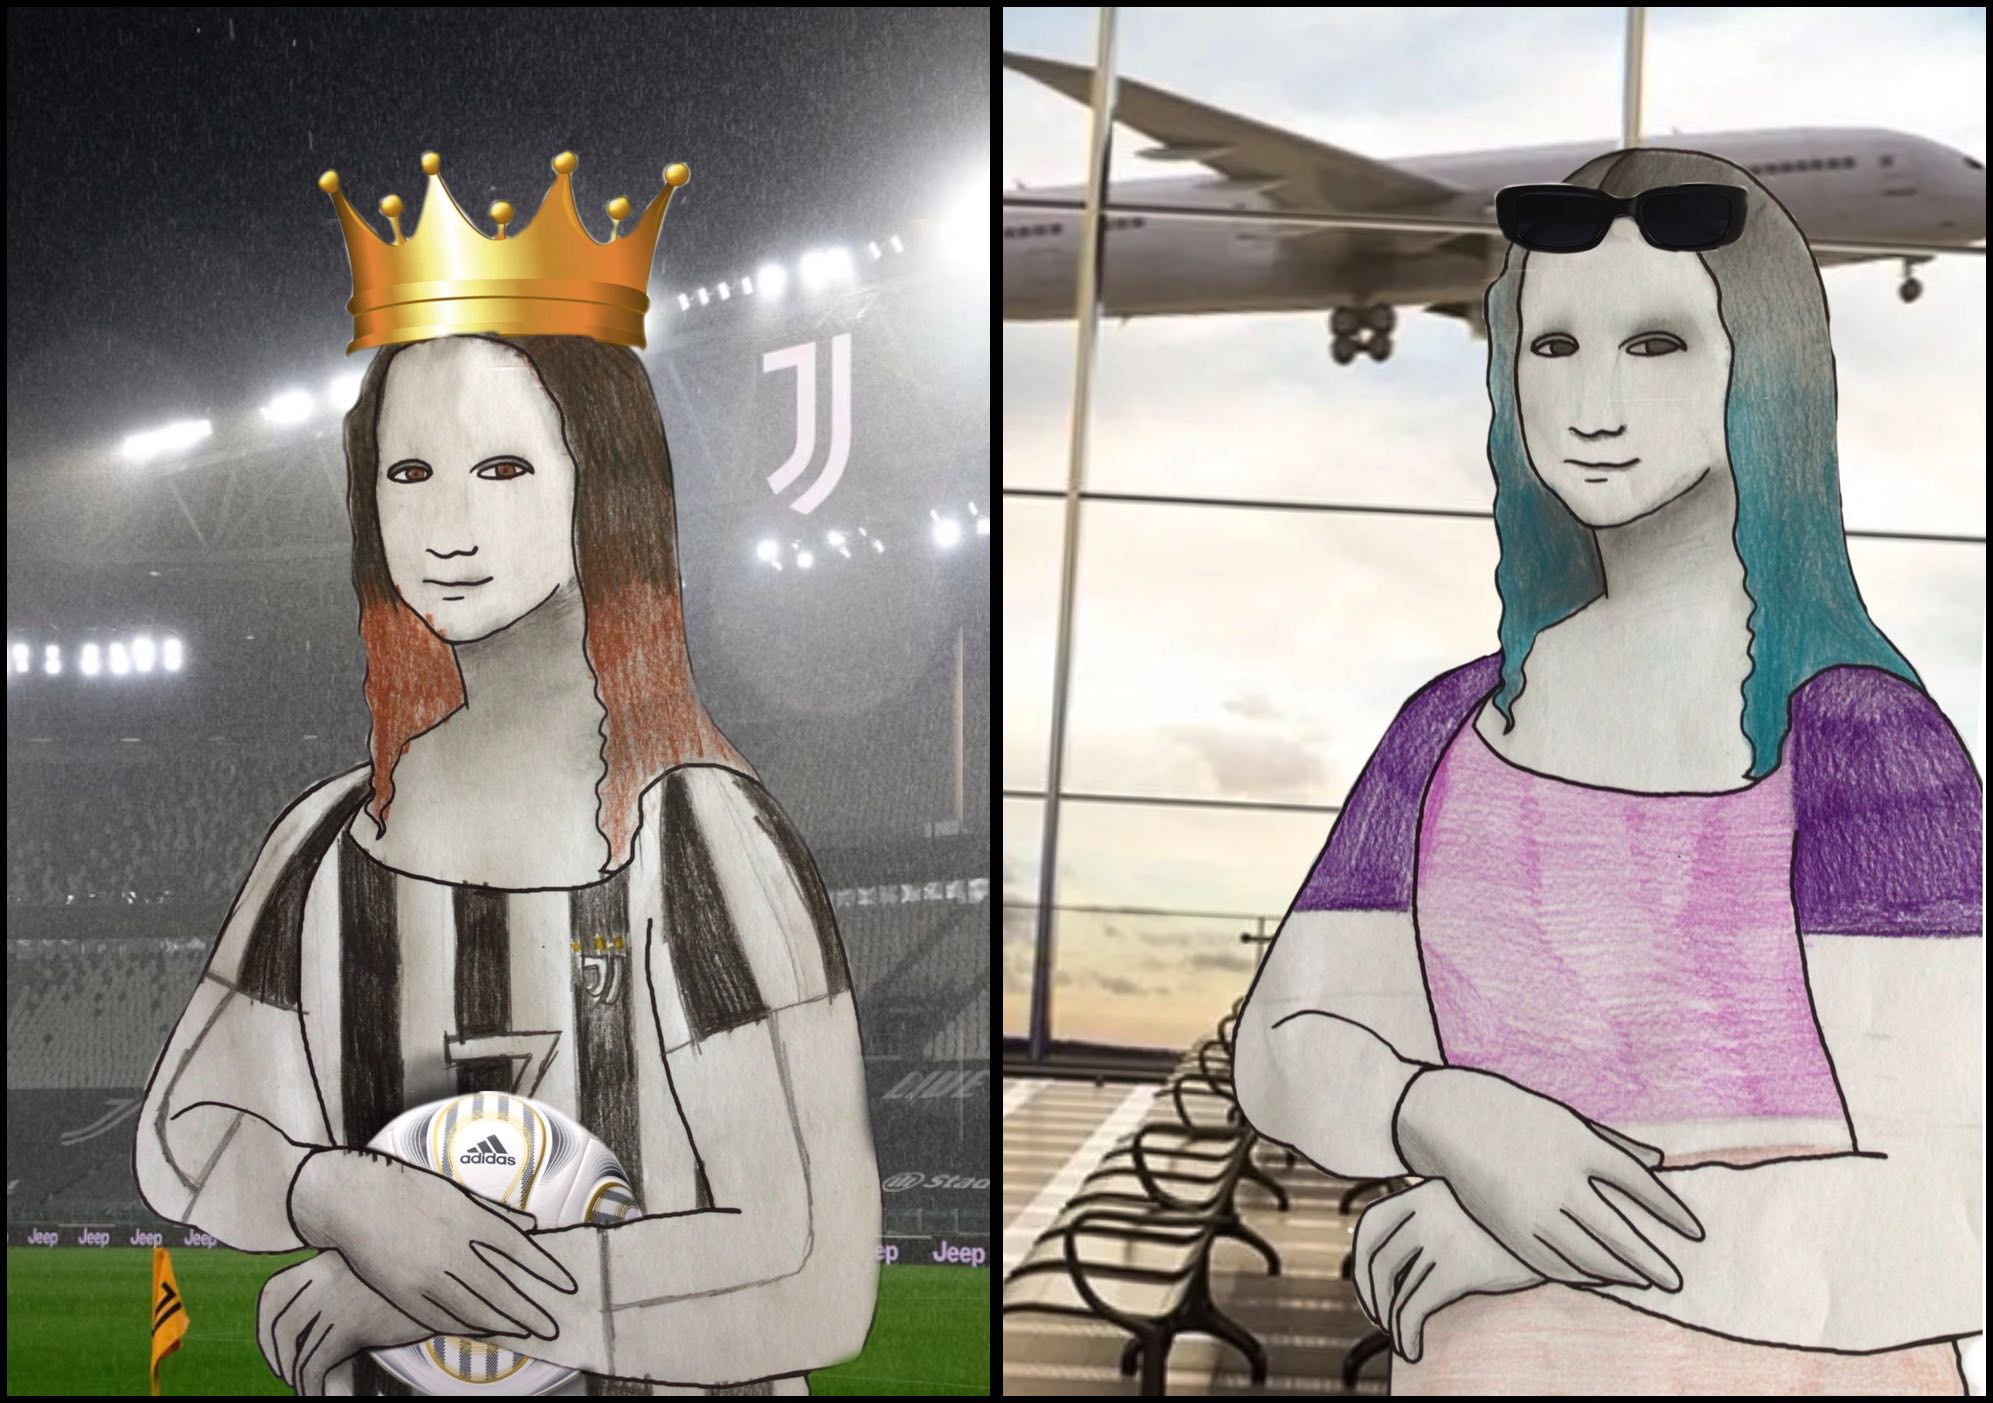
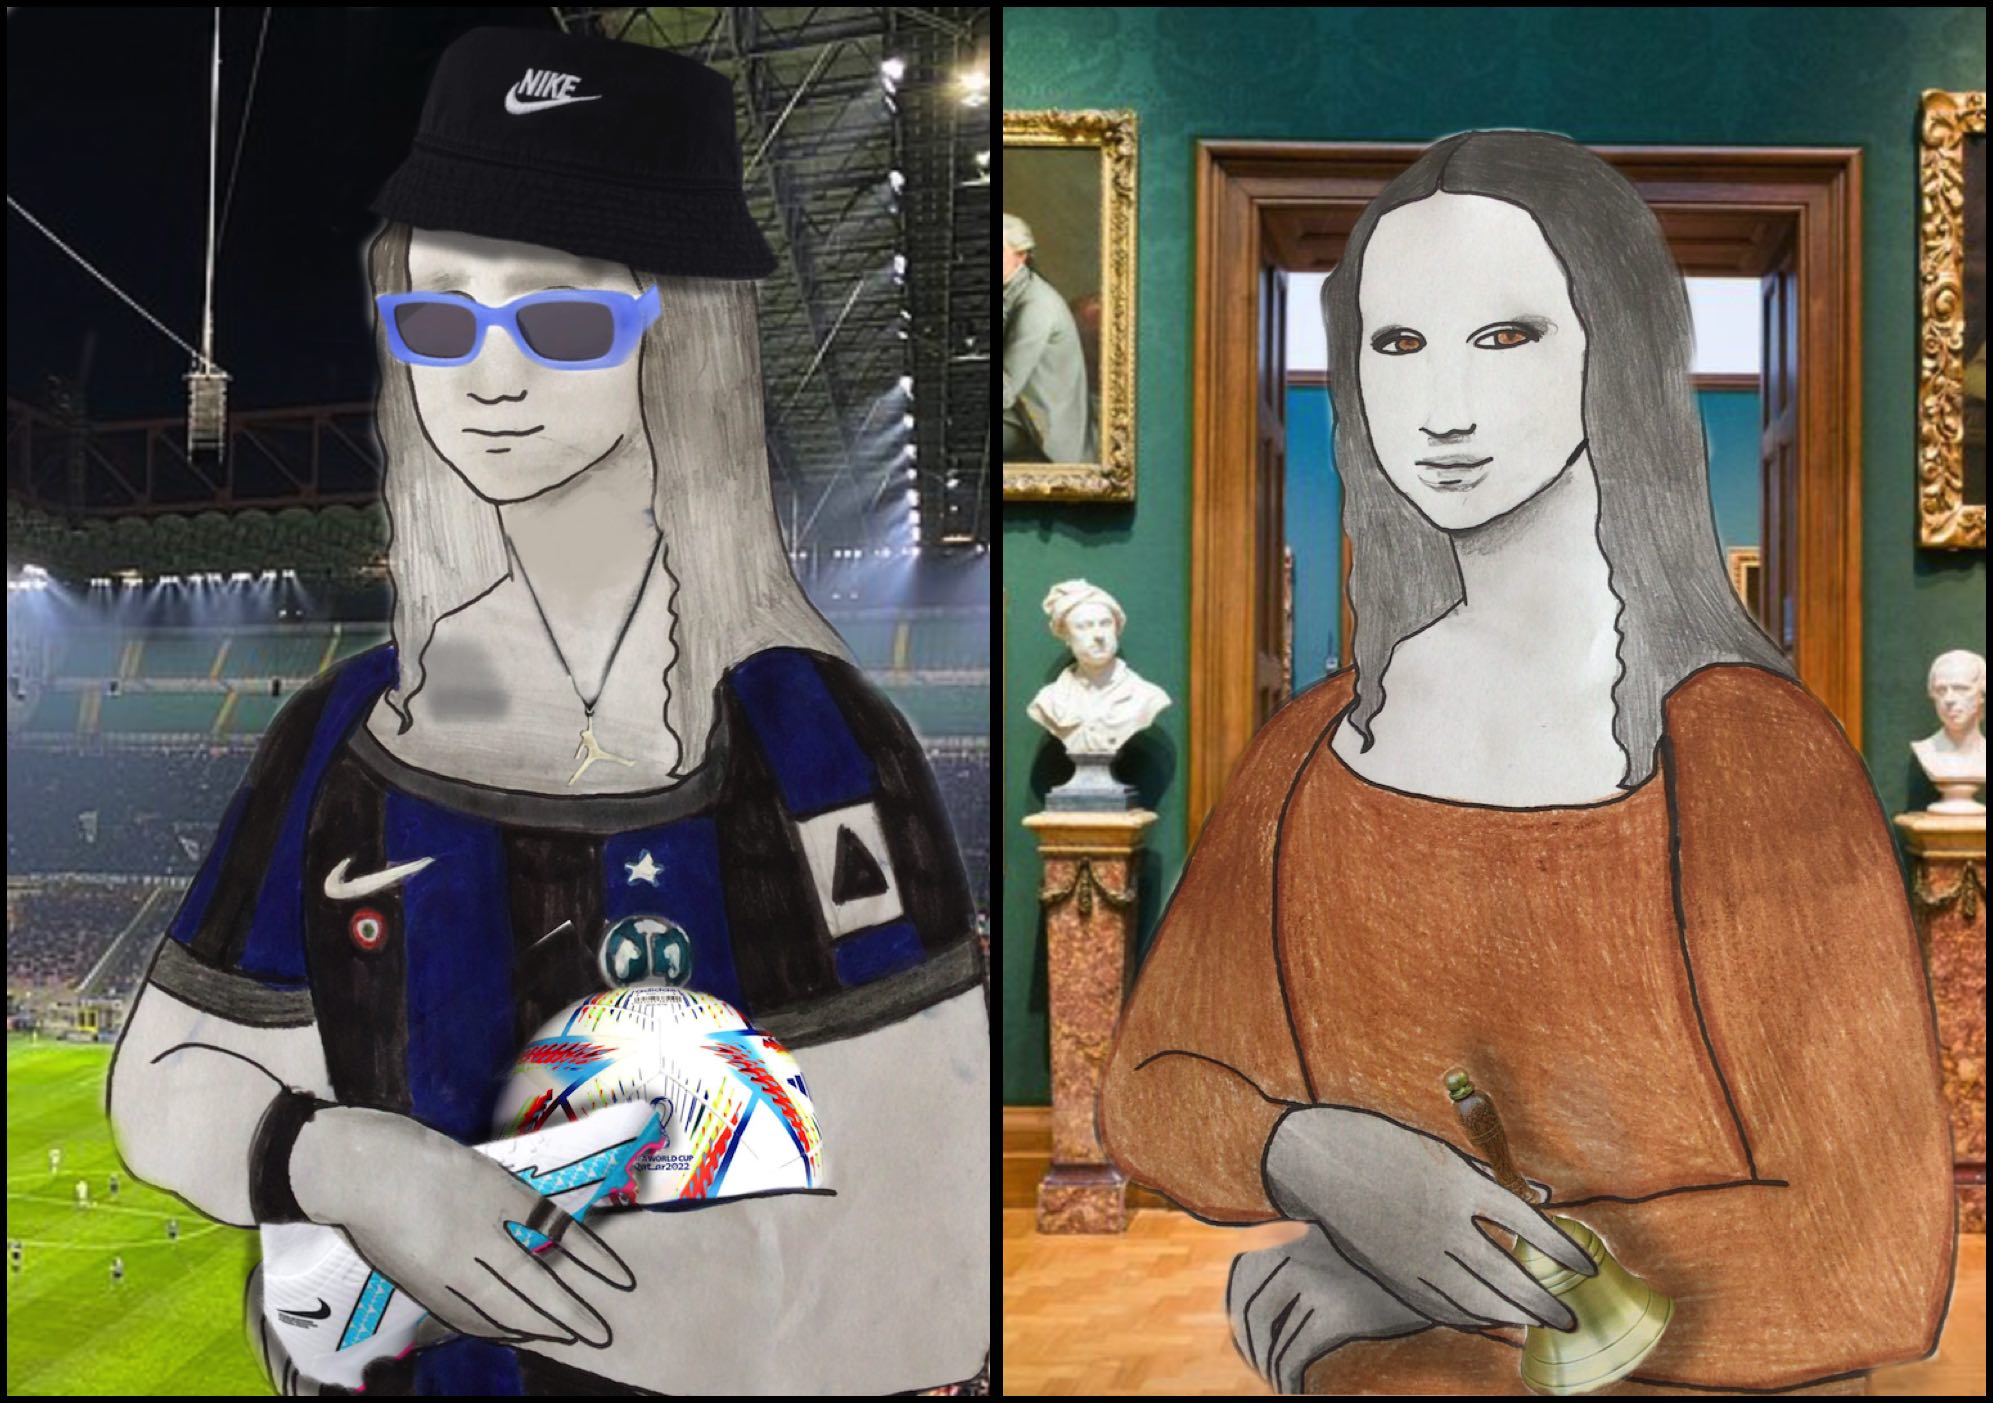
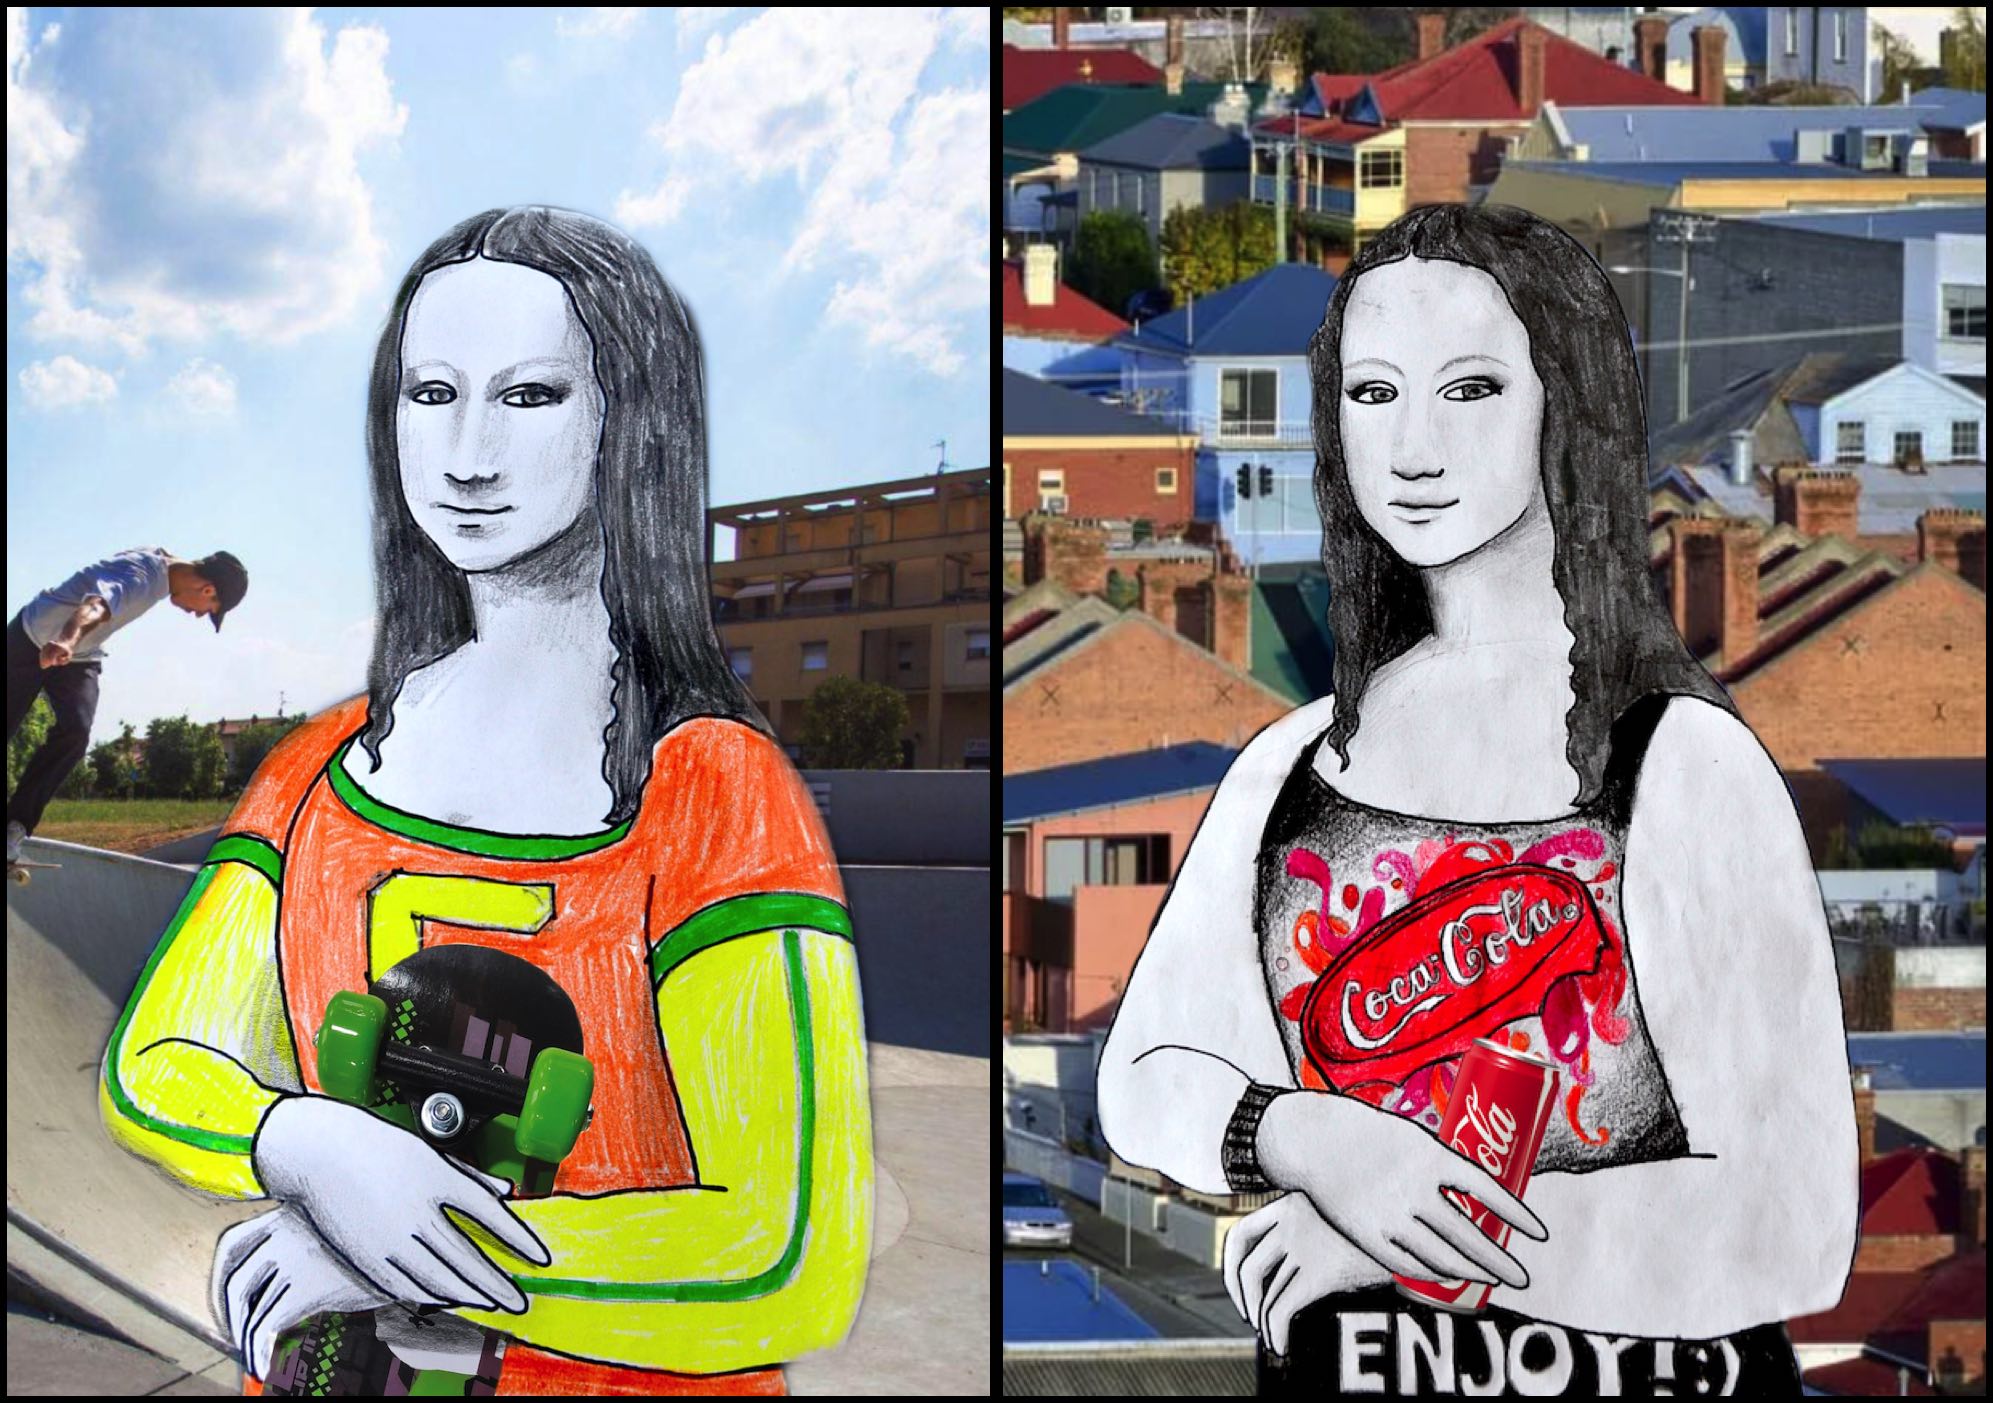
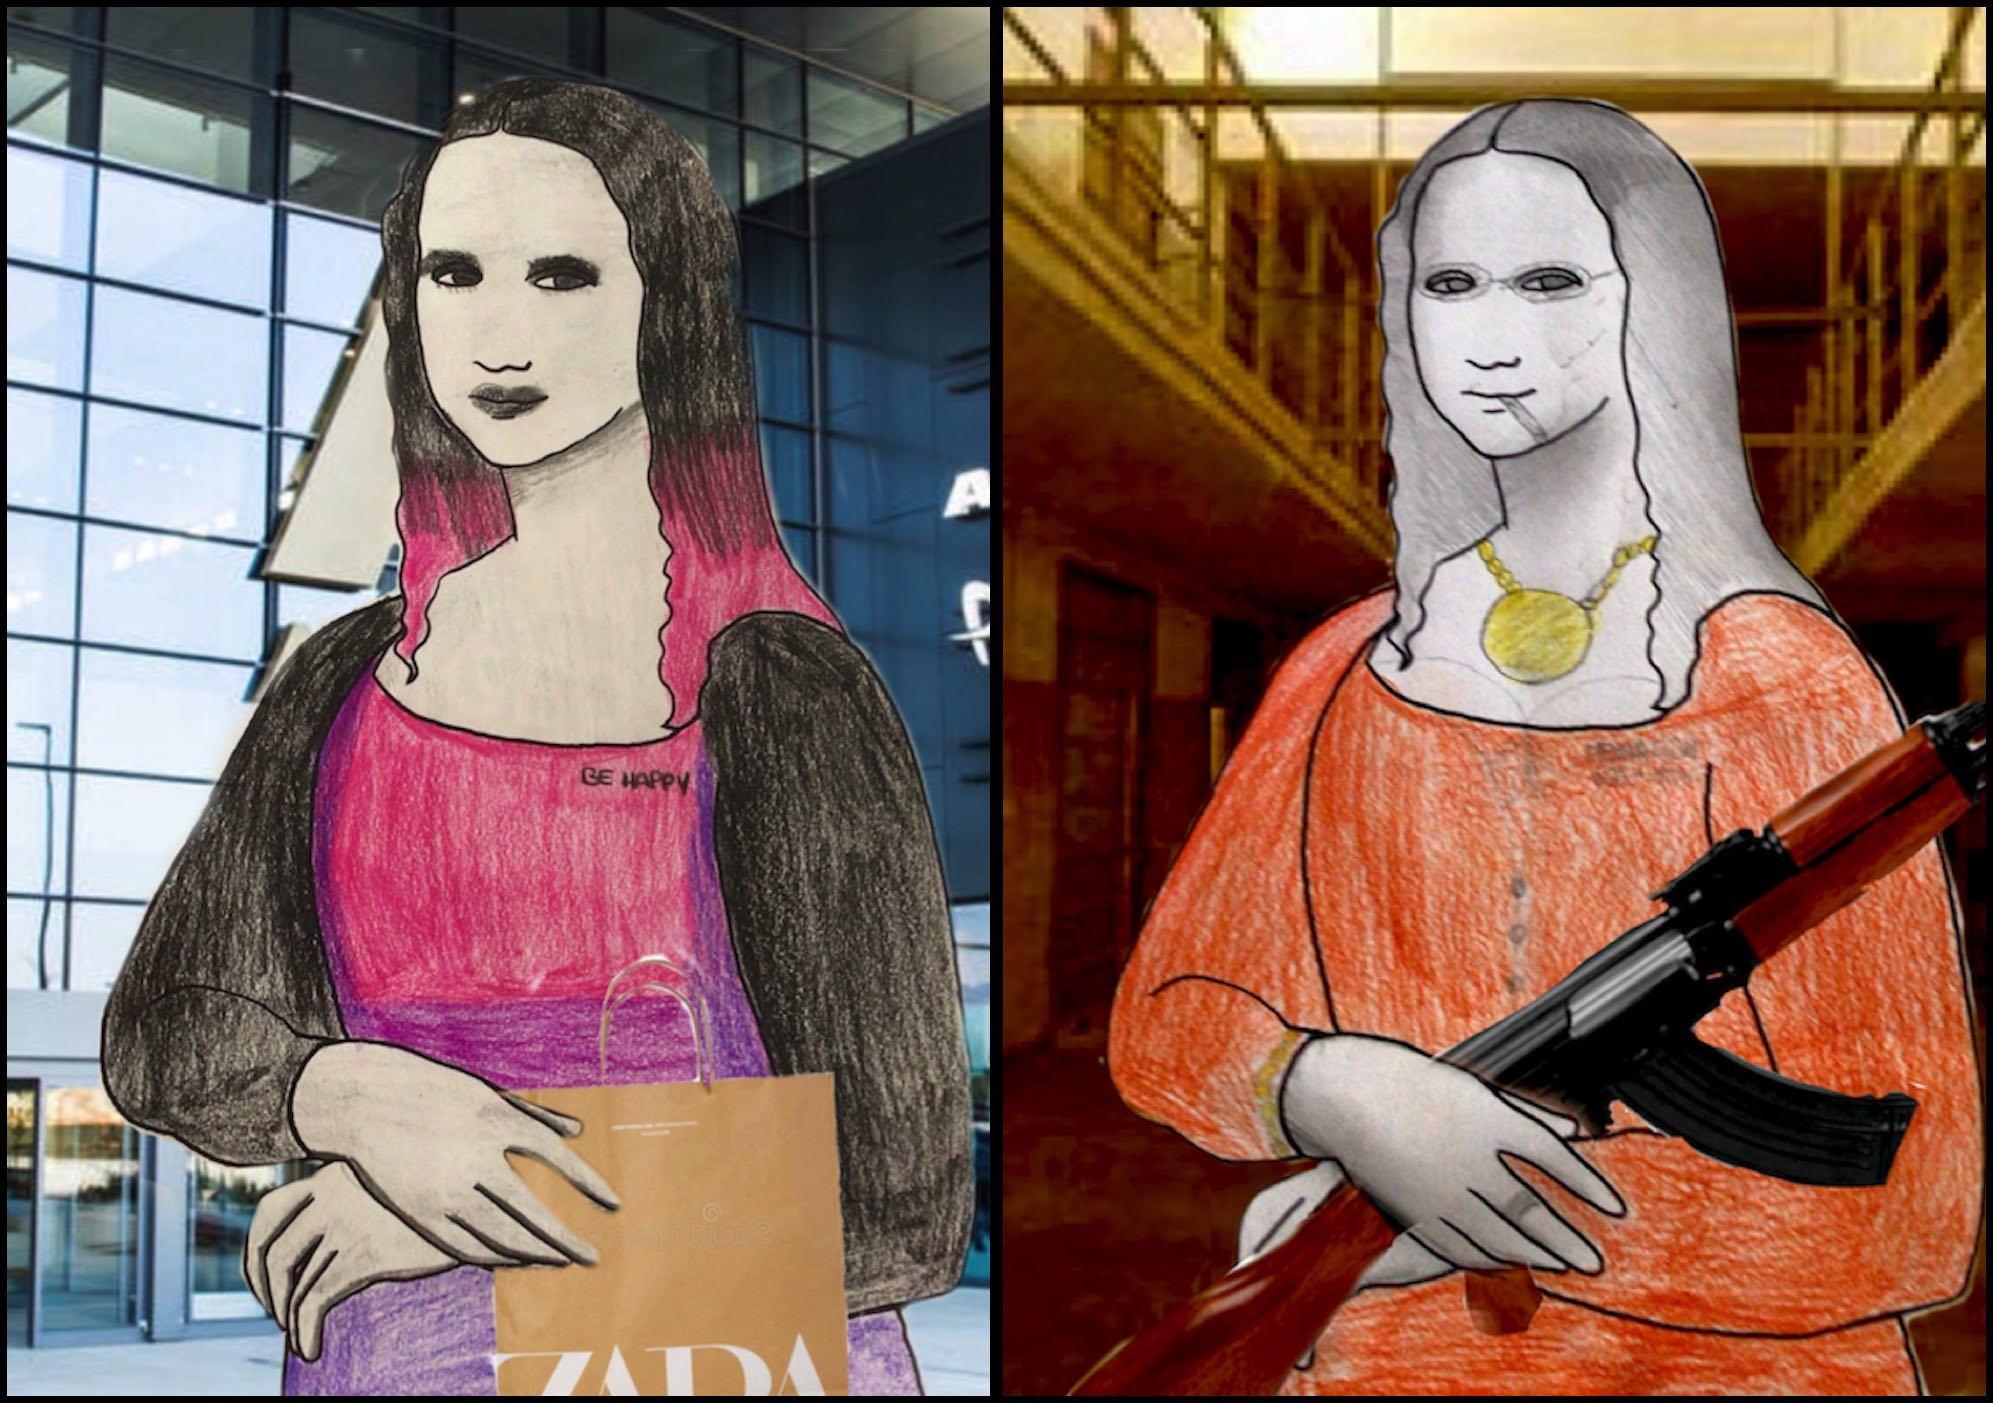
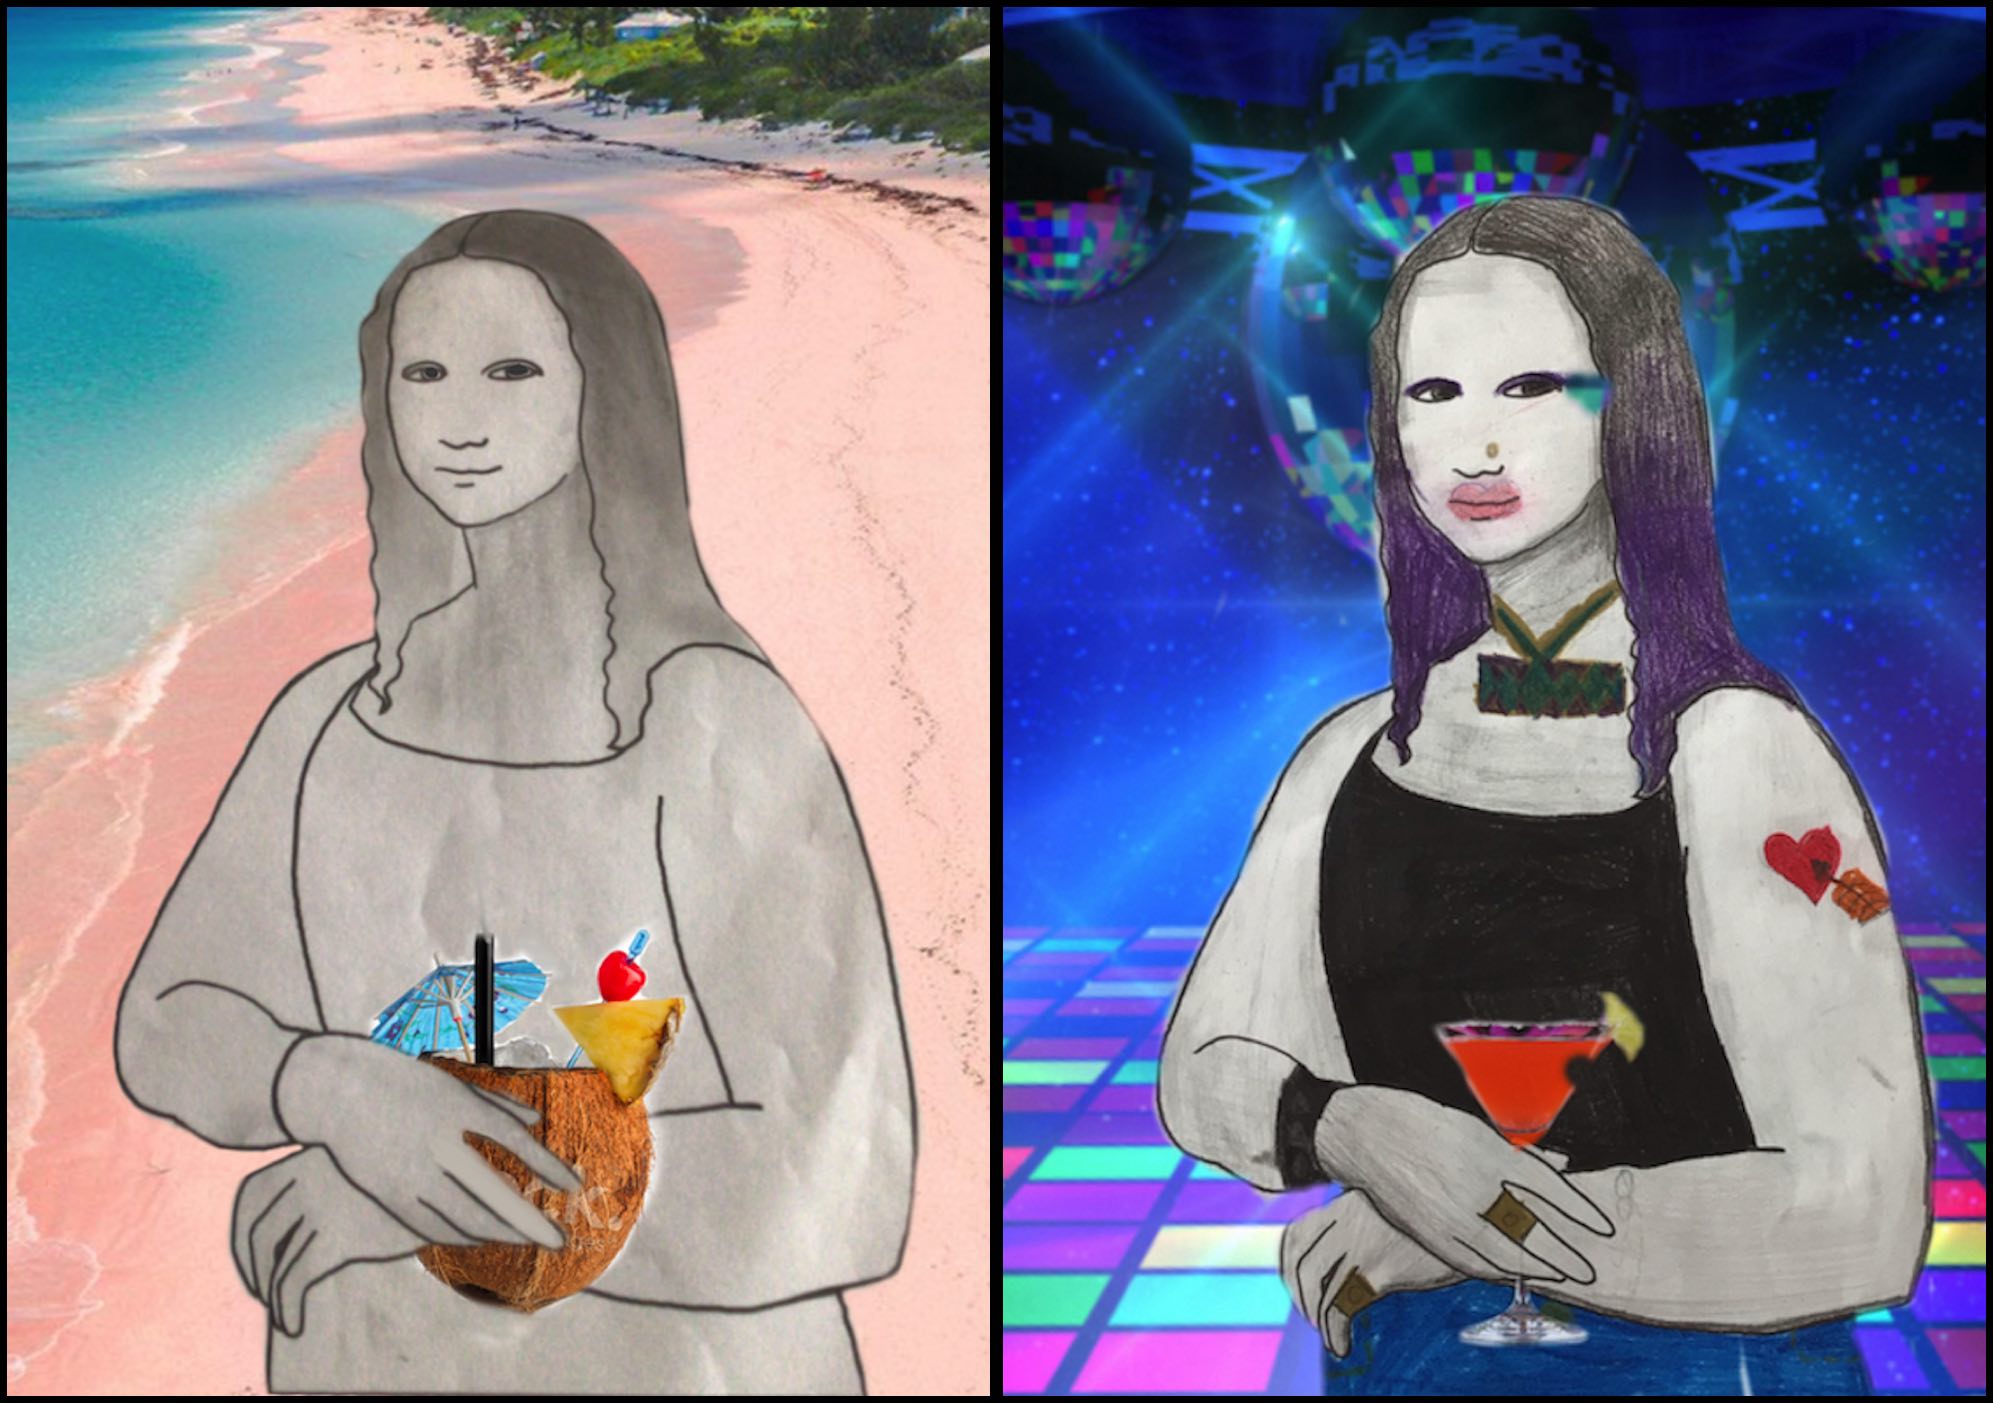
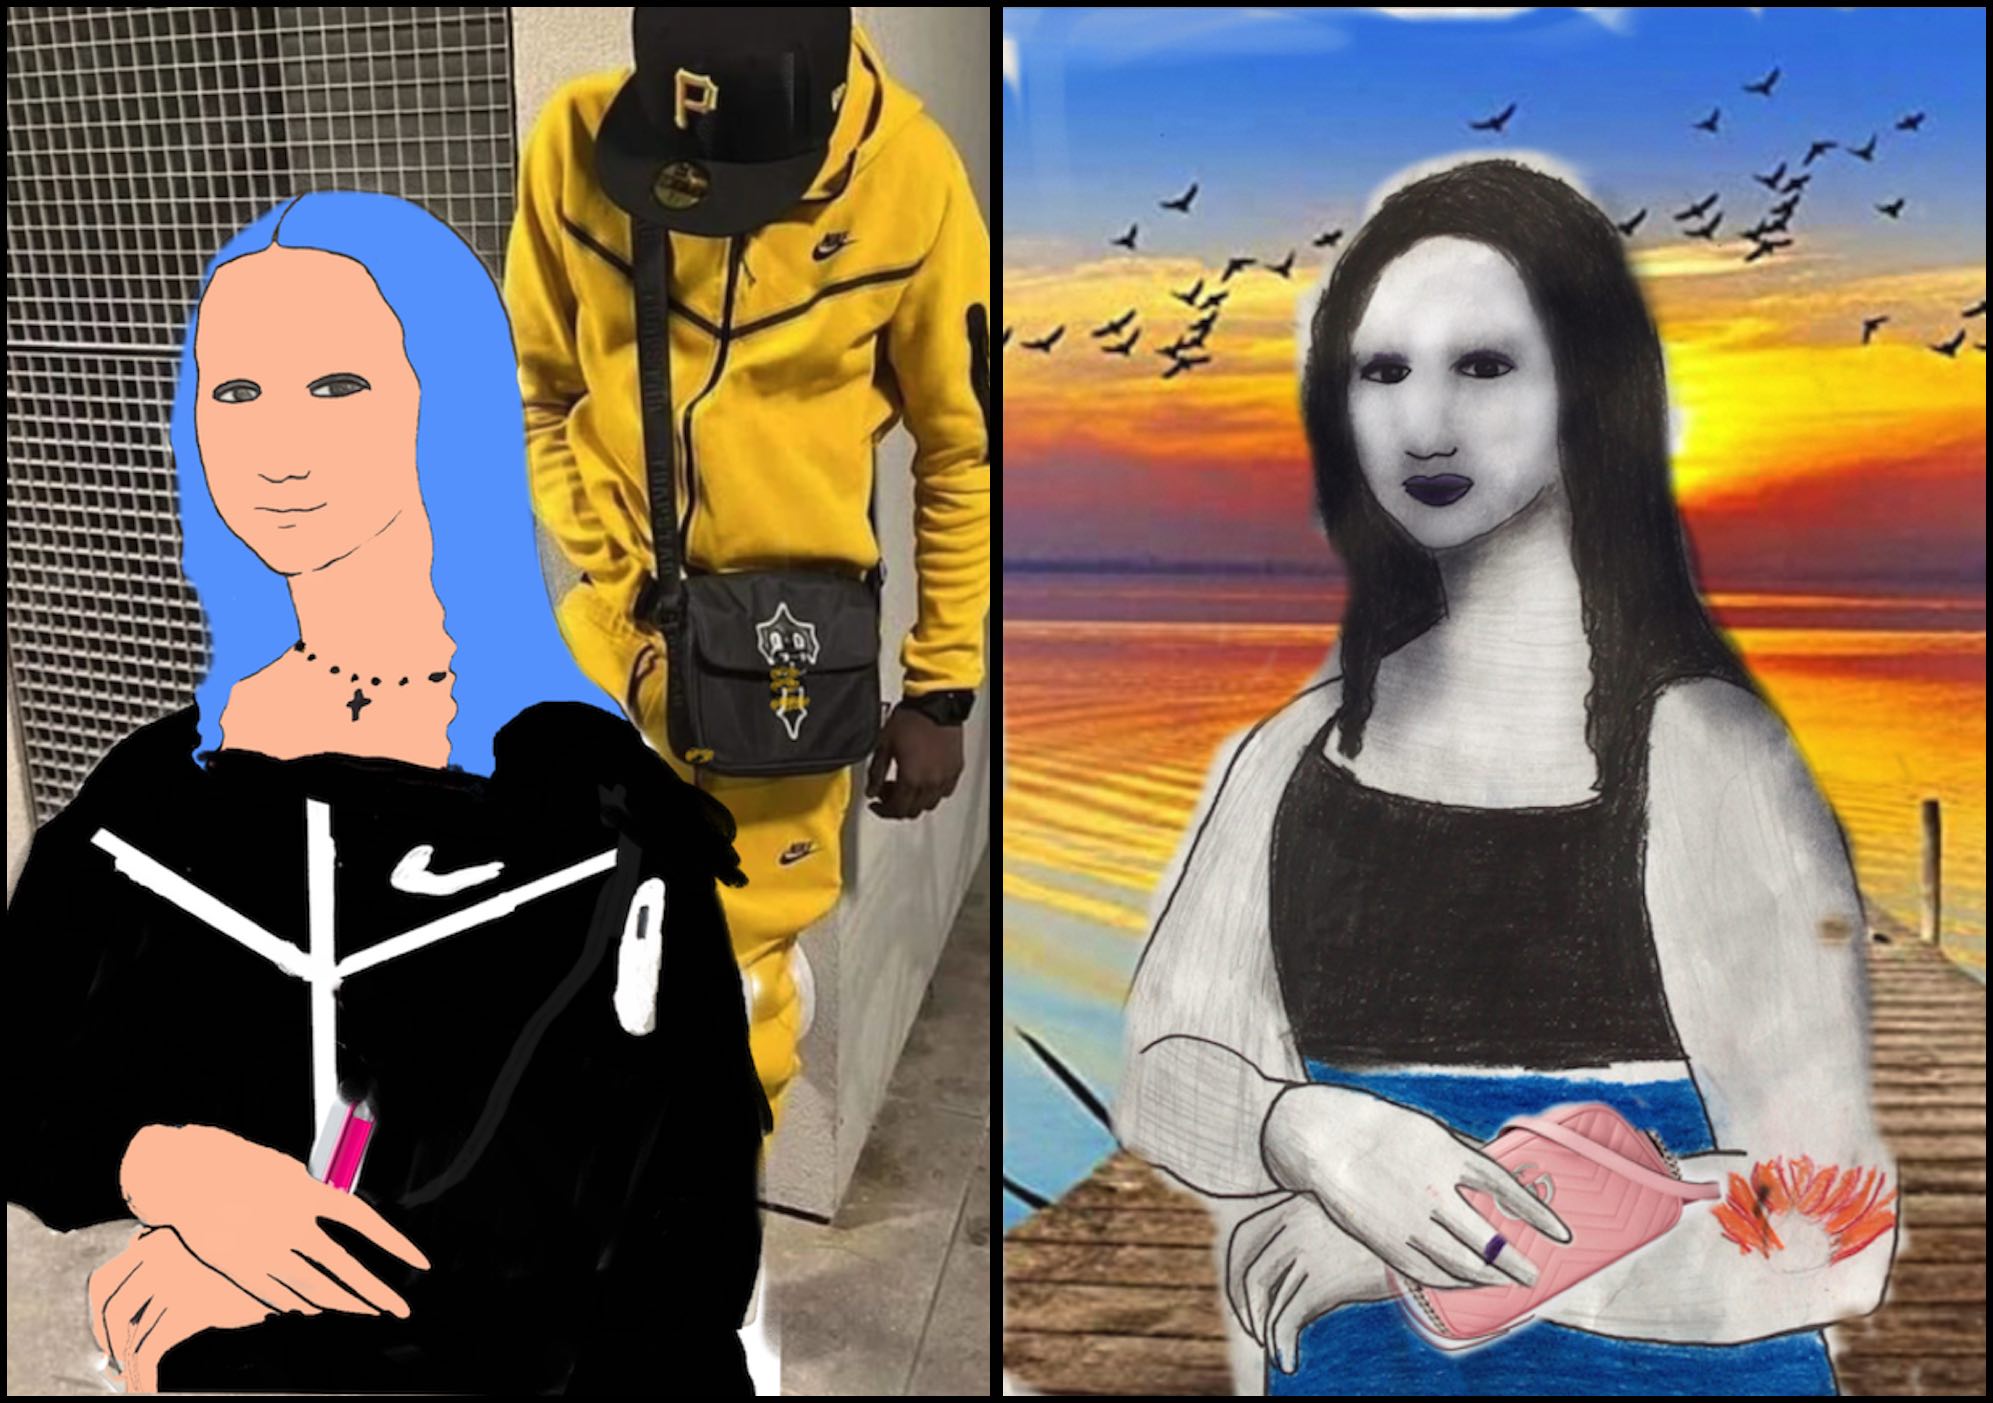
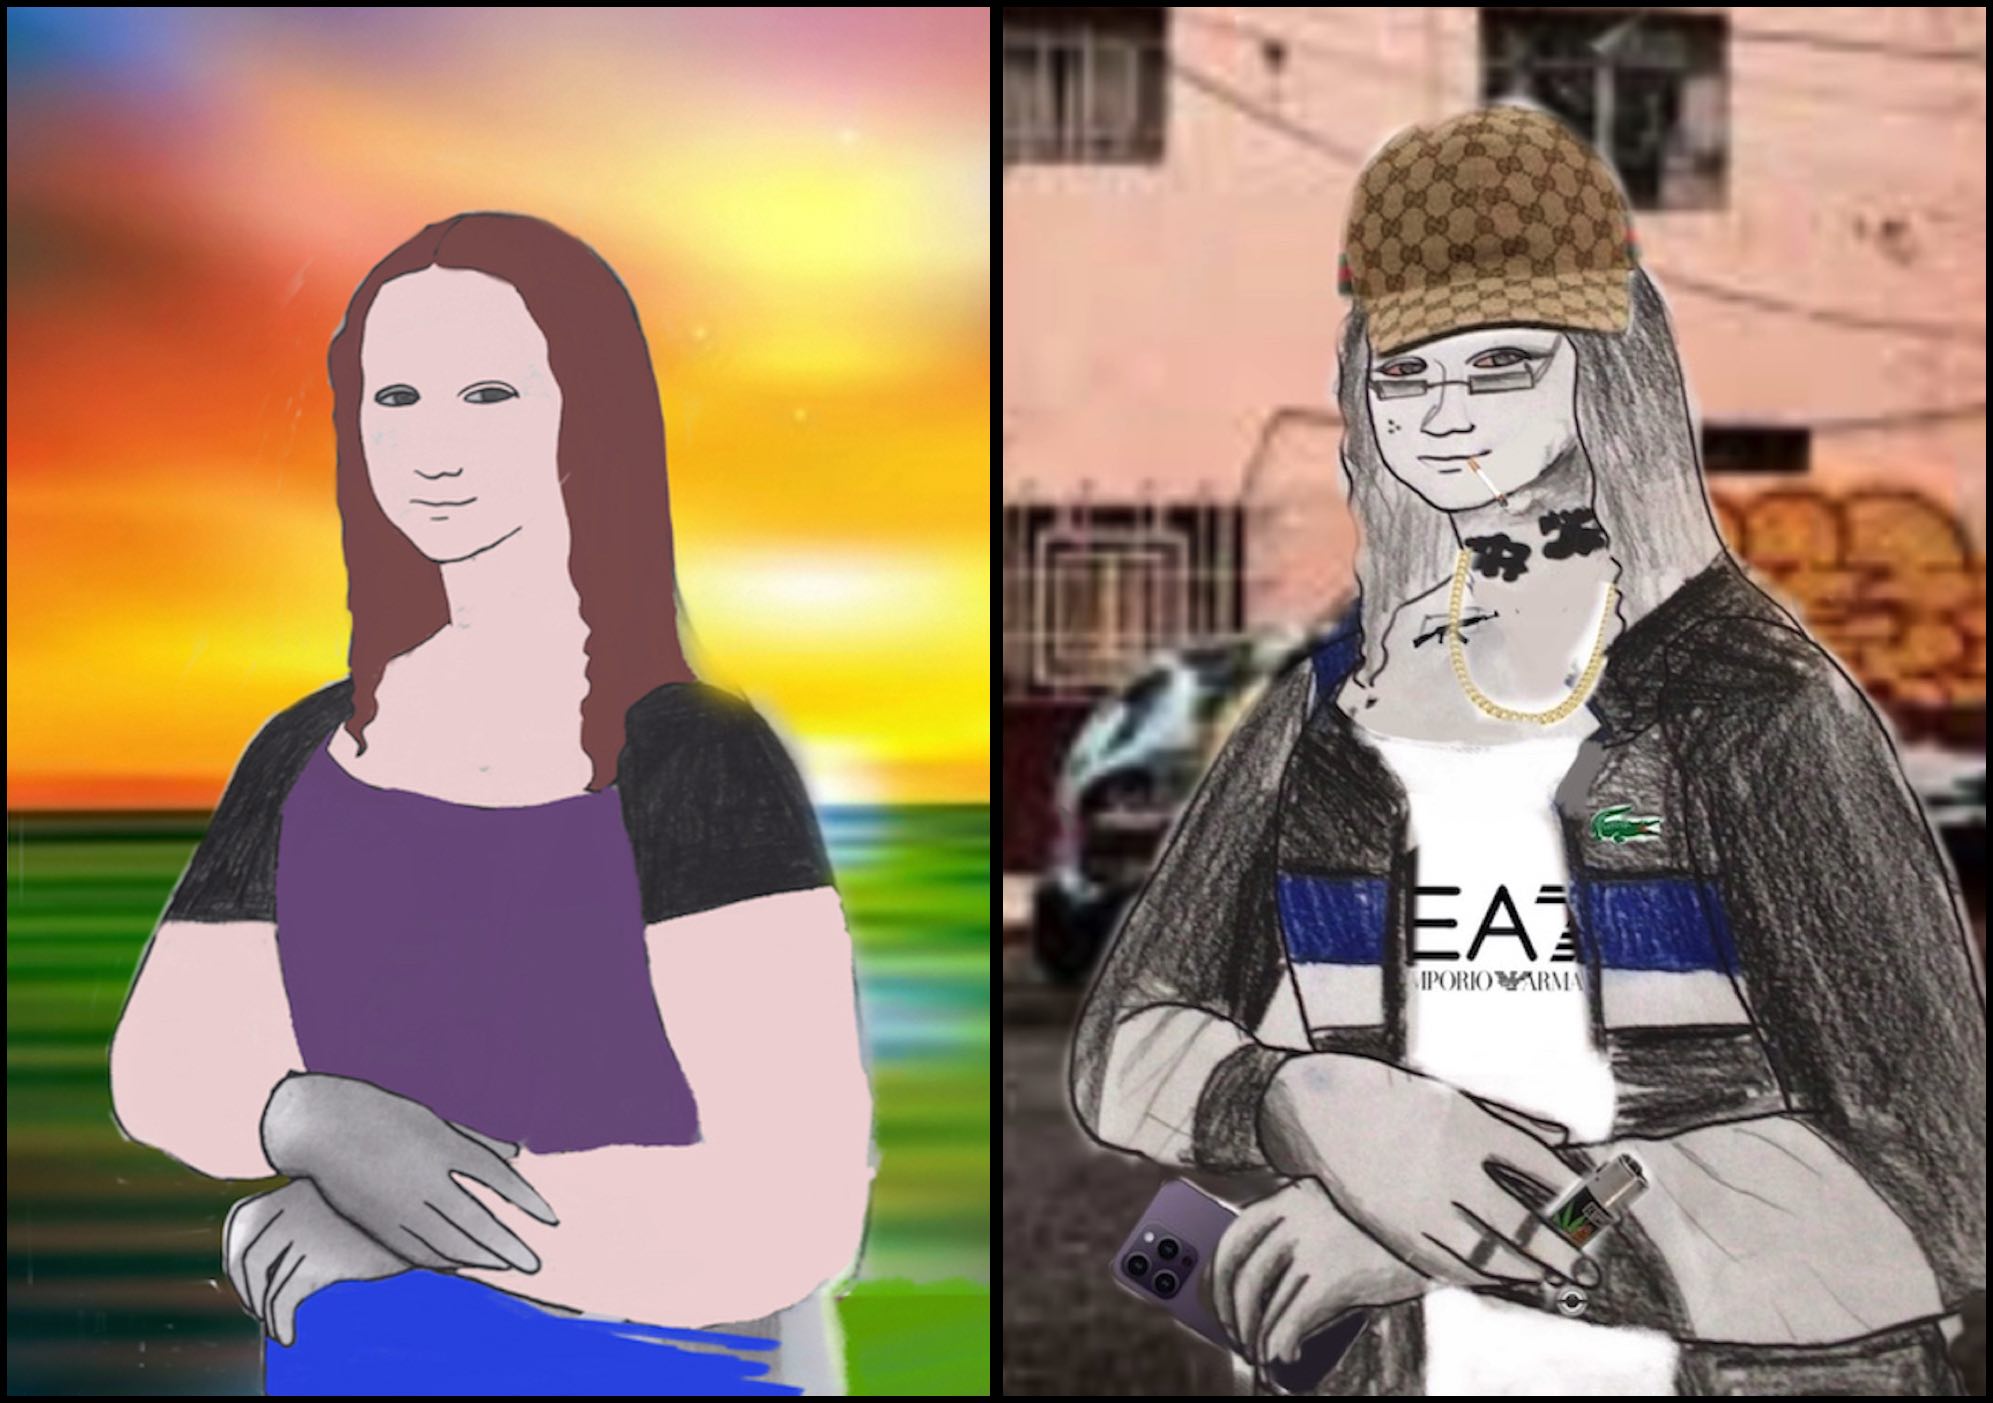
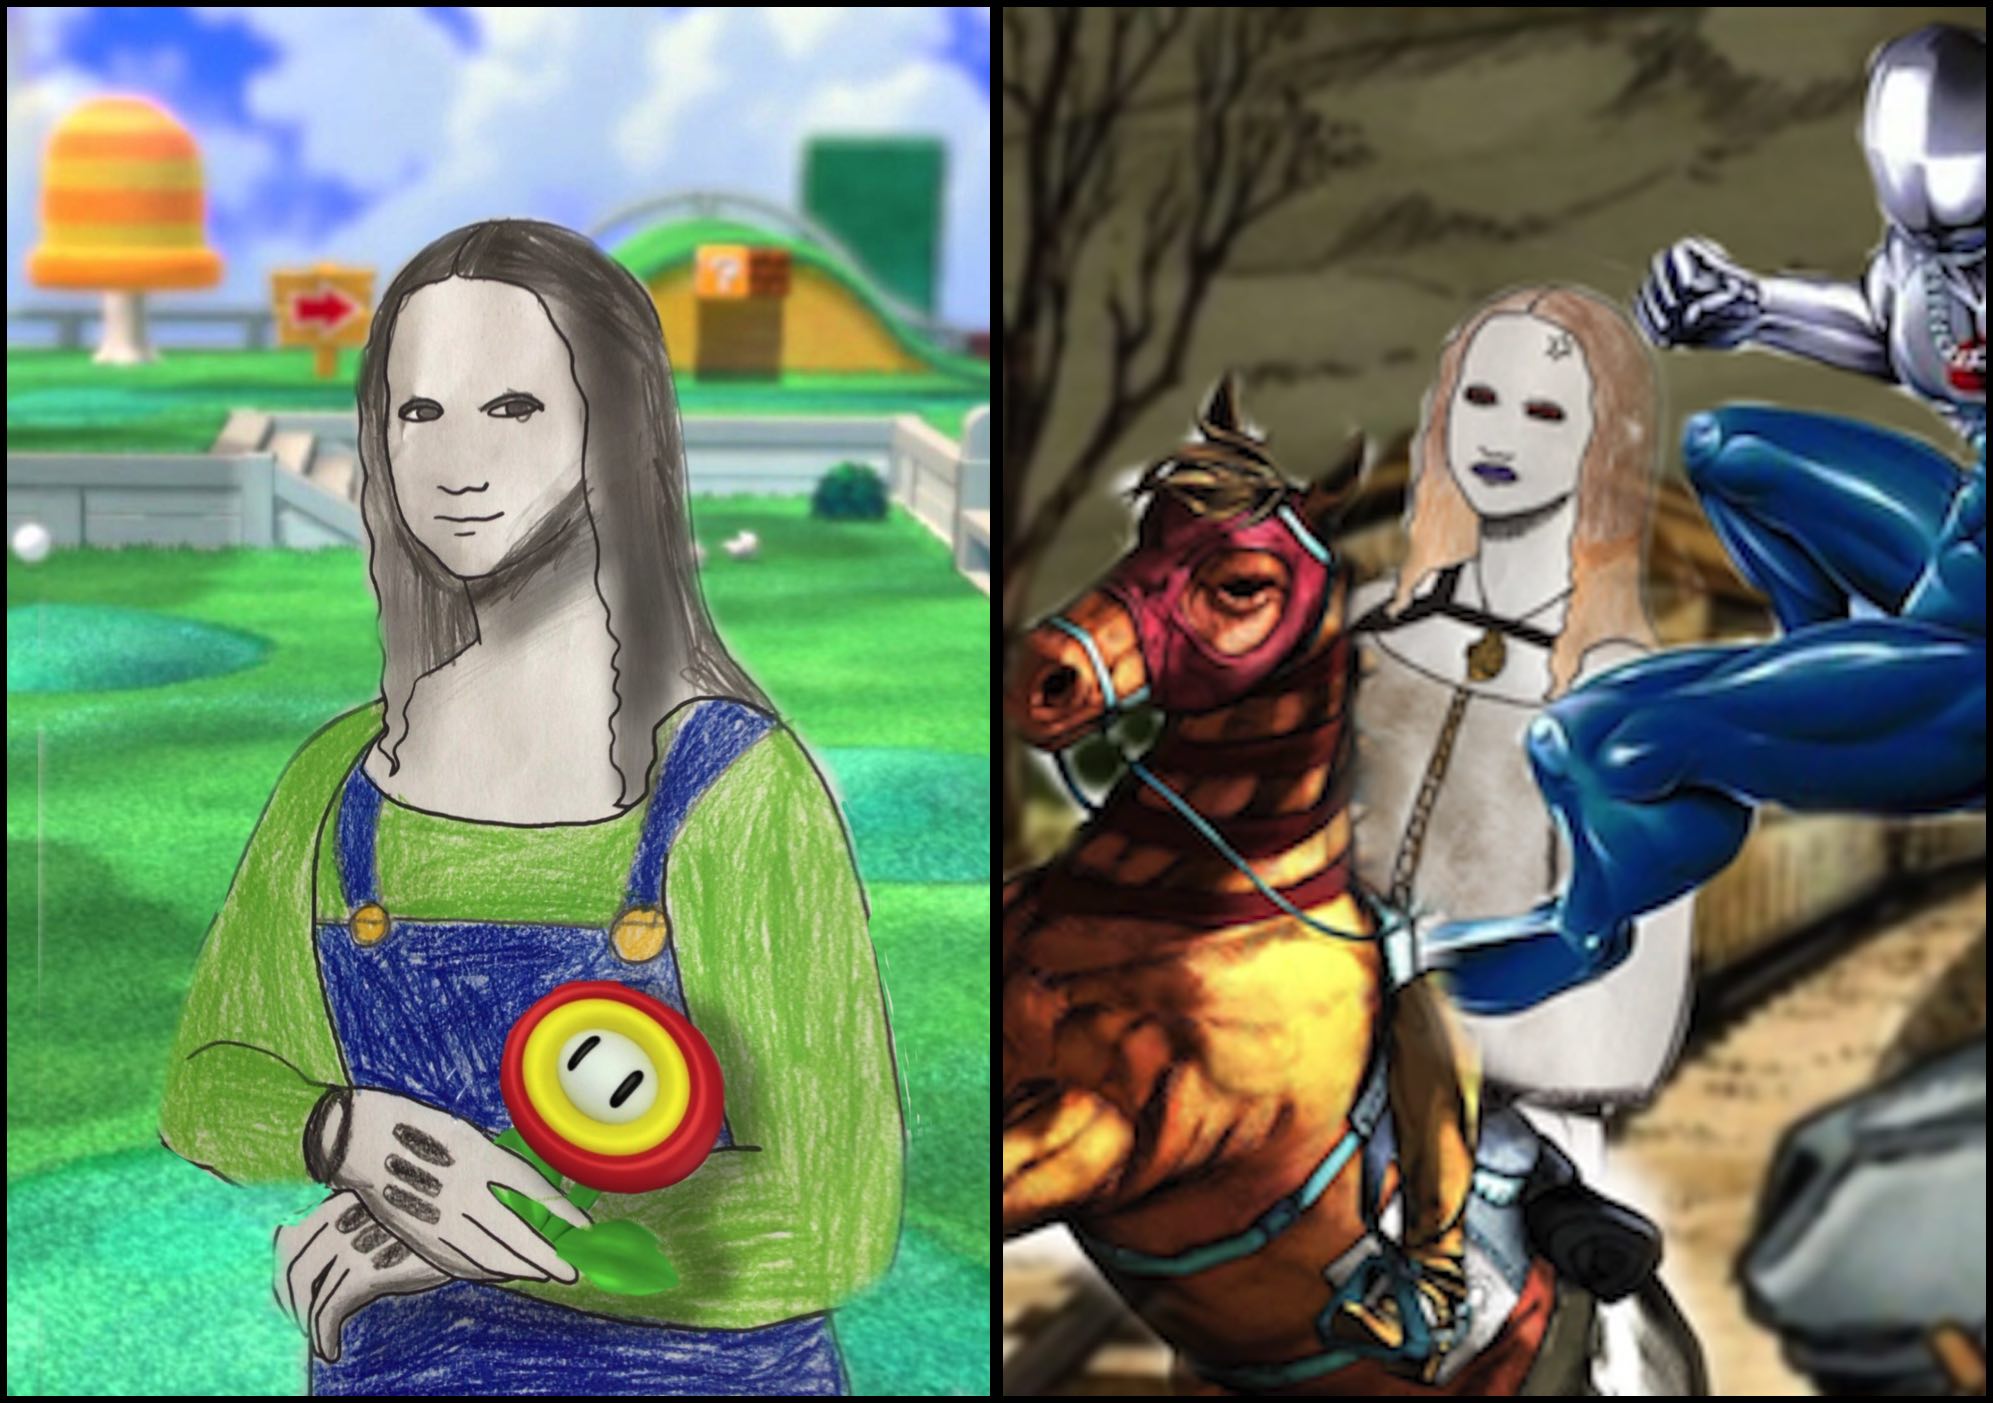
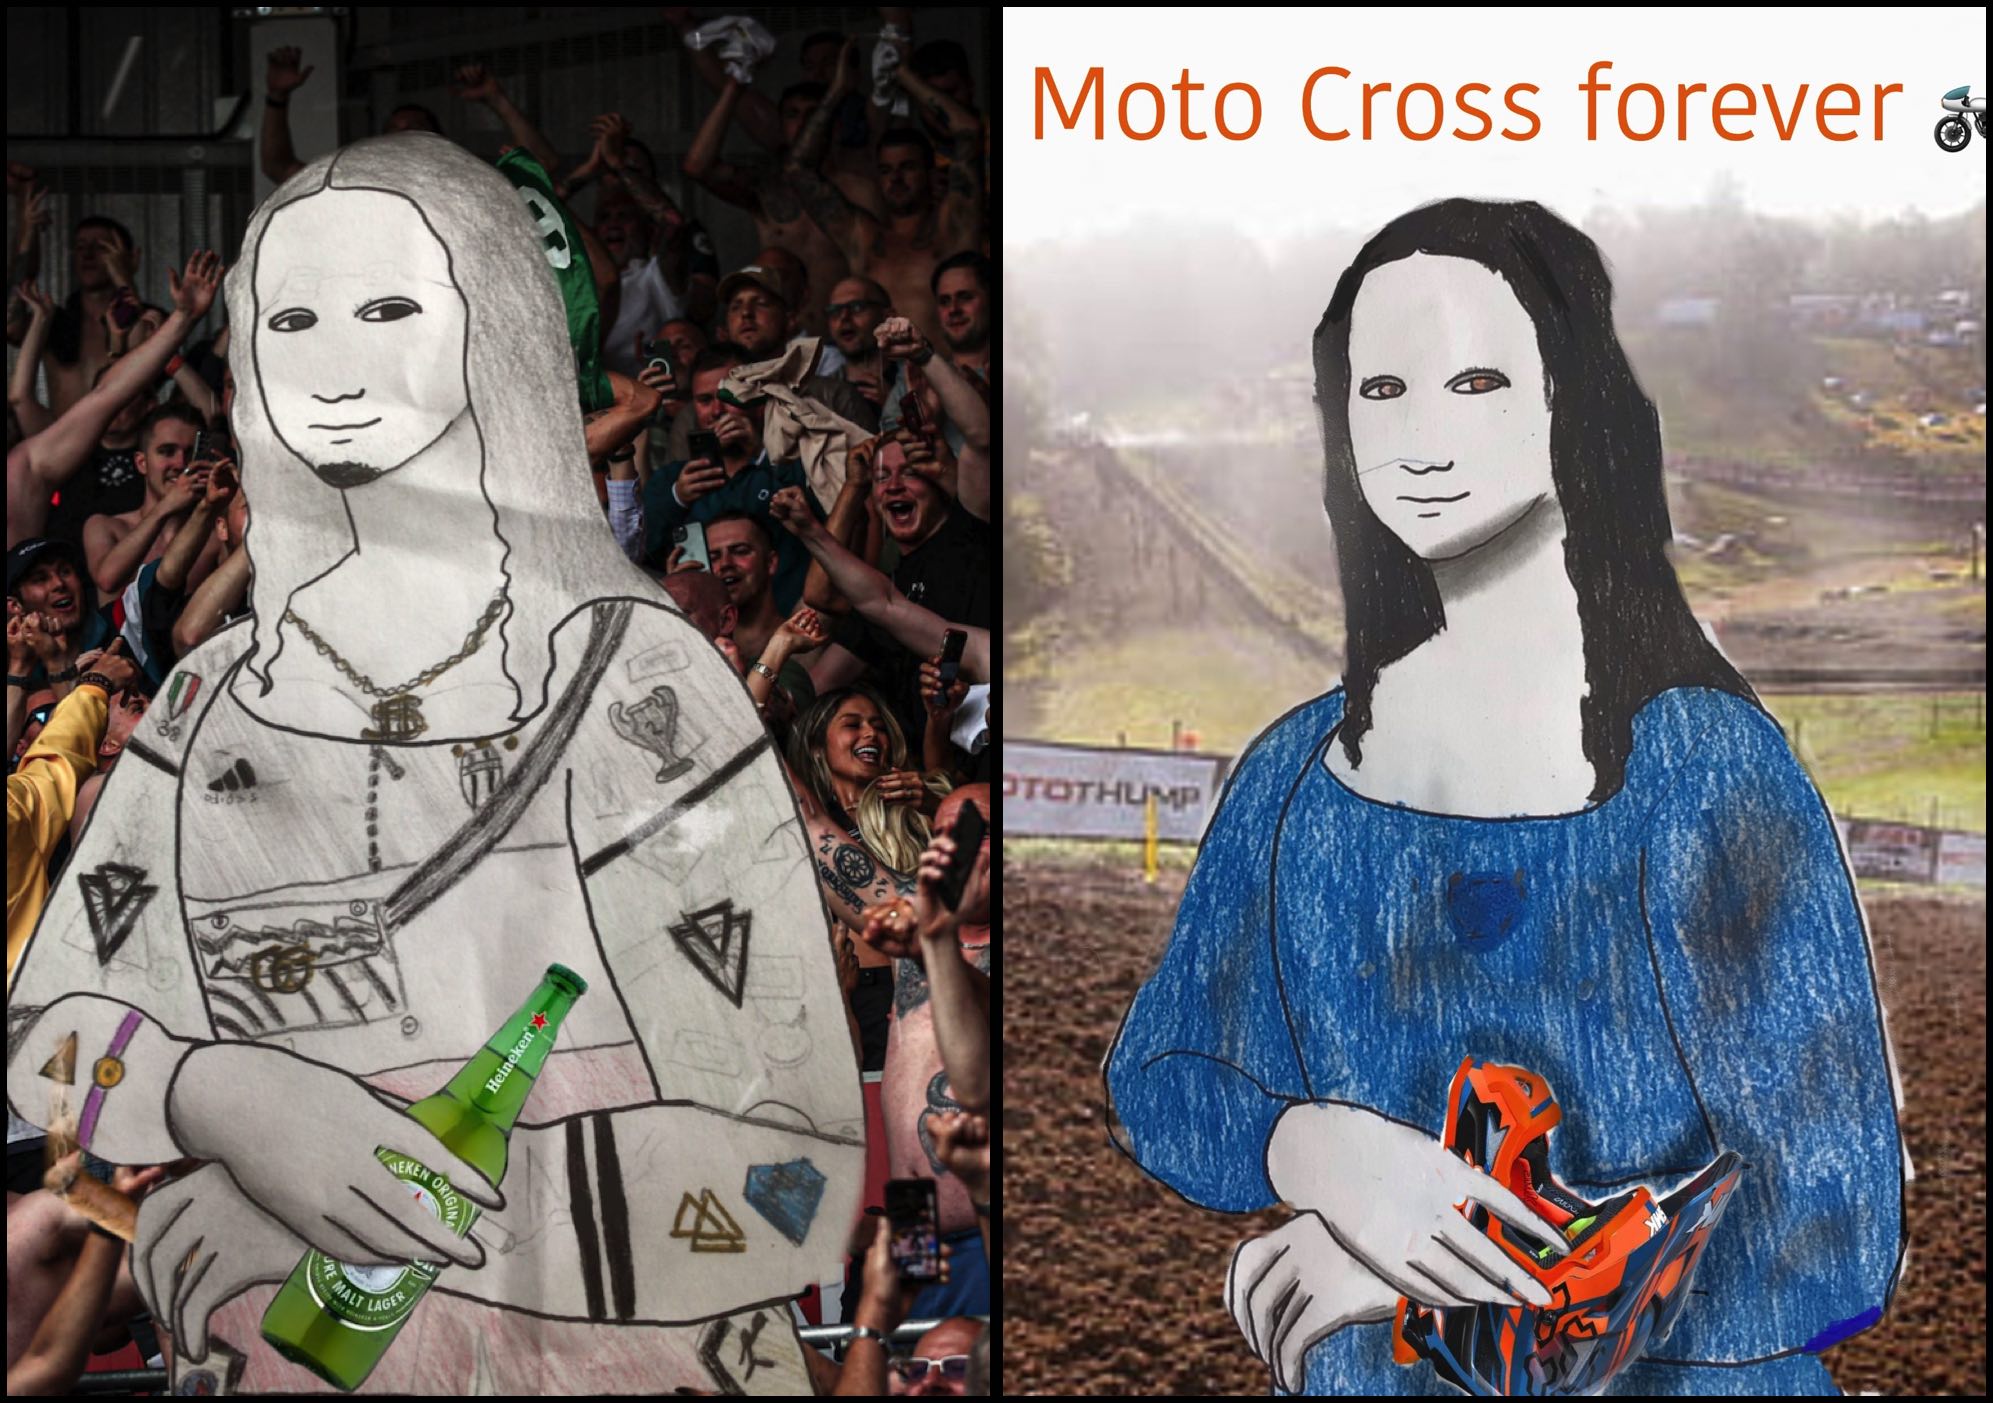
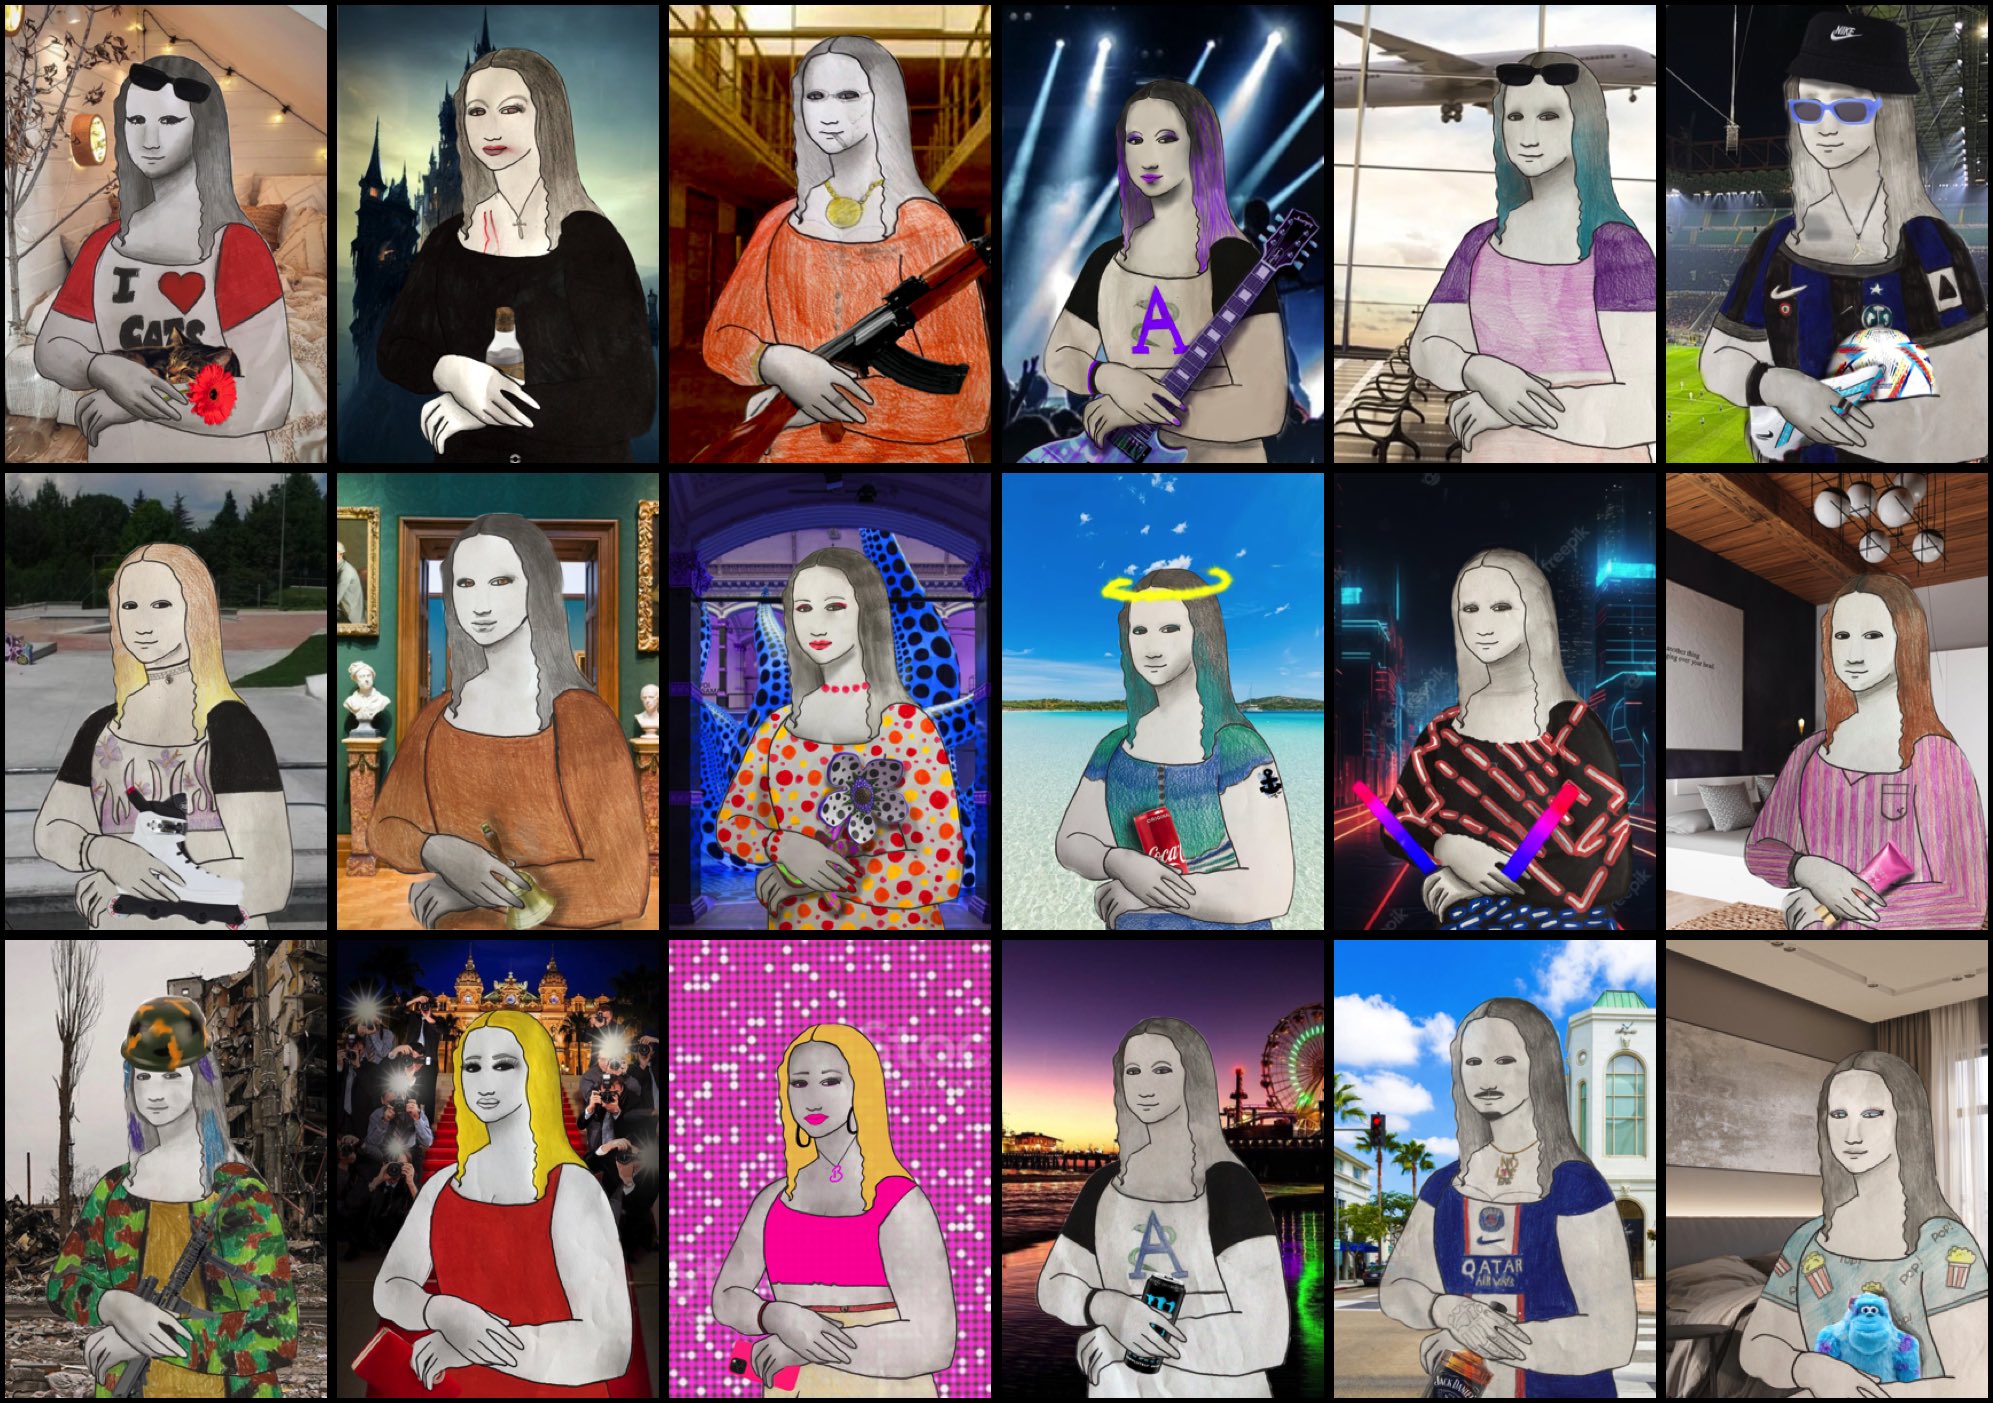
Leonardo’s famous Mona Lisa came out of his painting to come and visit us! With the 7th grade students we drew our Mona Lisa and dressed her in contemporary clothes, thinking about which outfit would be the most suitable for our invitation. Everyone has thought of inviting their Gioconda in a place, and giving her an object to take with her.
After drawing and coloring the figure of the Mona Lisa that you can find here, we chose a suitable setting from the web to place the half-length figure. We thought of contemporary environments, urban or natural, common or unusual, everyday or extraordinary.


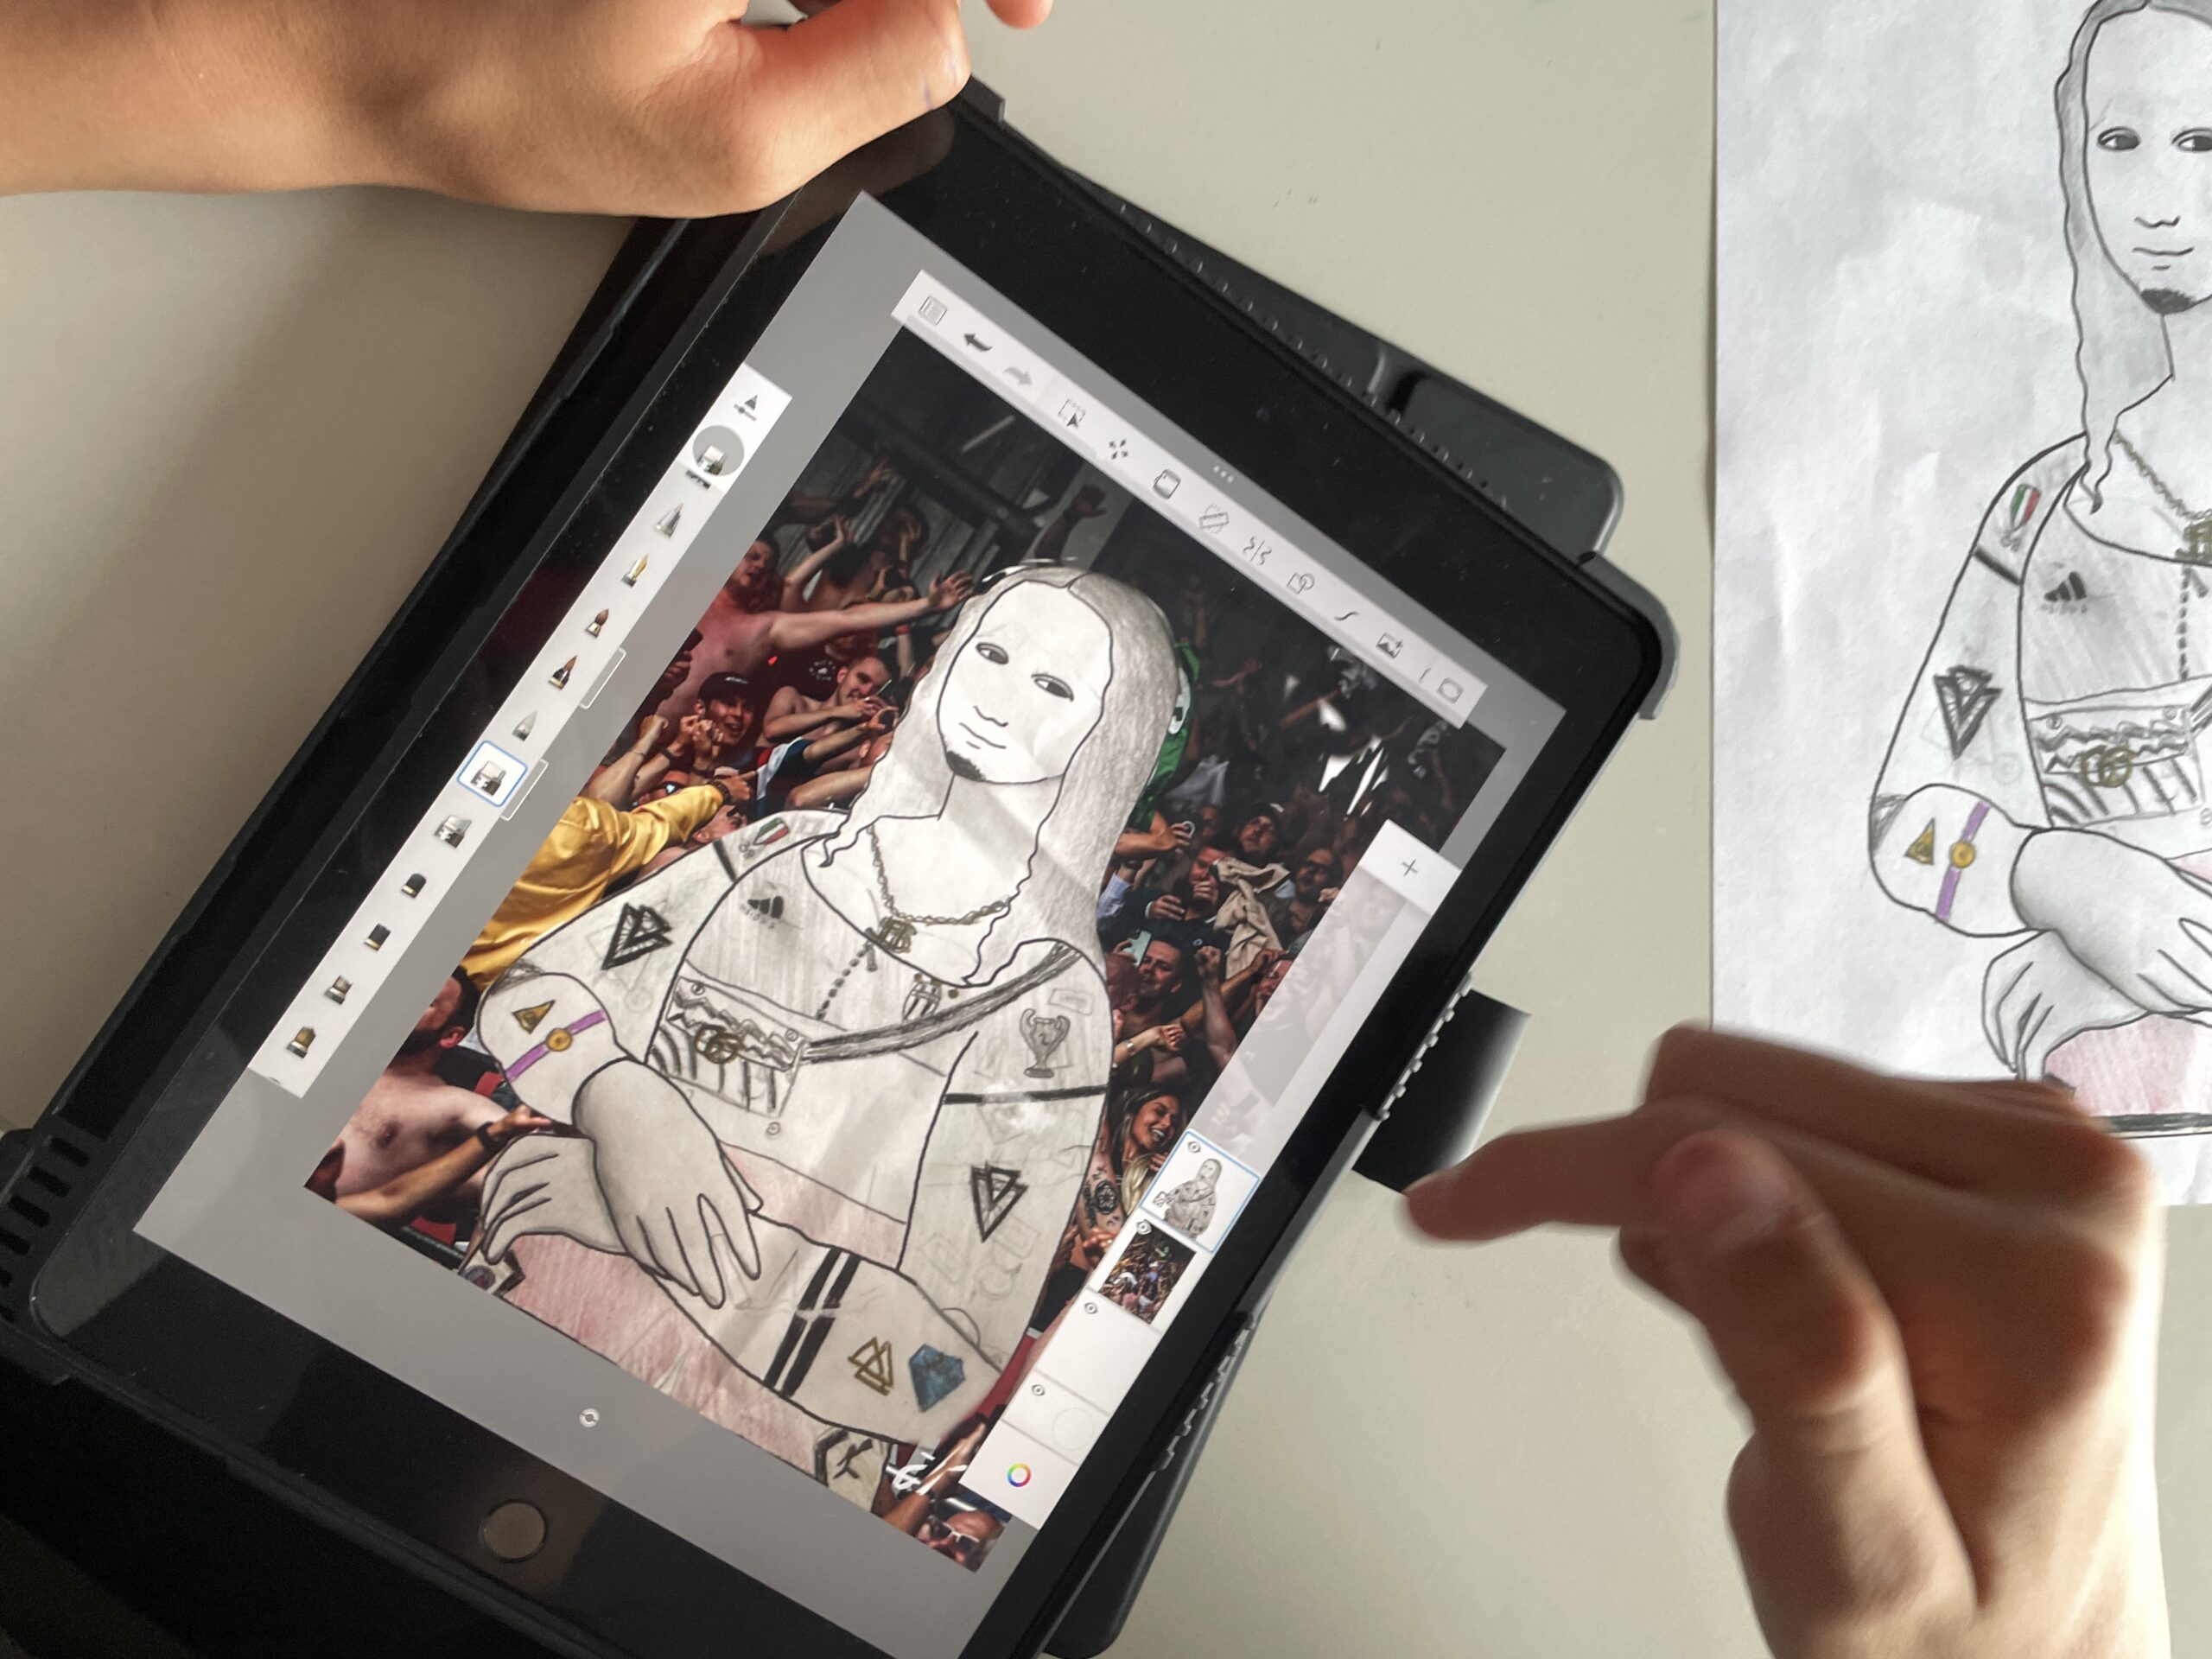
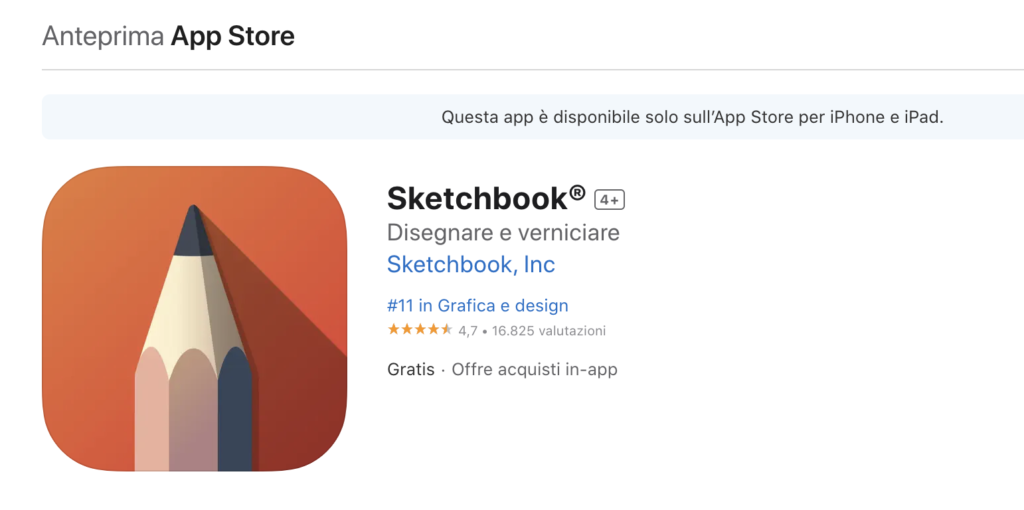
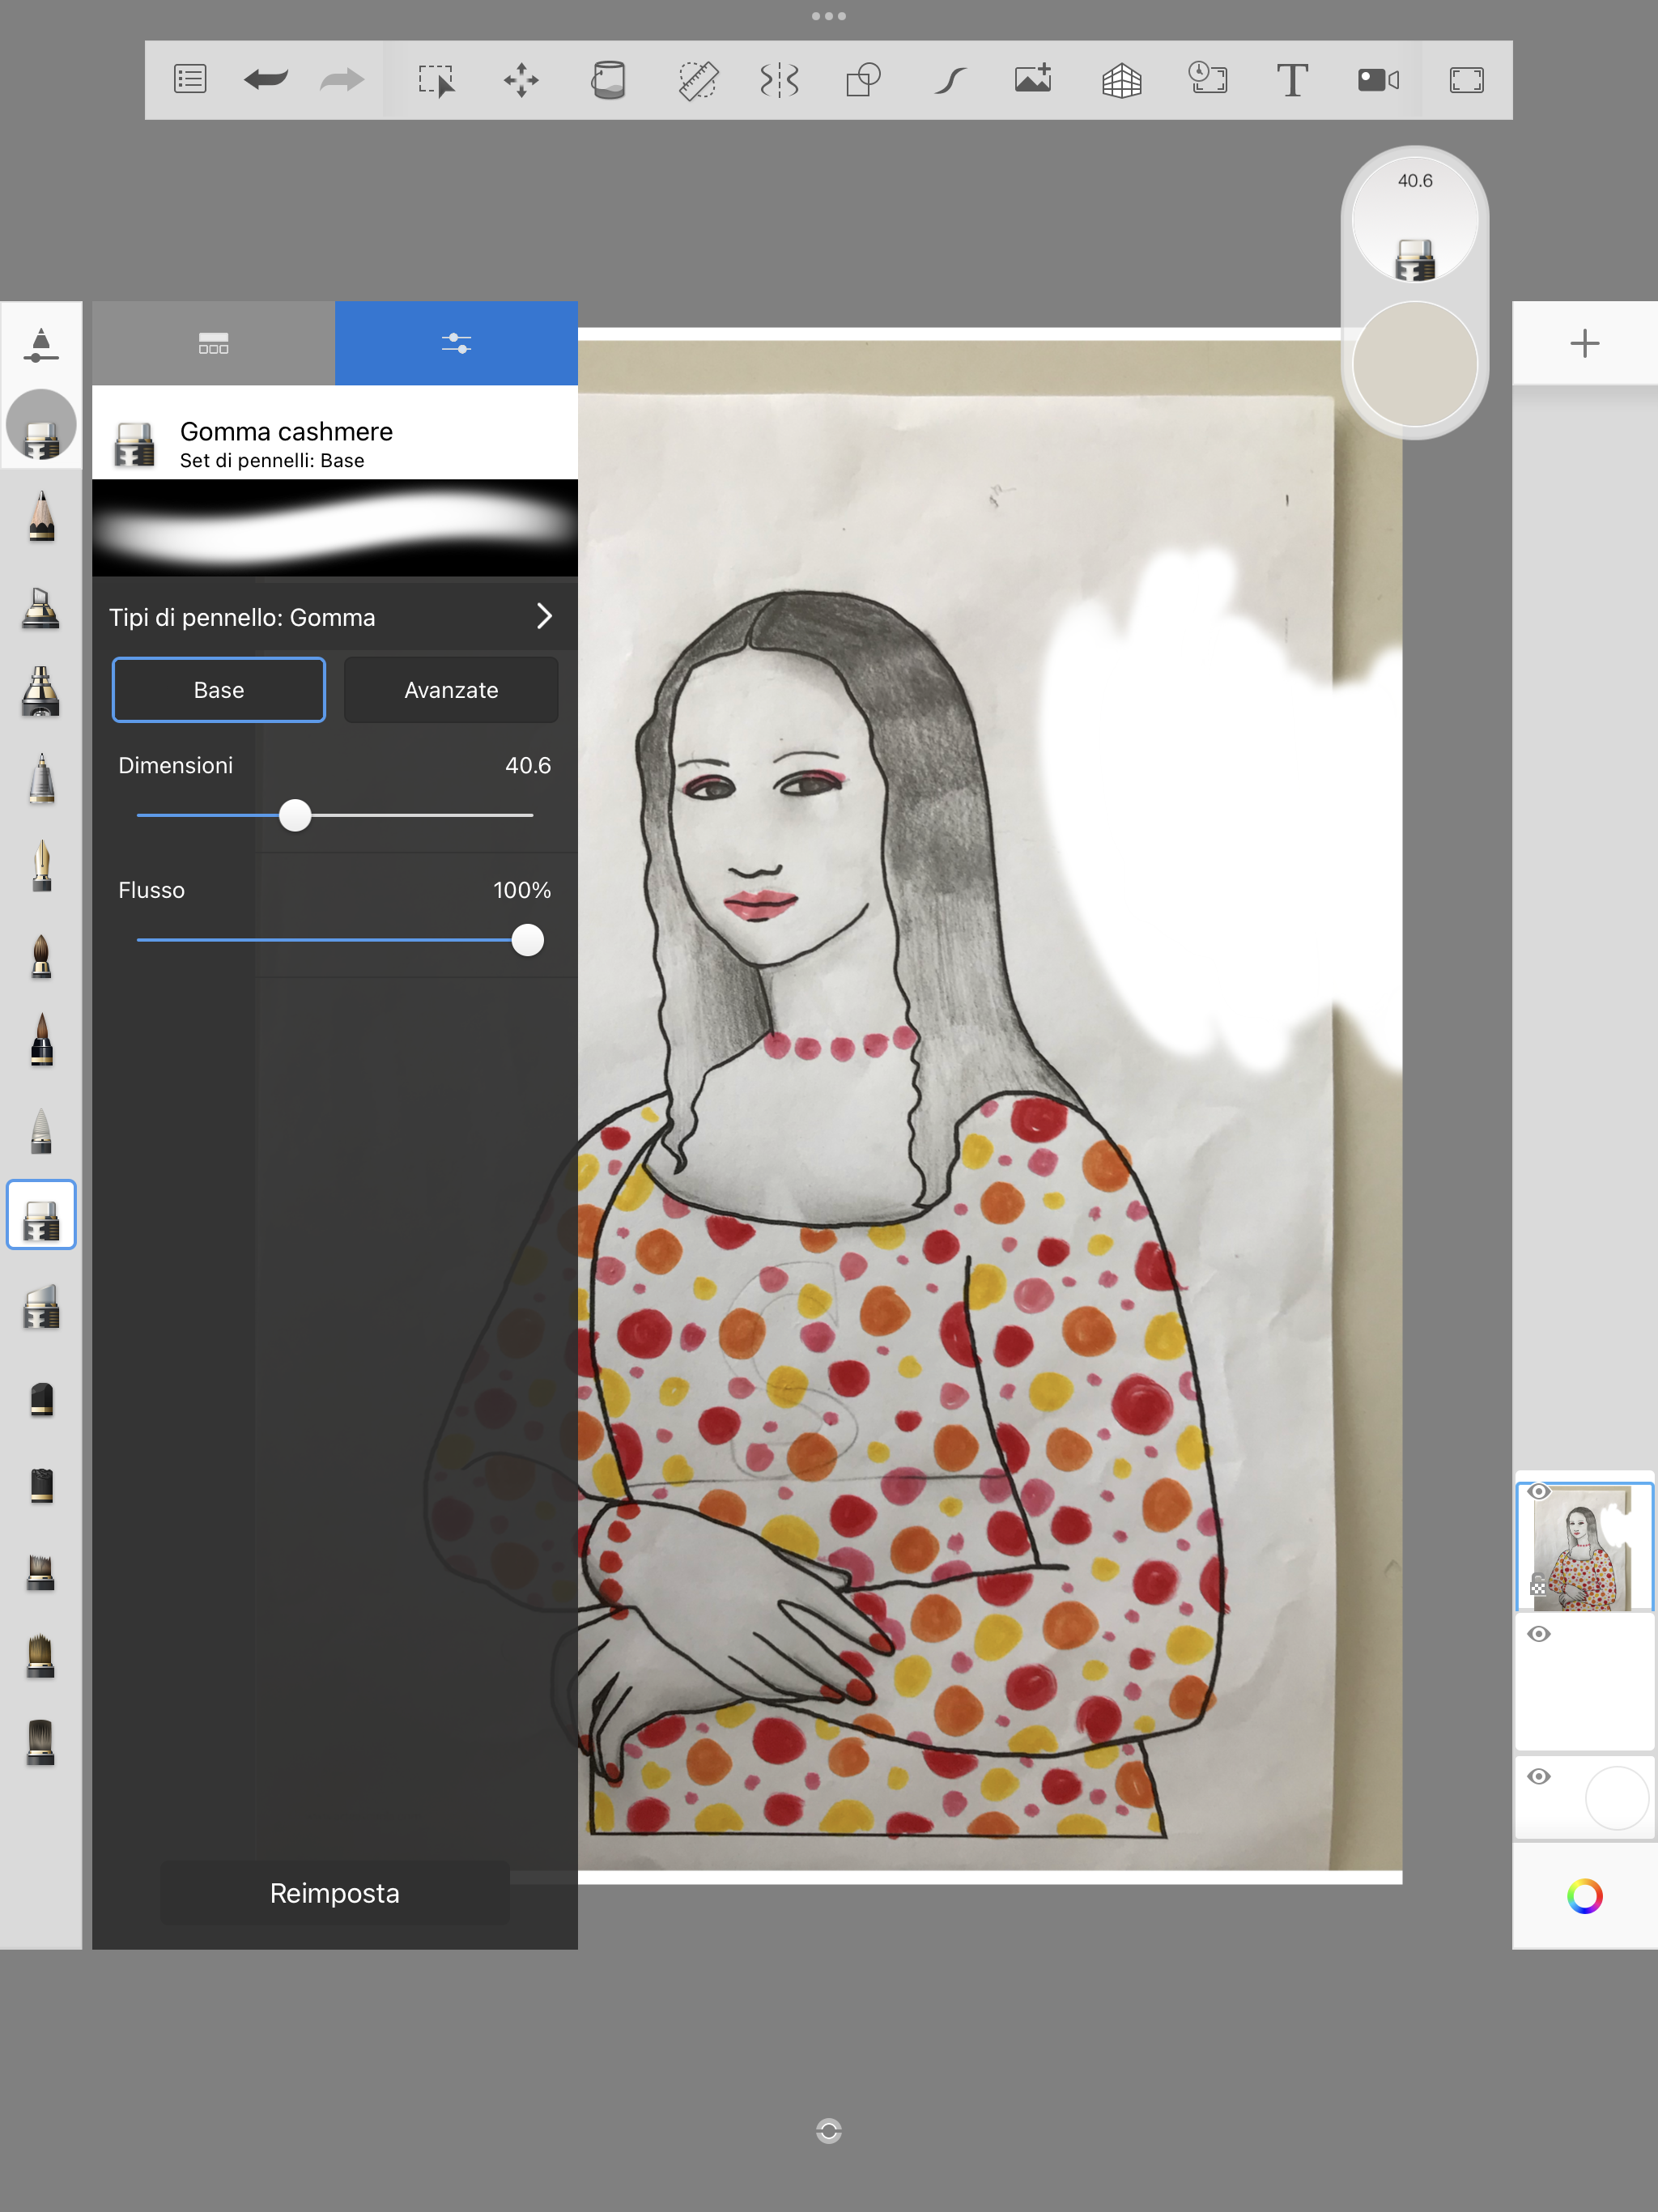
To edit these drwings we used the Sketchbook App on the iPad. We have got these devices at school and we use them to explore the possibilities of digital drawing and learn how to use these tools.
The Sketchbook APP can be downloaded for free on the iPad and allows you to create drawings with layers equipped with blending and grouping modes, and offers a wide range of brushes and highly flexible effects. All with a fairly sober, clean and intuitive interface, suitable for starting the approach to digital drawing.
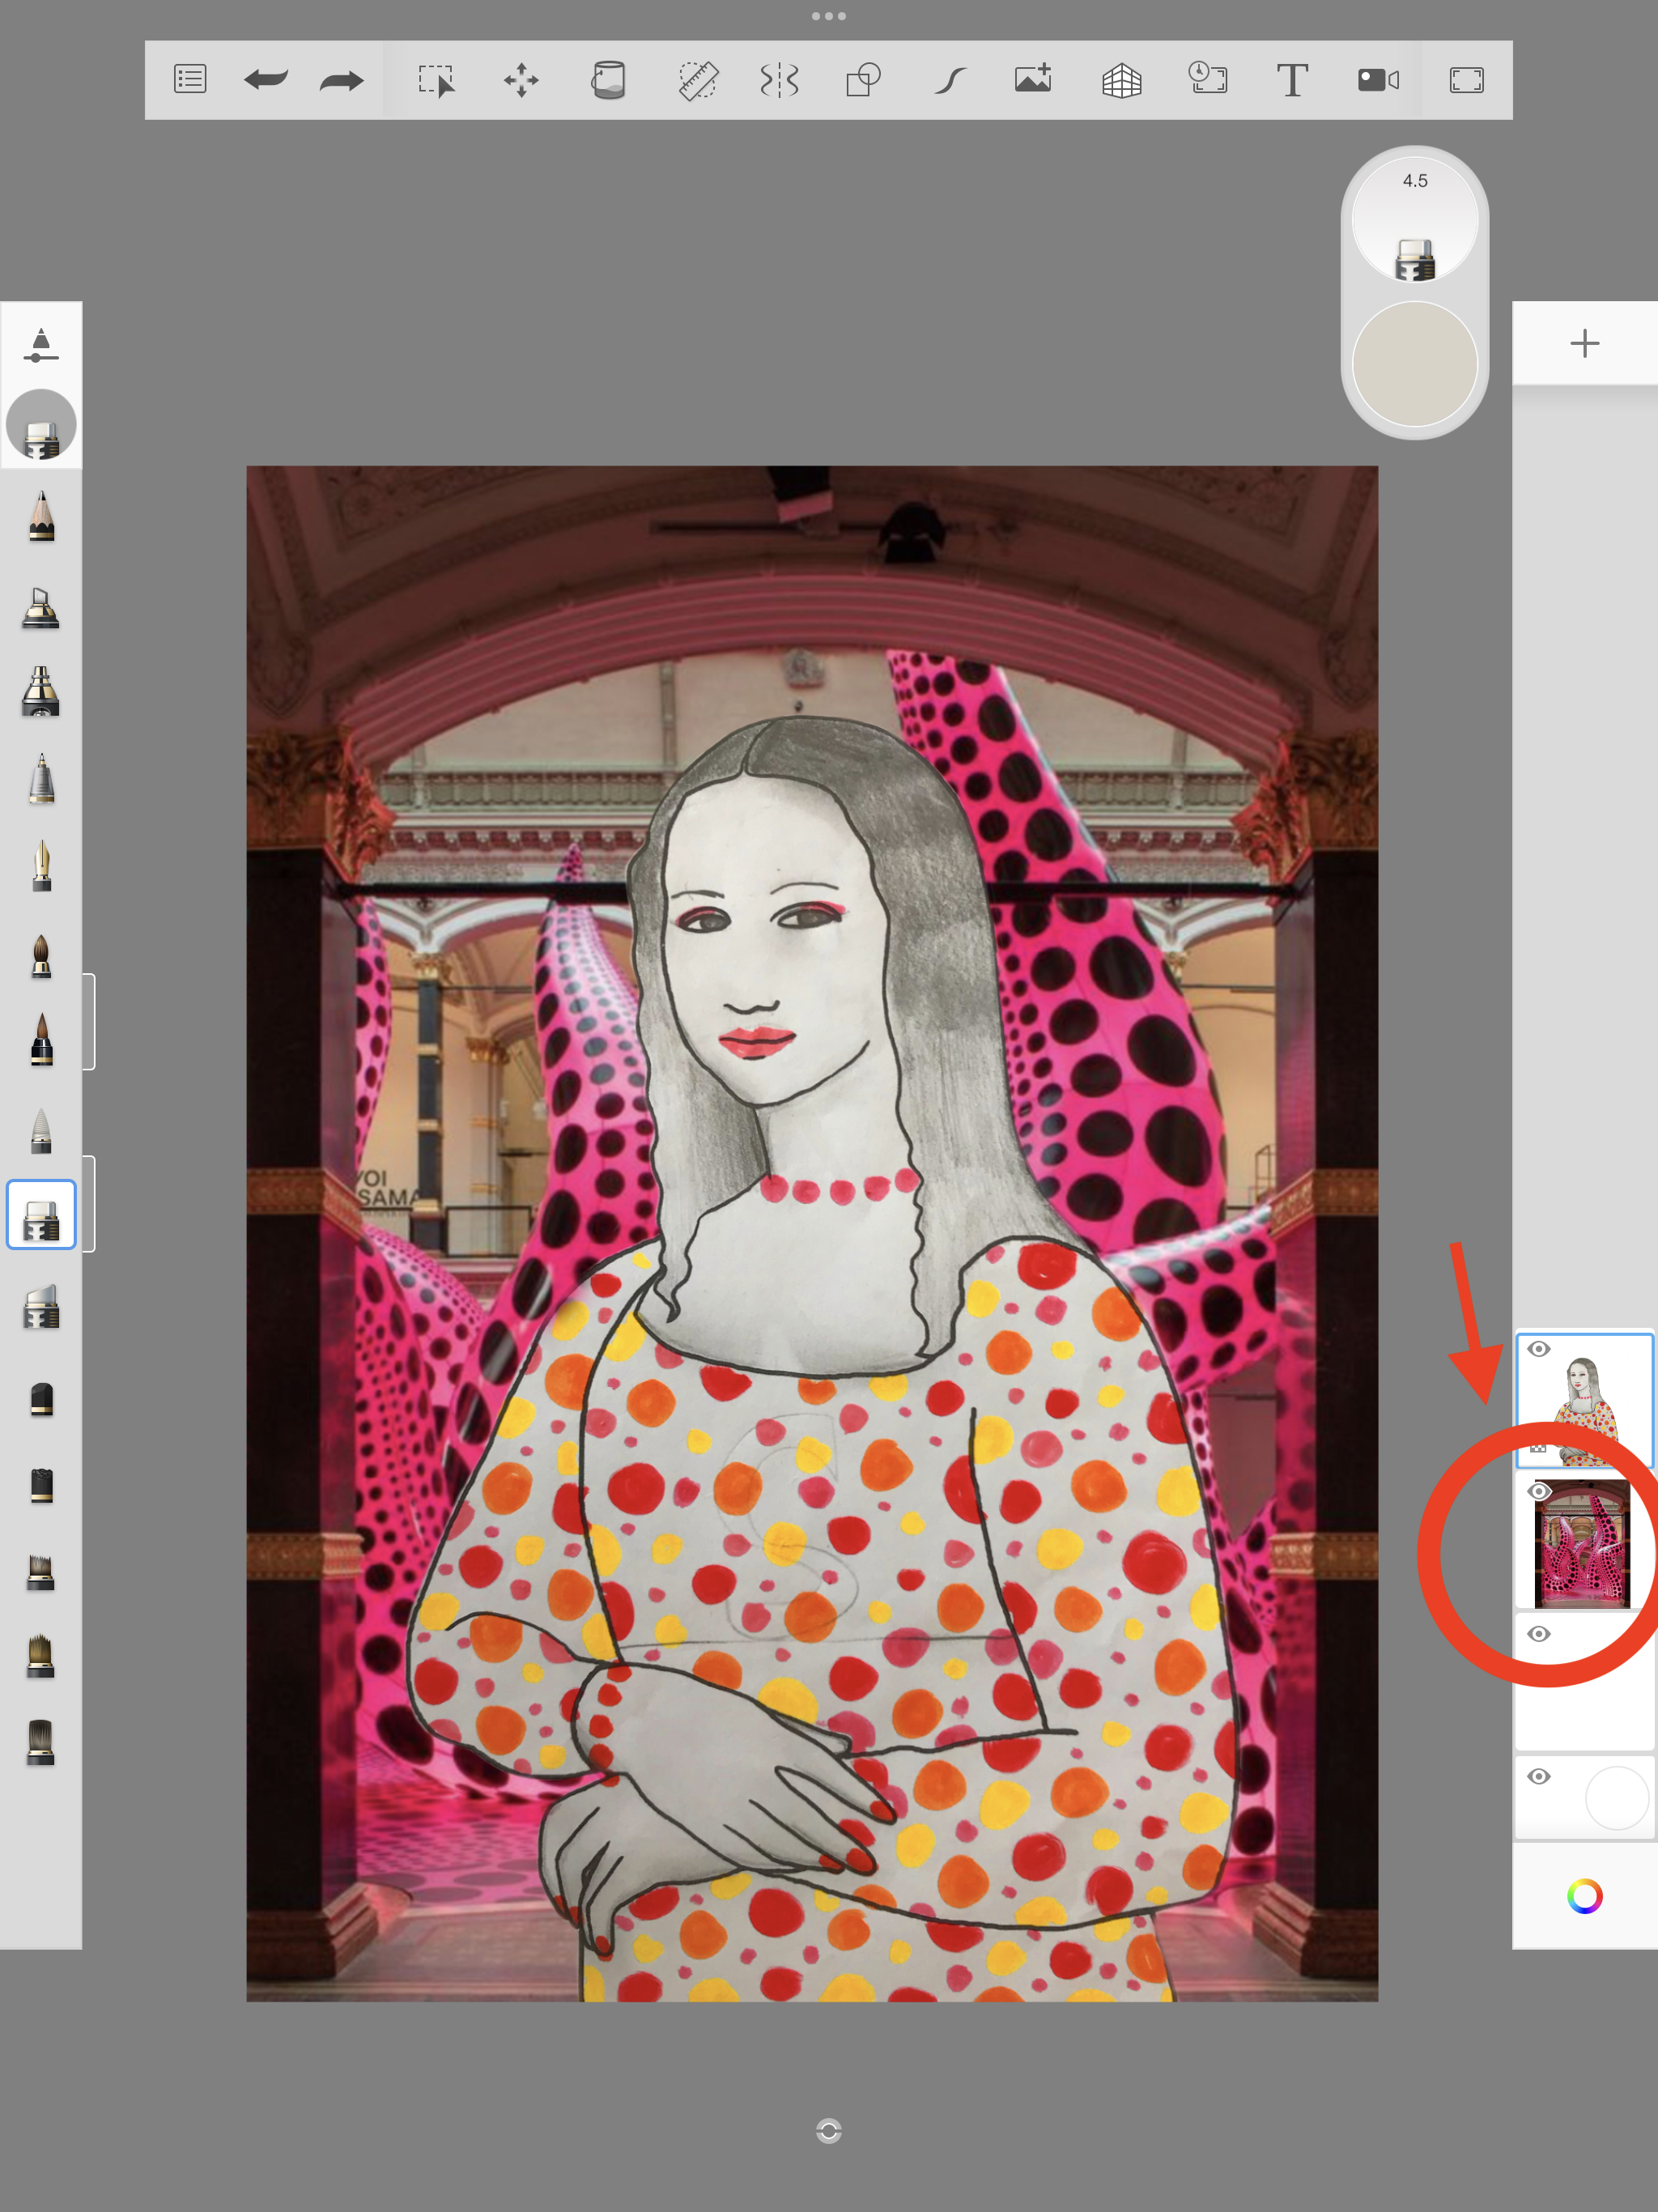
First, with our iPad we took the picture of our Mona Lisa drawing and we inserted the photo into a layer of the Sketchbook application for iPad. Then we erased the background with the “eraser” function, taking care not to erase the parts of the figure to create a completely transparent background.

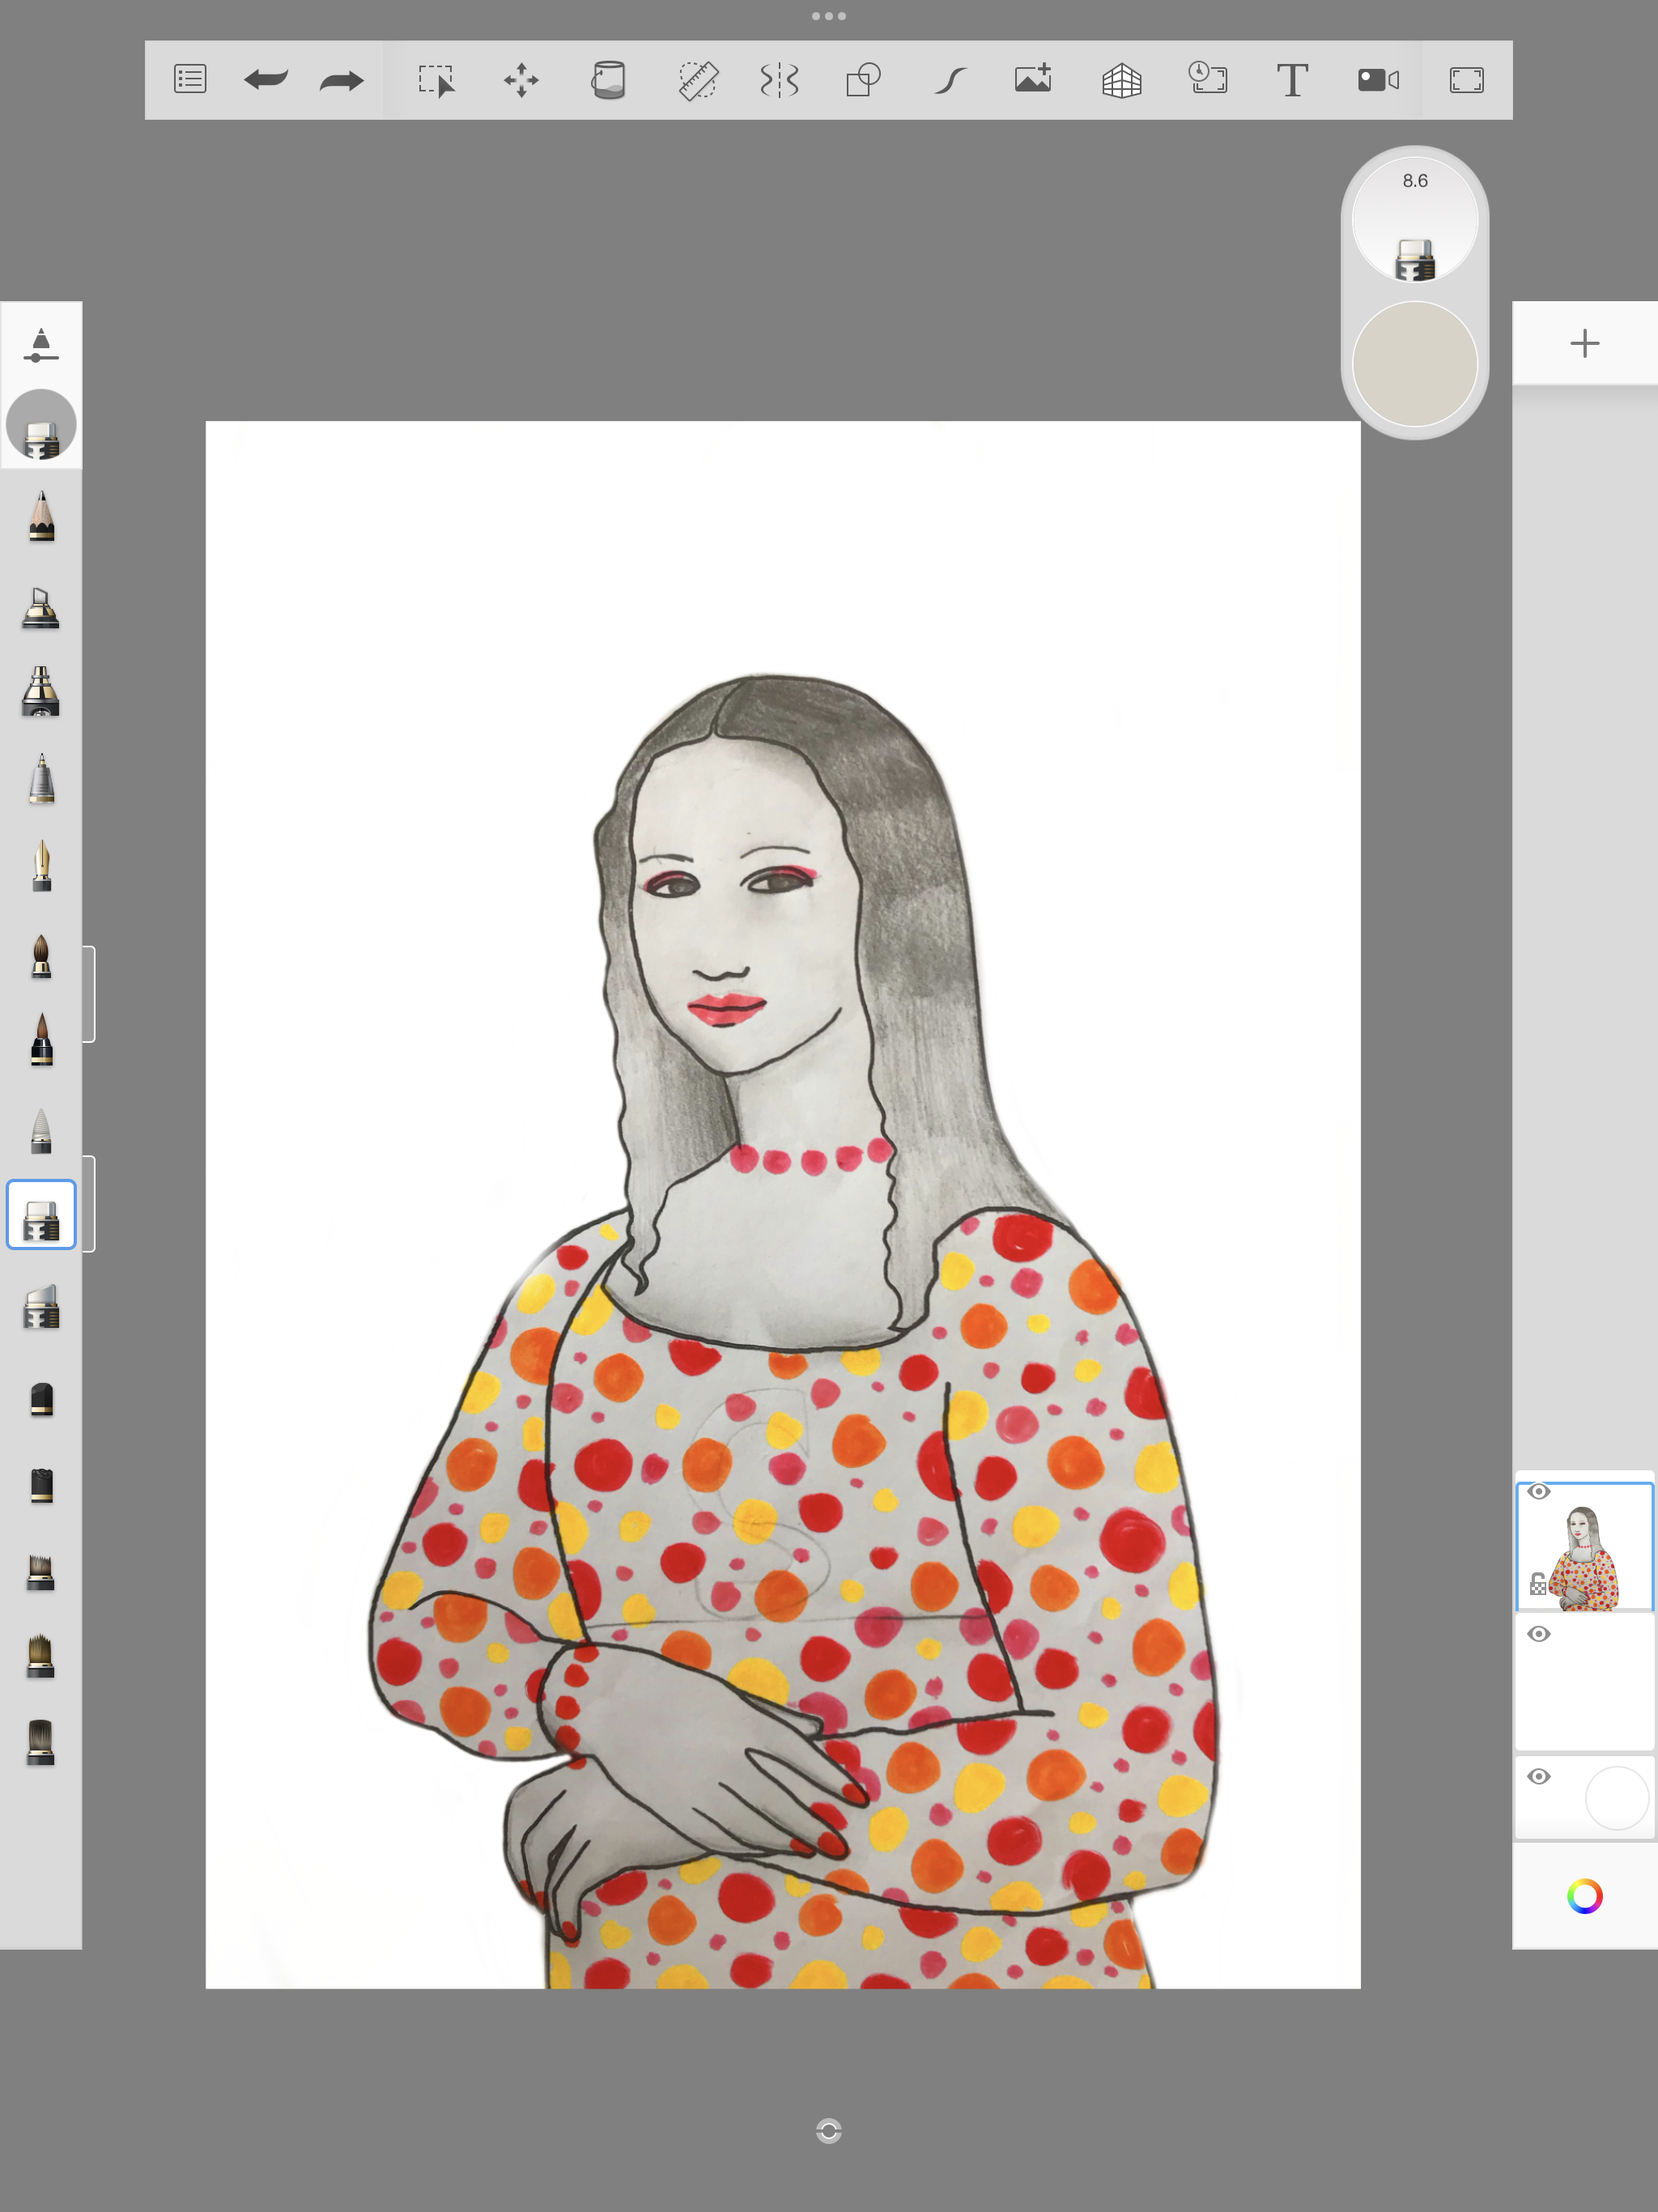
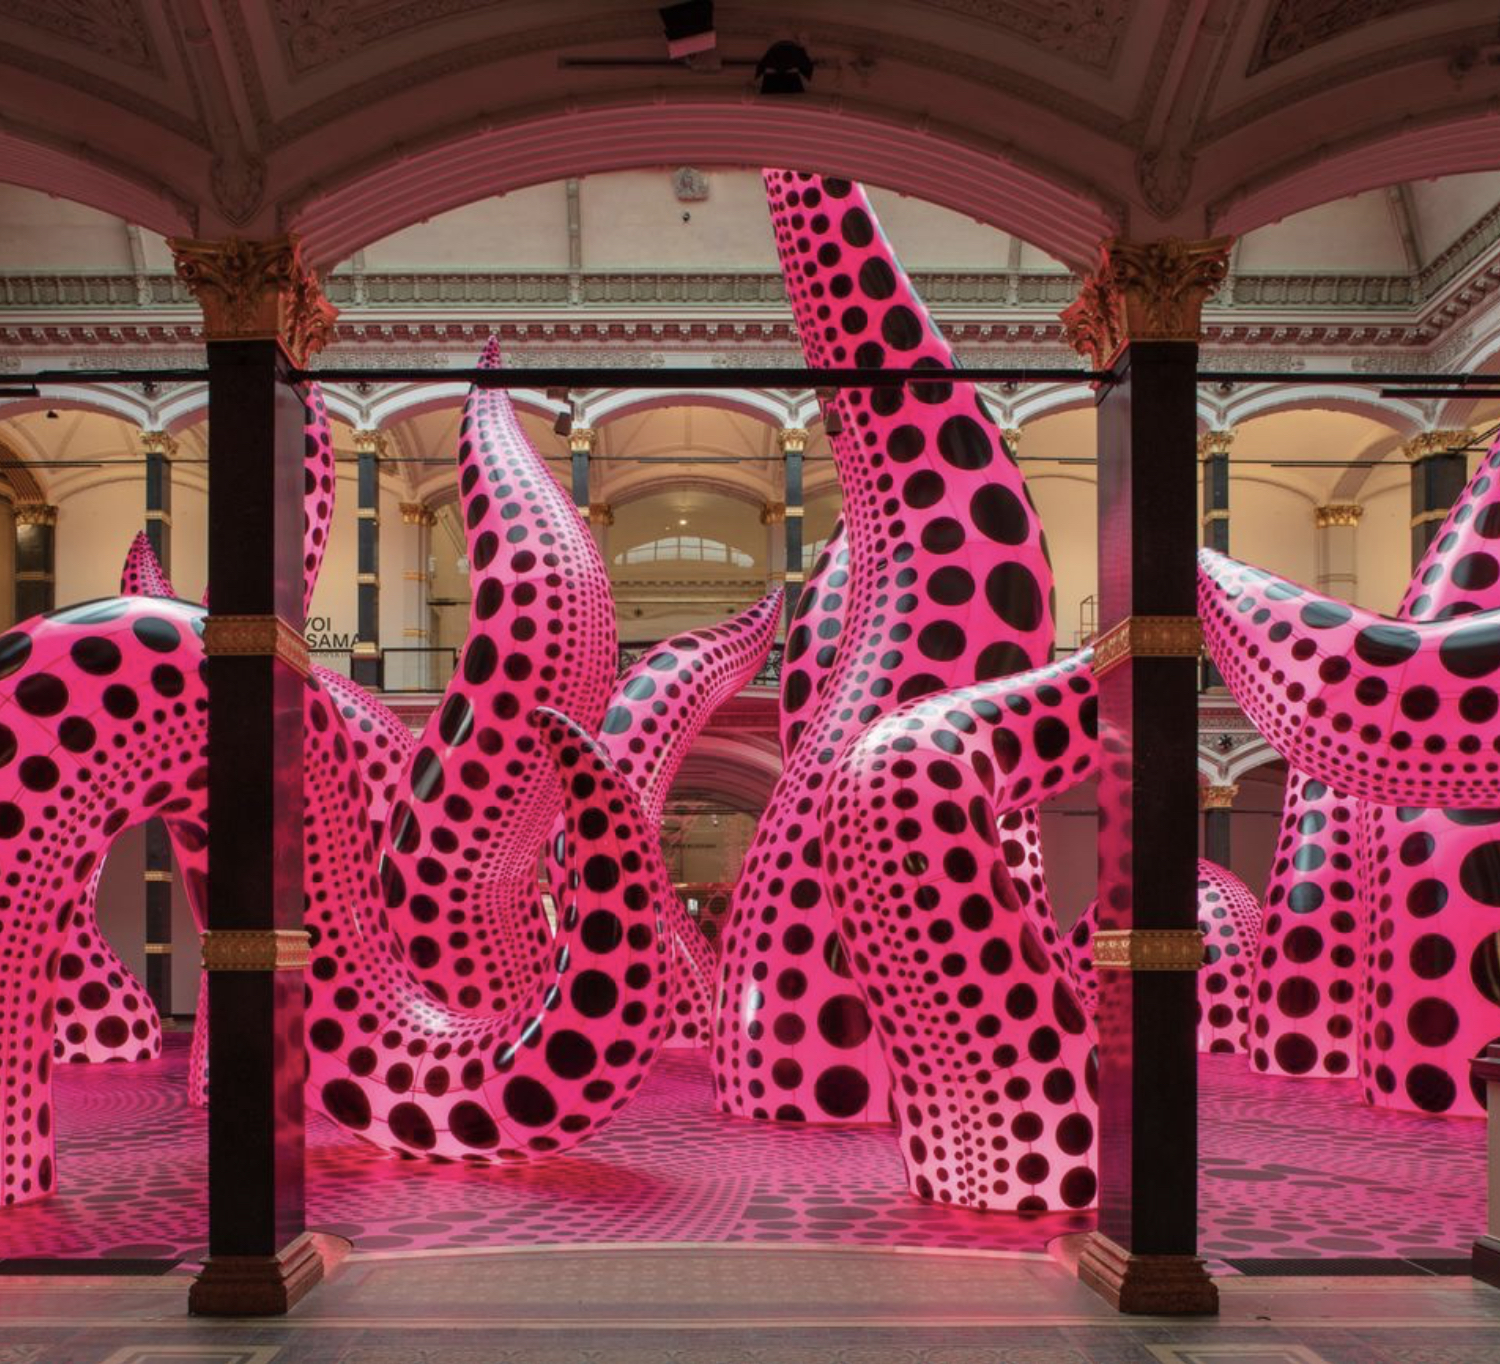
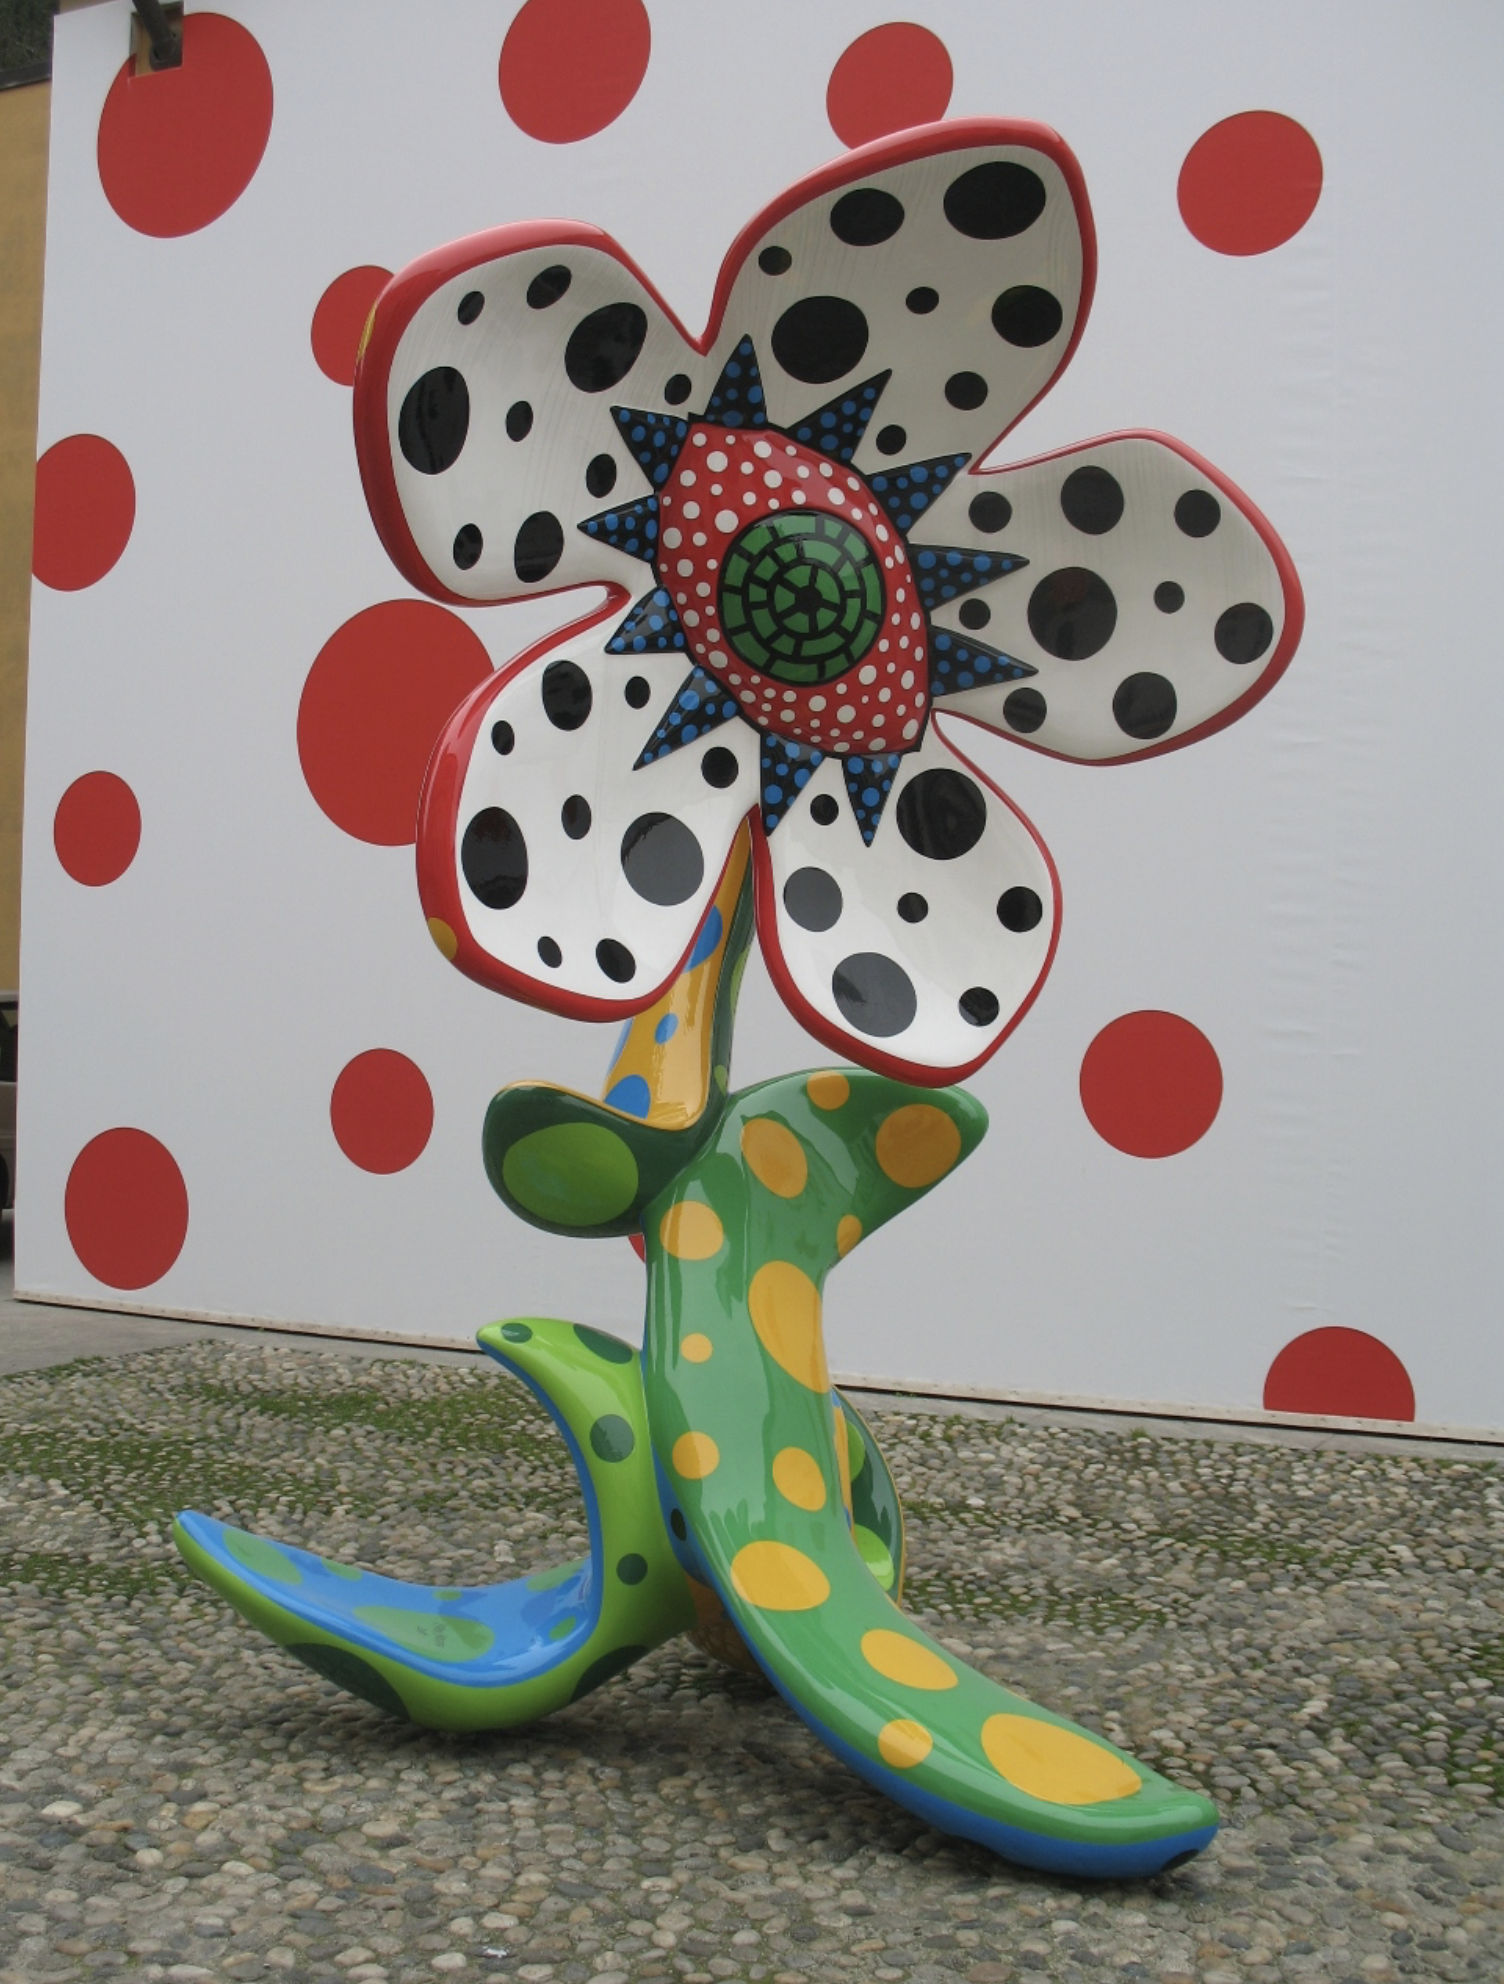
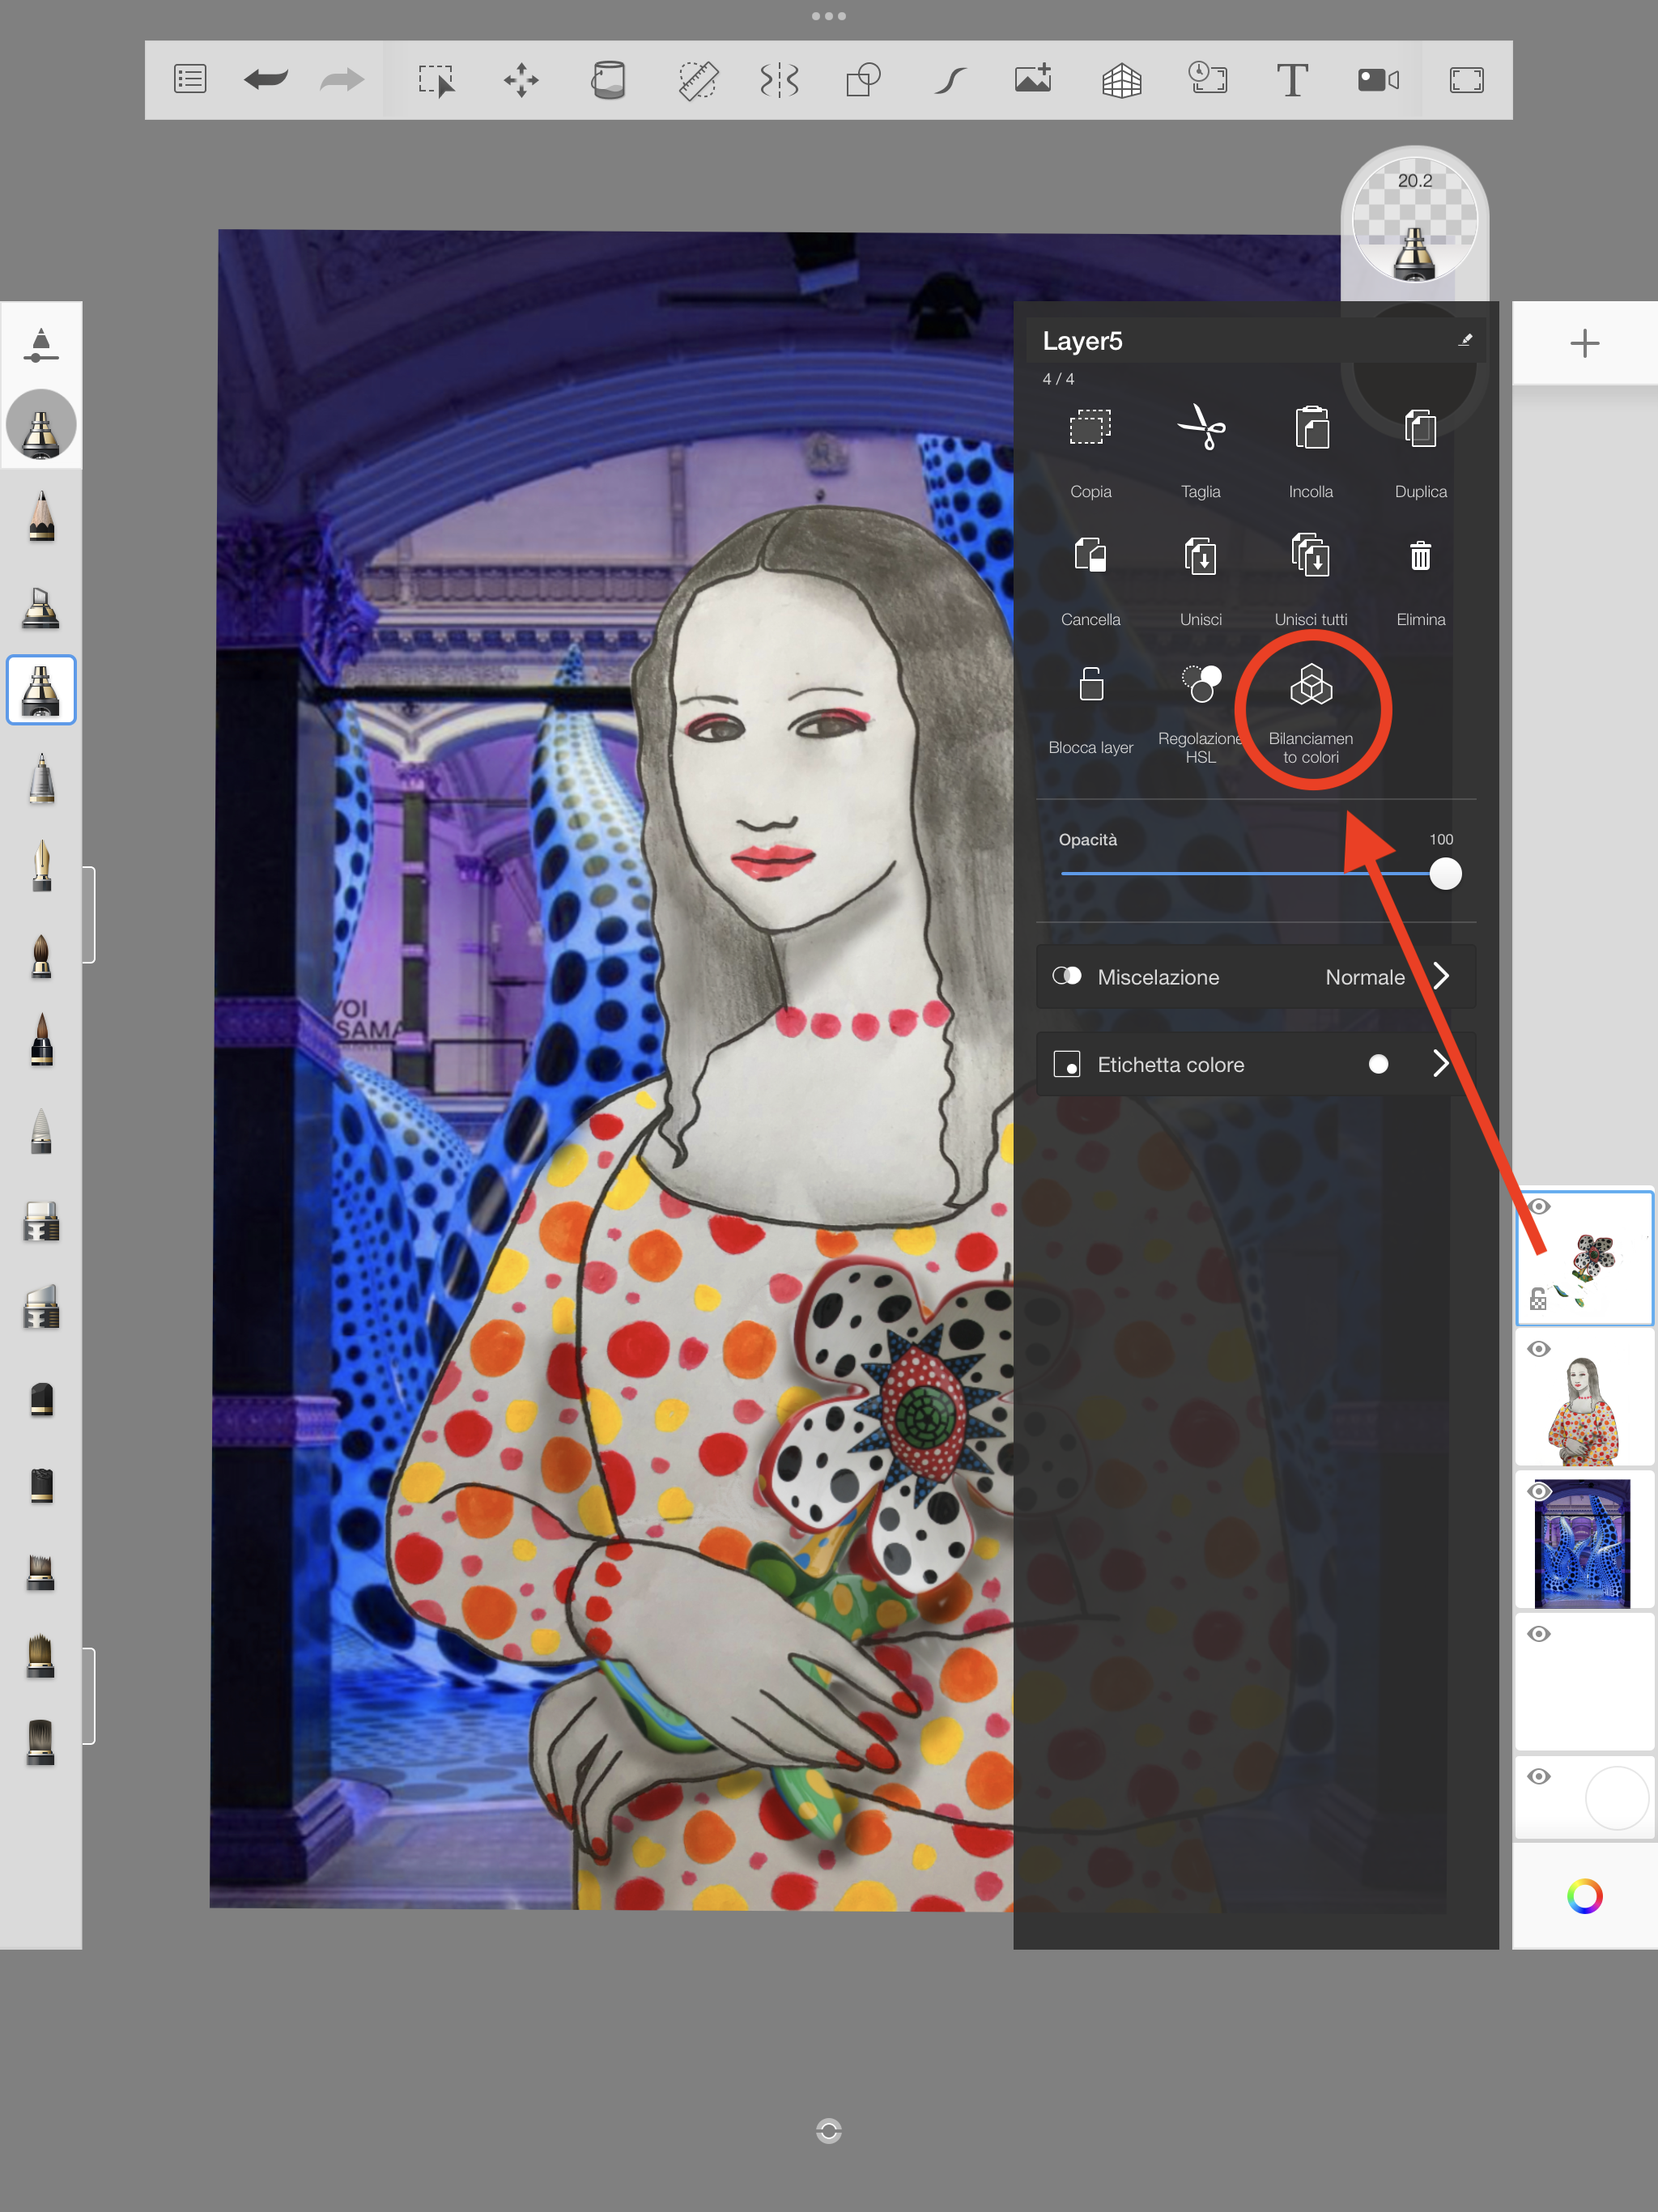
To make the background, we inserted a new level with the + key on the right bar, and we positioned it UNDER the Mona Lisa (just drag the levels with your finger in the right column). In this phase we have chosen where to take our Mona Lisa, and we searched the web for the image of a contemporary environment (a stadium, a disco, a concert, a city, a museum…). Together with the background setting, we also looked for the object our Mona Lisa hold in her hands. Also this second image of an OBJECT is taken from the web with a screenshot or downloaded to the iPad, and it is inserted in a NEW LEVEL which must be positioned ABOVE the figure in the right level bar. In this sample I chose an exhibition and a sculpture by Yayoi Kusama.

In this step we worked on the transparency of the first level, to ERASE the parts from the object that didn’t interest us and to bring out the Mona Lisa’s hands holding the object. The first level, the one in front of all the others with the photo of the object, is clicked and is made semi-transparent with the OPACITY lever (about 50%). This way we see WHAT TO DELETE from the object layer to make the image believable. Then if the colors don’t convince us, we can also adjust the shades with the “color balance” function for the various levels. Finally, it is necessary to share the created image with the teacher via email.


Here are our contemporary Mona Lisa!