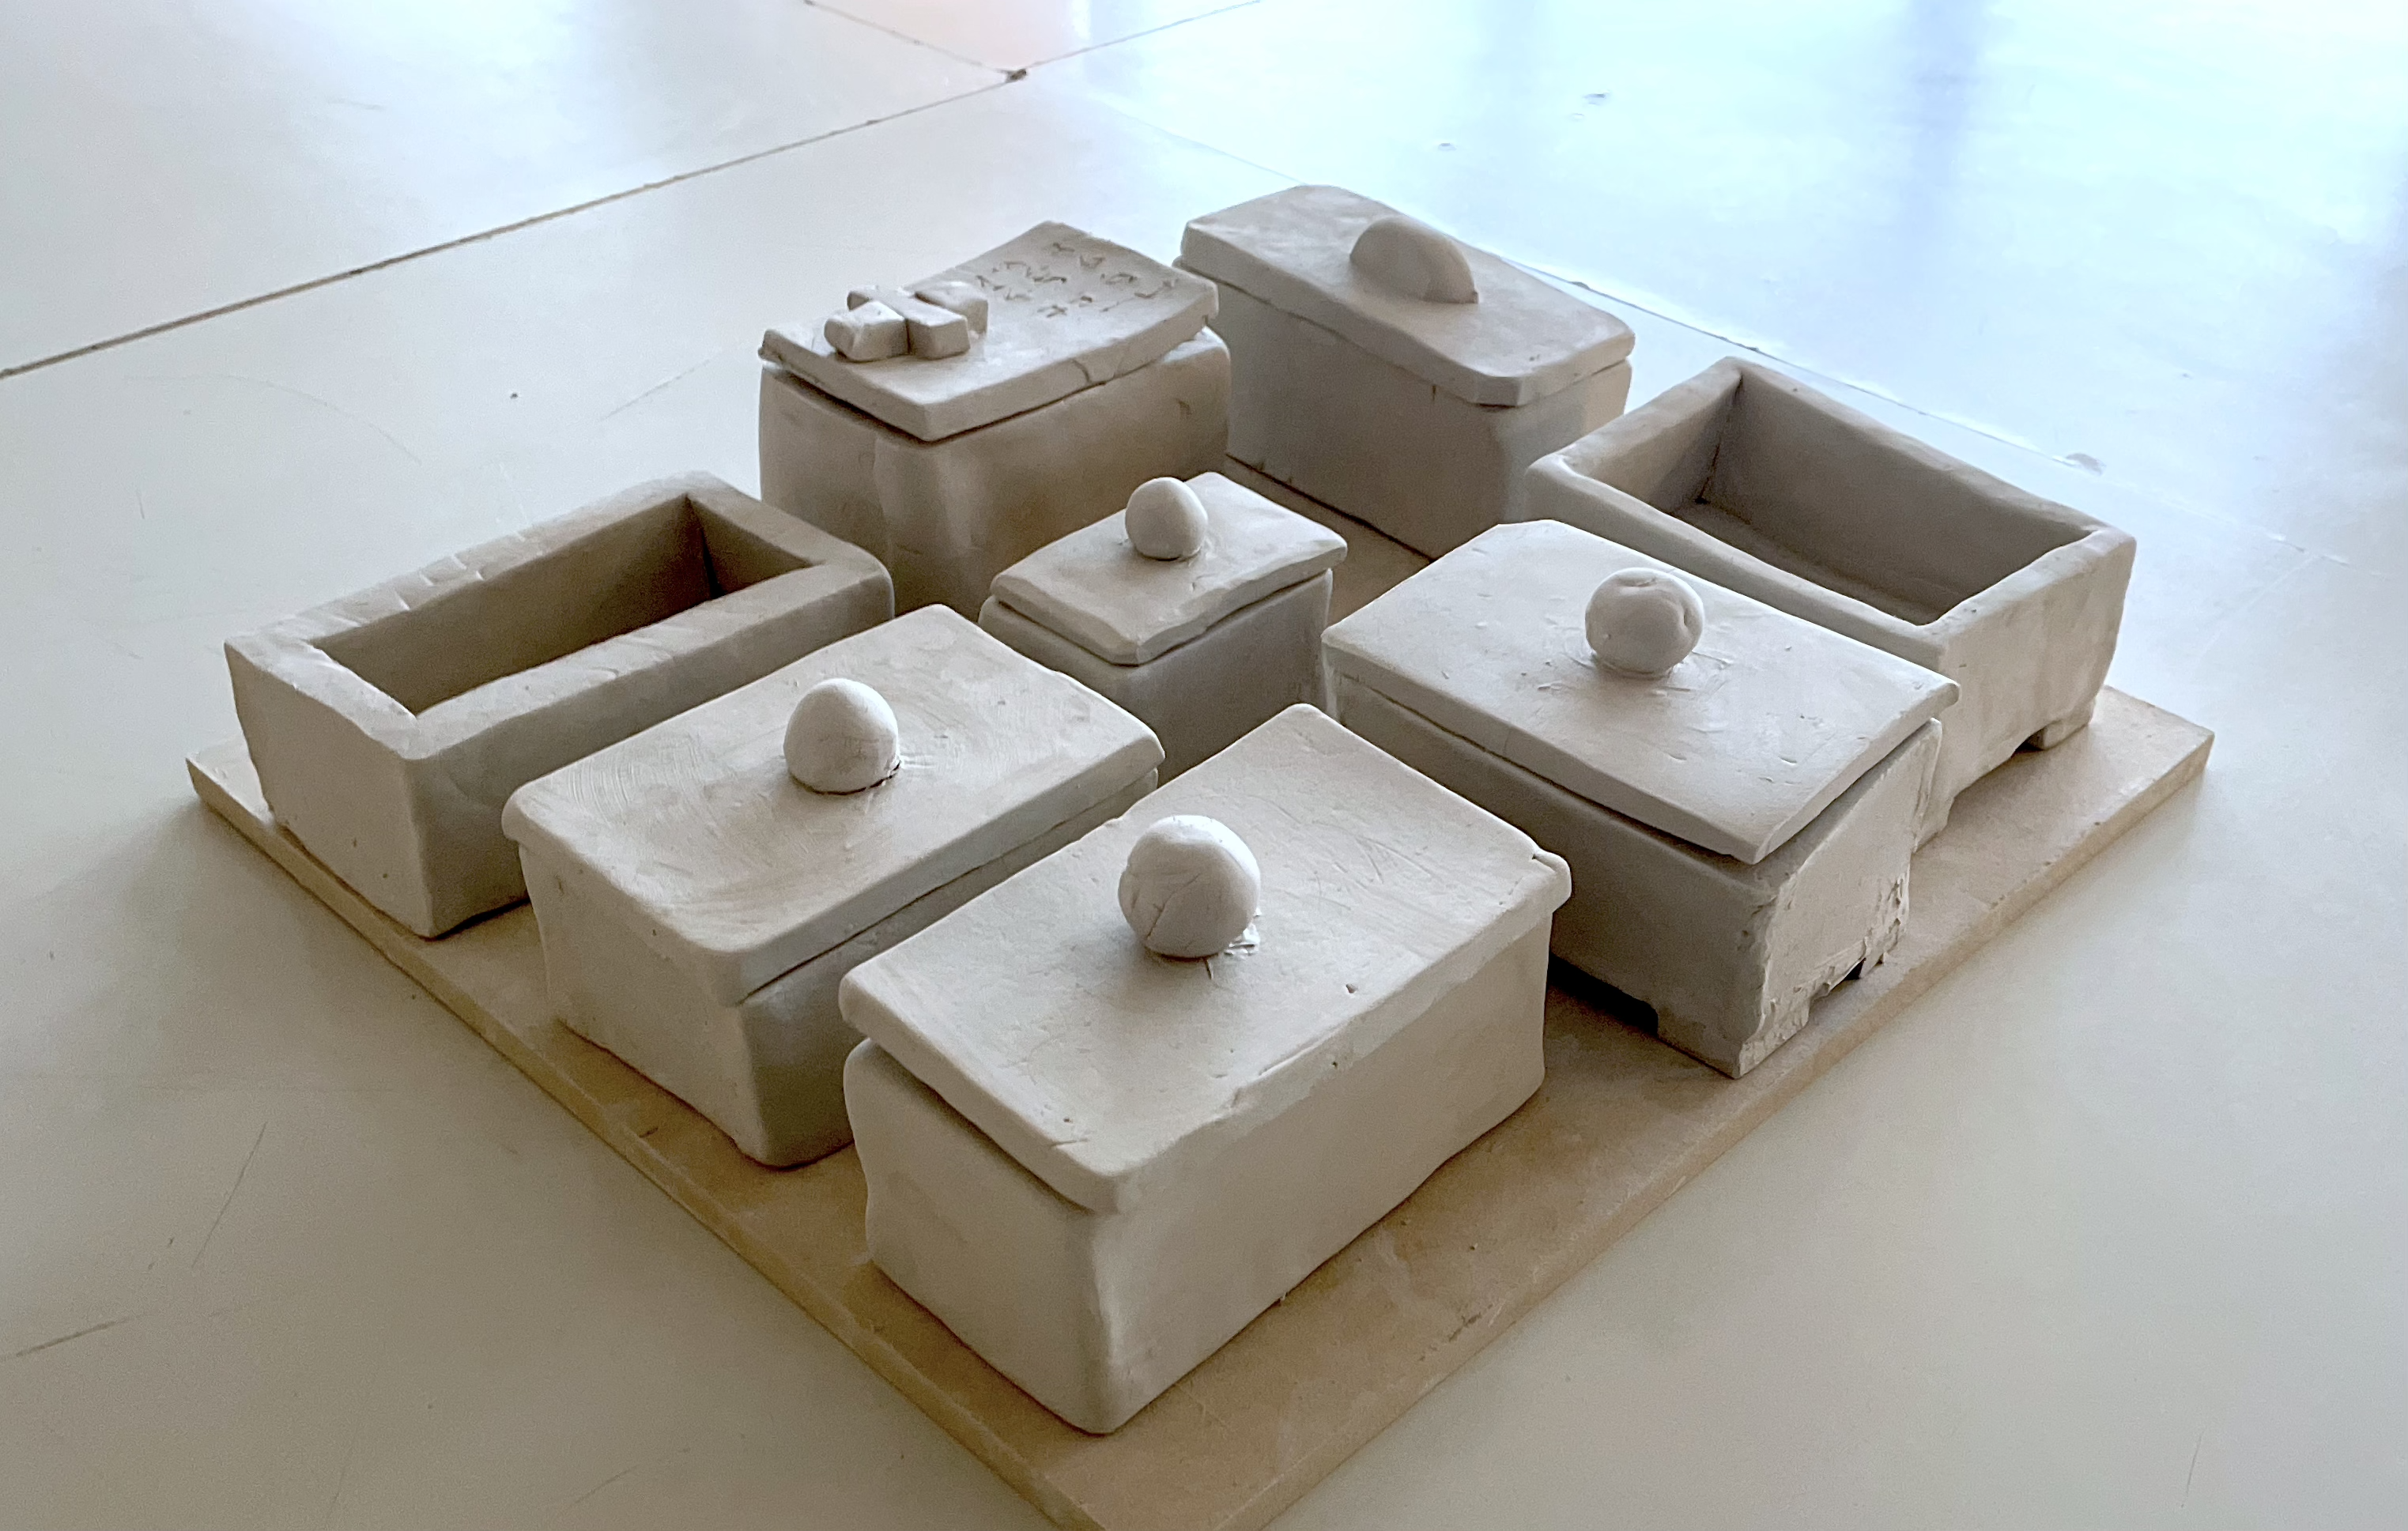
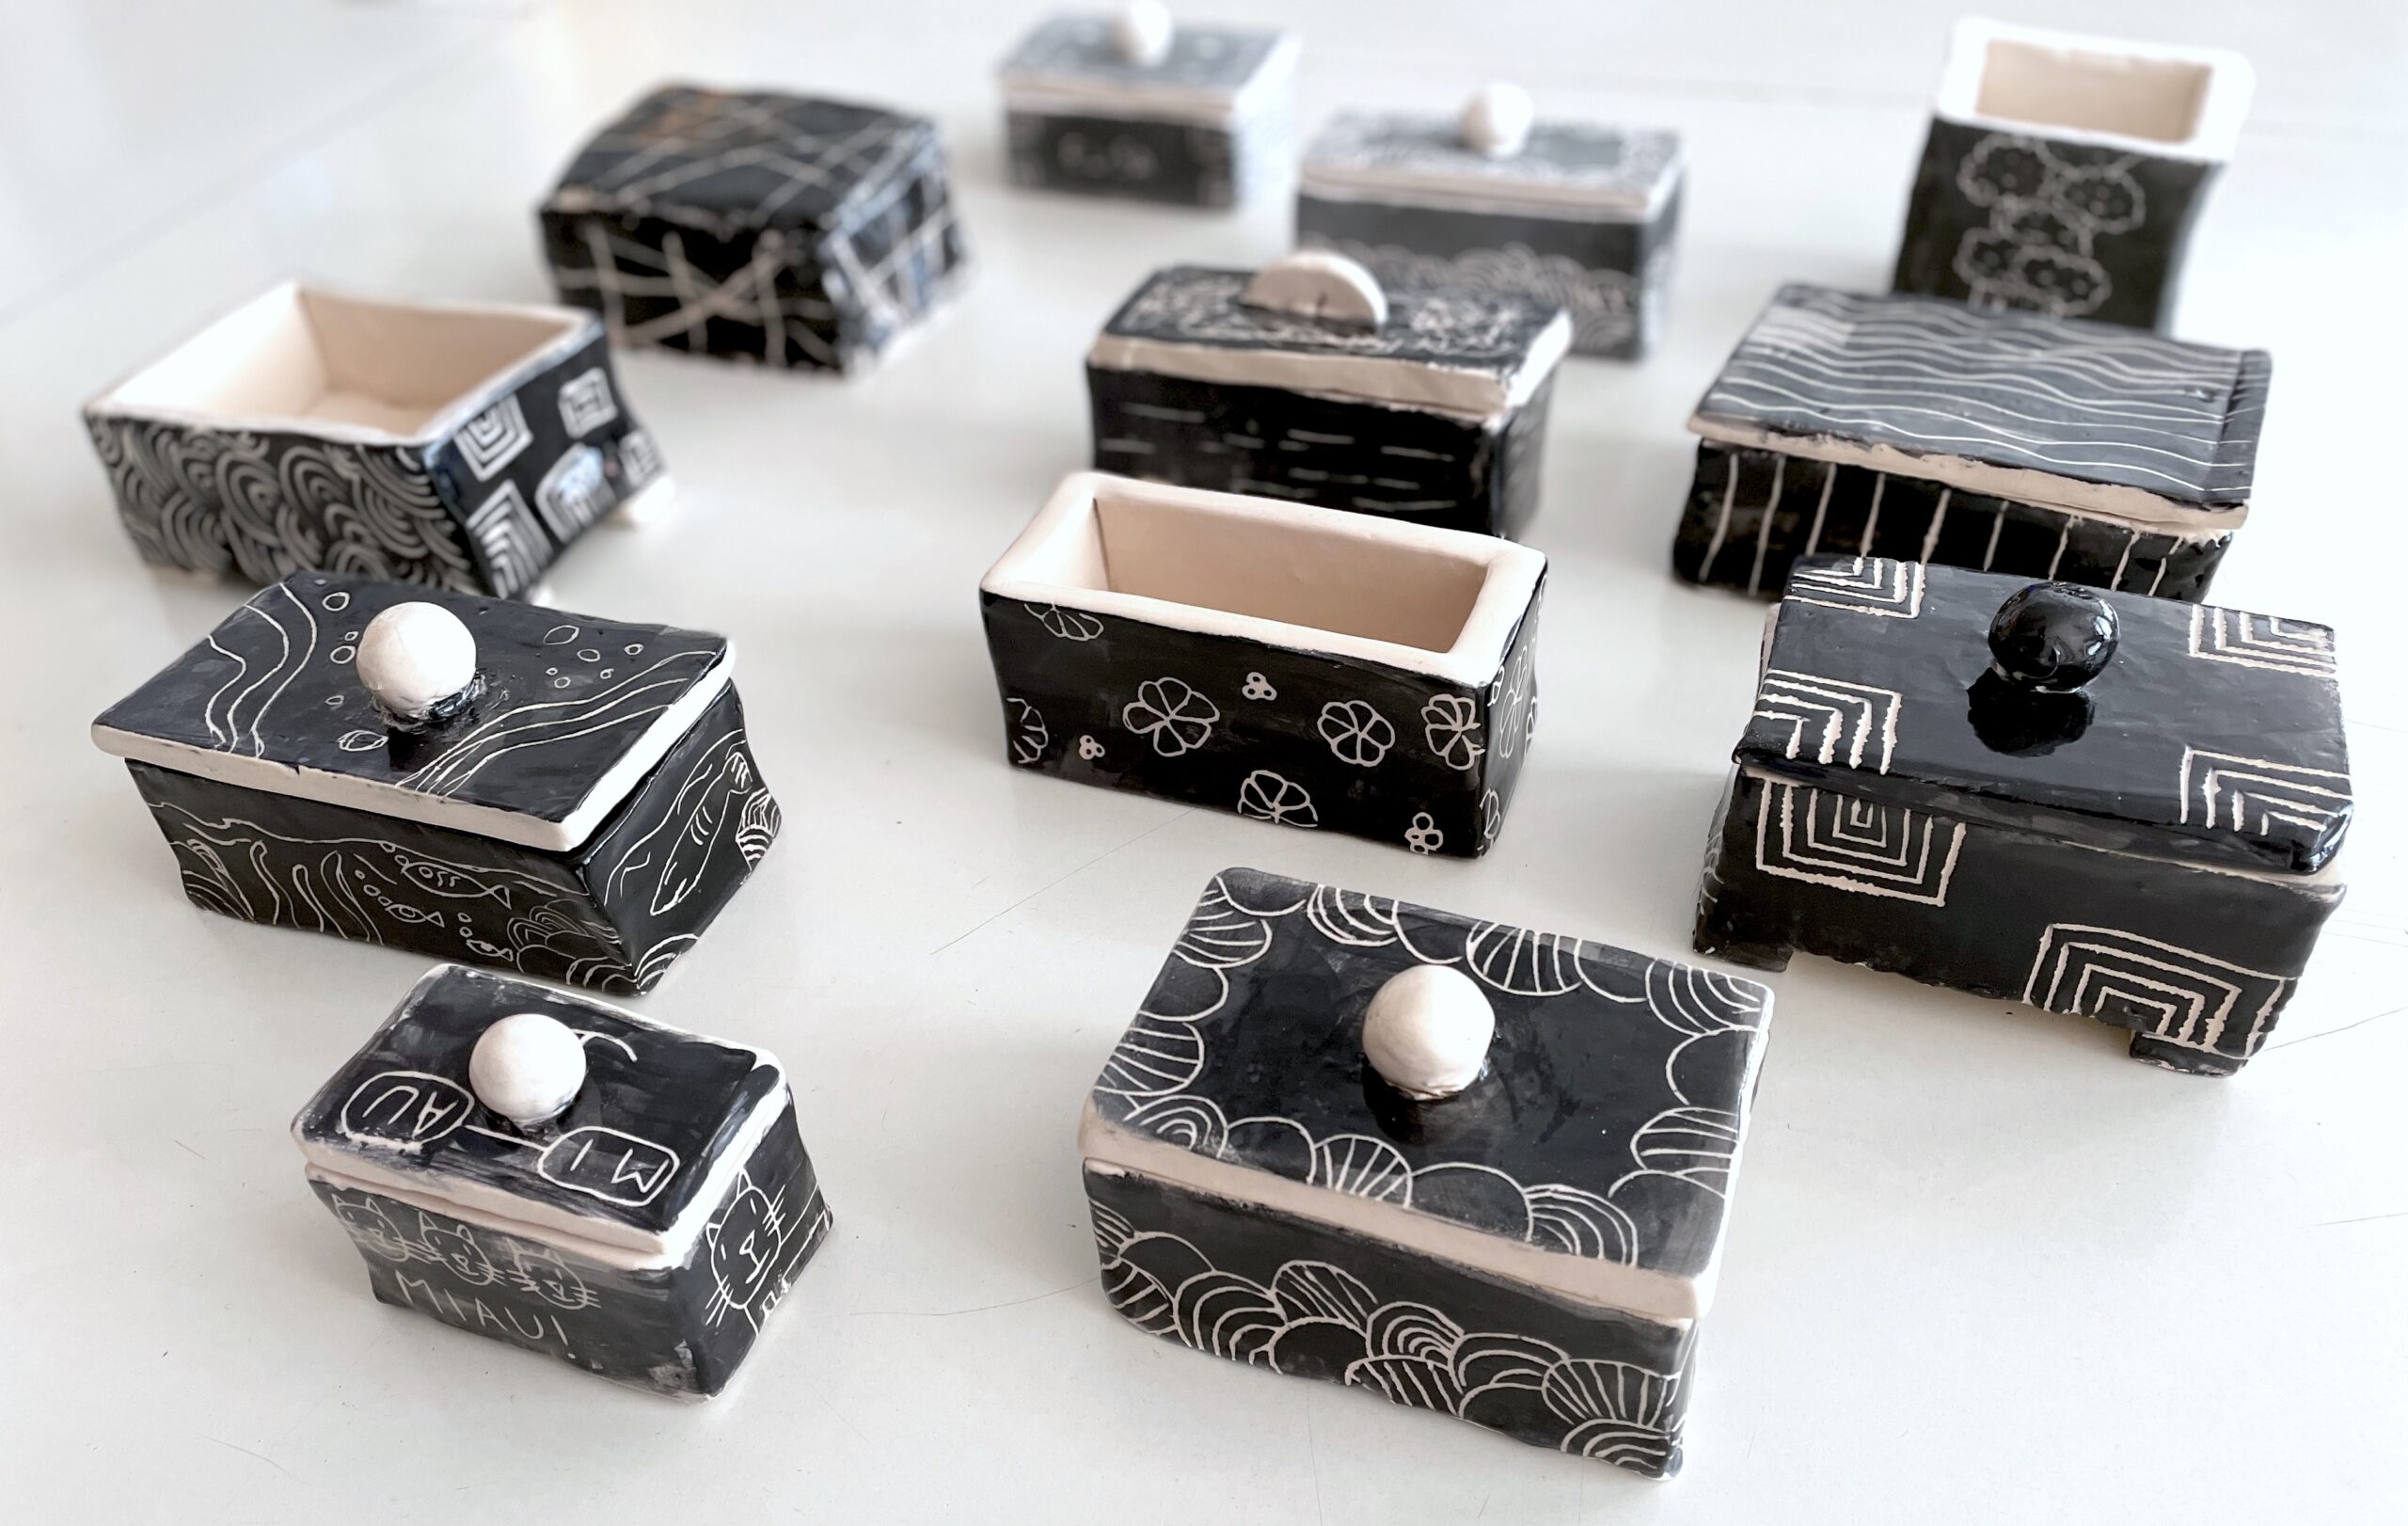
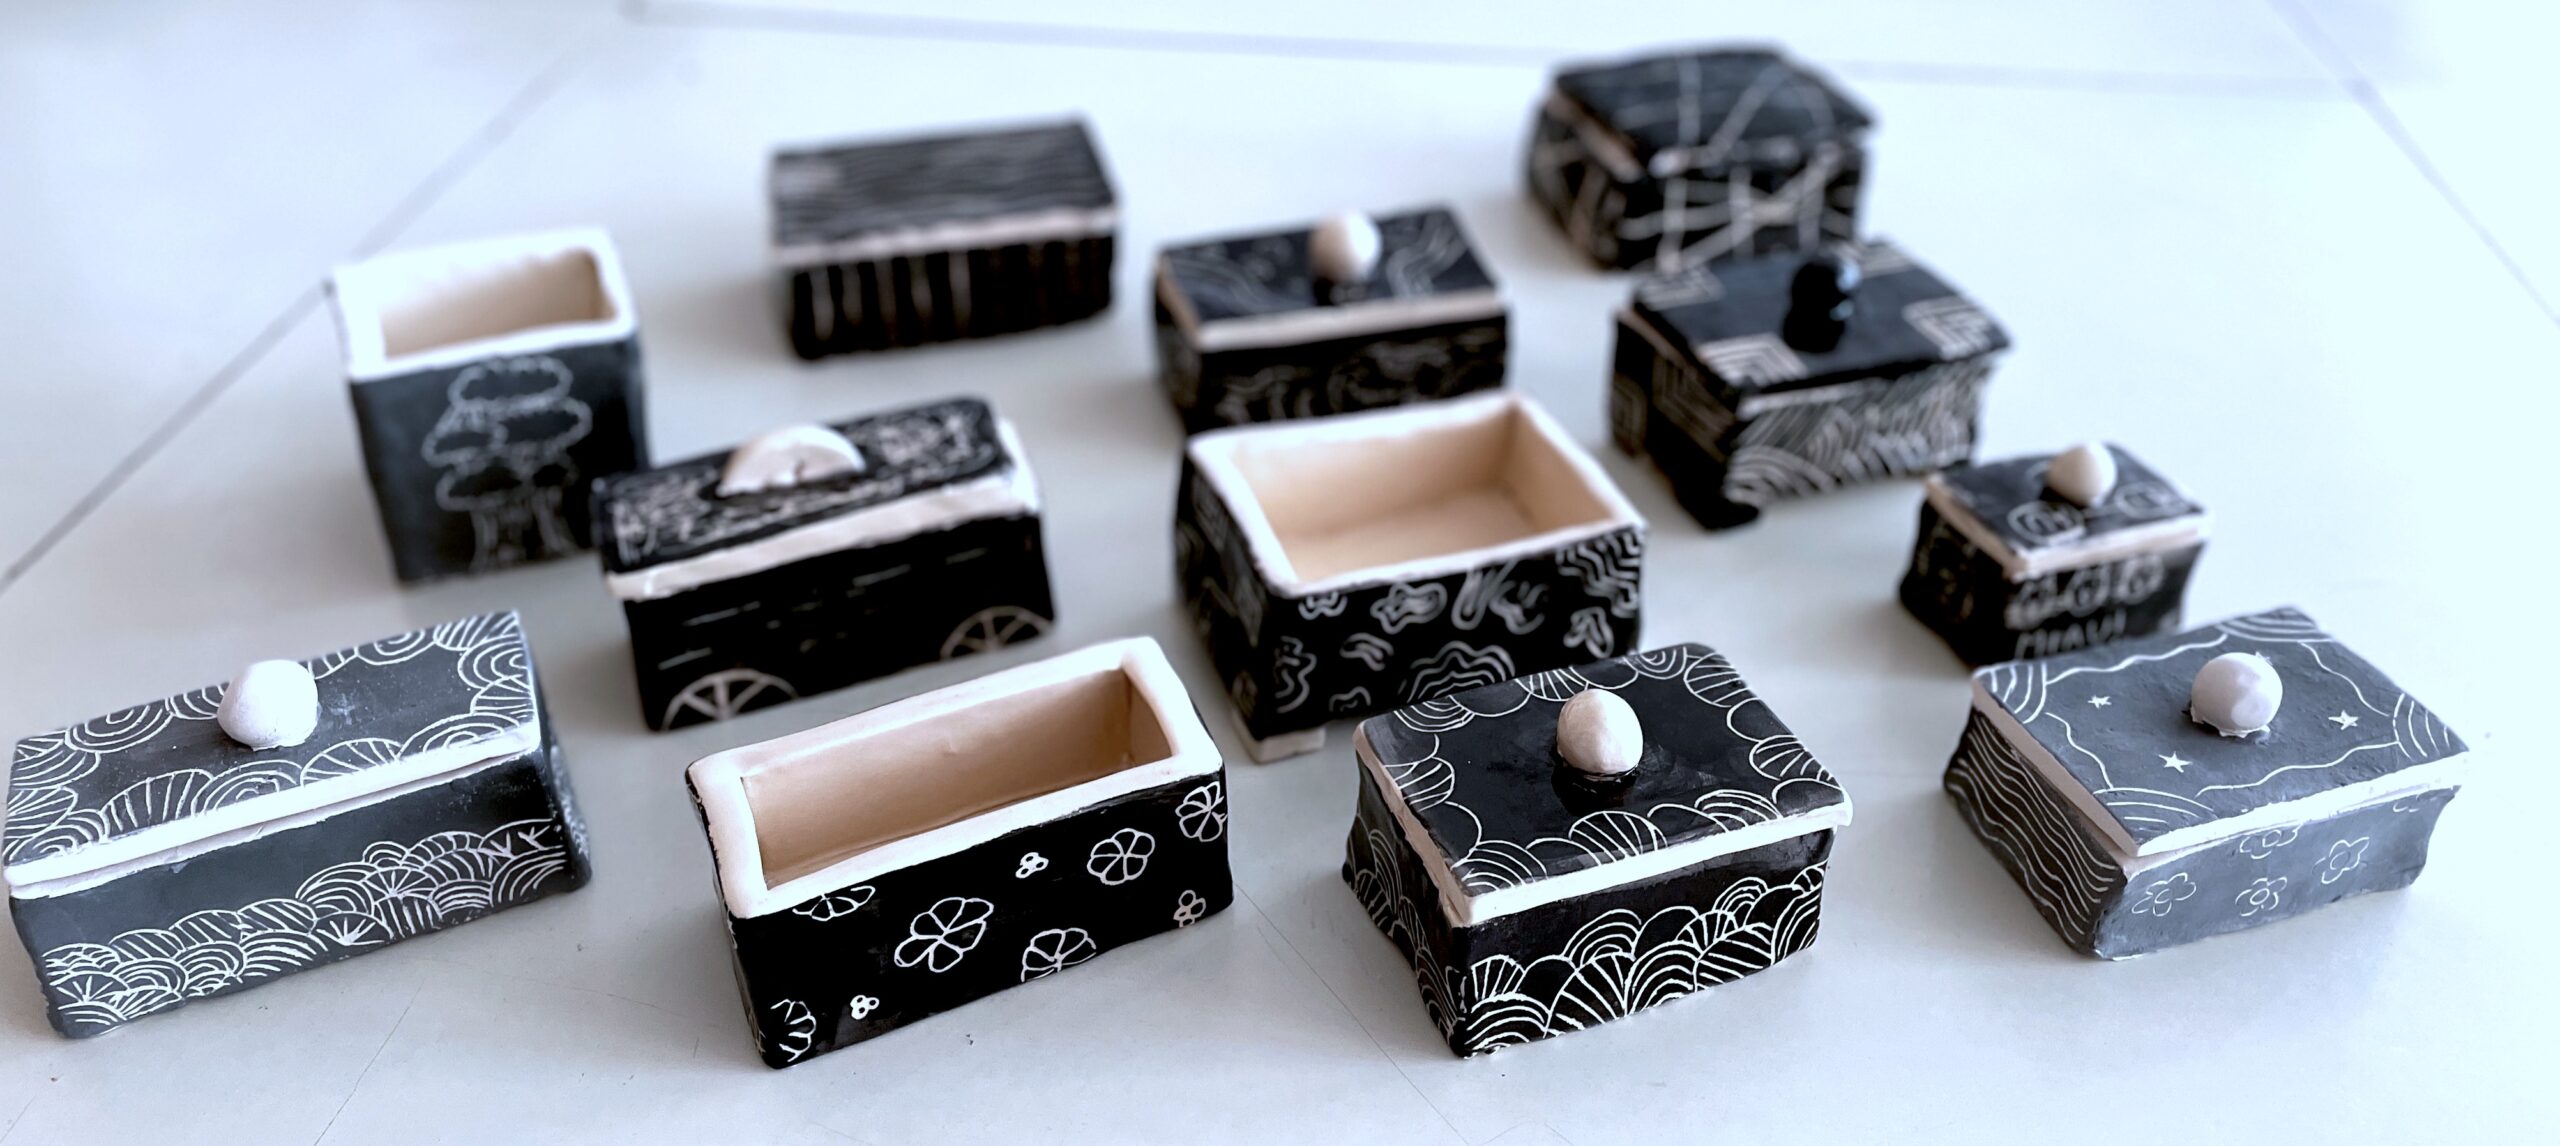
To make these ceramic boxes with the 7th grade students, we first of all designed a paper model, drawing the outlines of each element useful for making up the box. Once the dimensions were decided, we assembled our paper model with adhesive tape, to check the consistency of the measurements.


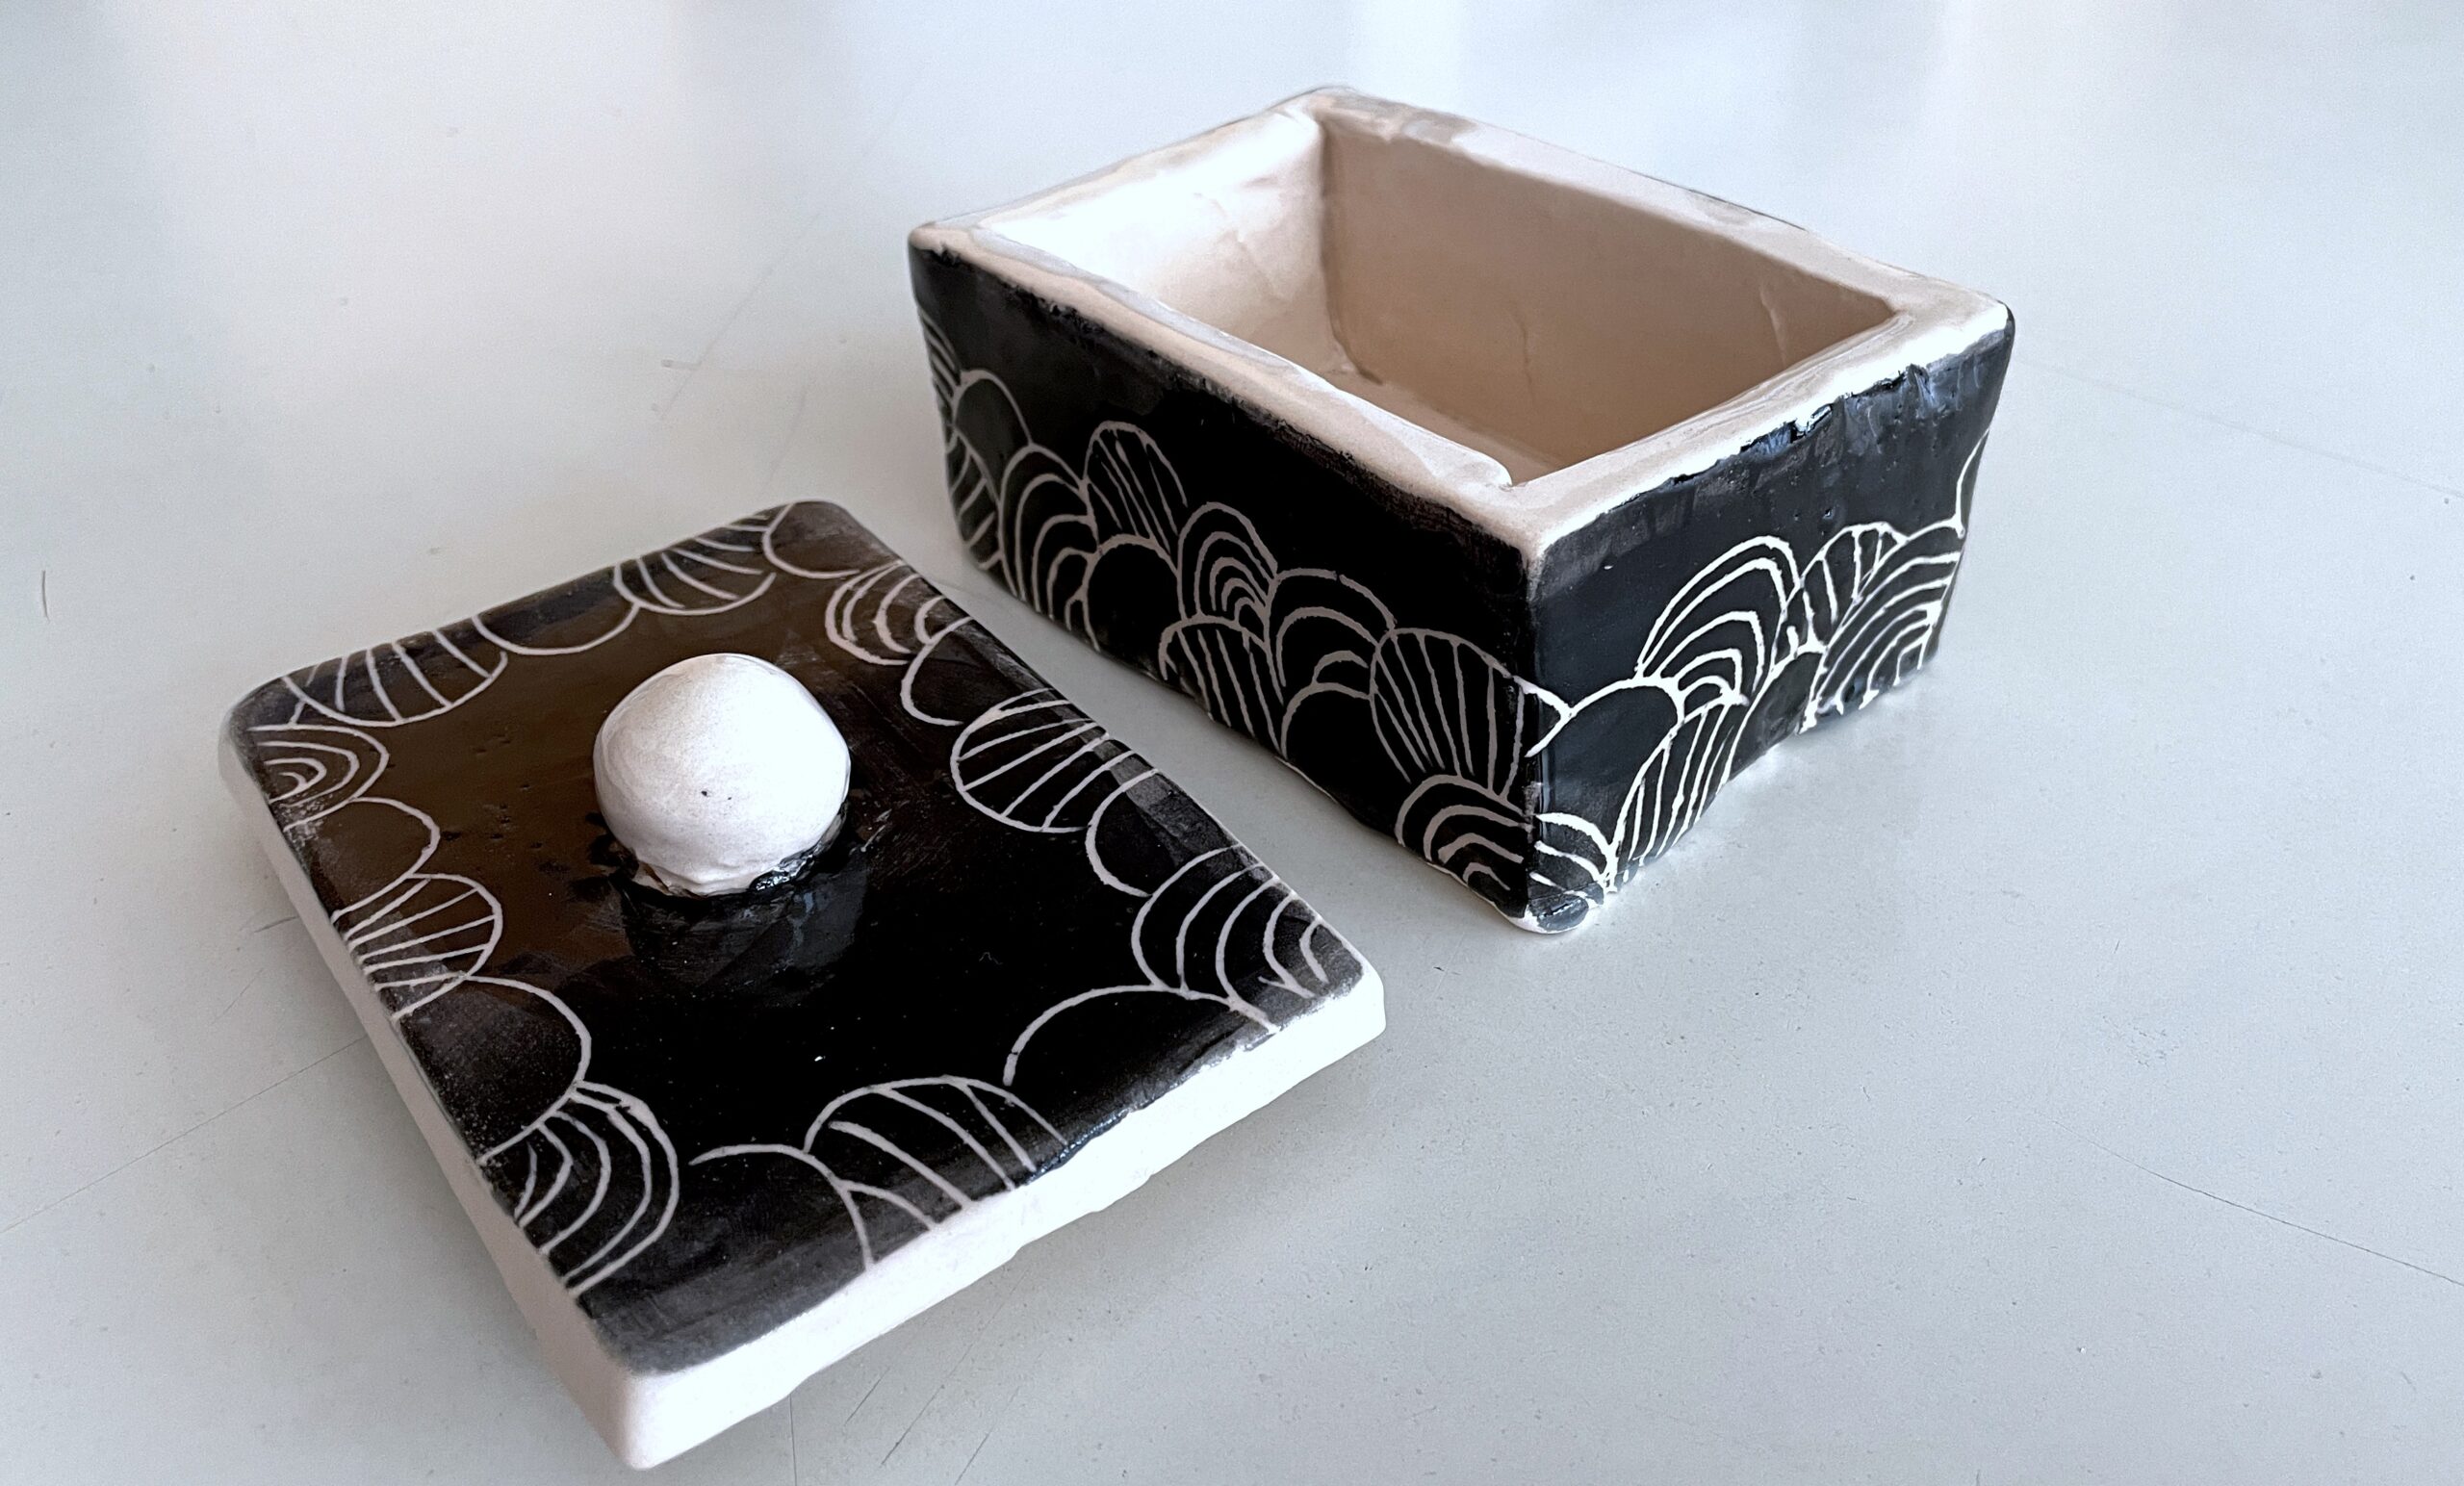
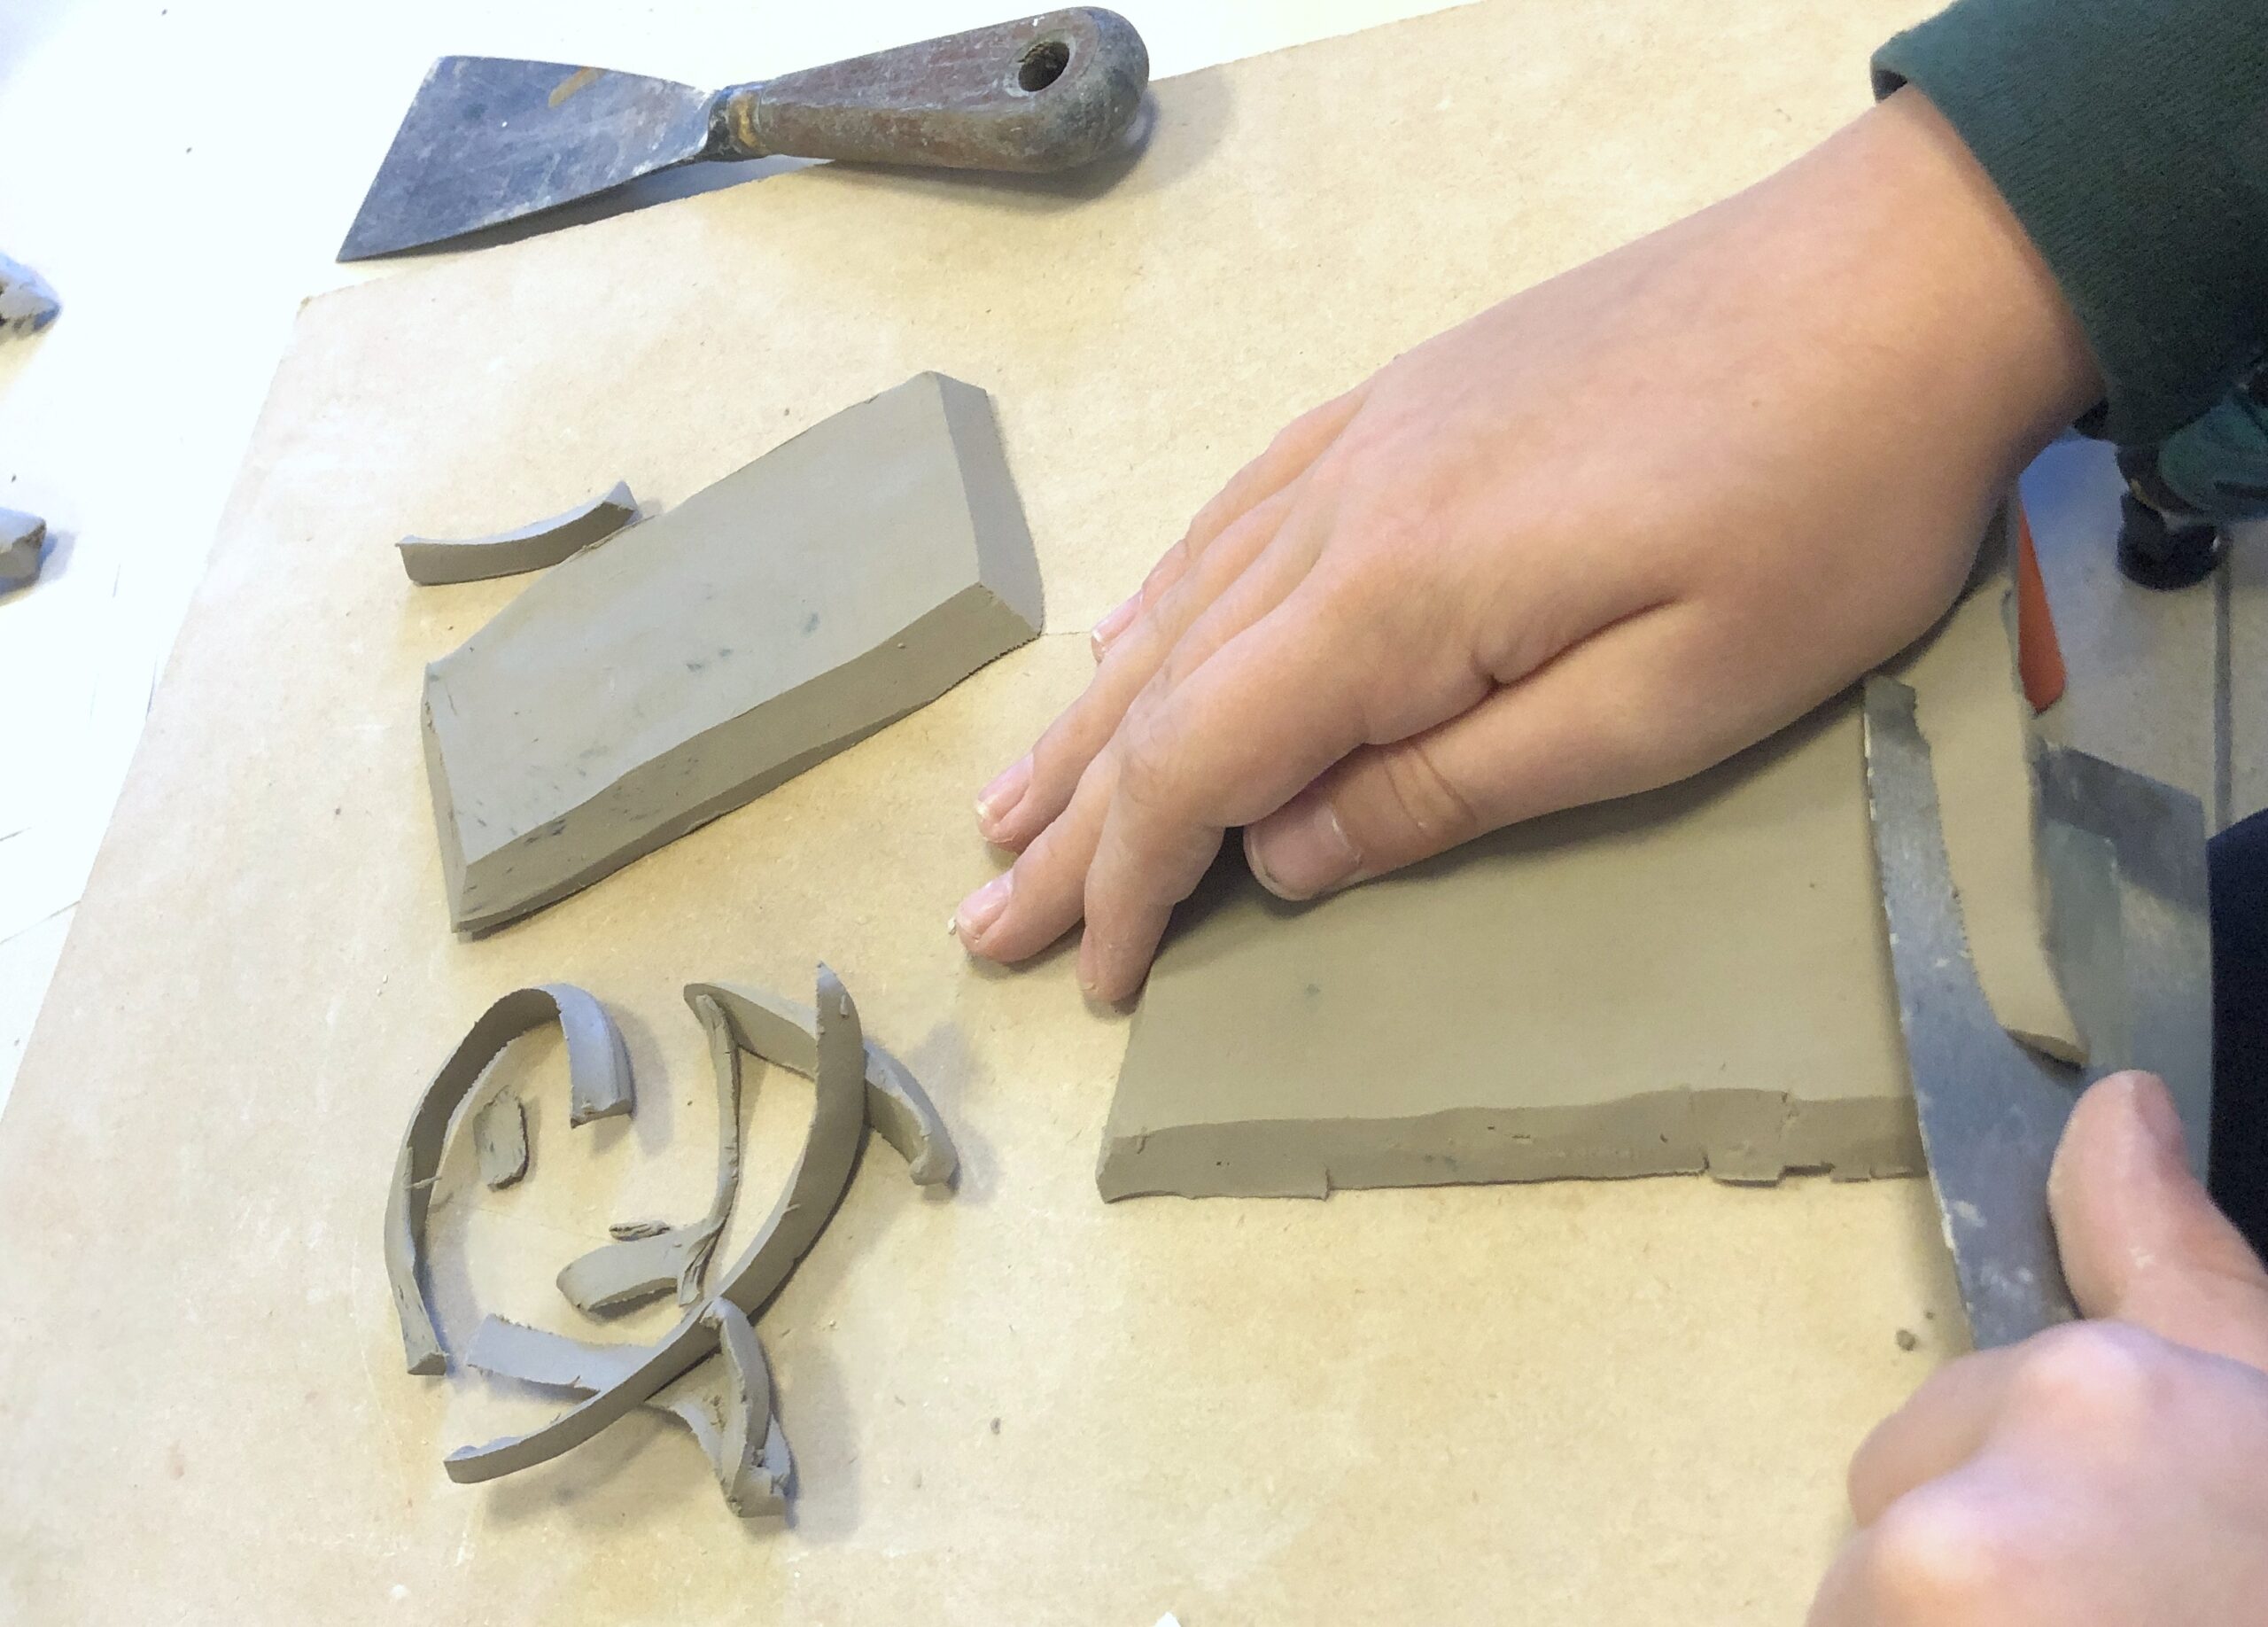
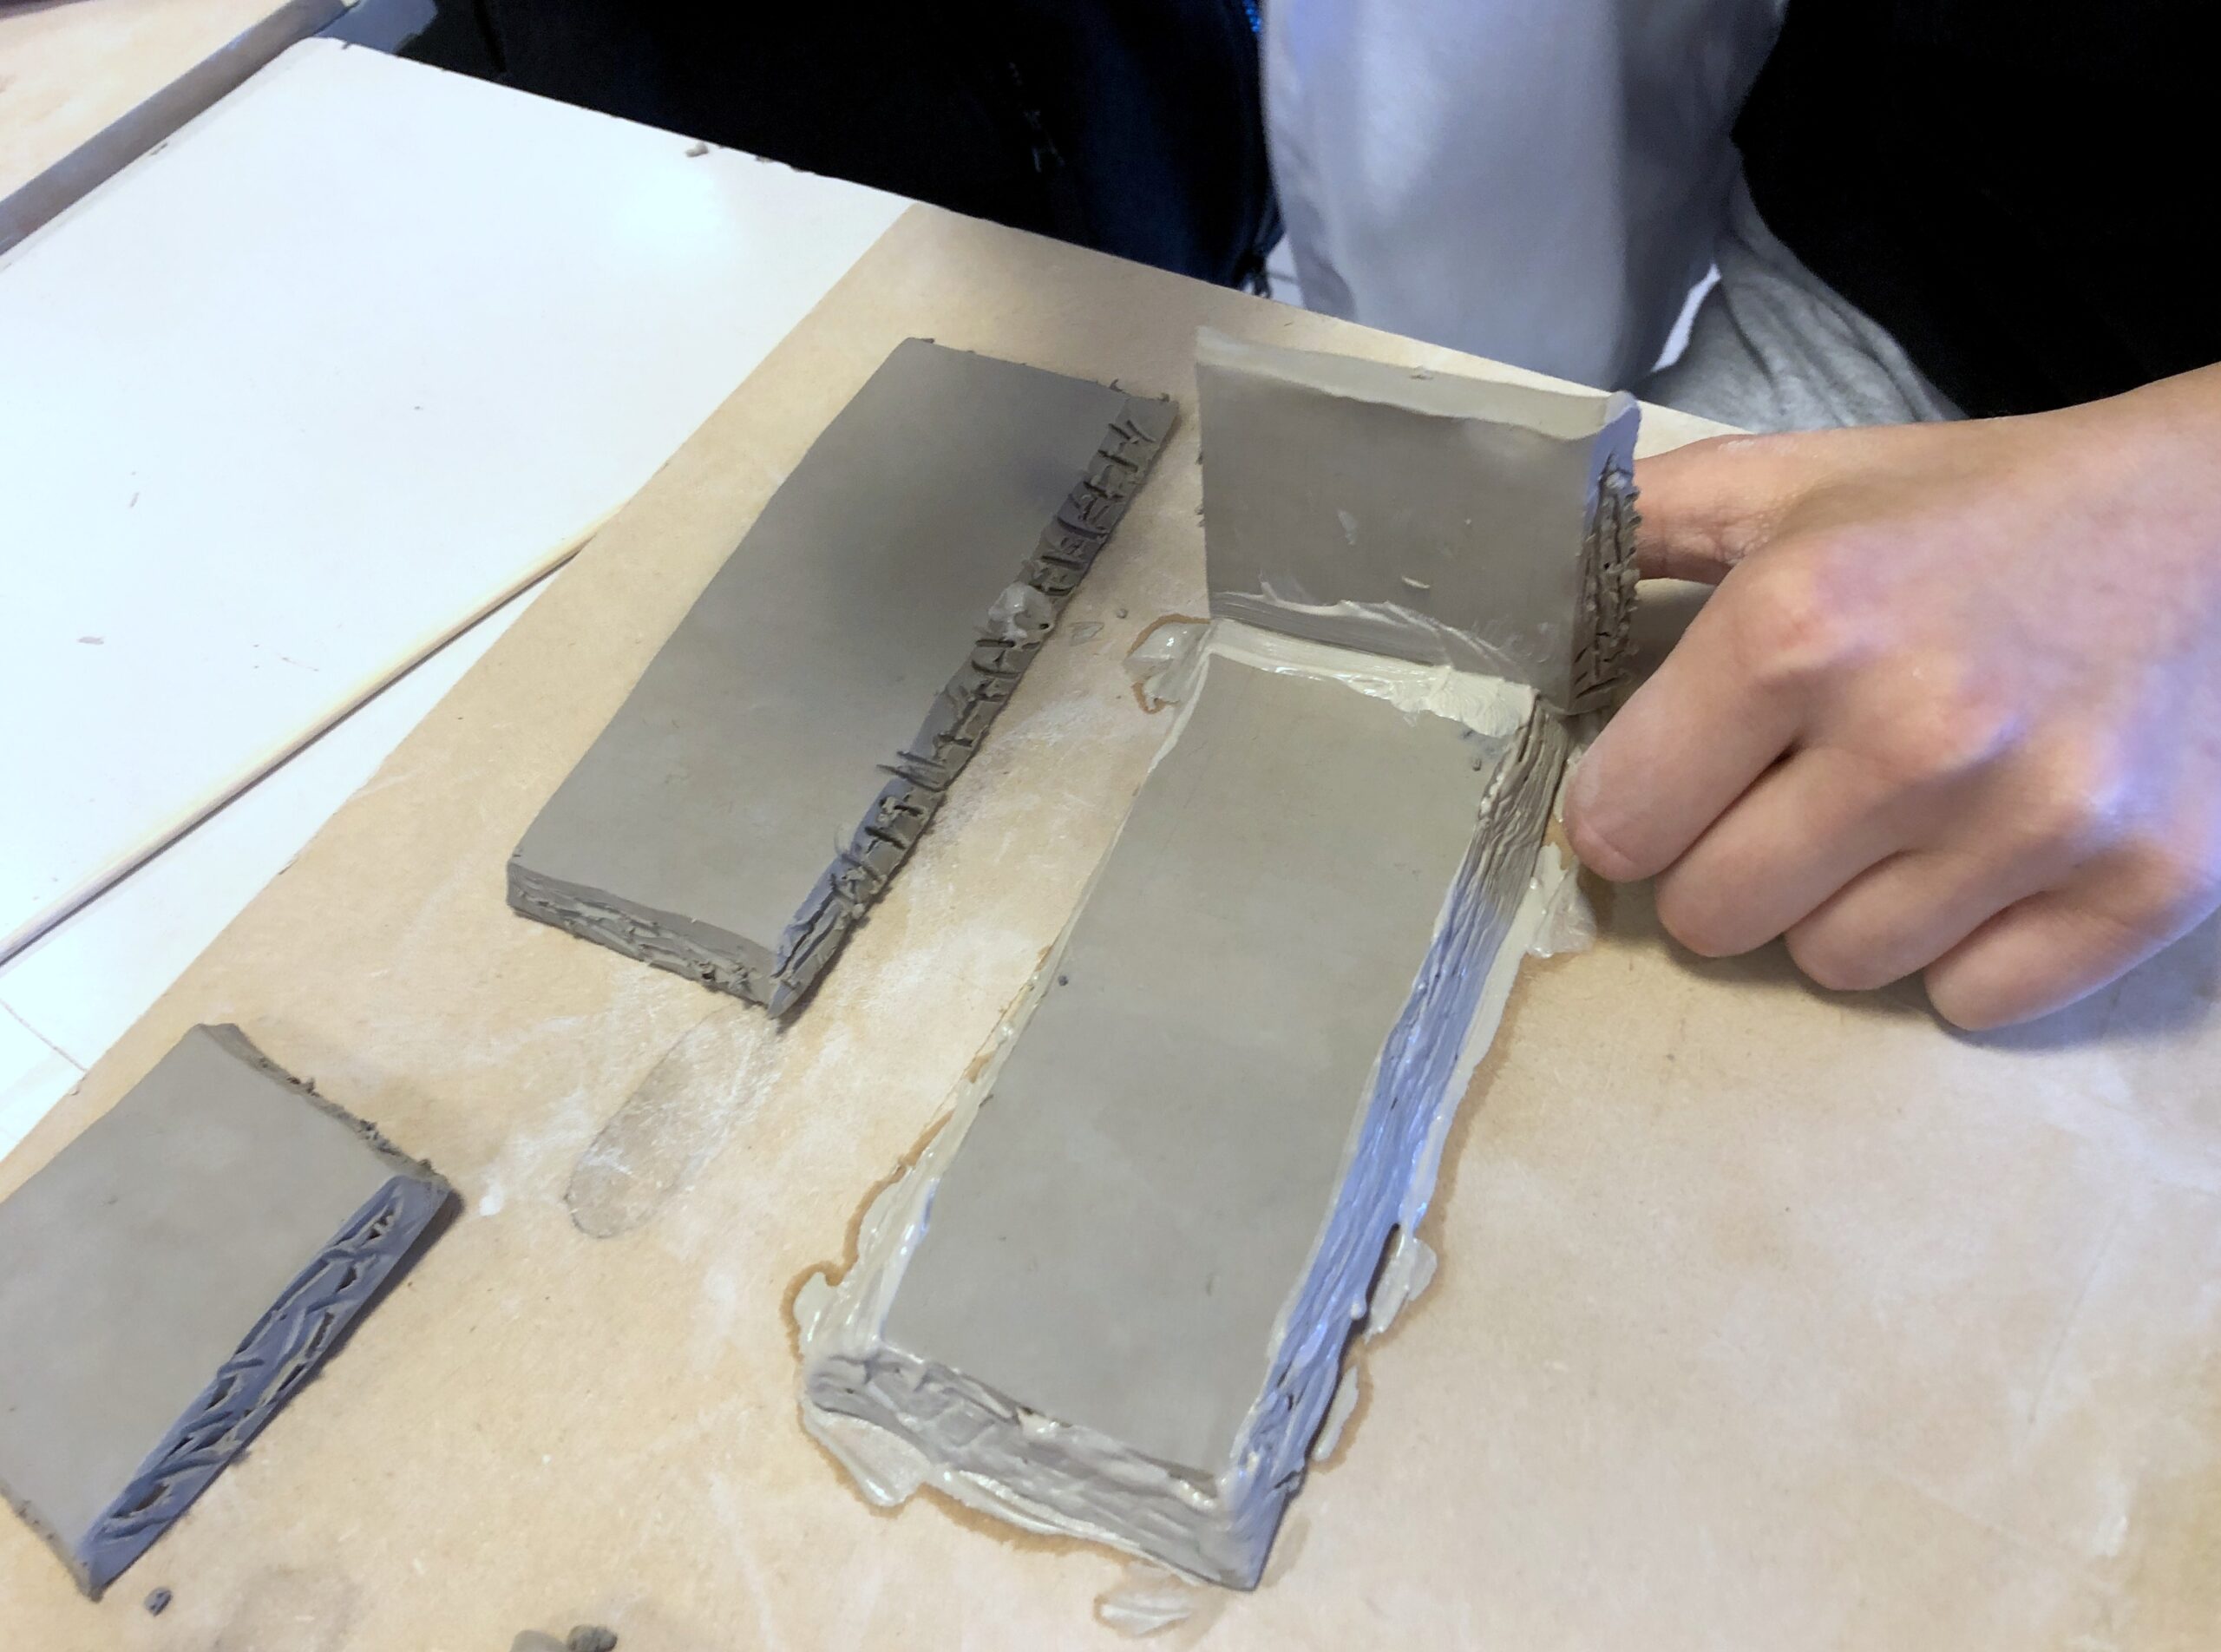
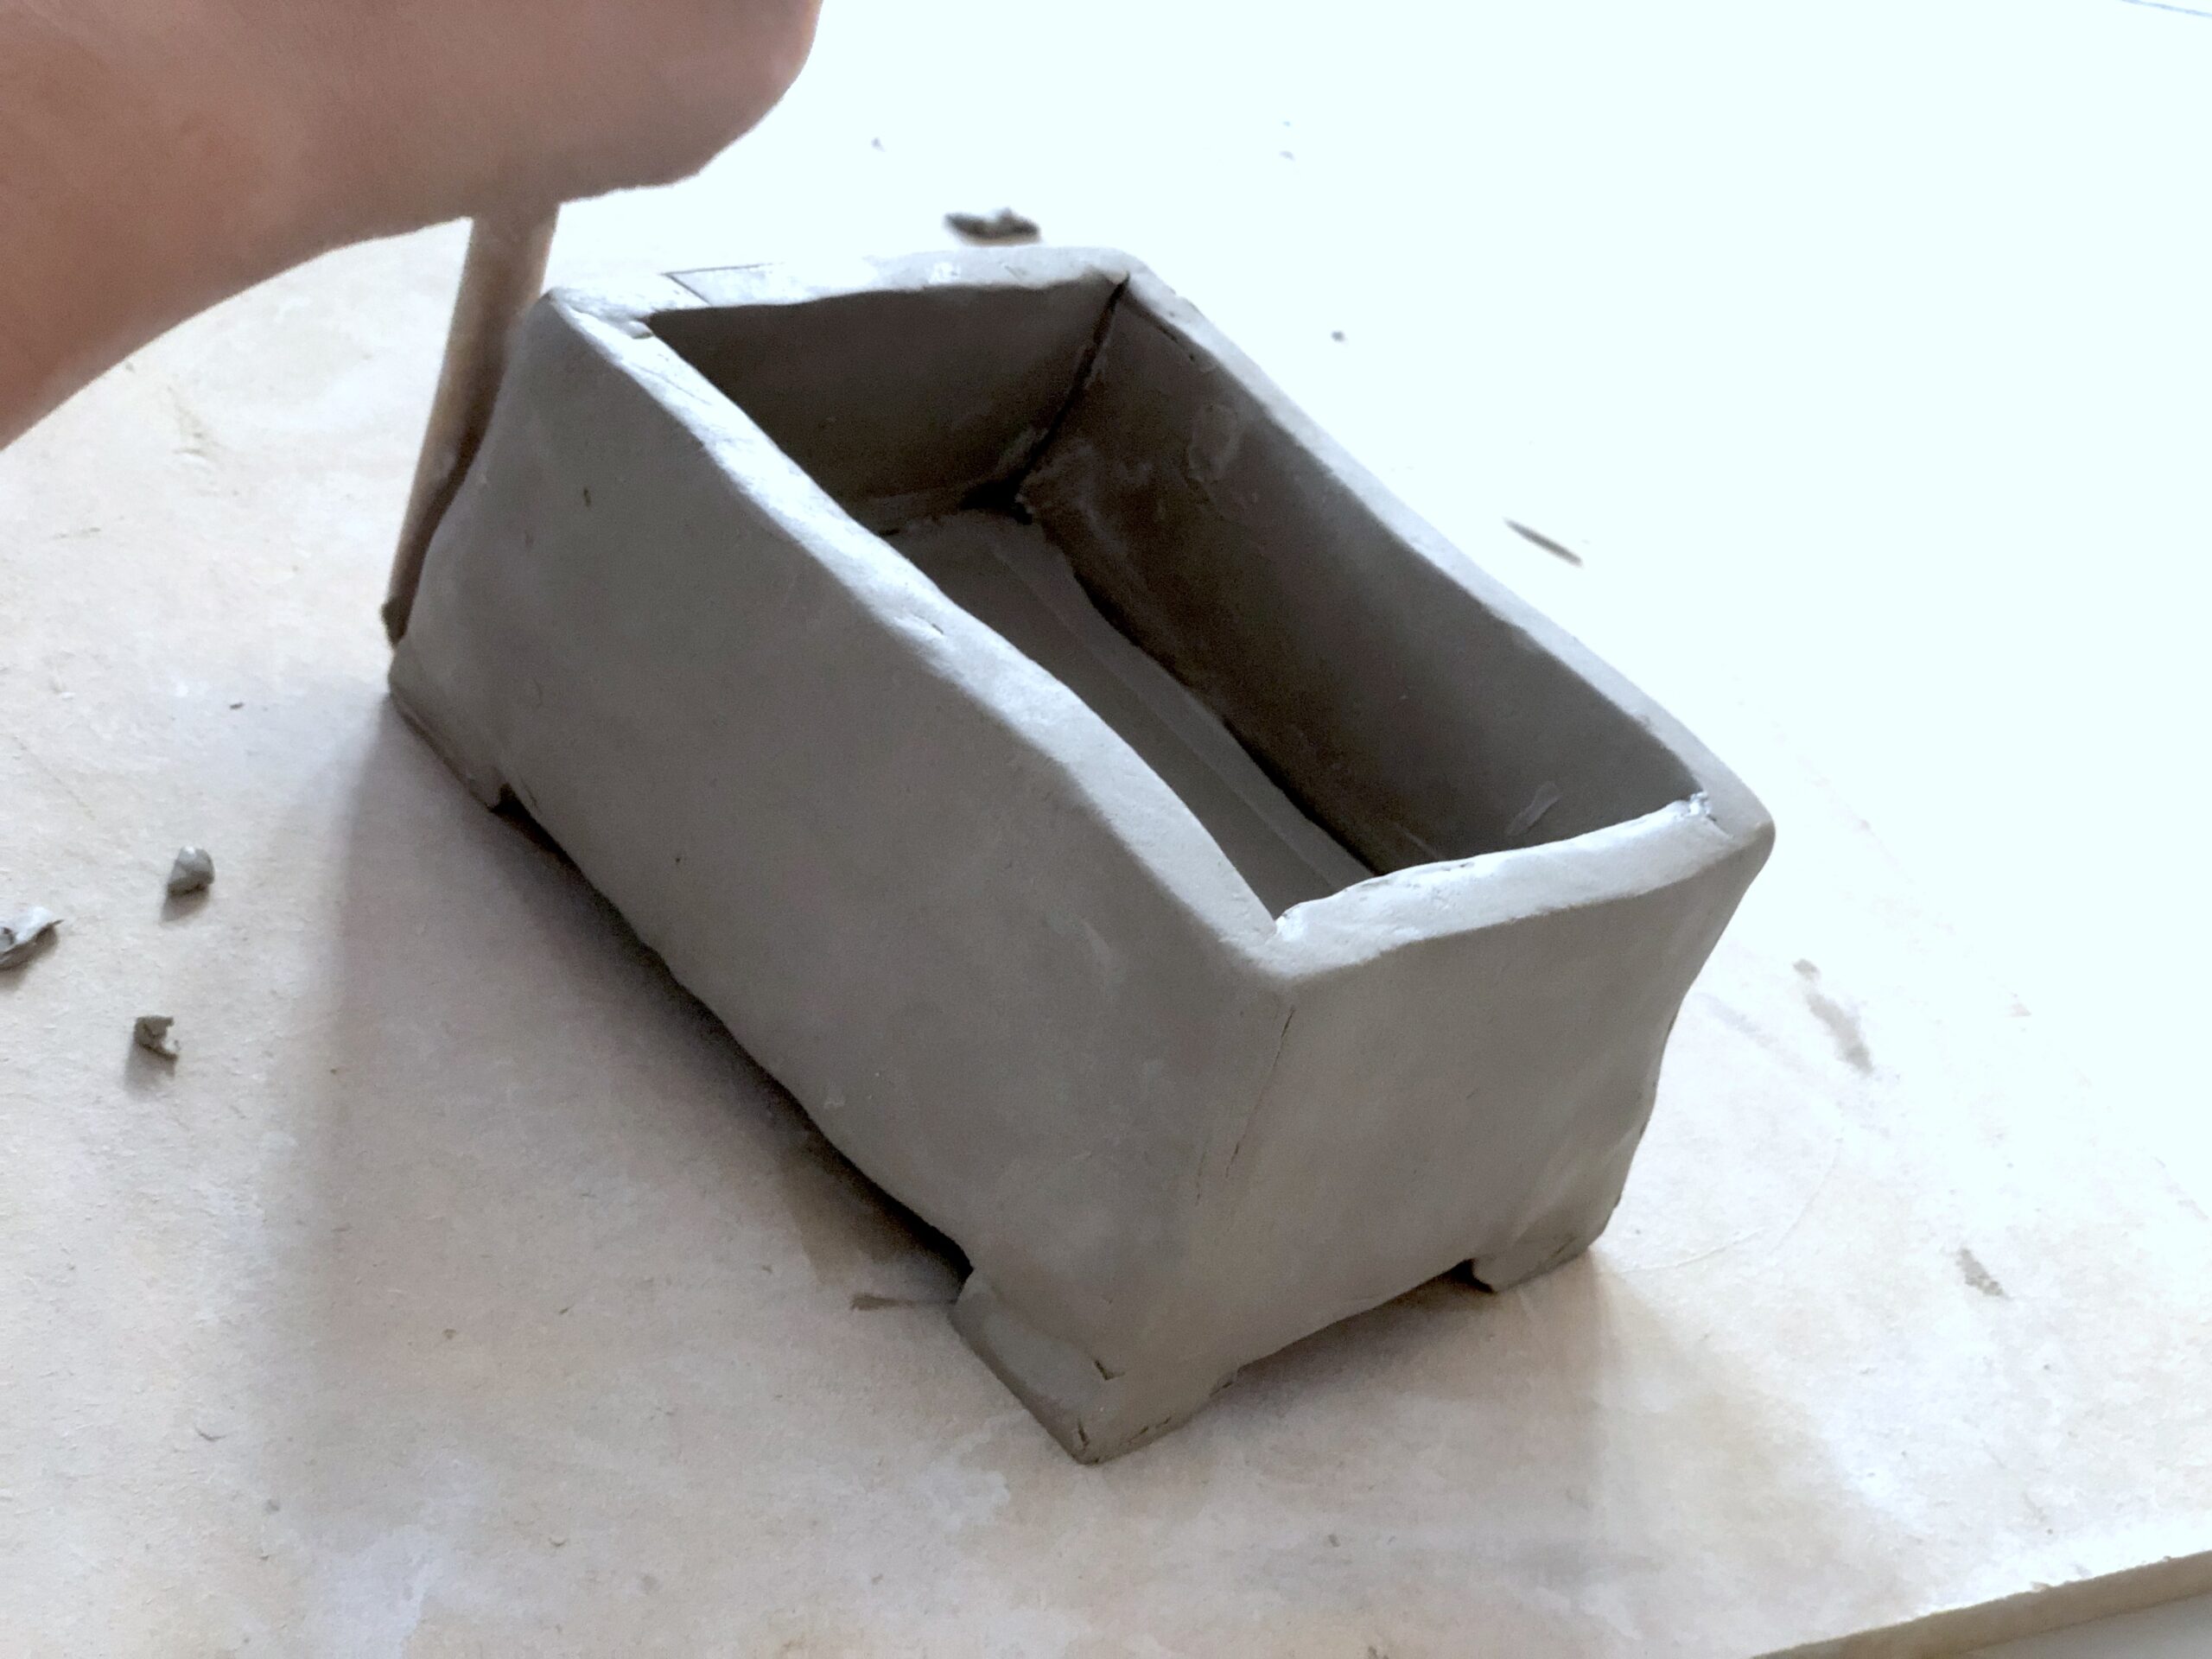
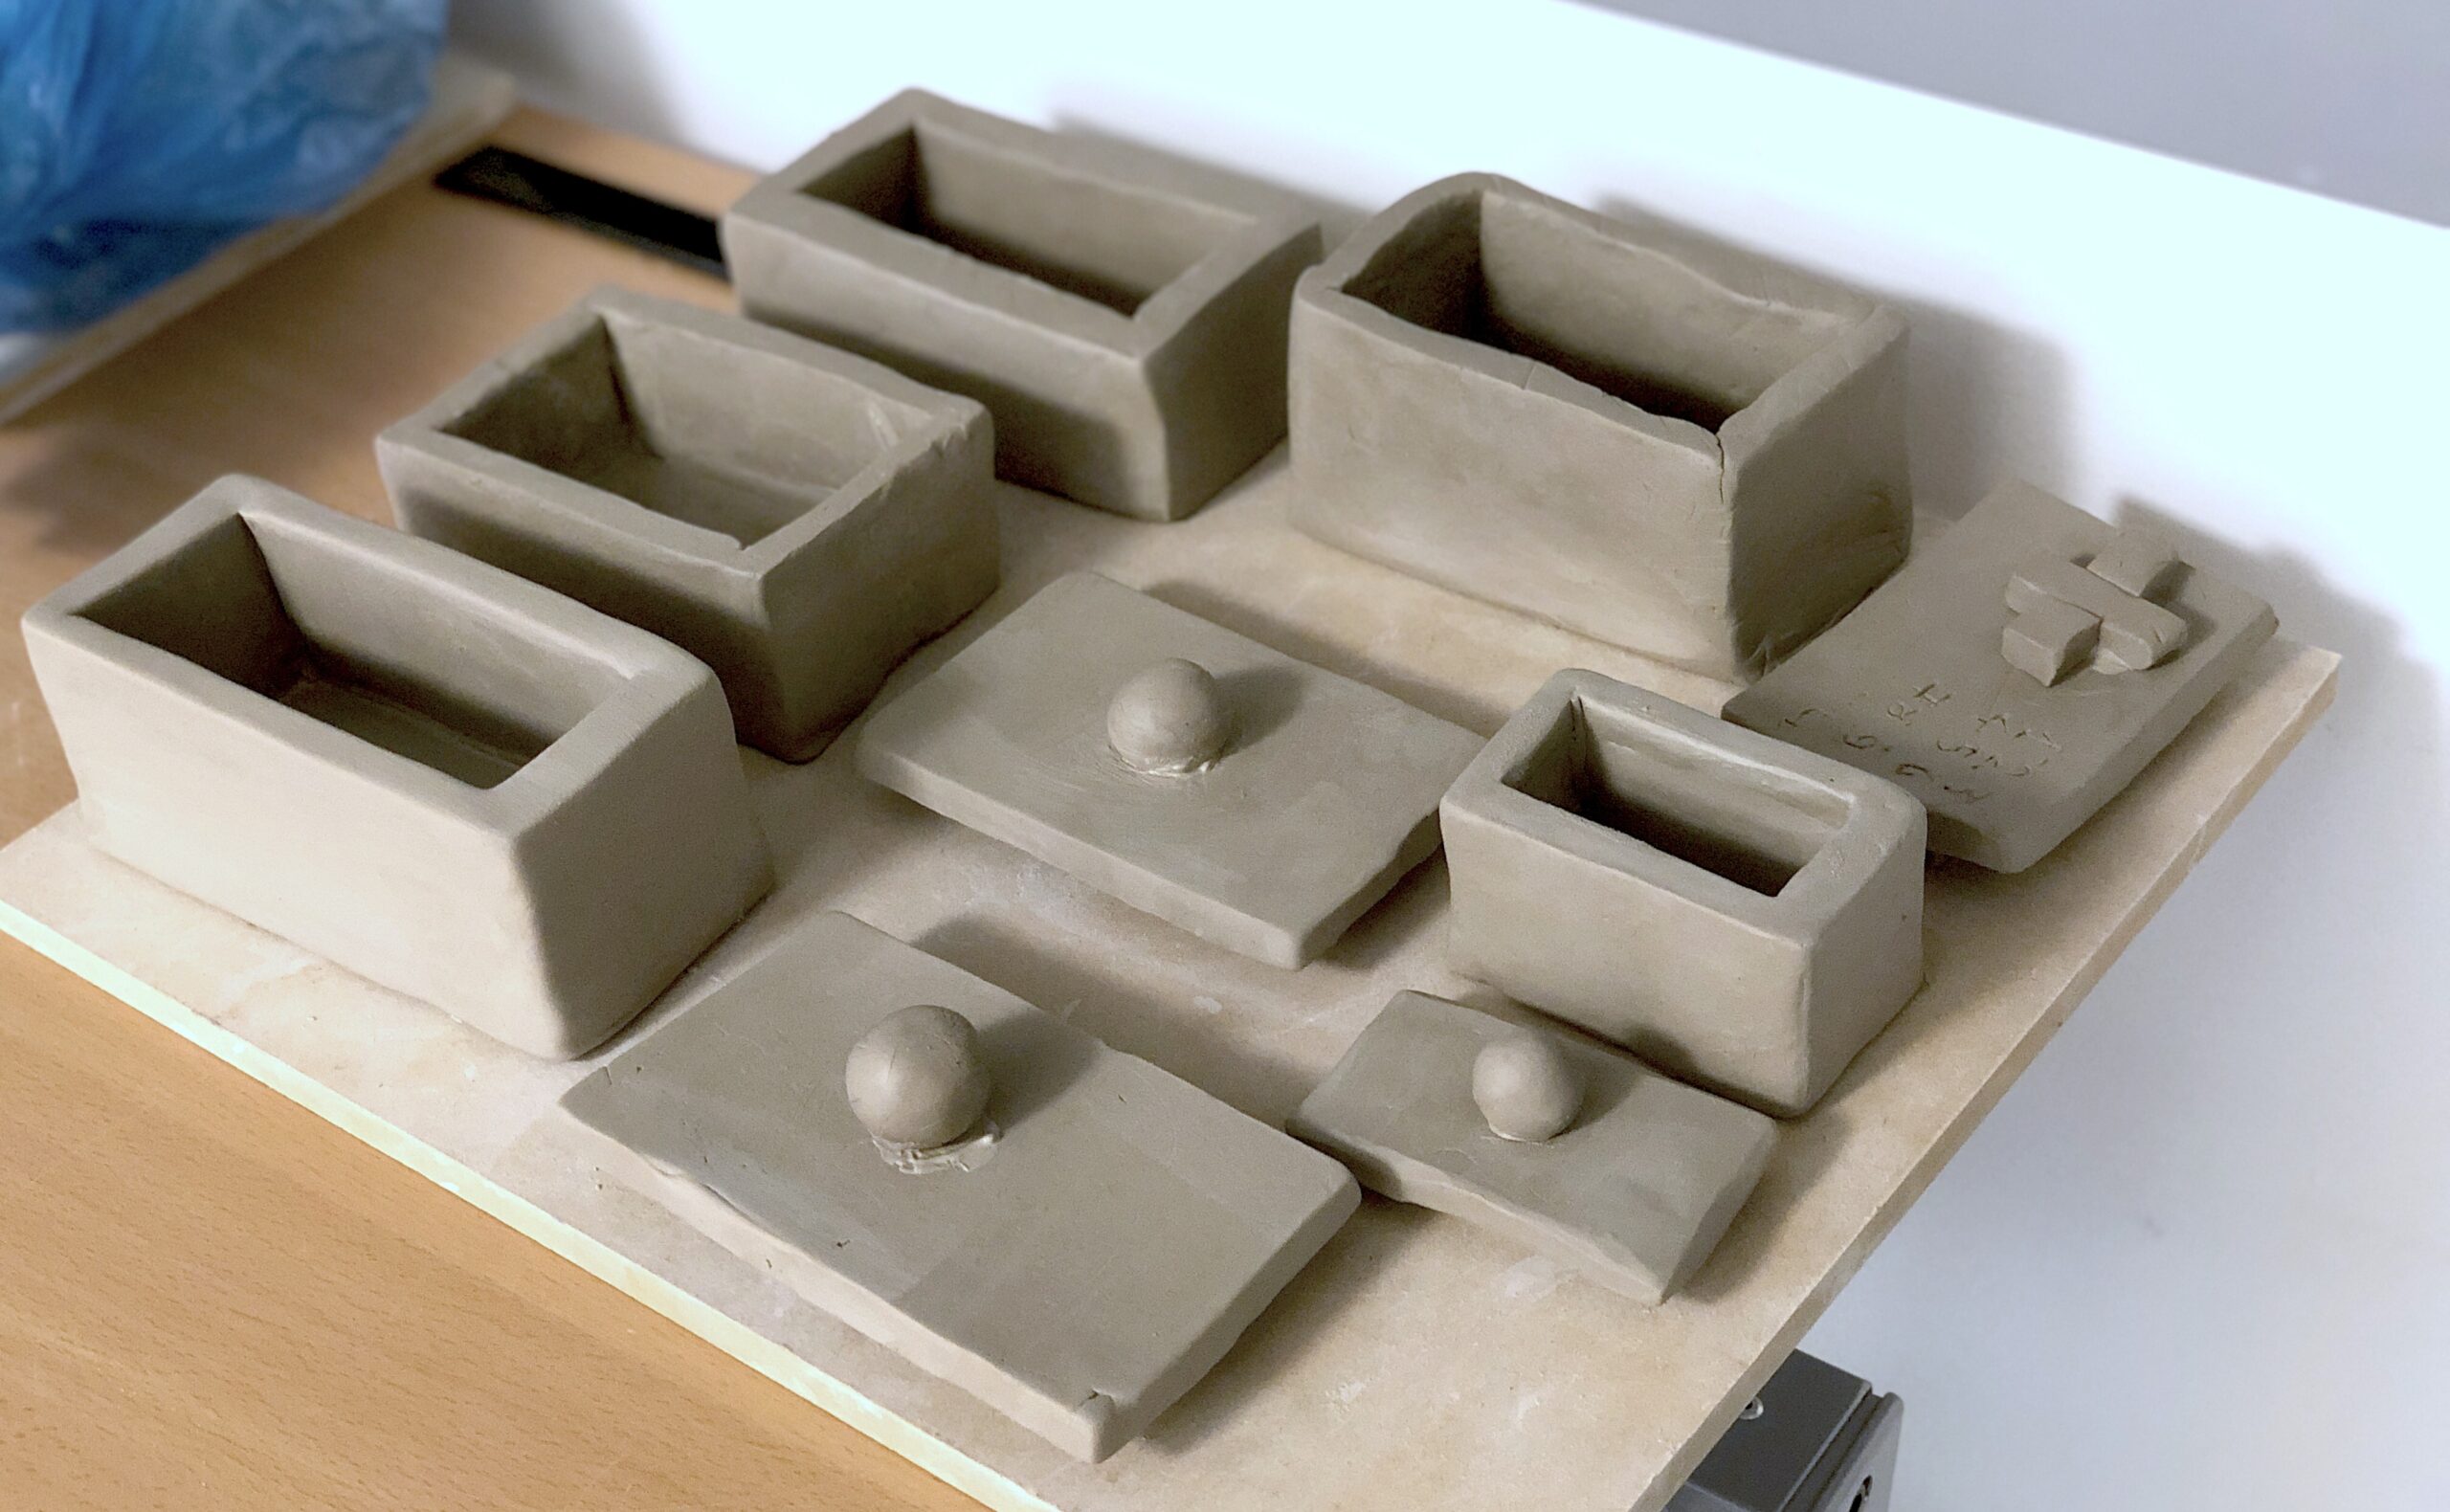
Once the measurements have been verified, the model is used to cut out the parts of the box from the clay slabs. The edges of the various parts that need to be assembled and glued together are cut at 45° with a small knife or spatula. In this way our box will not have any signs of joint. Once all the pieces have been prepared, they are assembled by knurling and spreading the slip on all the parts to be joined. In the same way we proceed for the details, such as the feet, the lid and the knob.


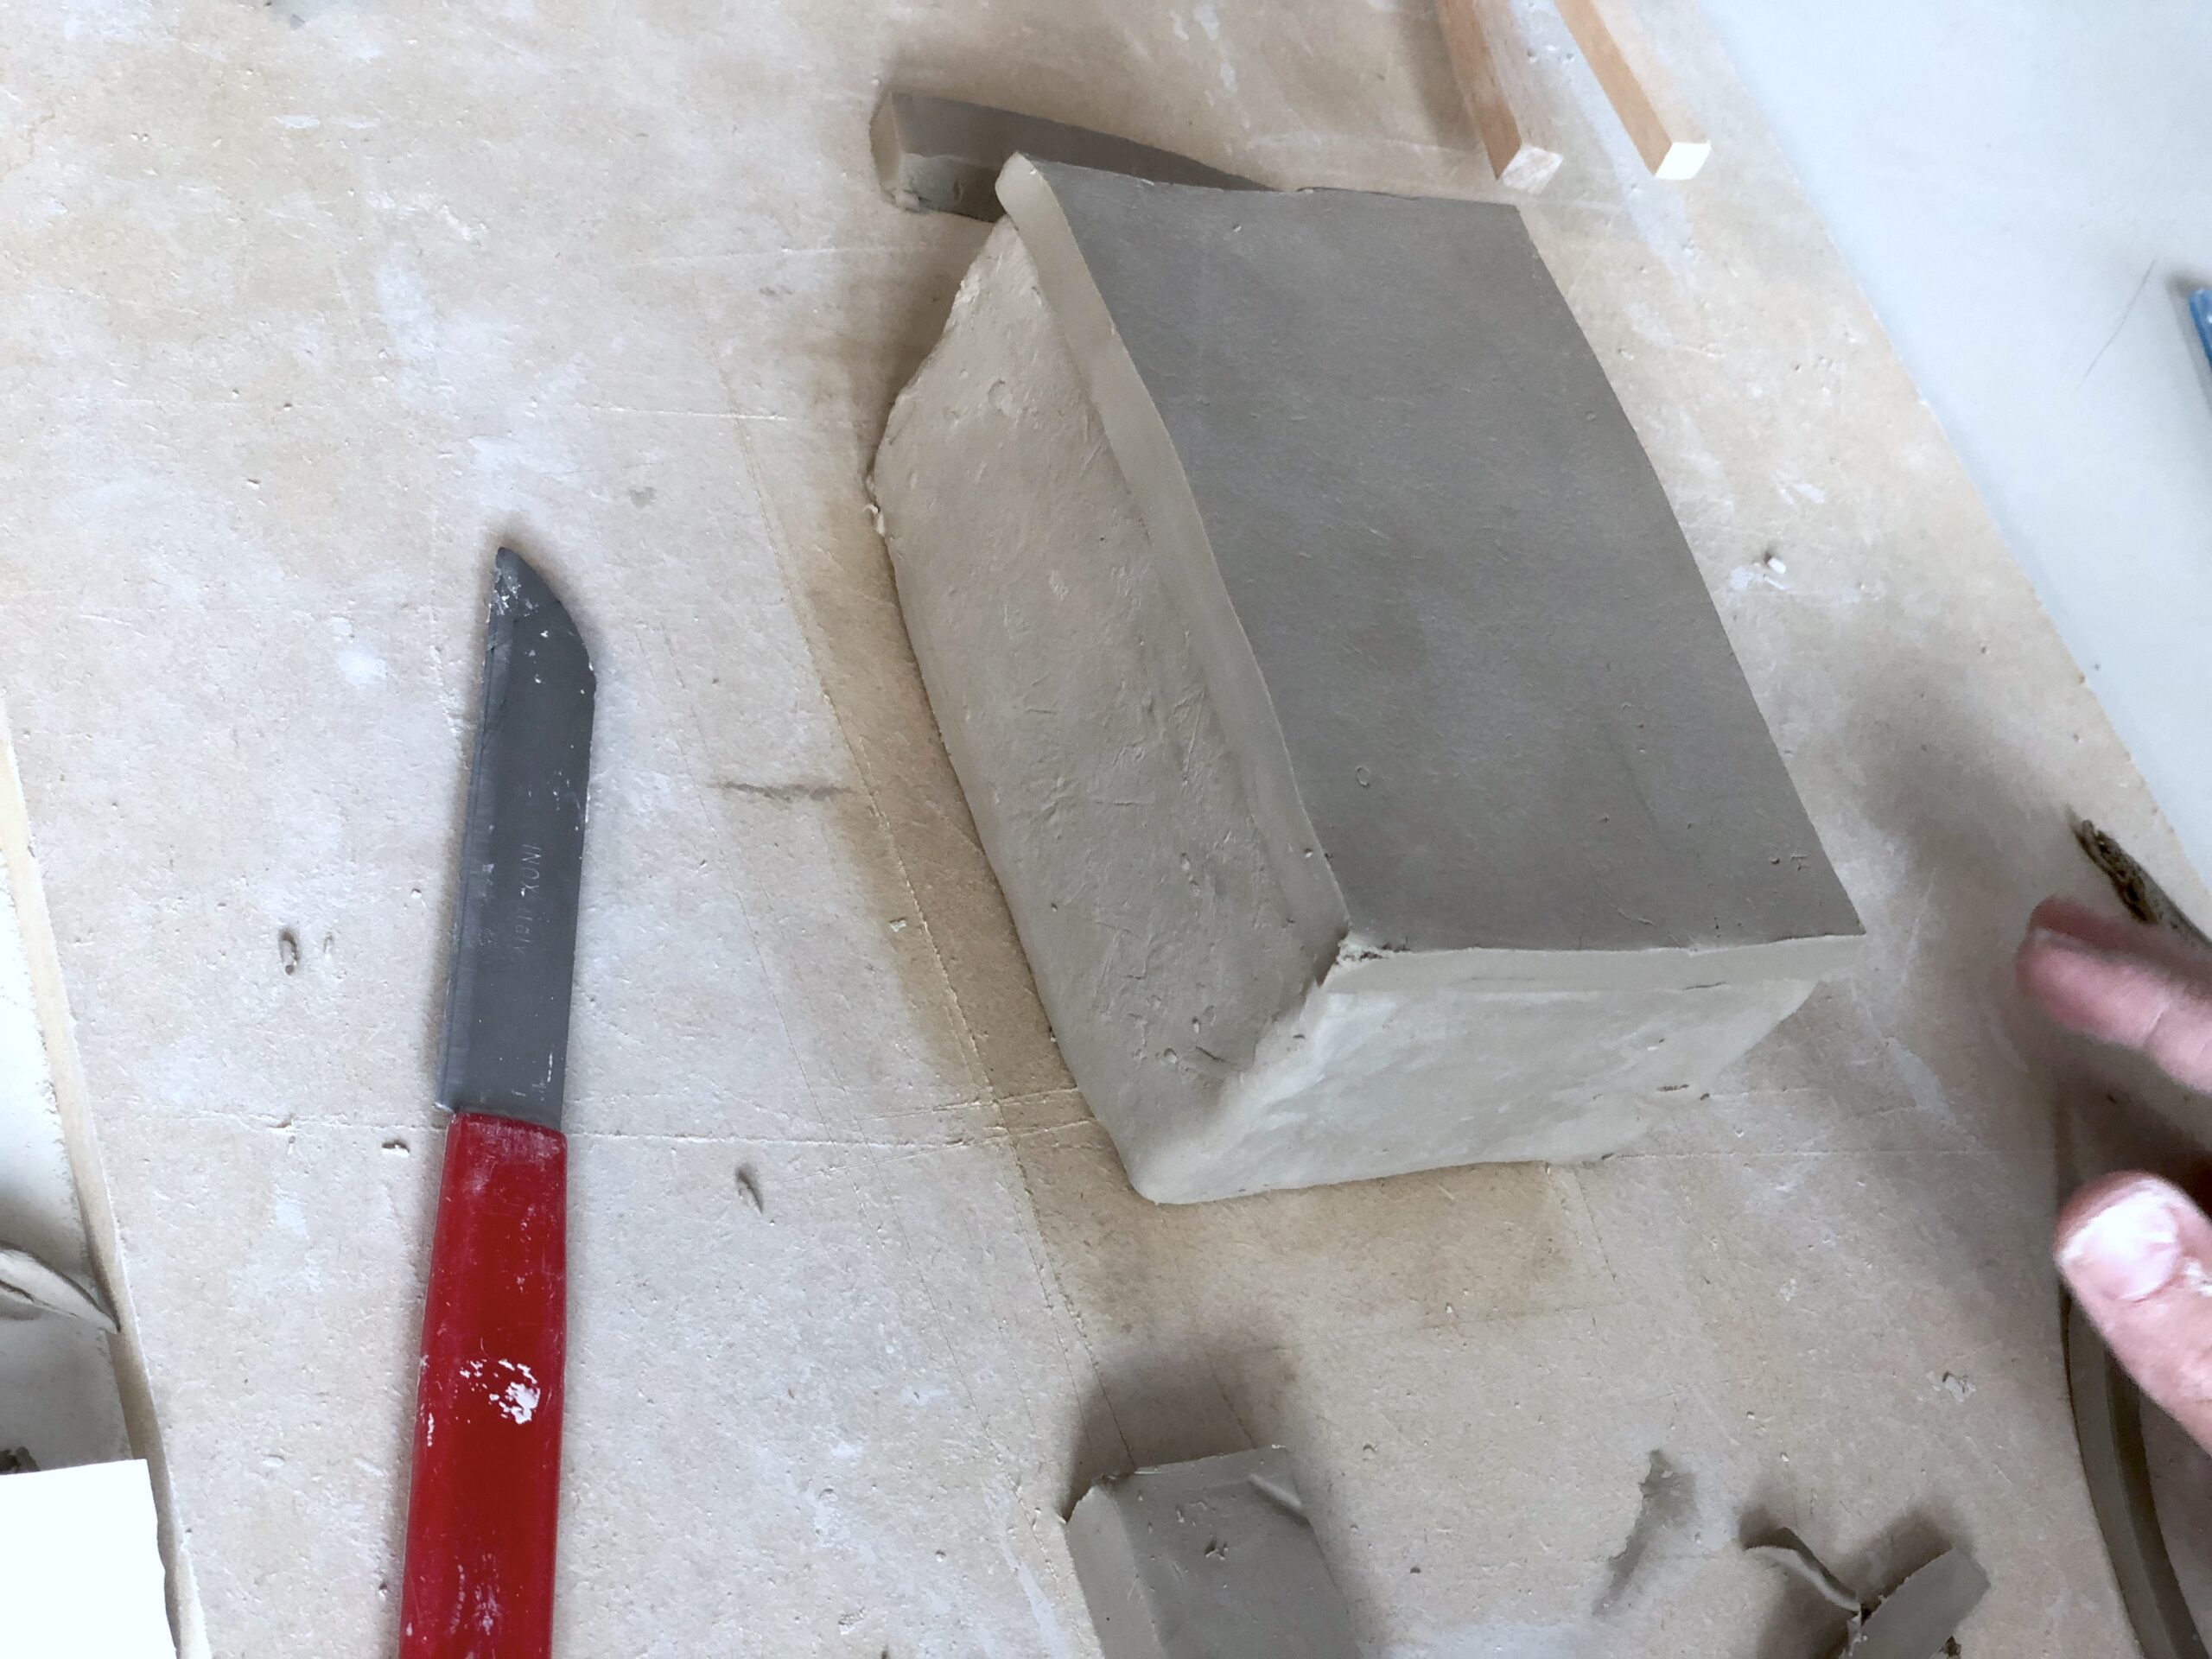
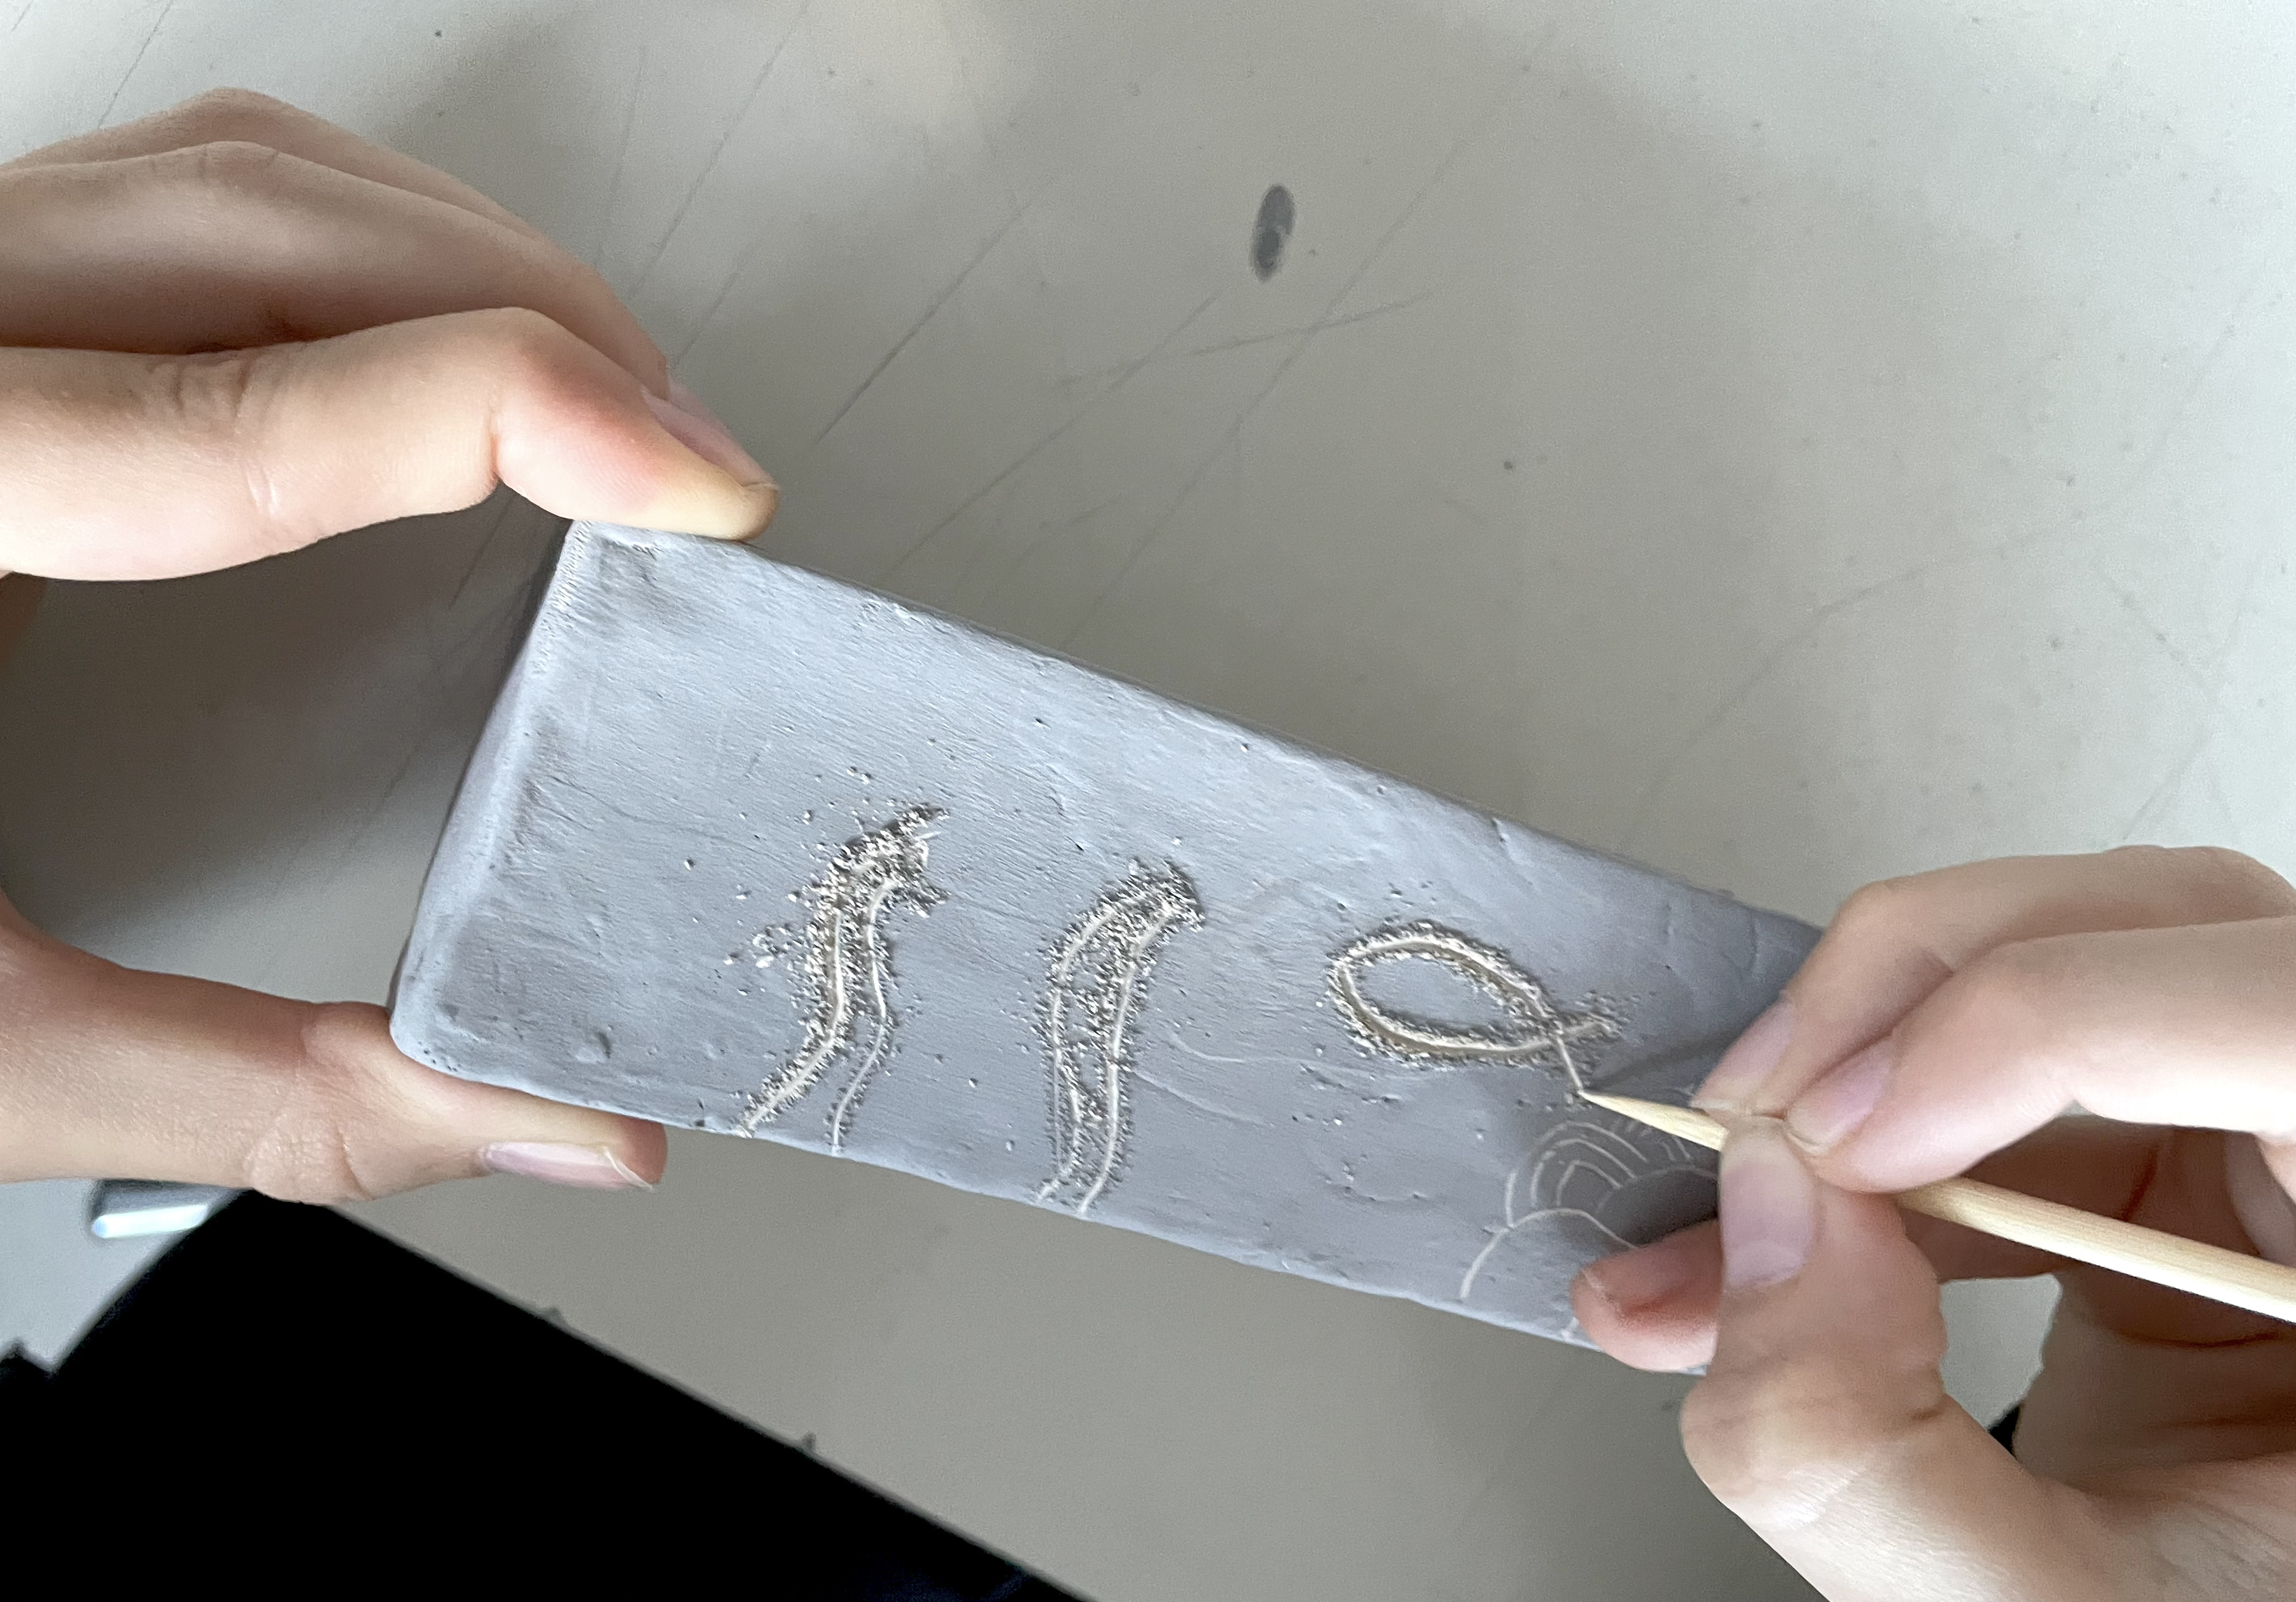
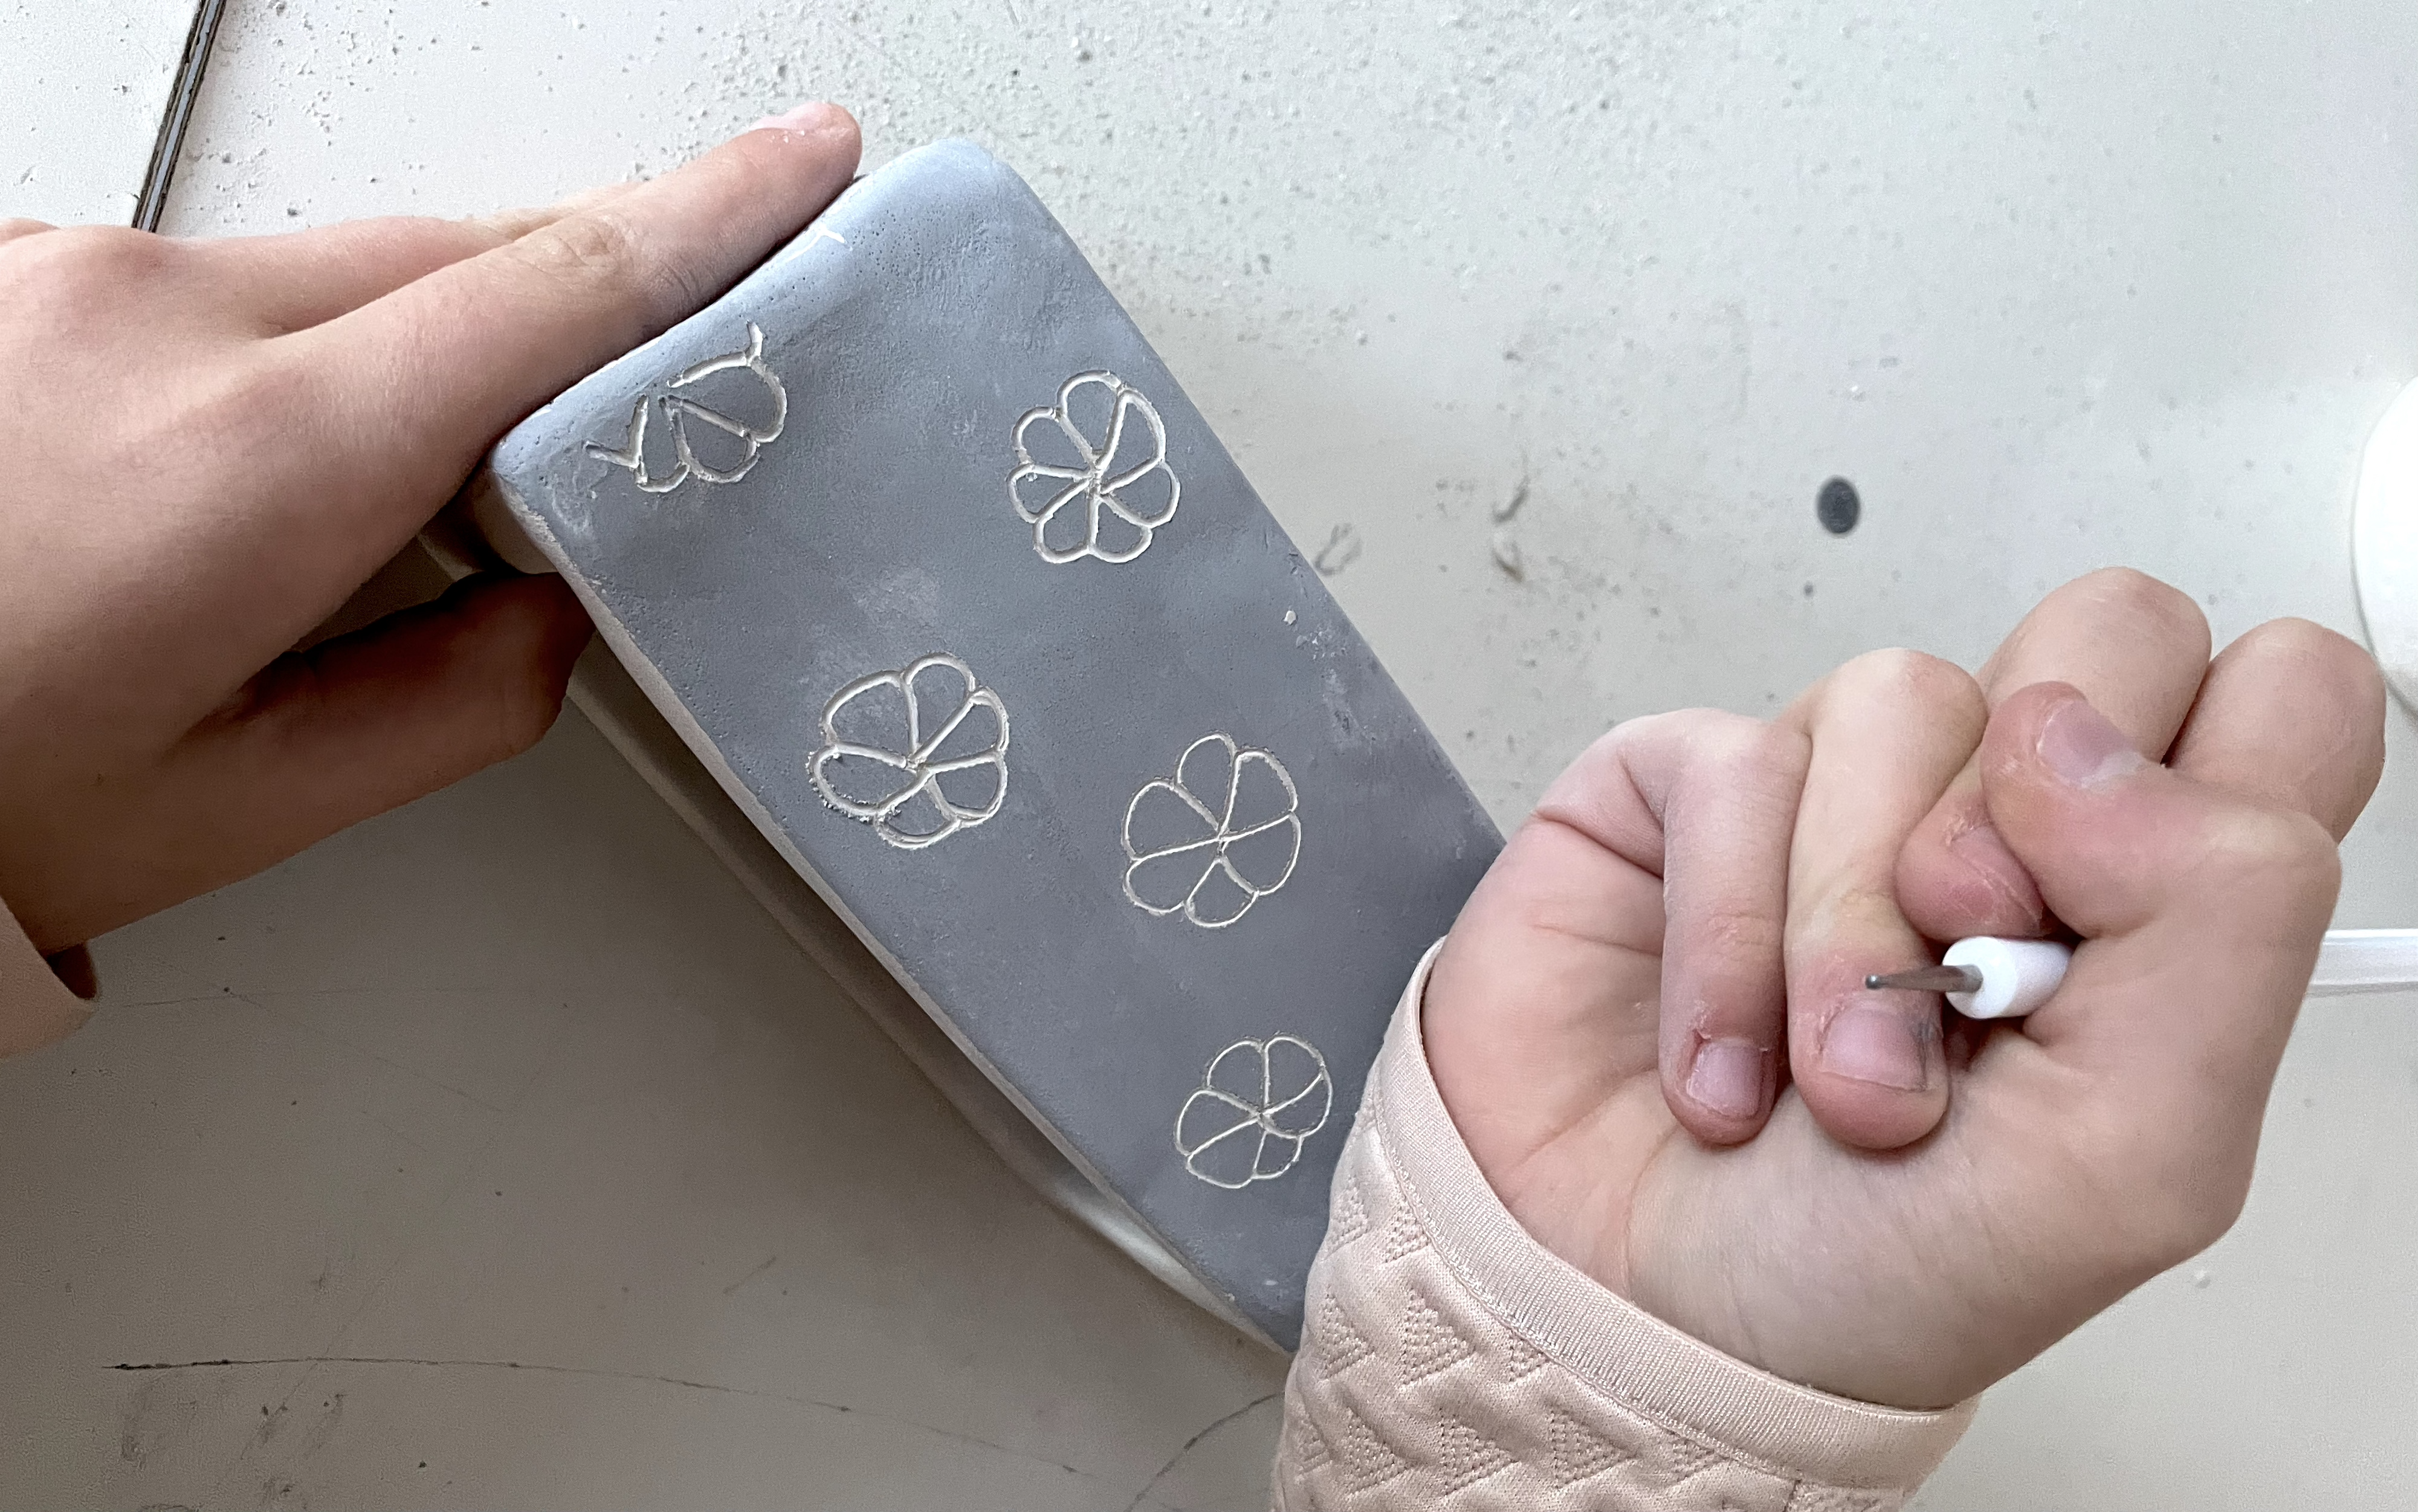
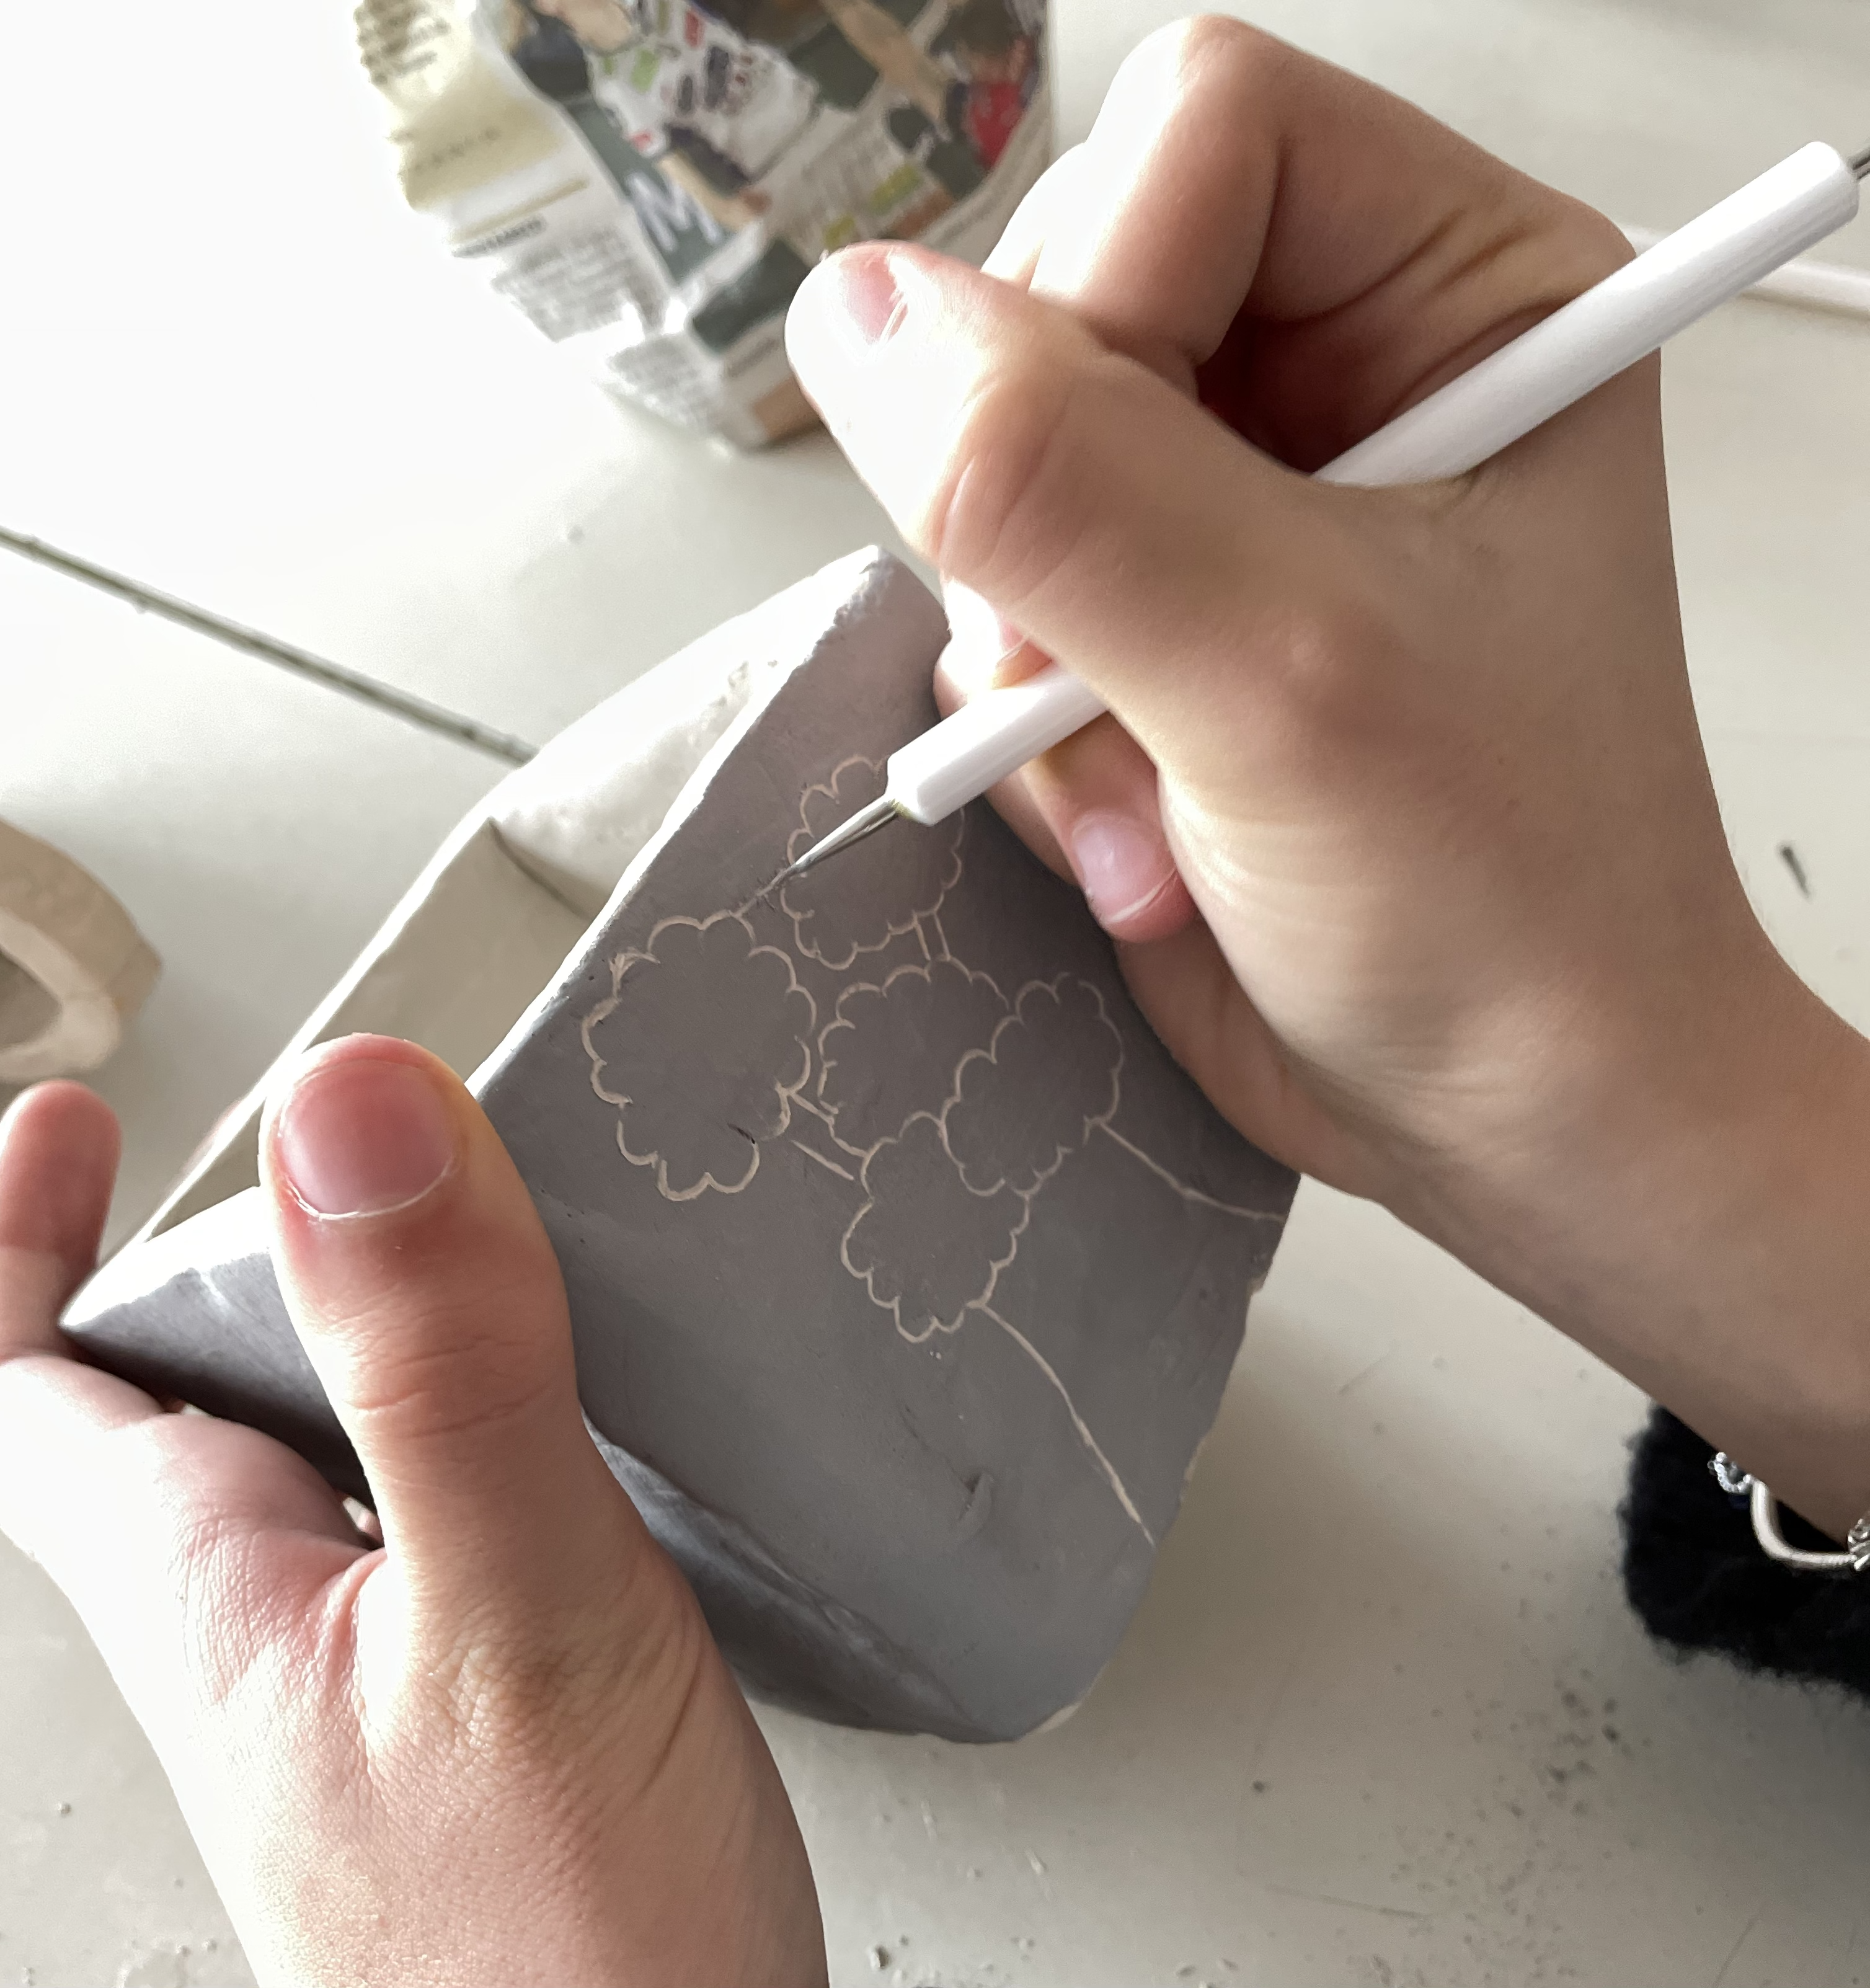
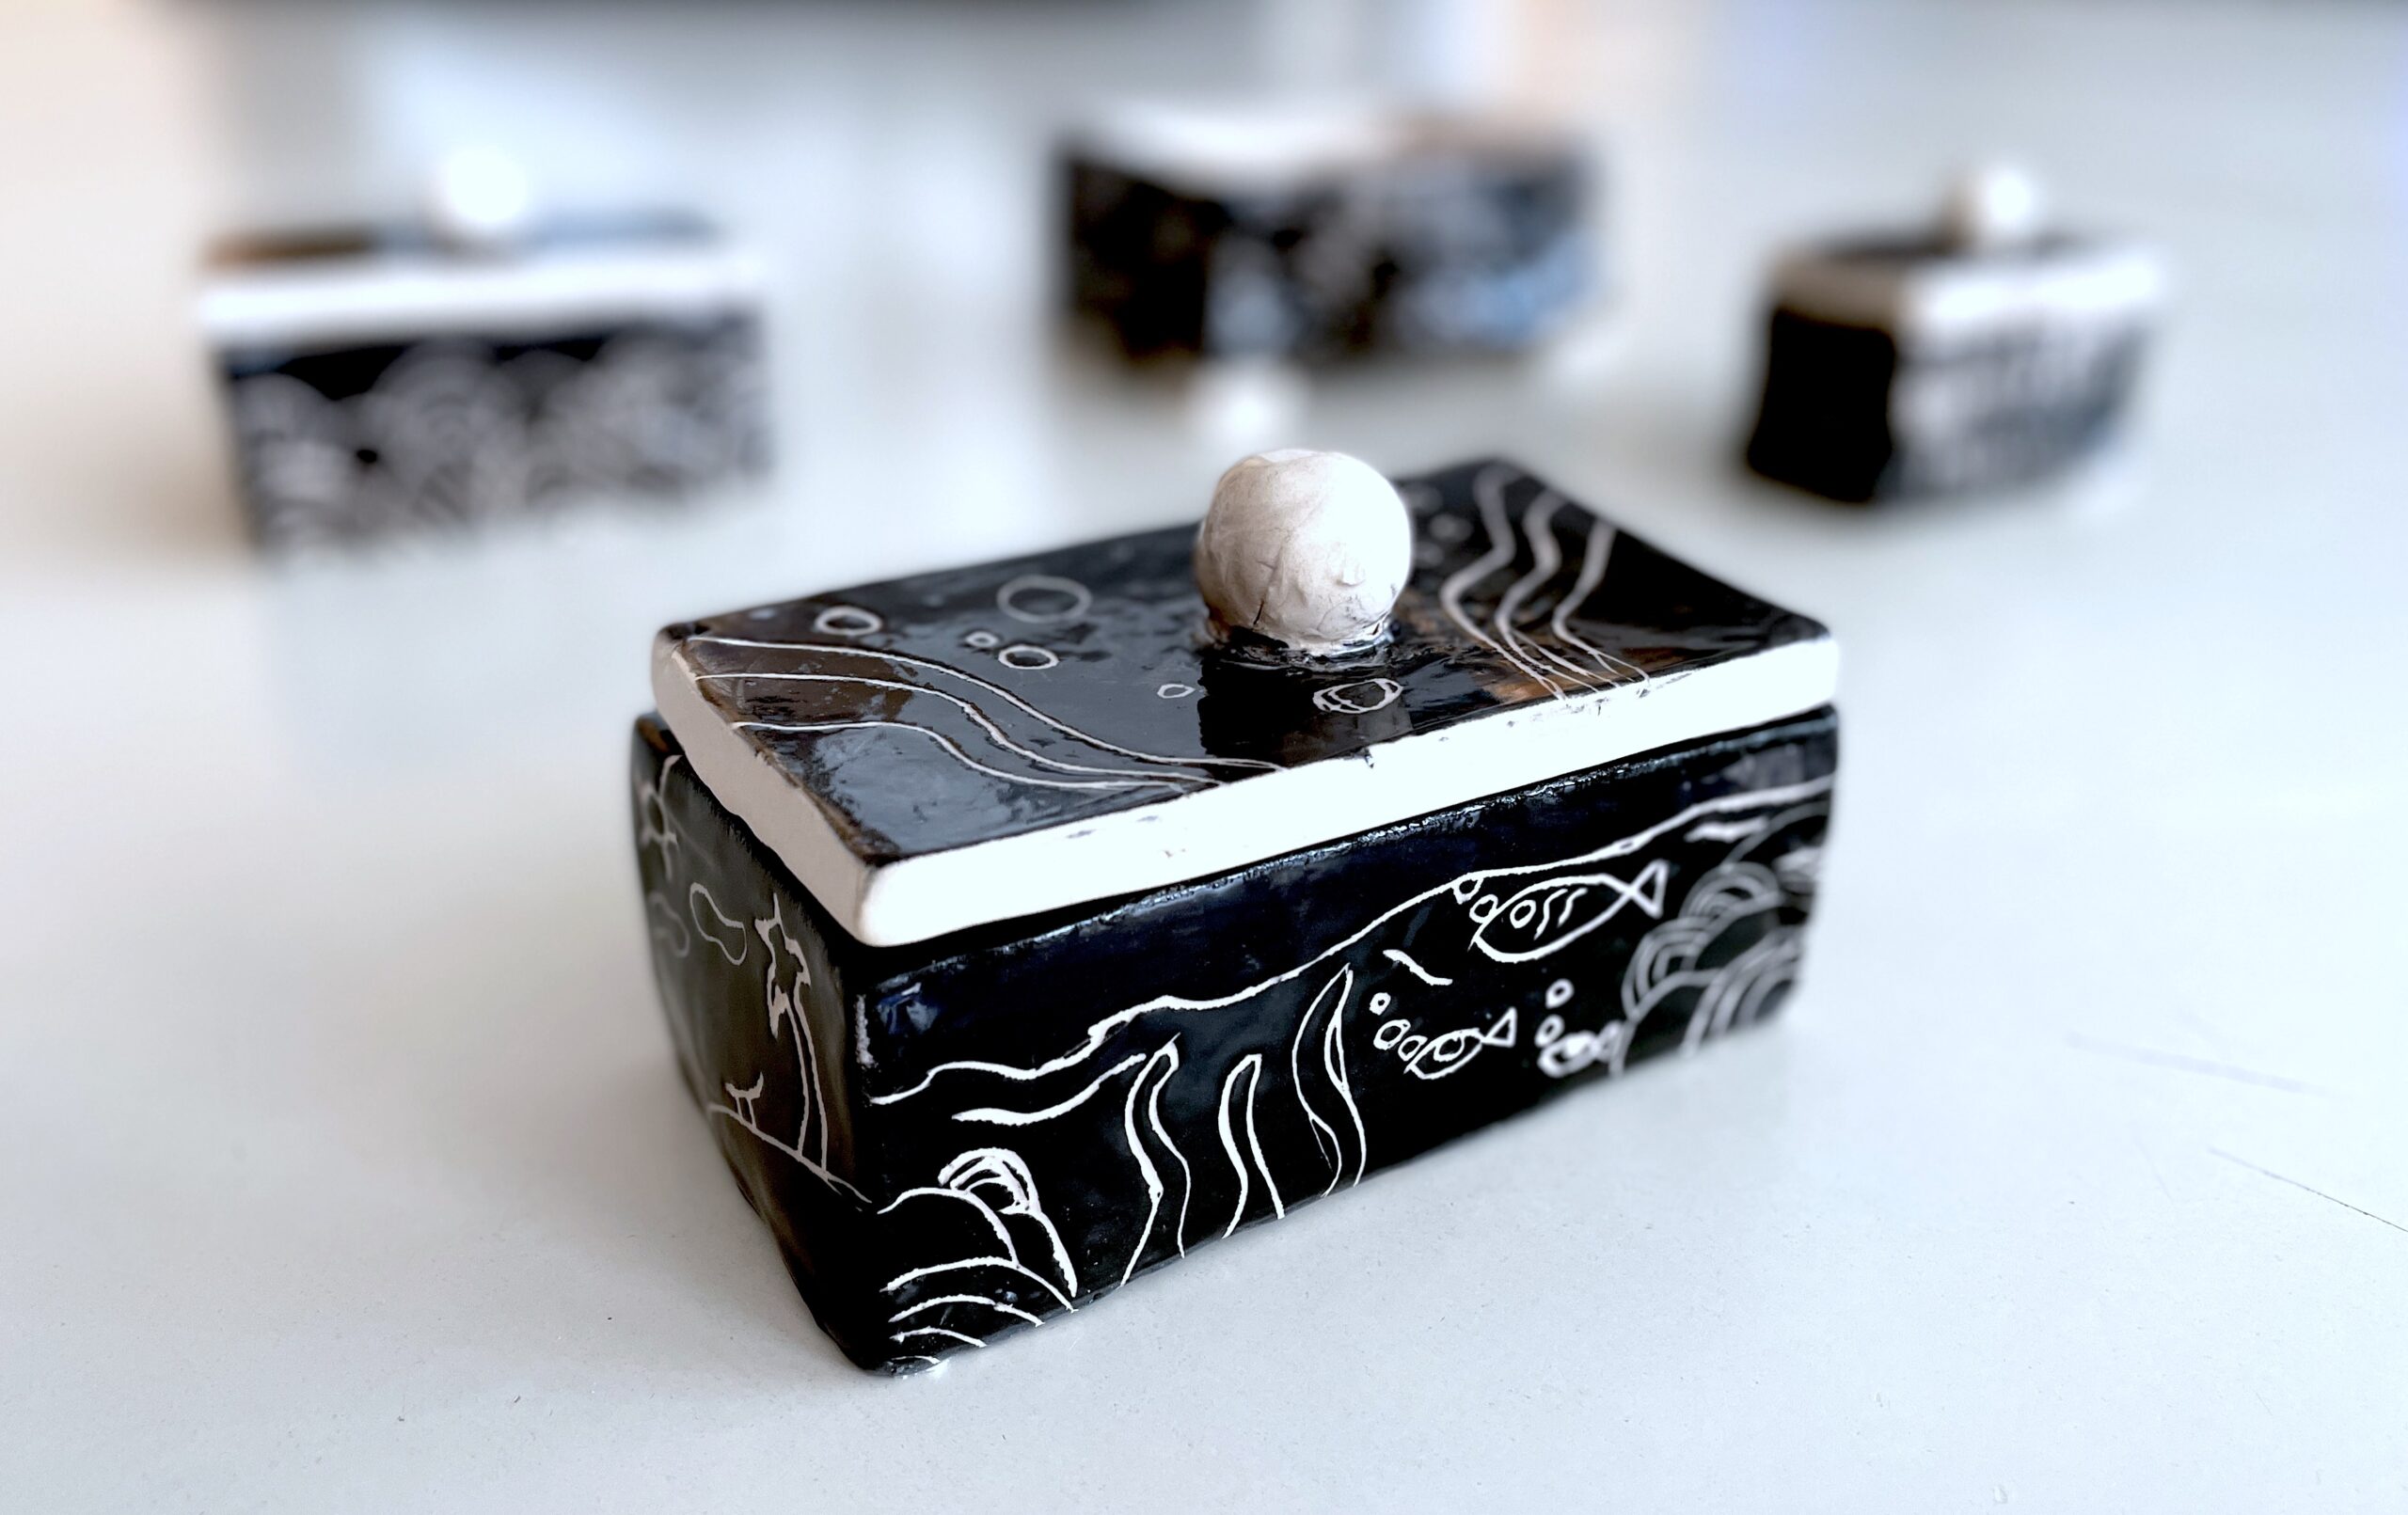
When the pieces have dried to leather hardness, you proceed by giving a coat of engobe color and scratching the colored surface with a burin or a wooden toothpick to obtain the GRAFFITI decorations. After the first firing, the biscuit is covered with transparent crystalline and the second firing is carried out.