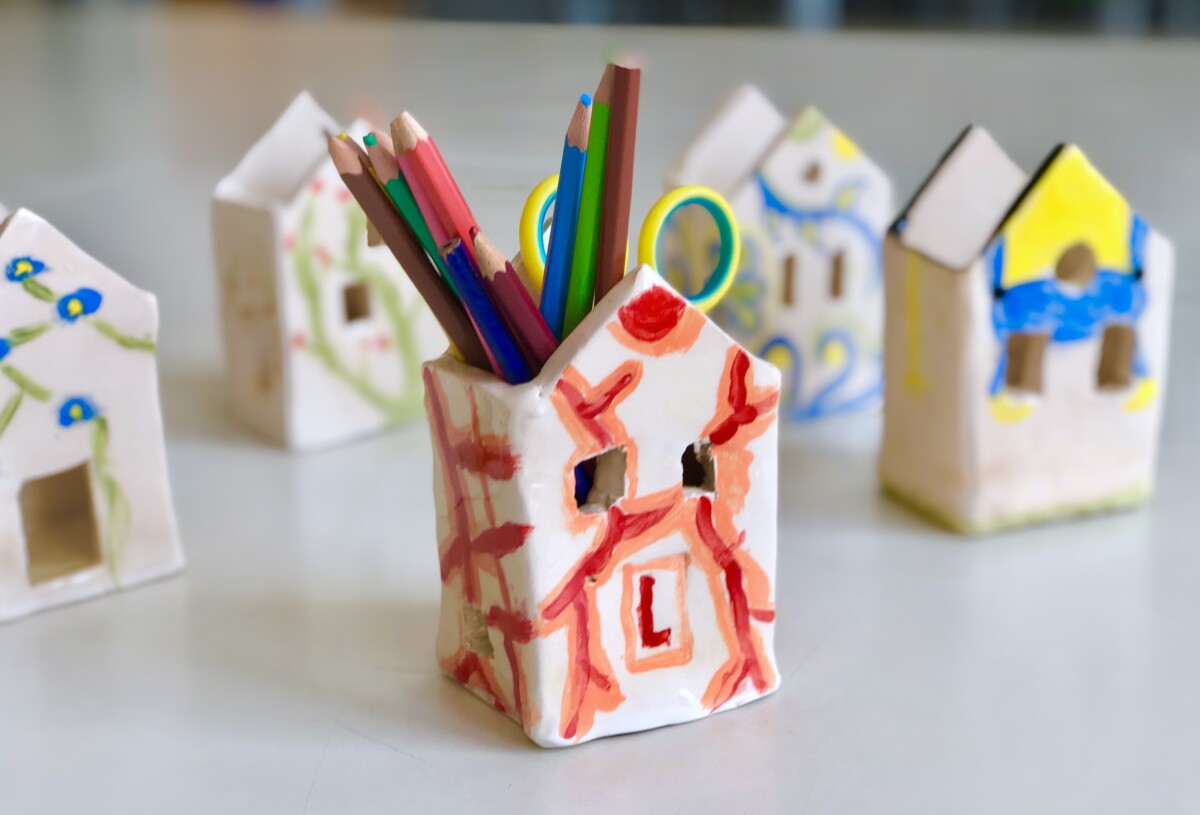
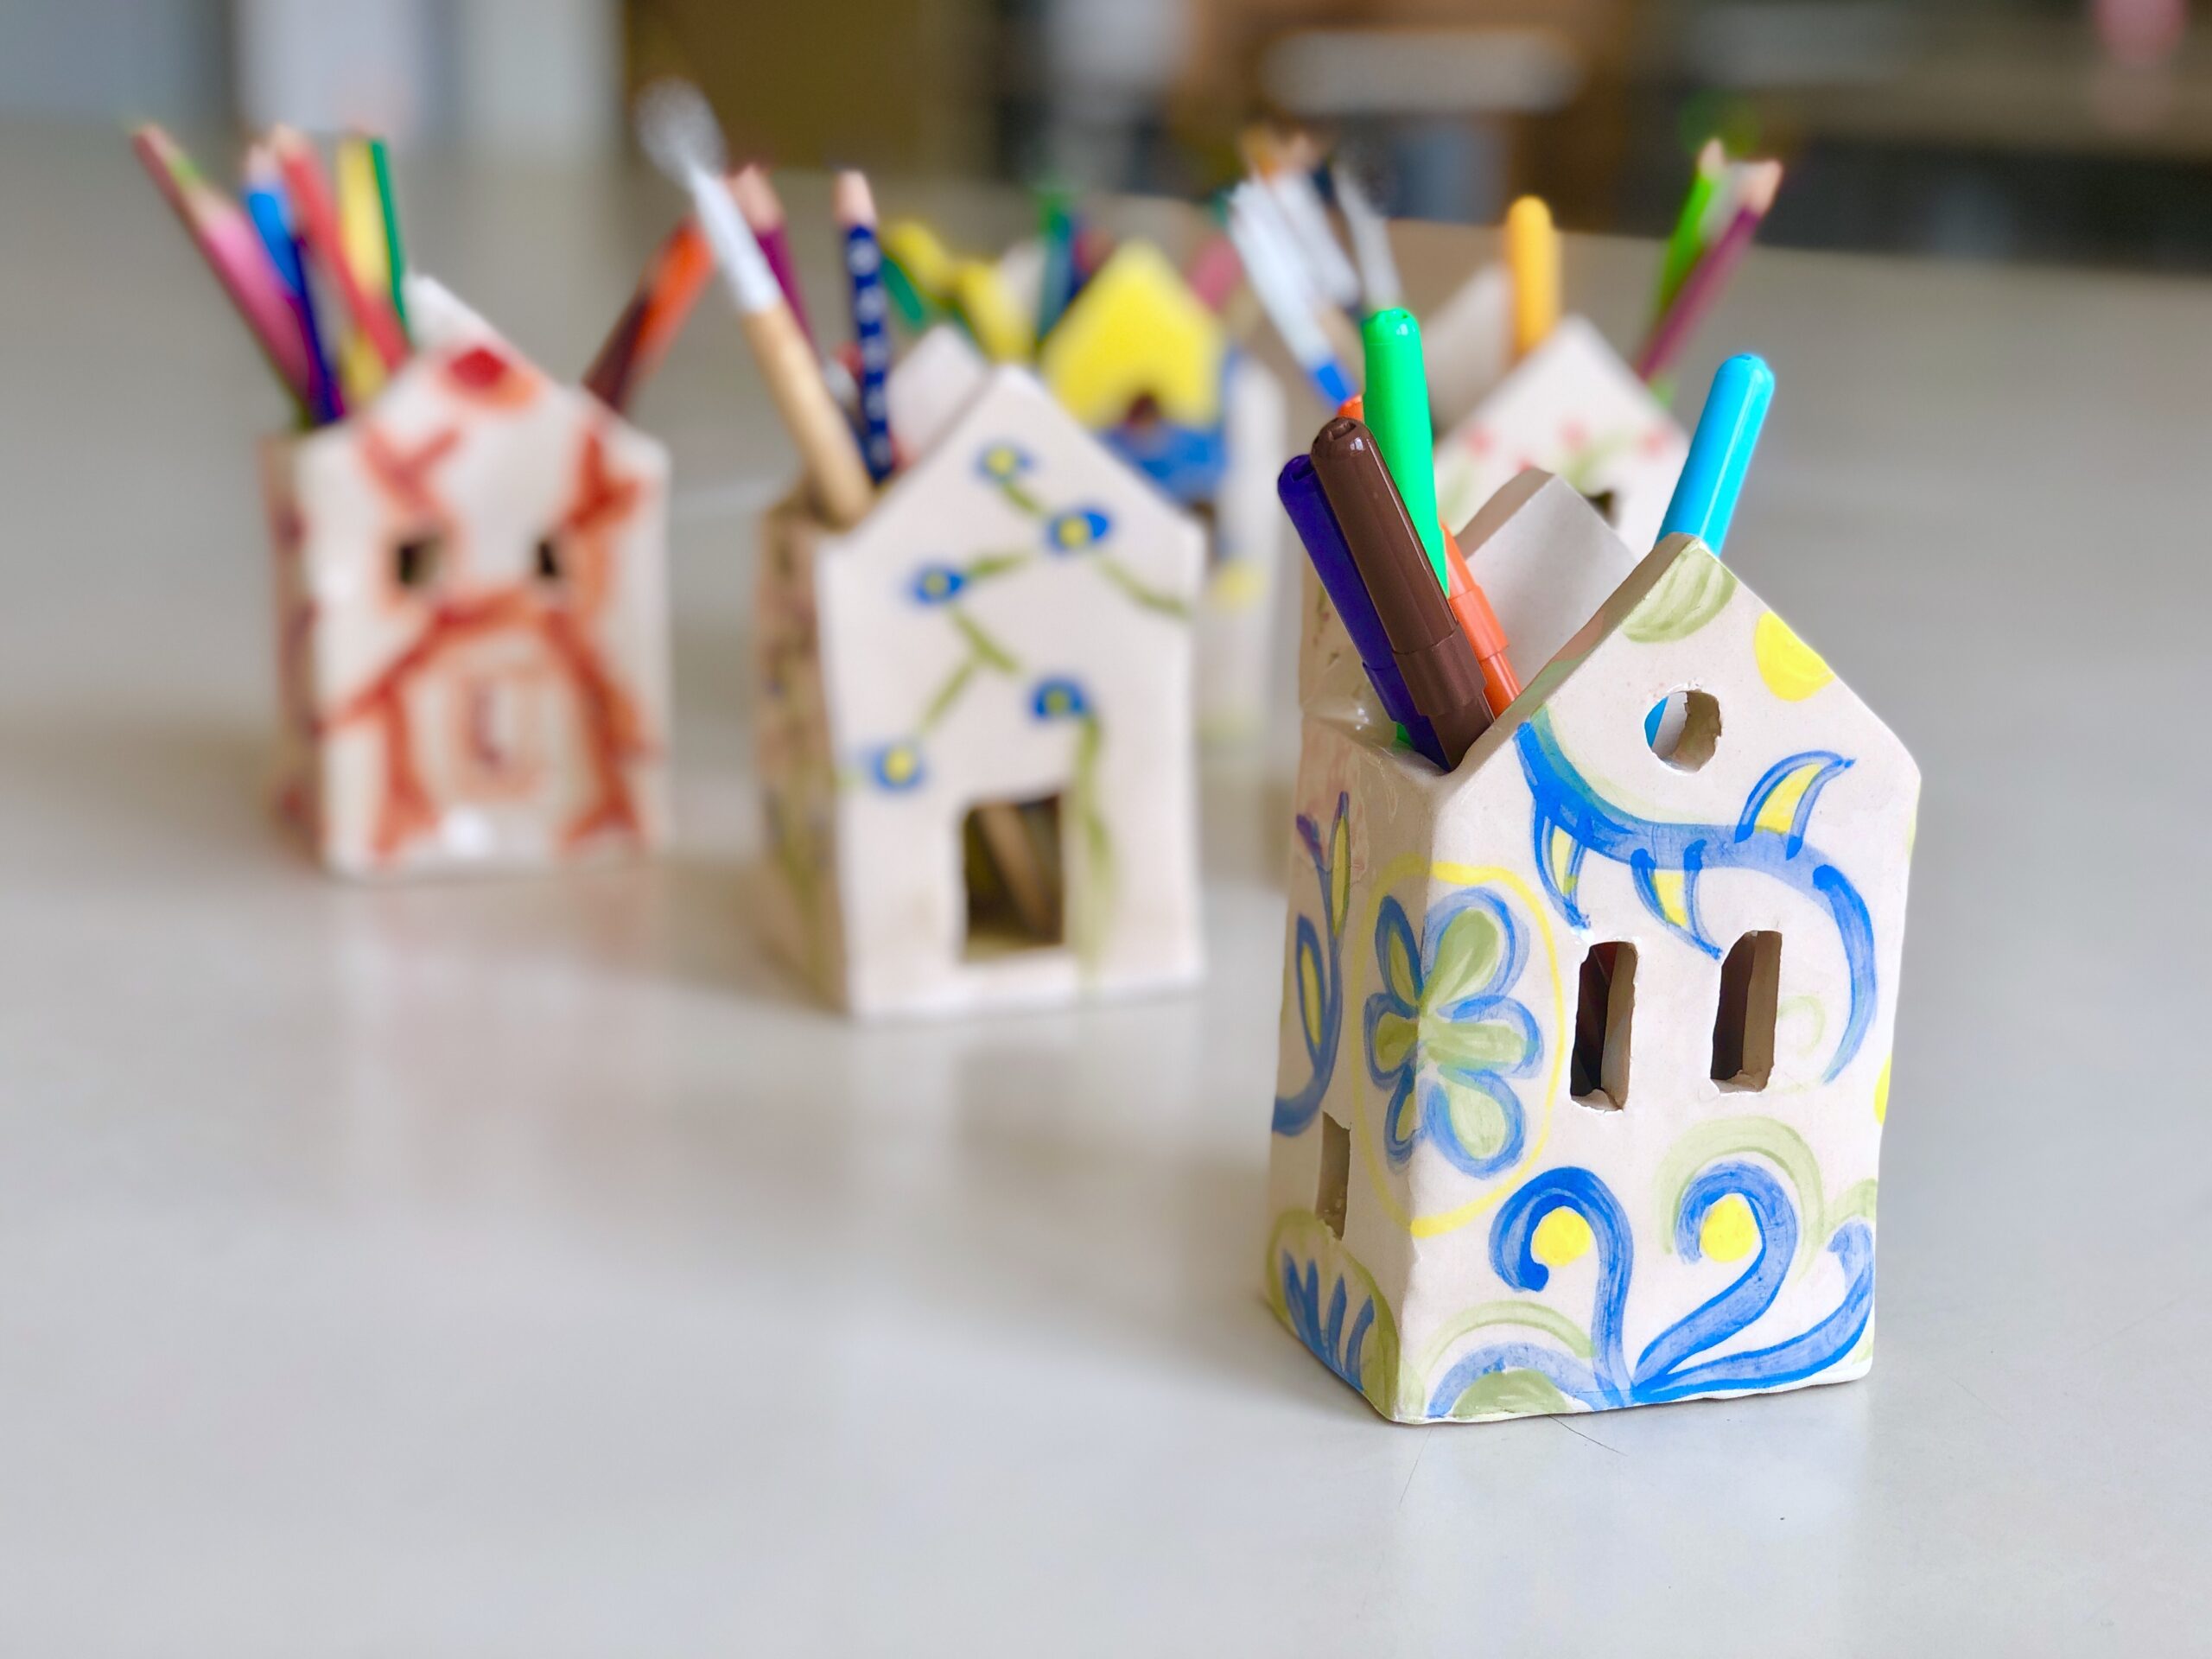
With 6th Grade students we have made these ceramic pen-holders with the slab technique, using the templates that you can find in the worksheet below:
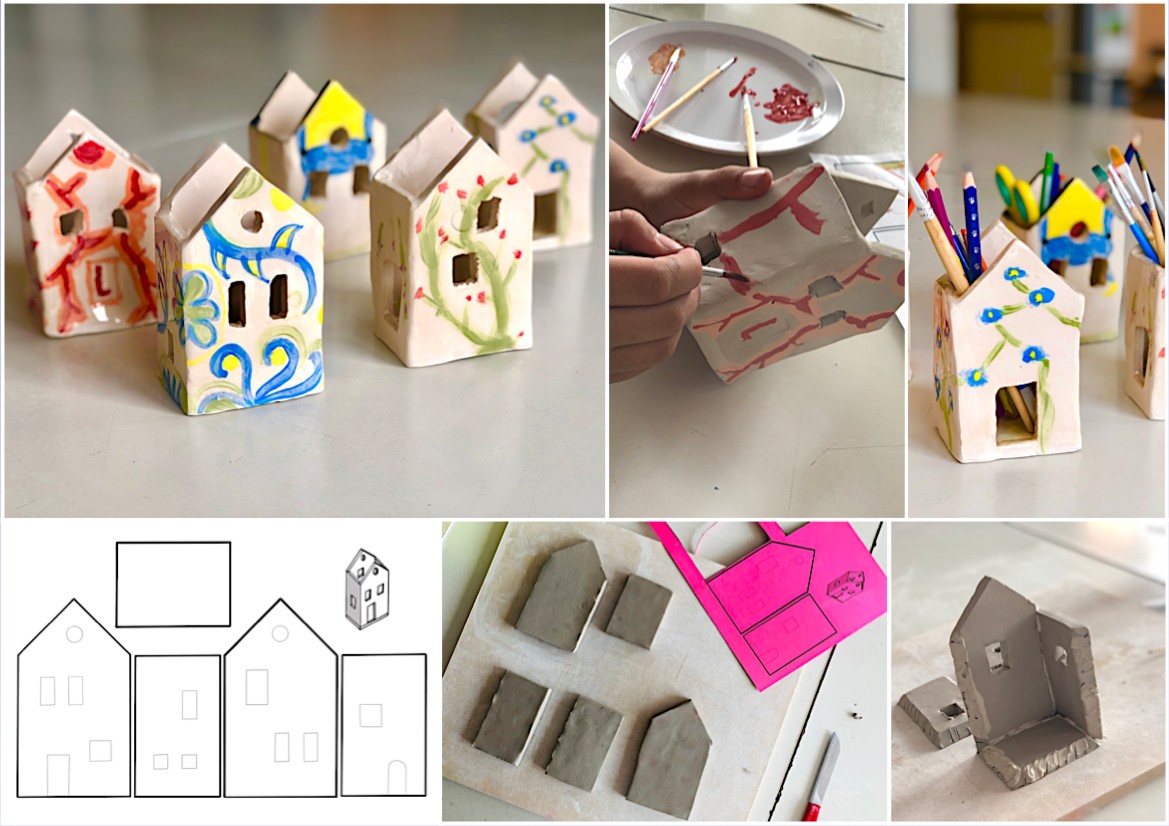
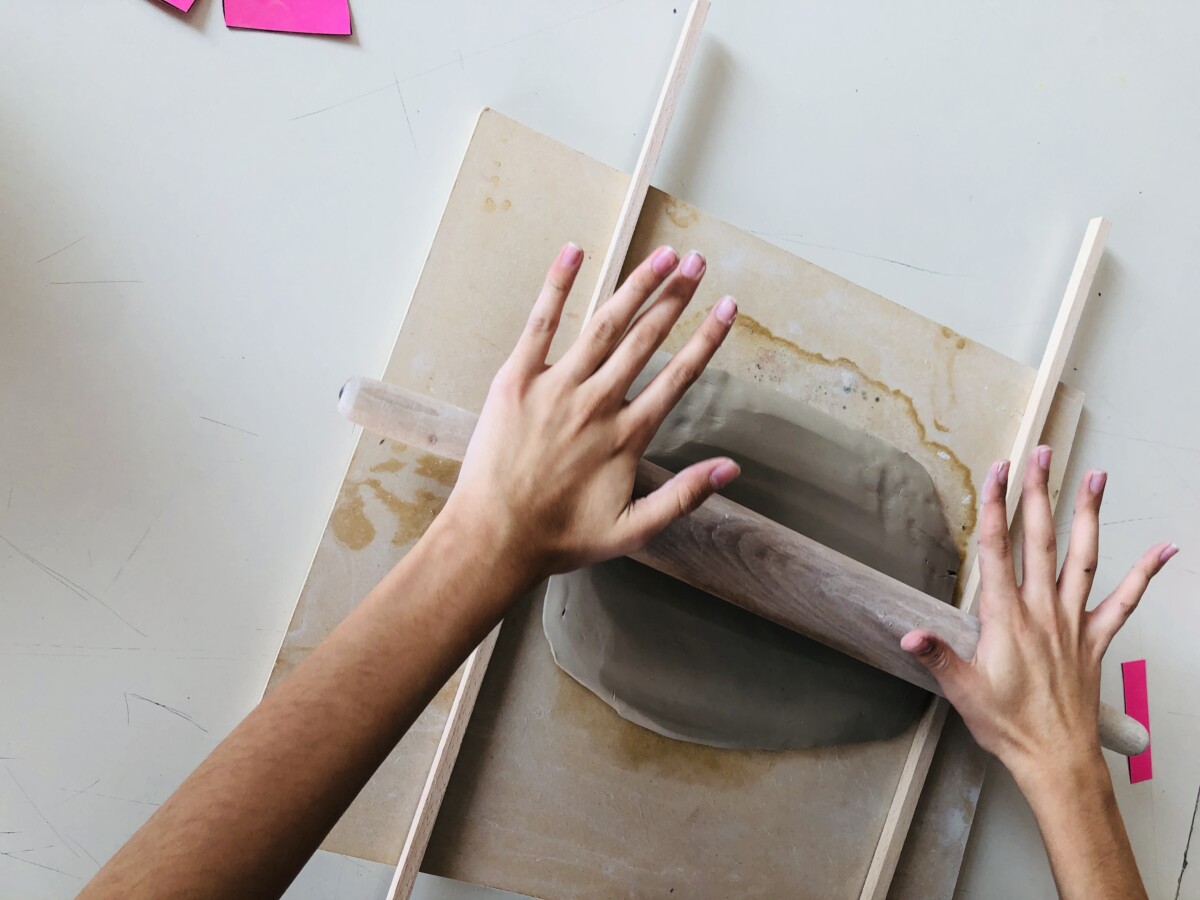
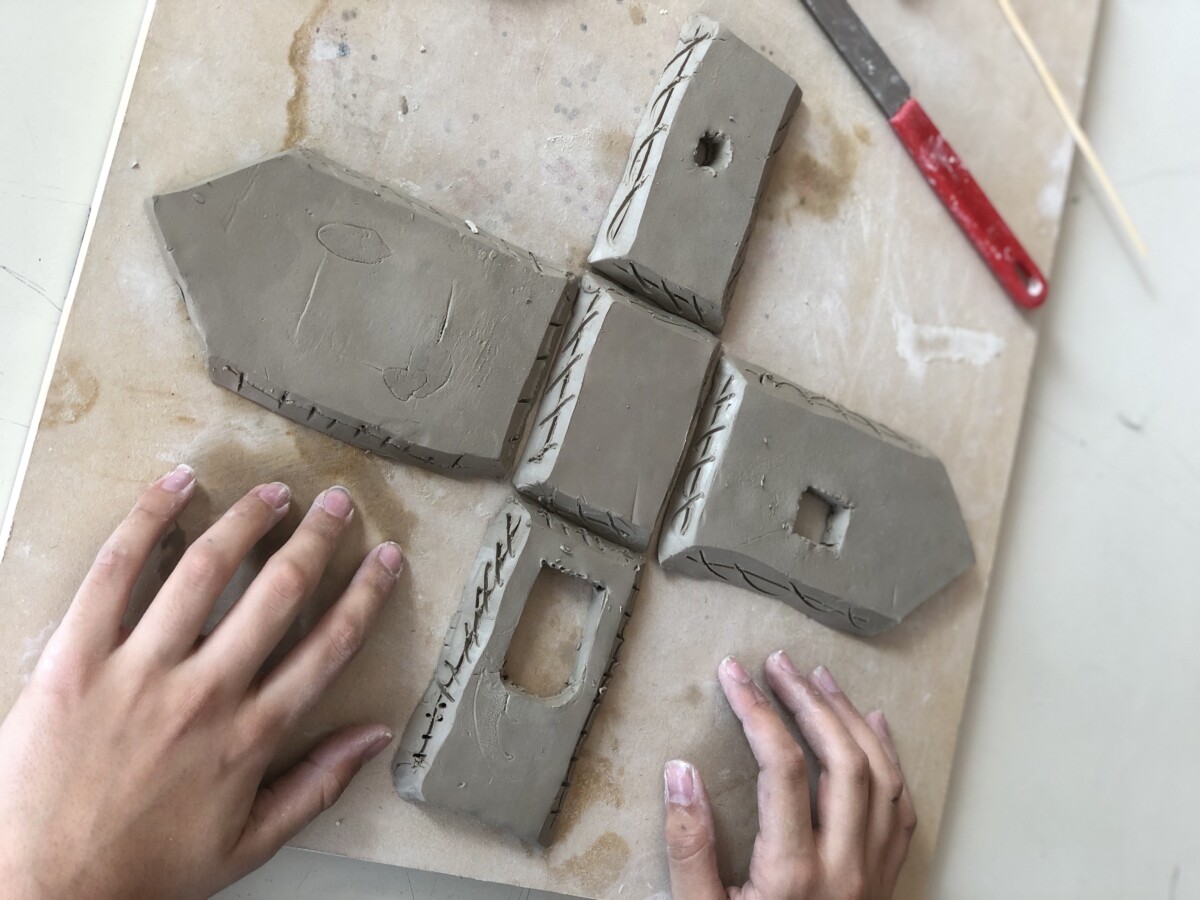
First we lay out the clay slabs using a rolling pin and side sticks, to maintain a thickness of 0.5mm. Then we use the shapes cut from the worksheet and cut out from the slab the base and the four sides of the house with a knife. We then create some small windows cutting some rectangular holes.


We cut the sides of the pieces that have to be joined, with an angle of 45 °, in order to join the edges without creating joining lines on the surface of the house. To assemble the pieces we need to knurl the contact surfaces and add the SLIP (creamy clay diluite in water, that acts as a glue for the pieces). Once assembled, the house is left to dry to leather hardness.


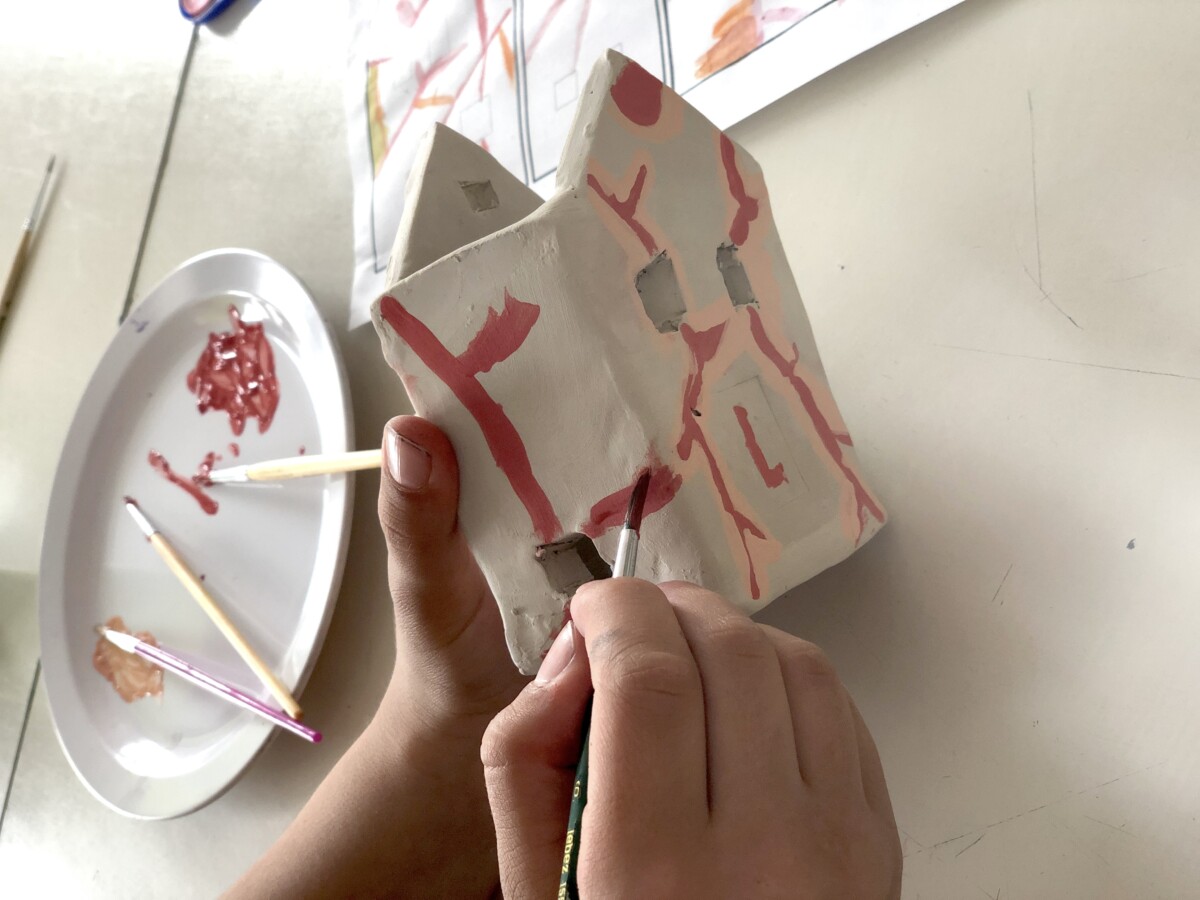
Once the pieces are dry to leather / bone hardness, they can be decorated with ENGOBES (colored liquid clays) and then we can proceed to the first firing to obtain the BISCUIT (the piece after the first firing, which is porous and opaque).
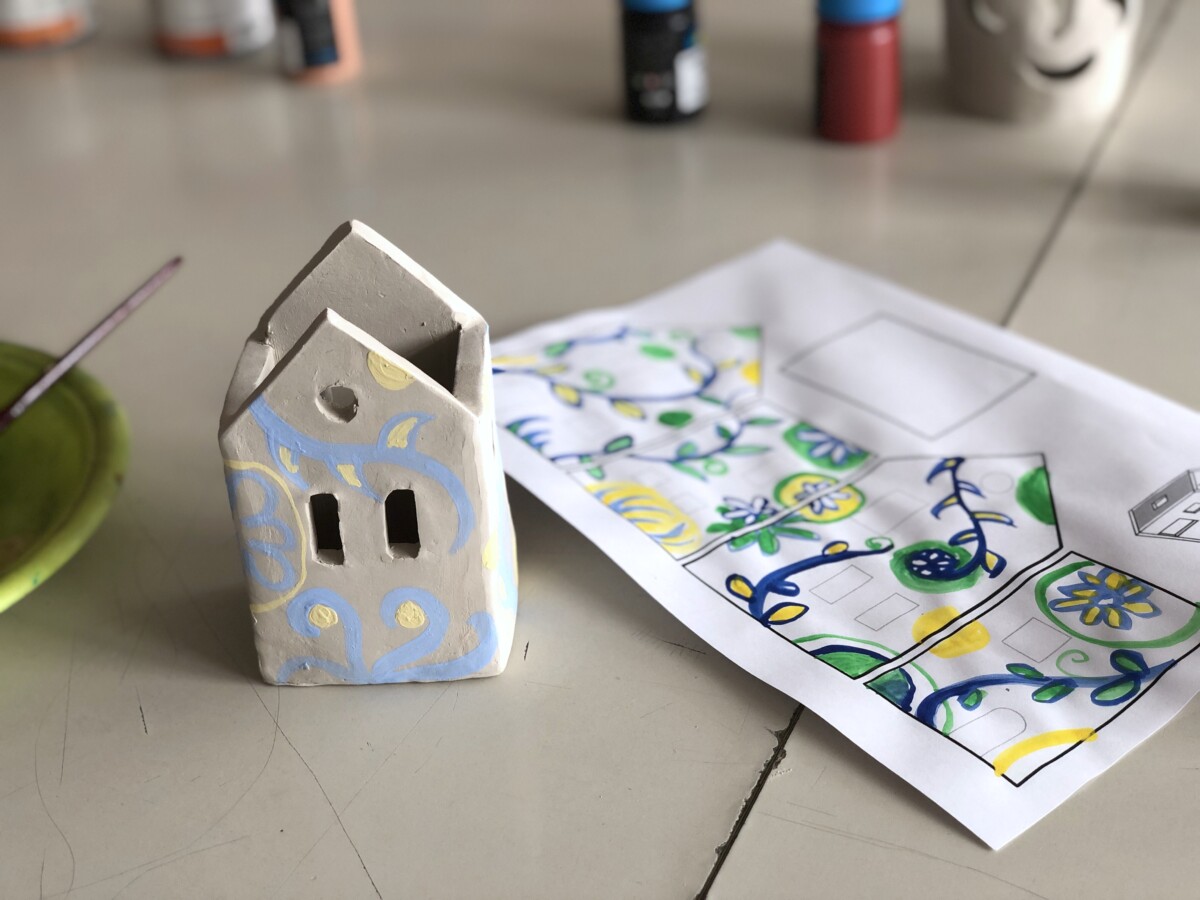
To design the decorations we used the same worksheets with the templates and we prepared a watercolor sketch, in order to make a small project of the patterns to paint on the clay with the engobes.


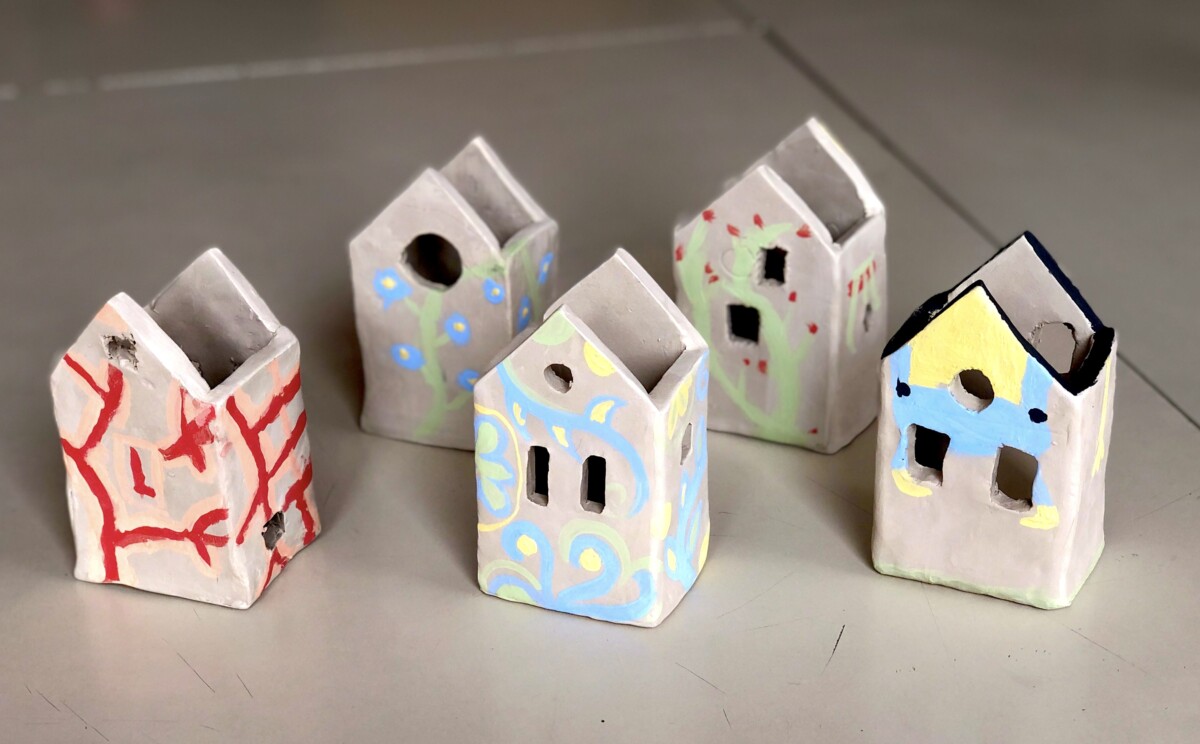
Once fired, the houses-box were glazed by immersion in lead-free transparent glaze, and subsequently they were fired for the second time to obtain the glazing. Here is the final result