These small landscapes have been painted with watercolors, by 7th-grade students after a lesson about landscape and the representation of space with value scale. Here below a video tutorial to follow step by step
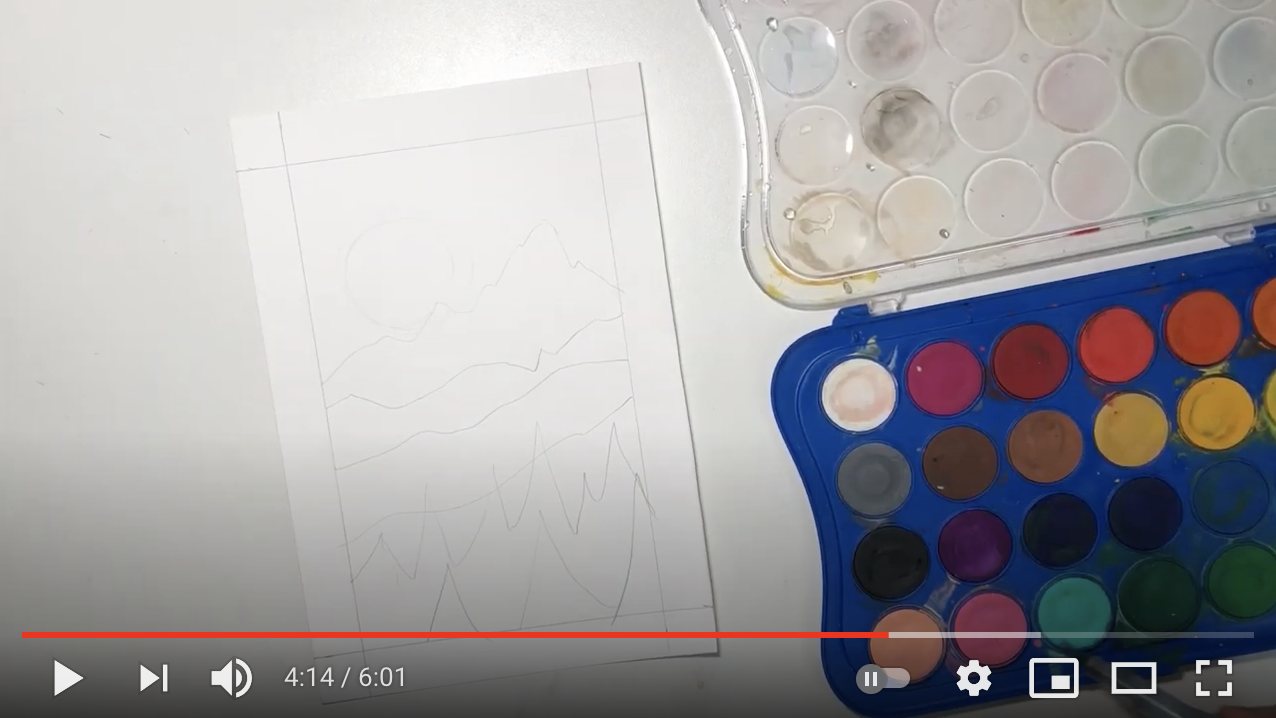
You need a drawing sheet to divide in half. Cut it in two on the central fold. After that, you draw a two-centimeter frame on each sheet.


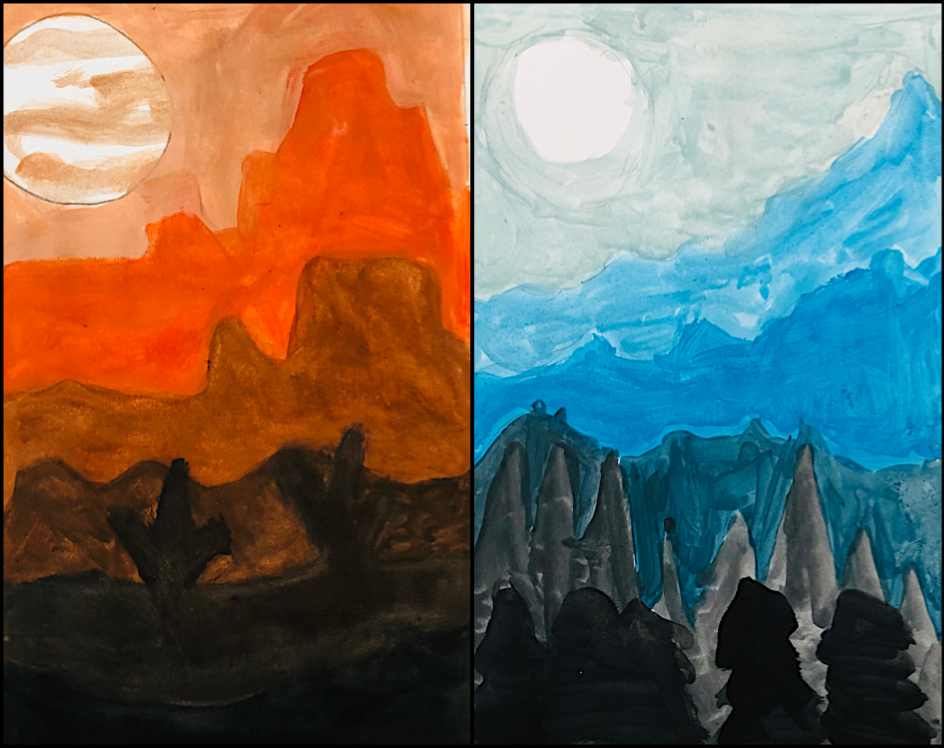
Let’s draw two small landscapes: I proposed a first desert landscape with cacti in the foreground and rocky mountains in the background, to be colored with warm shades. The second painting is a mountain landscape with fir trees and mountains, to be colored with cold shades. Landscapes can be different, even with lakes, hills, vegetation silhouettes or city skylines, but I suggest drawing at least EIGHT LEVELS of depth.


Then you choose a color and start painting the background with a very light shade, which is obtained by adding a lot of water to the chosen color. You proceed by adding more and more color, increasing the color saturation as you paint the layers towards the foreground.
Once the maximum saturation of the pure color is reached, a very small part of black is added to obtain the darkest shades. In the end, pure black can be used to paint the foreground.


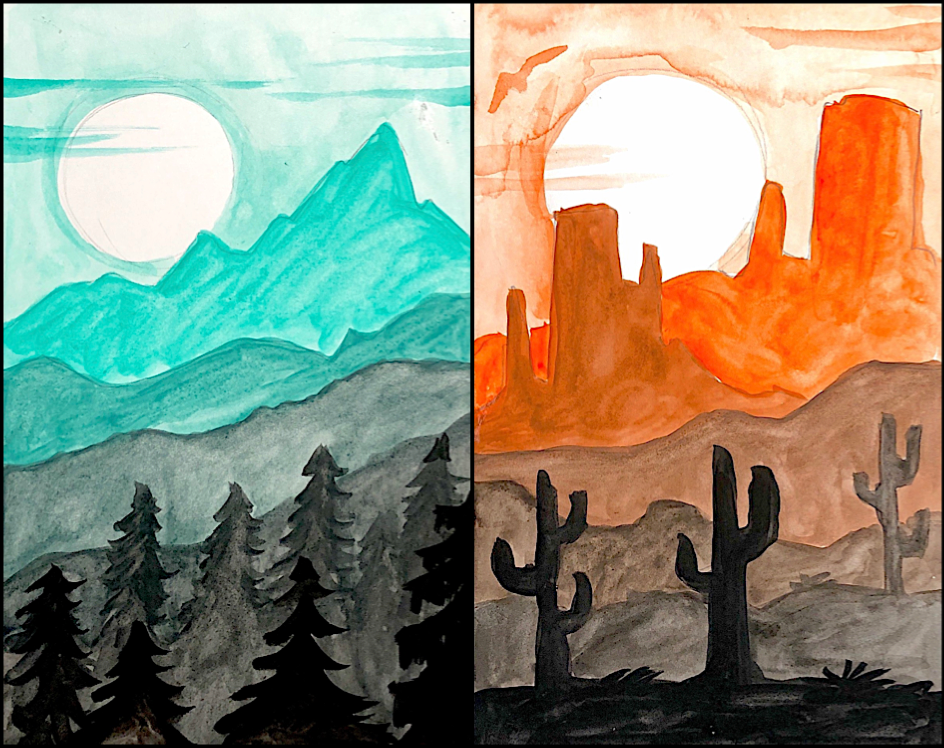
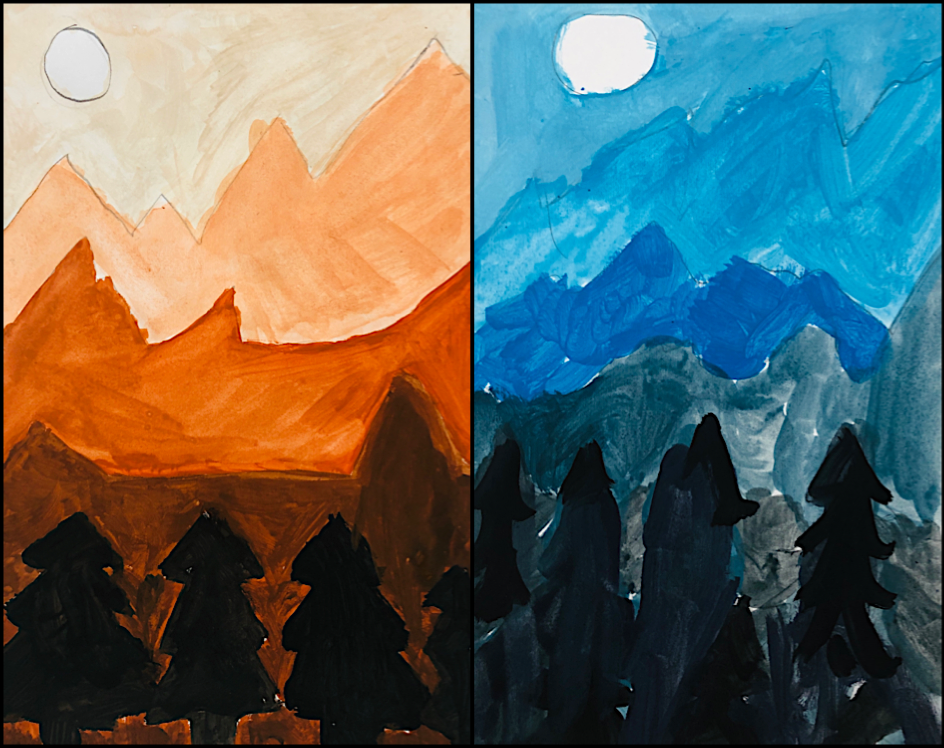
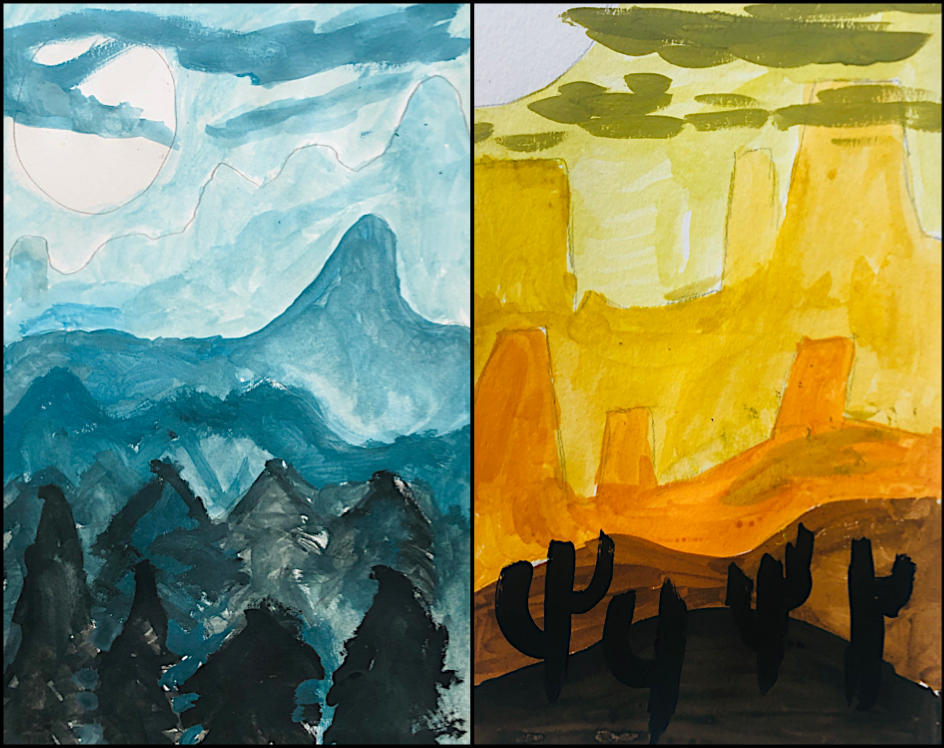
Here are the landscapes created by the students


Hello Miriam. Is there a way to set the video tutorials to English?