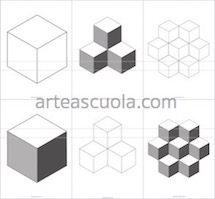
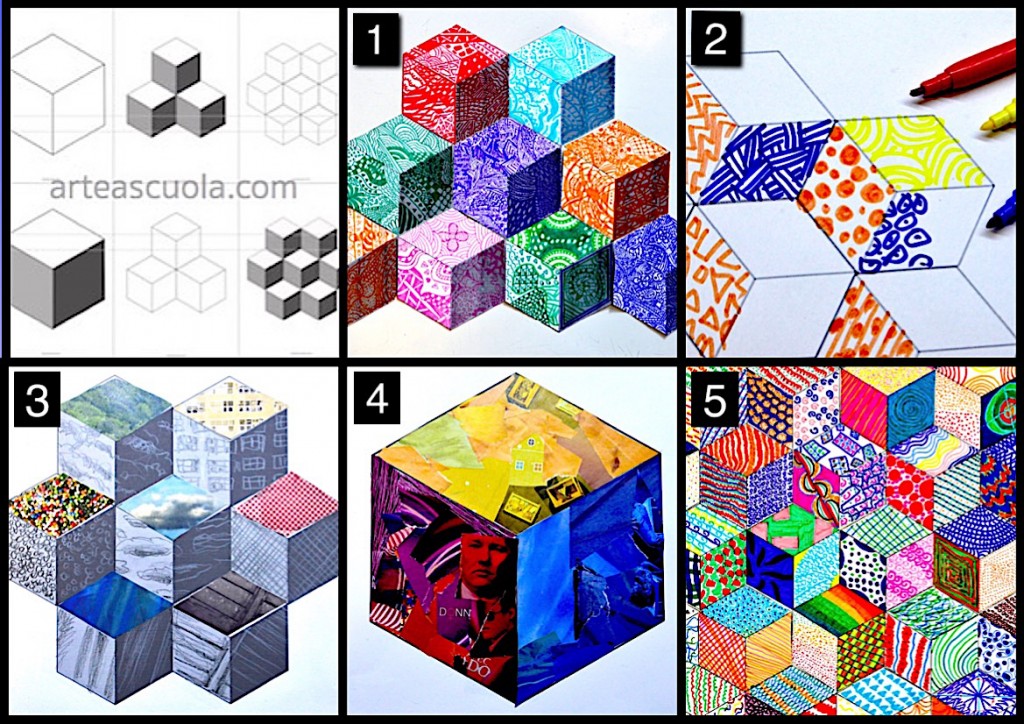
A simple cube can be the inspiration for great works of art, such as those “Op Art” by Victor Vasarely. Starting from a cube, or by a series of cubes, I propose five ideas to be carried out in the classroom. The activities are practical and quick, but effective. There is the chance to work on cubes of different sizes, with shaded or white faces. You can find the cubes ready to use in these six worksheets purchasable below .
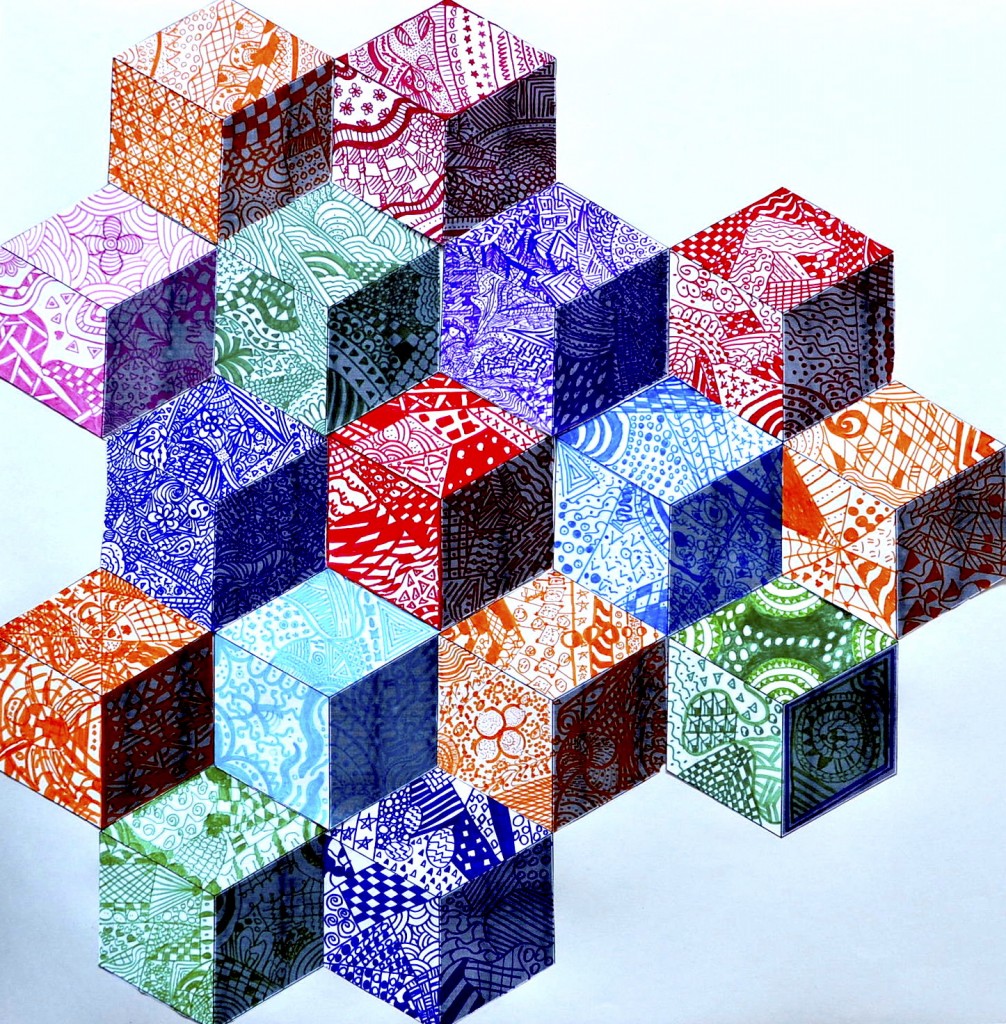
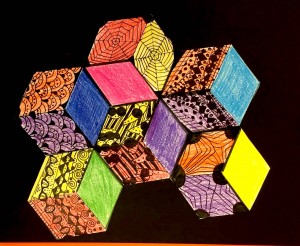
1. Group work with zentangle cubes: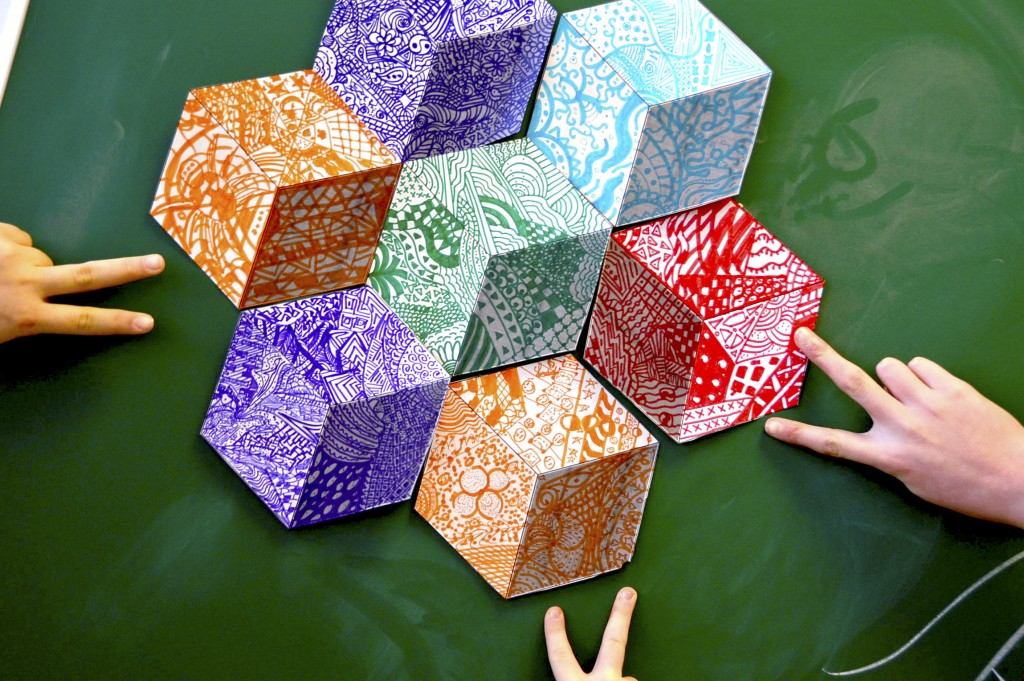
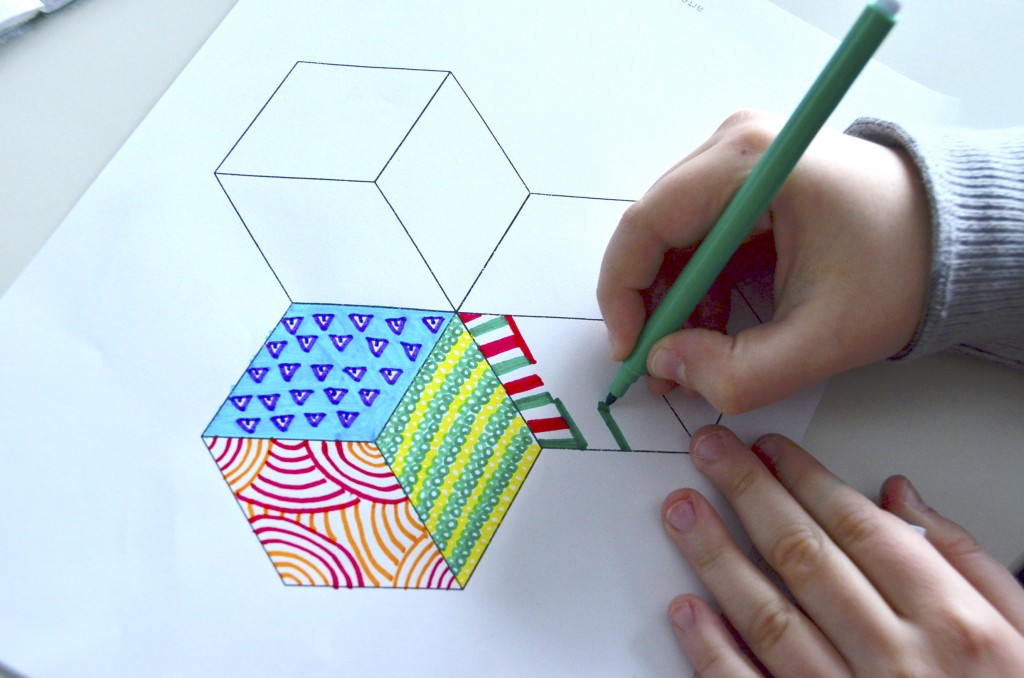
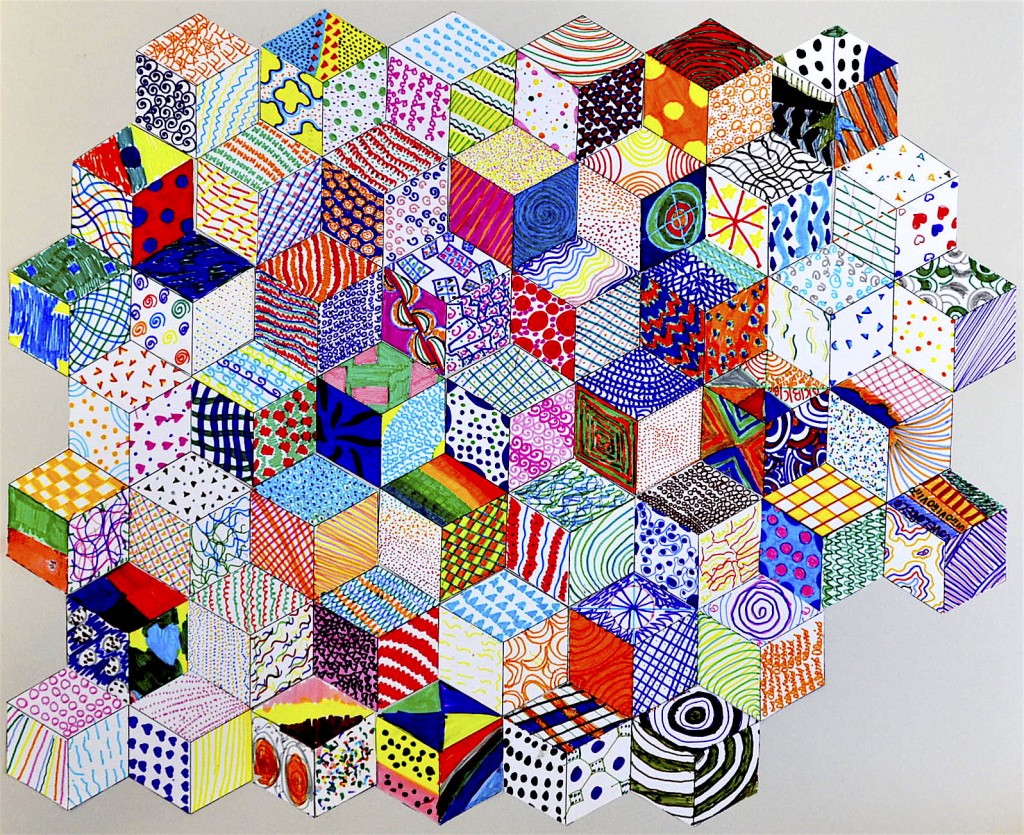
the faces of the larger cube, already shaded, become surfaces to be decorated with zentangle freely. Using only one felt tip pen on all the faces, you can also draw in pairs on the same cube. The cubes are decorated, then cut out and assembled to create an effective composition. We need:
- worksheet with single shaded cube
- felt pens
- large cardboard, scissors and glue
- duration of the task: one hour
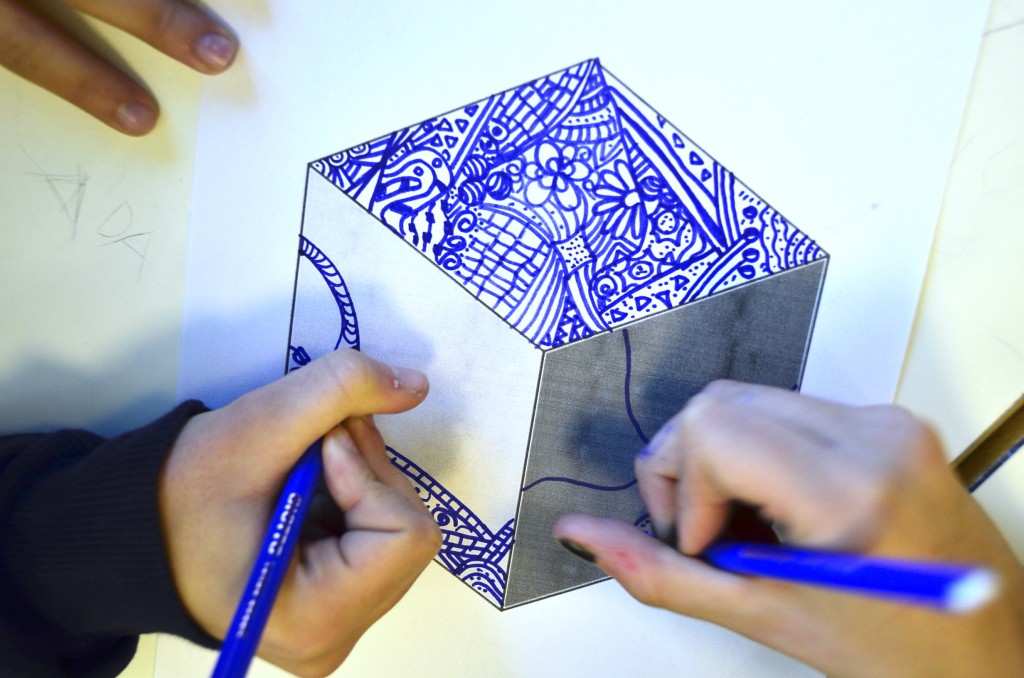
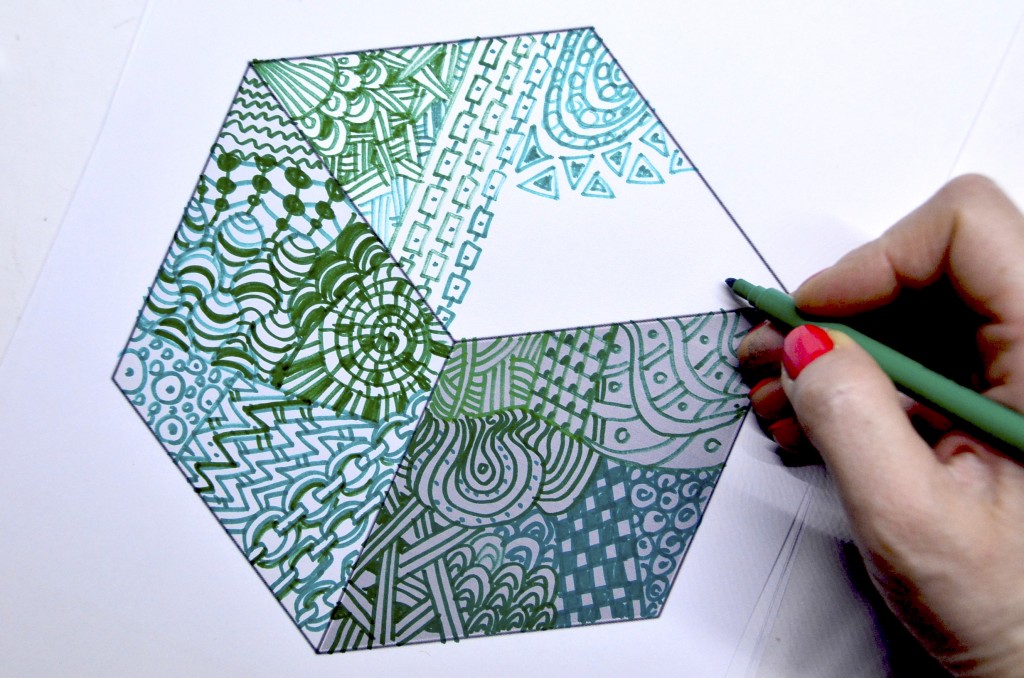
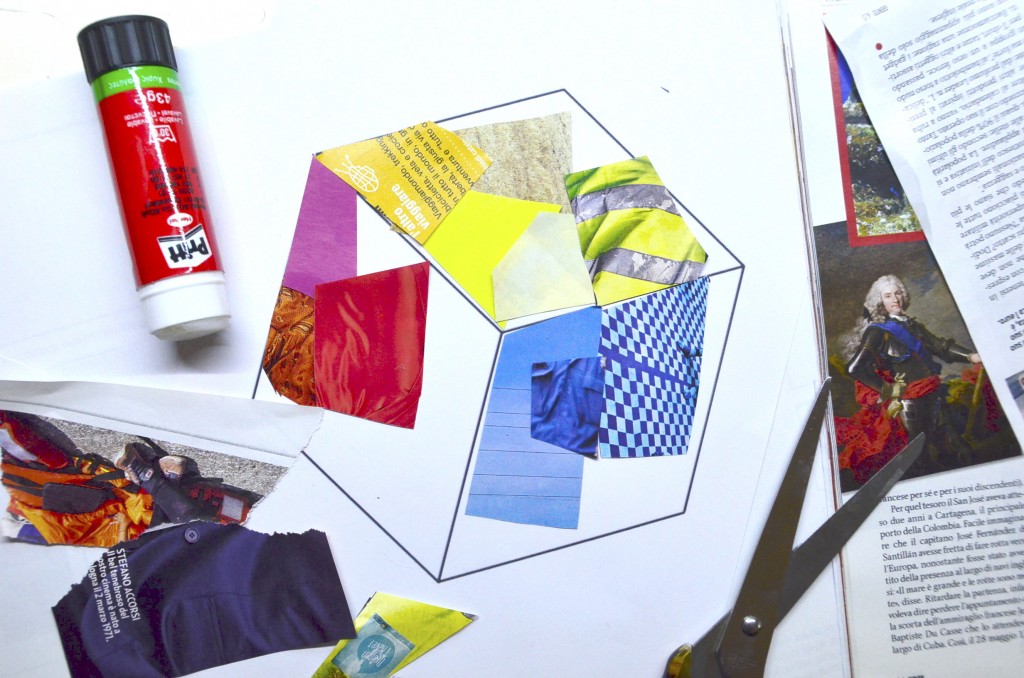
2. Collage with primary colors:
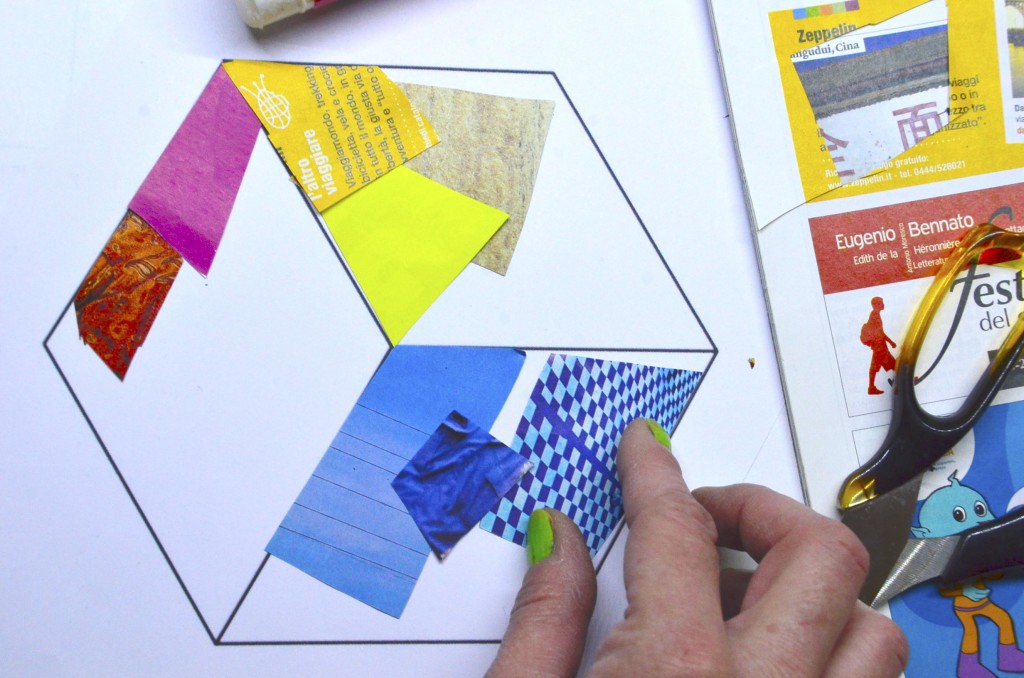
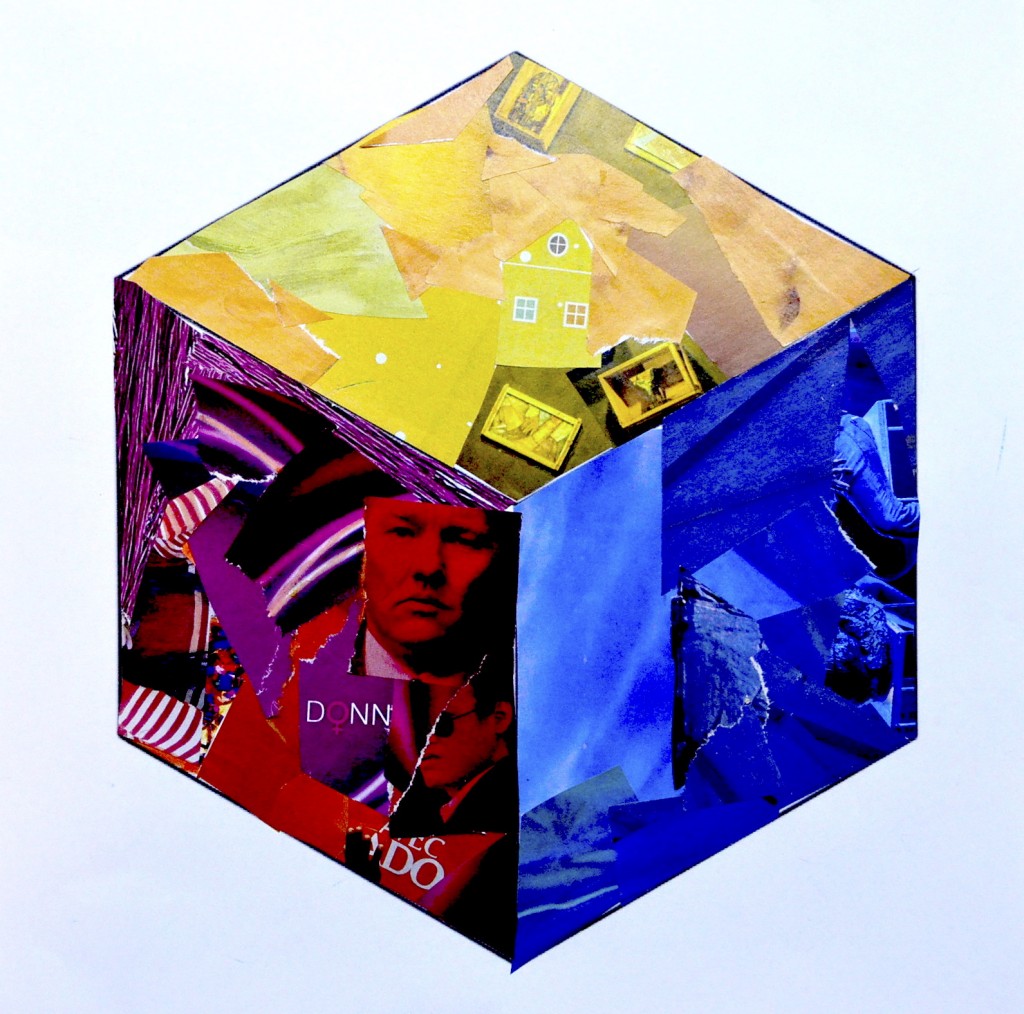
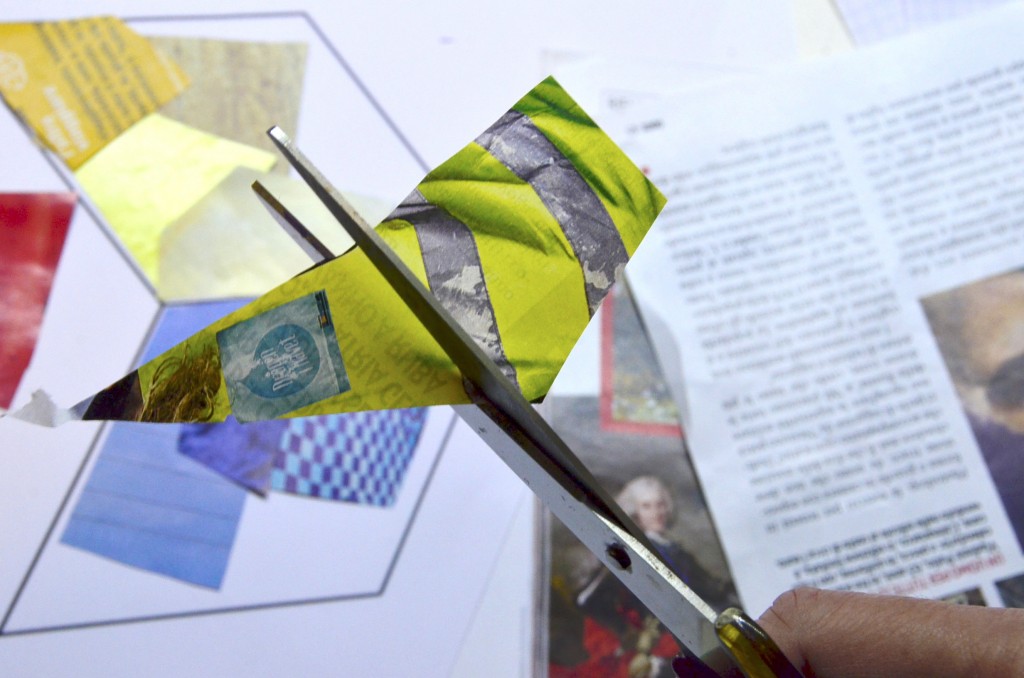
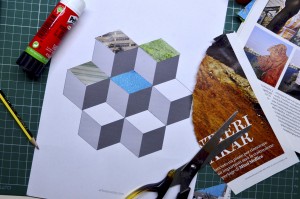
each face is dedicated to one of the primary colors. The colors are made with a collage of colored paper, cut out from magazines. This activity can be done in pairs and after finishing work, you can assemble all the cubes to create a modular composition of primary colors. We need:
- worksheet with the single white cube
- magazines
- scissors and glue
- duration of the task: about two hours
3. Inventing graphic textures:
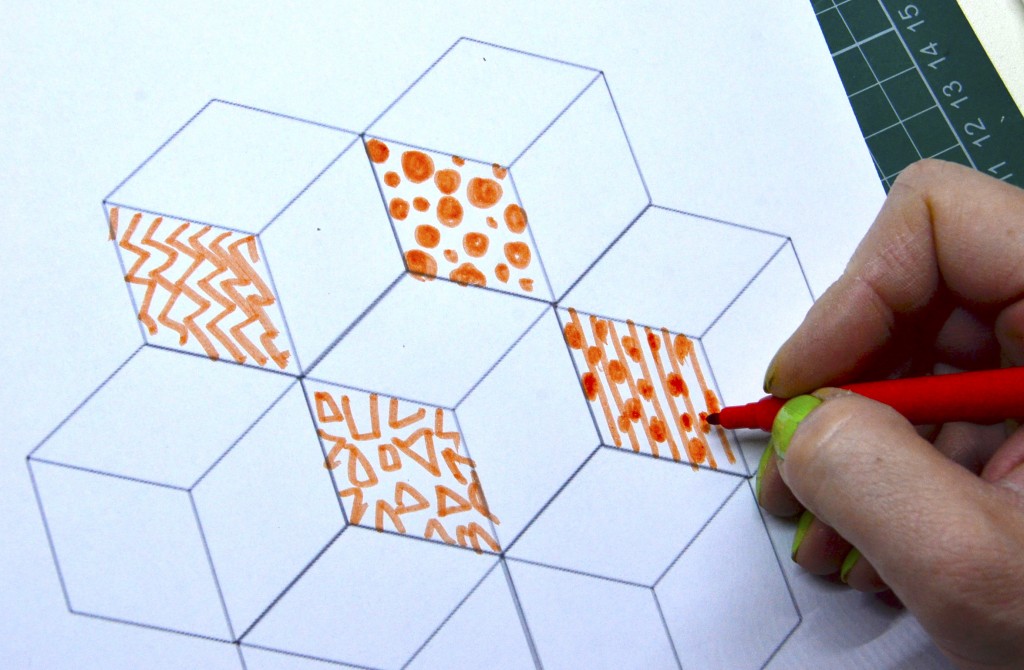
the faces of the cubes are a pretext to create many different graphic texture. You can use colored felt tip pens: the challenge is to invent textures, as much as possible different, in order to create with all the students, a collection of decorative patterns, varied and original. We need:
- worksheet with 3 white cubes
- colored felt pens
- scissors and glue
- duration of the task: about an hour and a half
4. Collage of textures and drawing: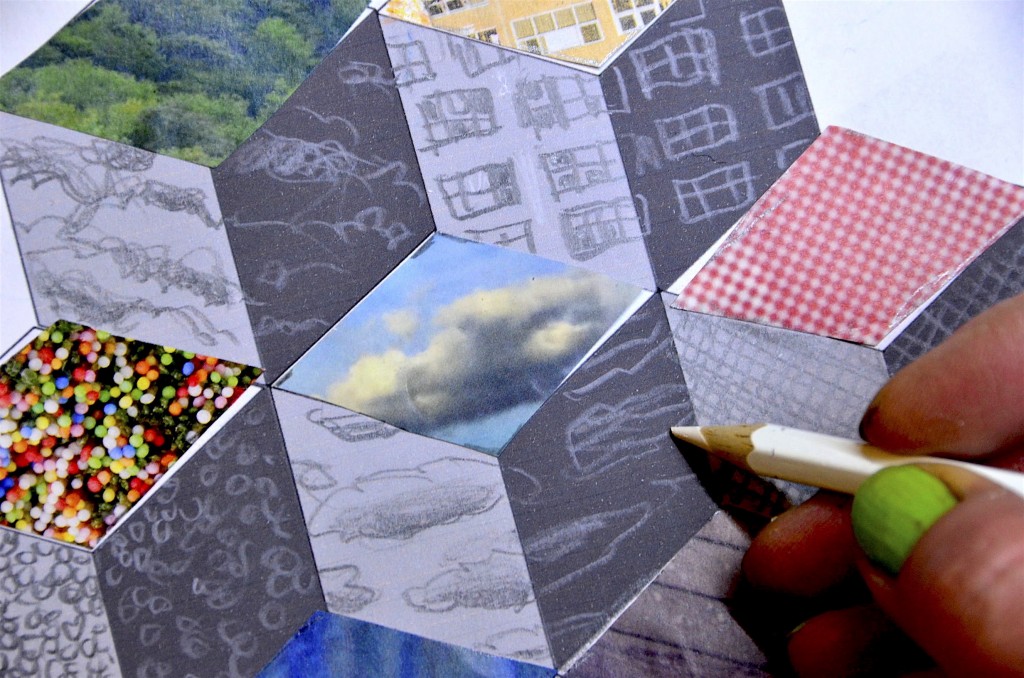
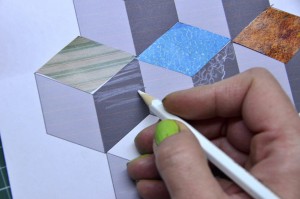
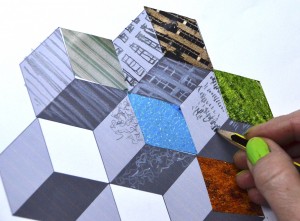
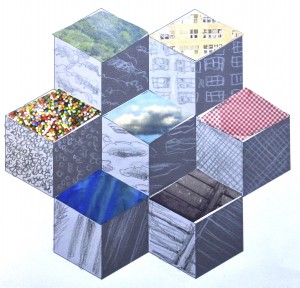
on the upper face of the cubes, we paste a texture, cut out of a magazine. The darker side is decorated with a white pencil in imitation of the lighter areas of the texture, while the lighter face is drawn with a pencil. This is a little exercise on drawing from life. Again, you can create a poster with many different textures. We need:
- worksheet with 7 shaded cubes
- magazines, scissors and glue
- white colored pencil
- Drawing pencil
- duration of the activity: about two hours
5. Zentangle in primary colors: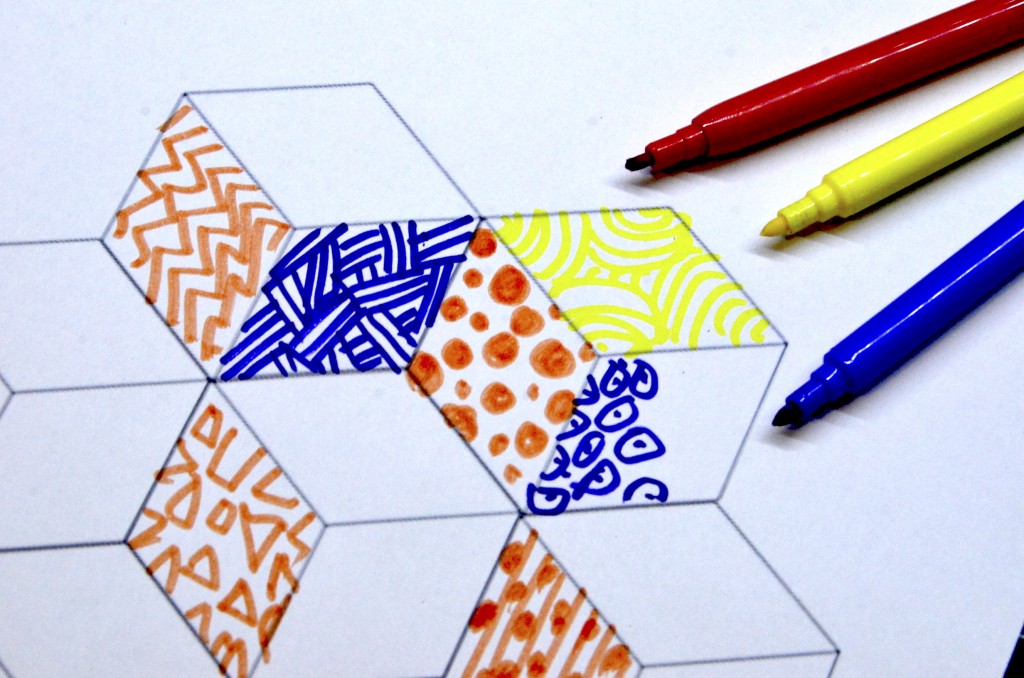
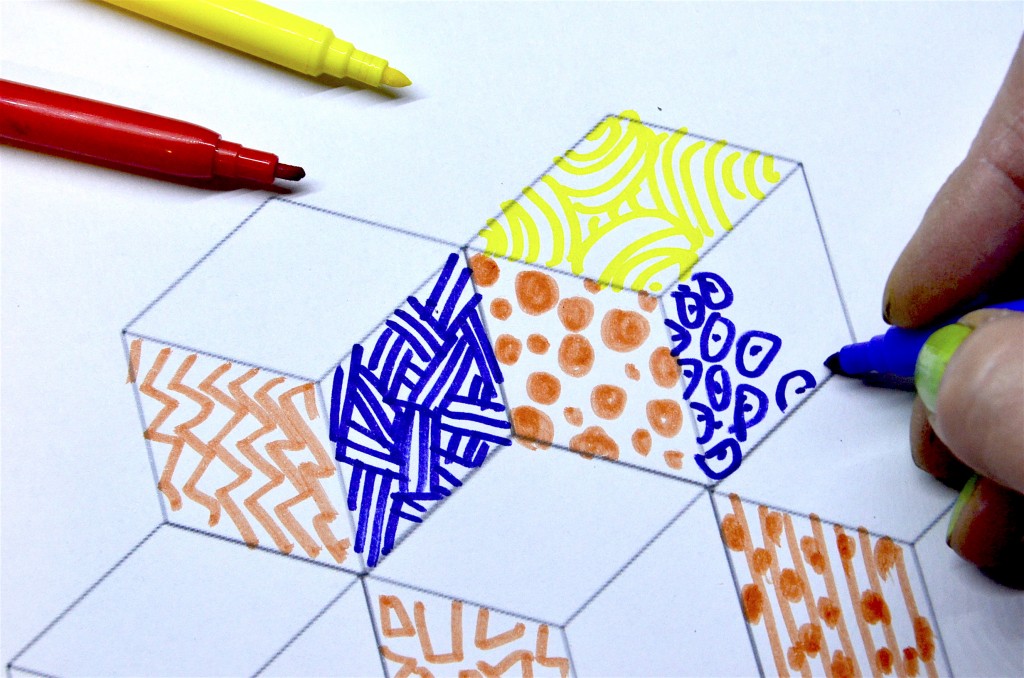
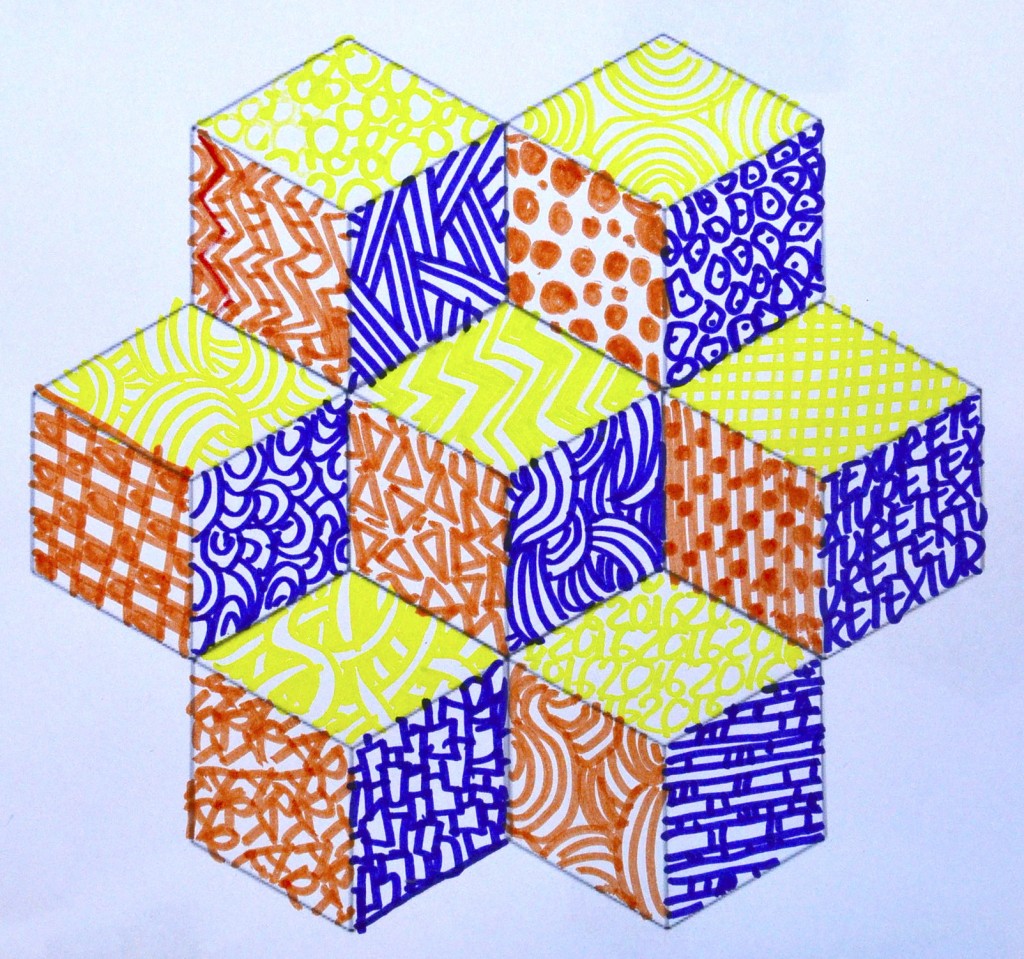
the cubes can be decorated with the three primary colors, trying to meet the theory of shadows whereby all the blue faces are in the same position in relation to the cube, and the same is for the yellow and red faces. This will make it possible to invent different decorations for each face and realize a design with three-dimensional effect. This idea can also be made with other series of colors such as the secondary colors, achromatic colors, warm and cool colors, complementary colors etc … We need:
As always I propose to the many teachers I meet on my site, to suggest other cues and share them, so we can extend the list of ideas!
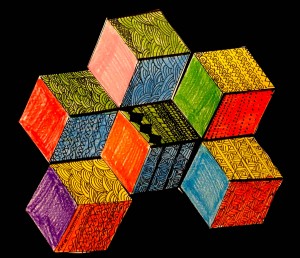
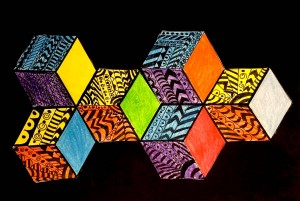
Here below we have a new idea from the 5th Grade of the Primary School Margherita Hack in Bagnaria Arsa (UD), in Italy. The students worked under the guidance of their teacher Paolina Crispas, drawing free-hand zentangle on the cubes with a black felt tip pen. After that they colored the cubes and eventually they have assembled them on a black cardboard. free-hand zentangle on the cubes’ faces with a black felt tip pen. After that they colored the cubes and composed them on a black cardboard.





1 thought on “The cube: worksheets and 5 suggestions”