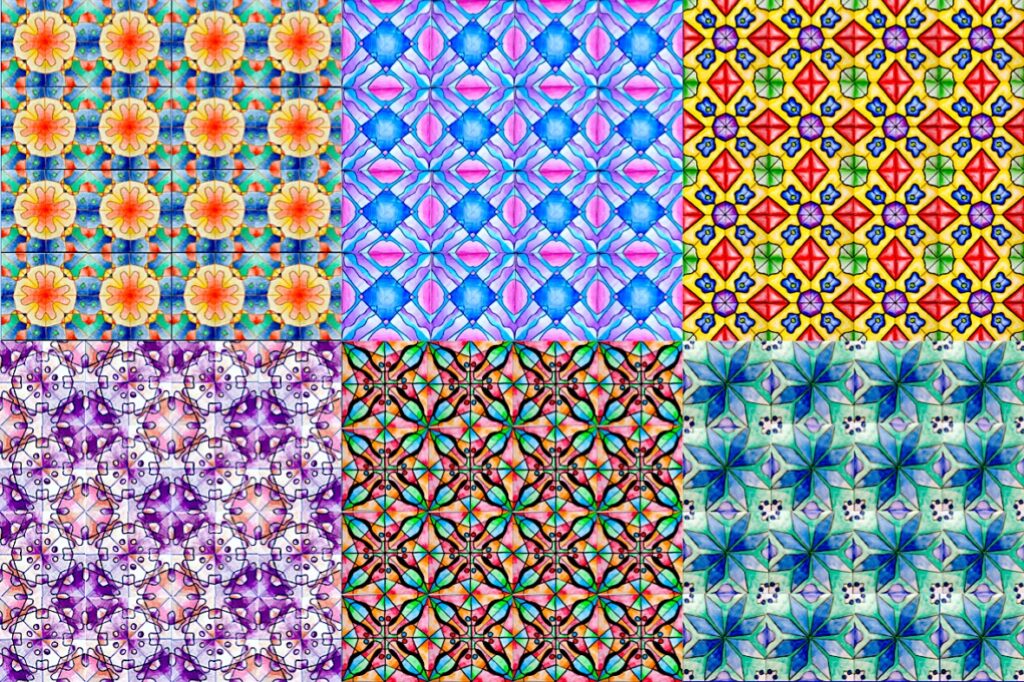
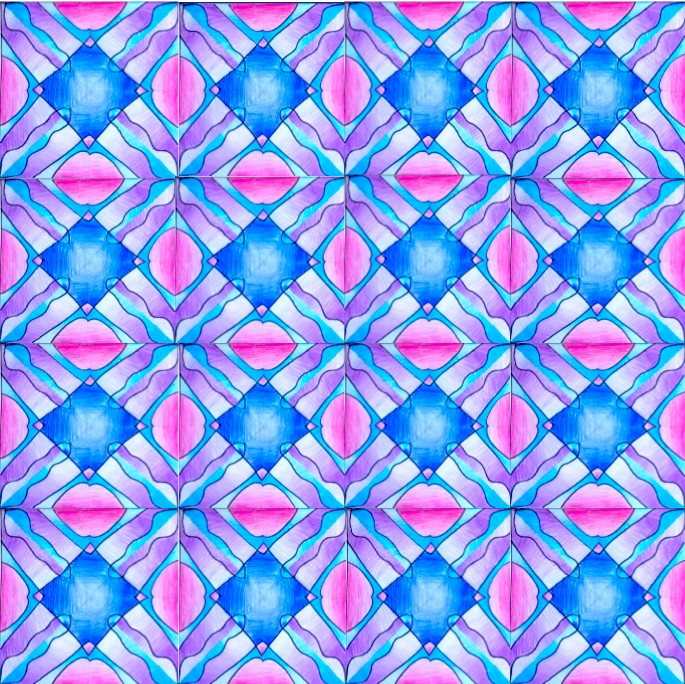
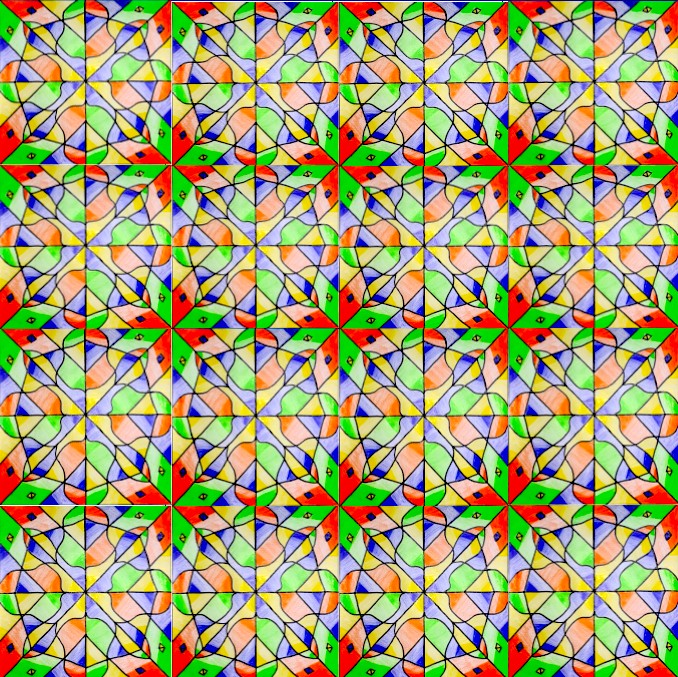
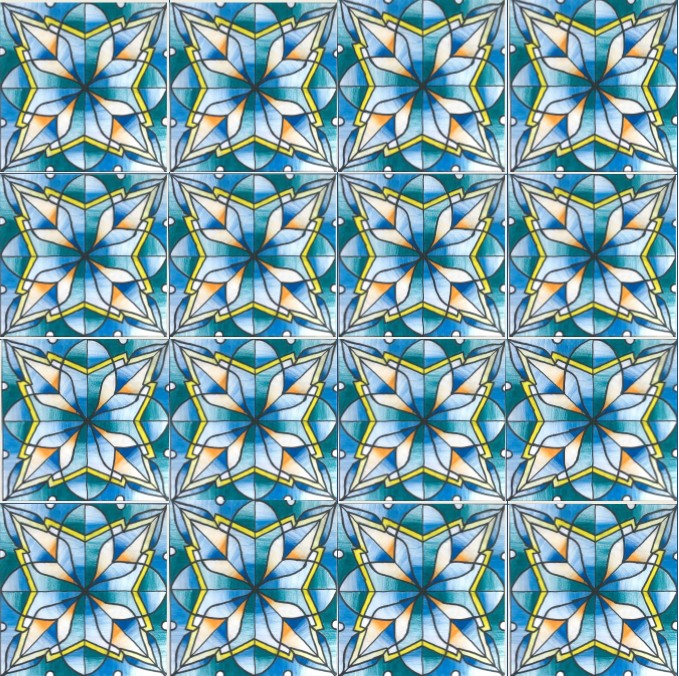
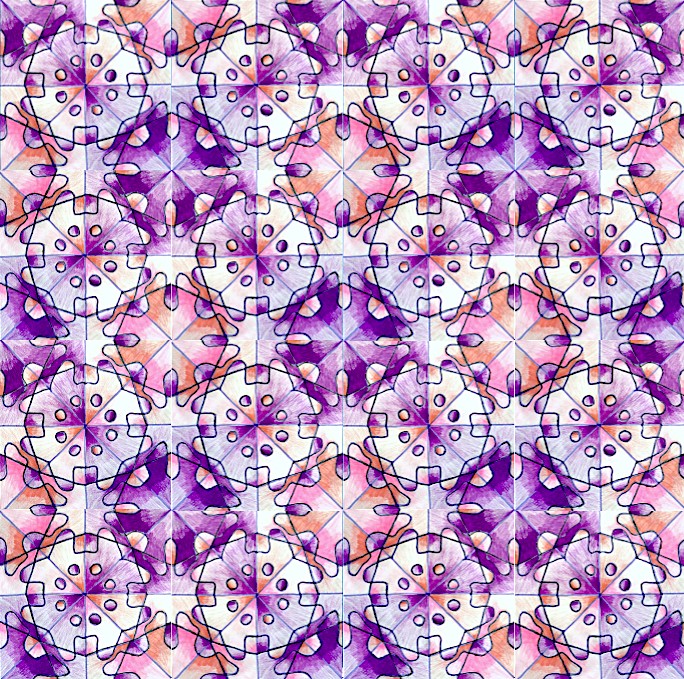
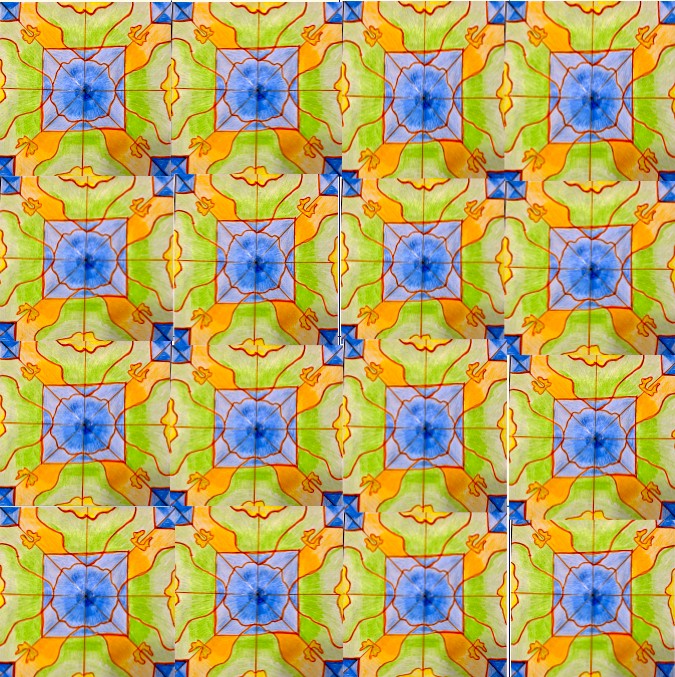
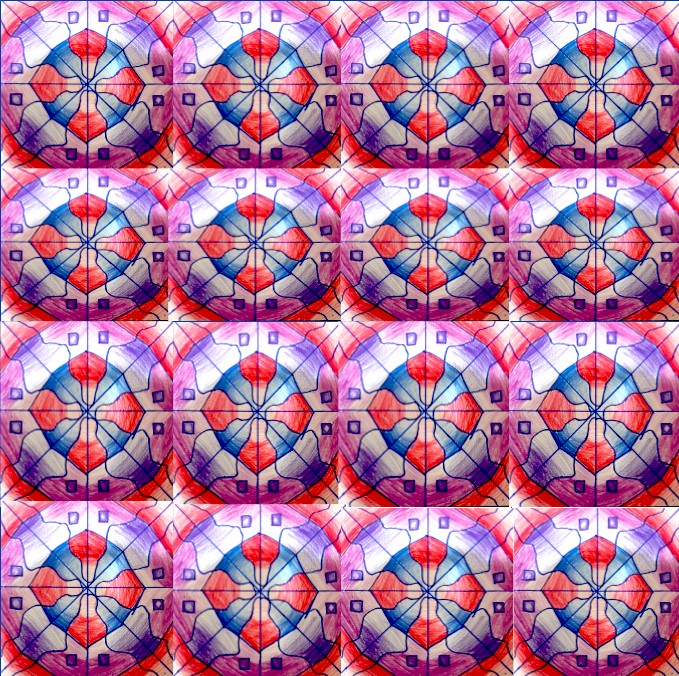
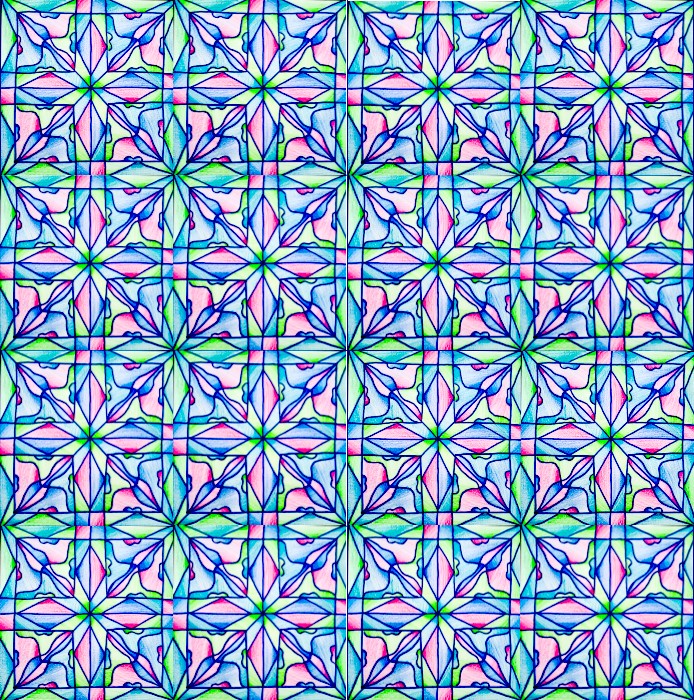
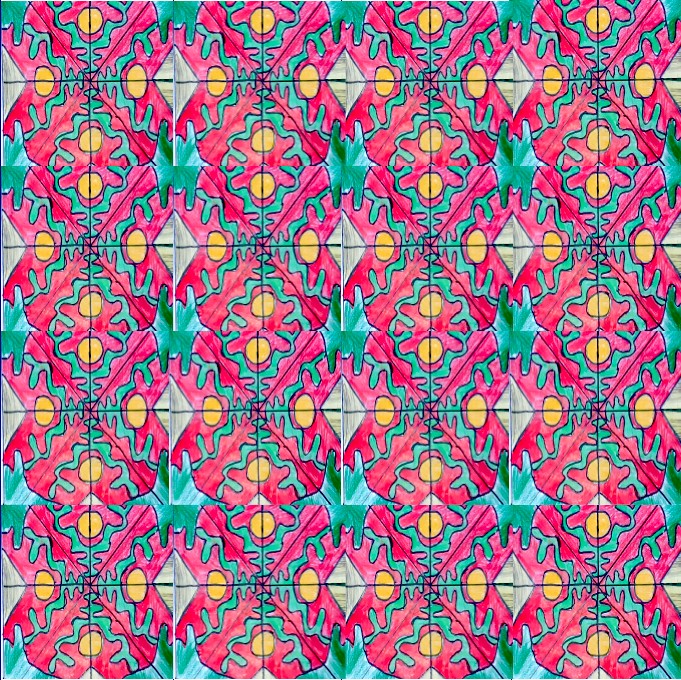
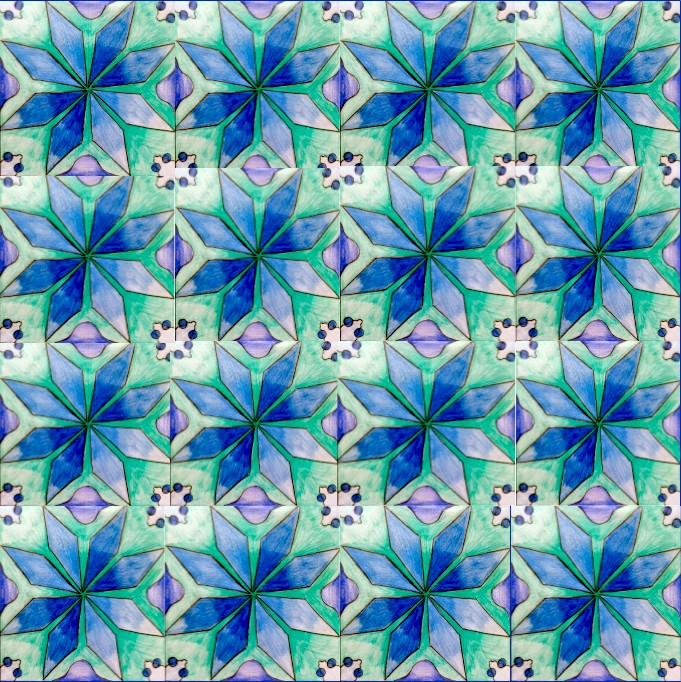
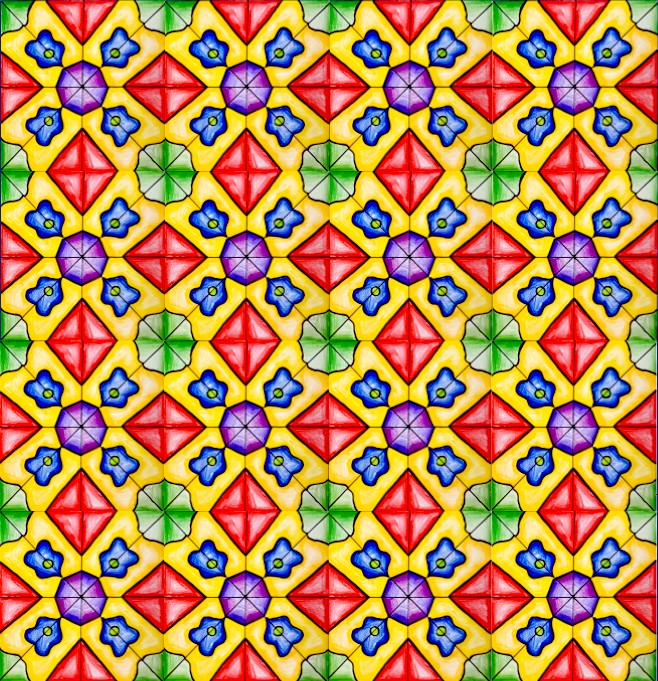
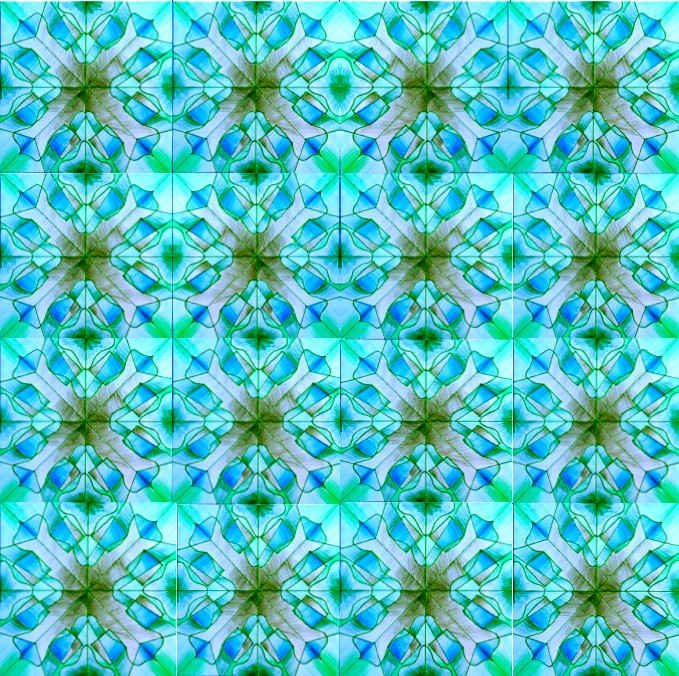
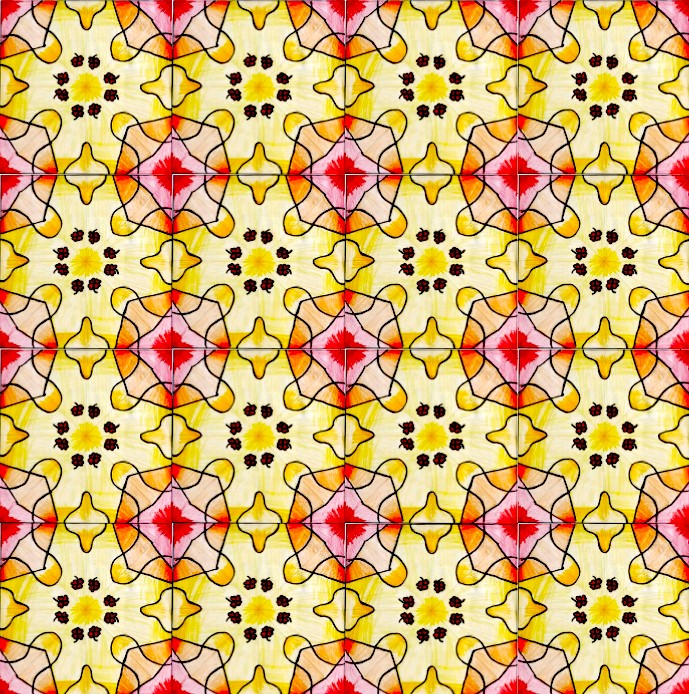
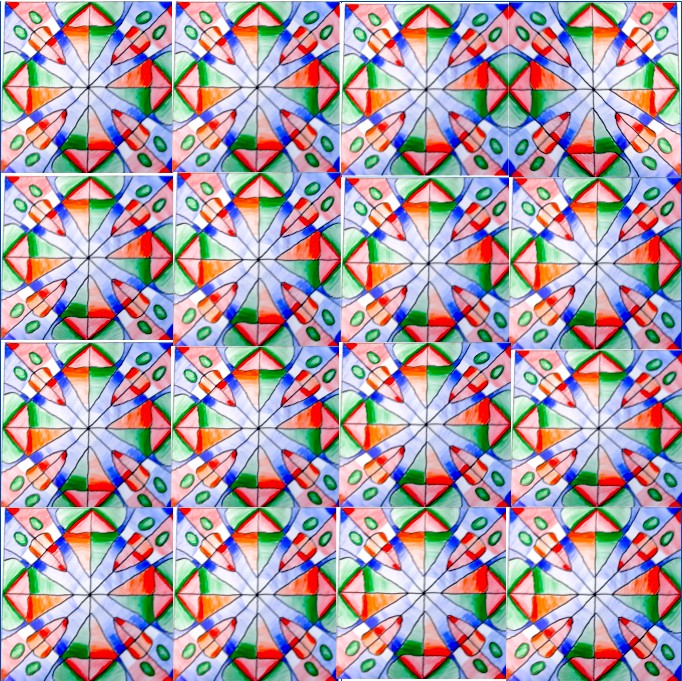
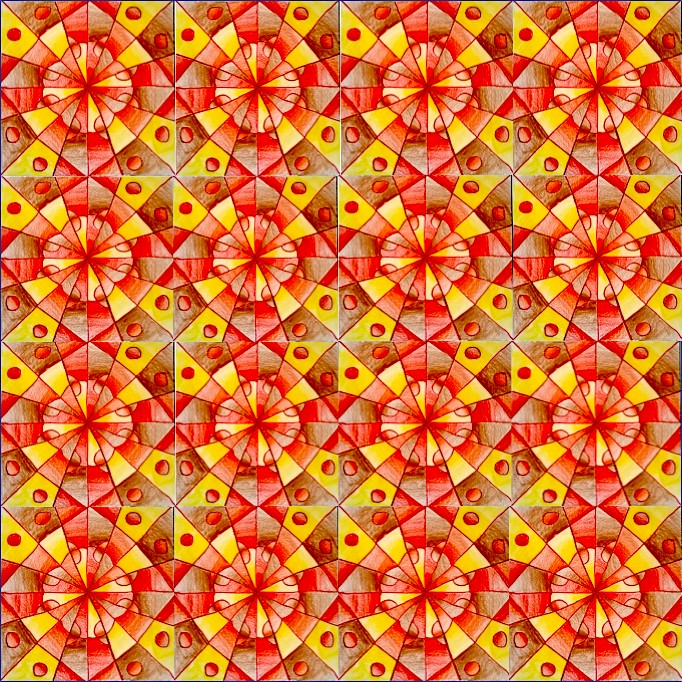
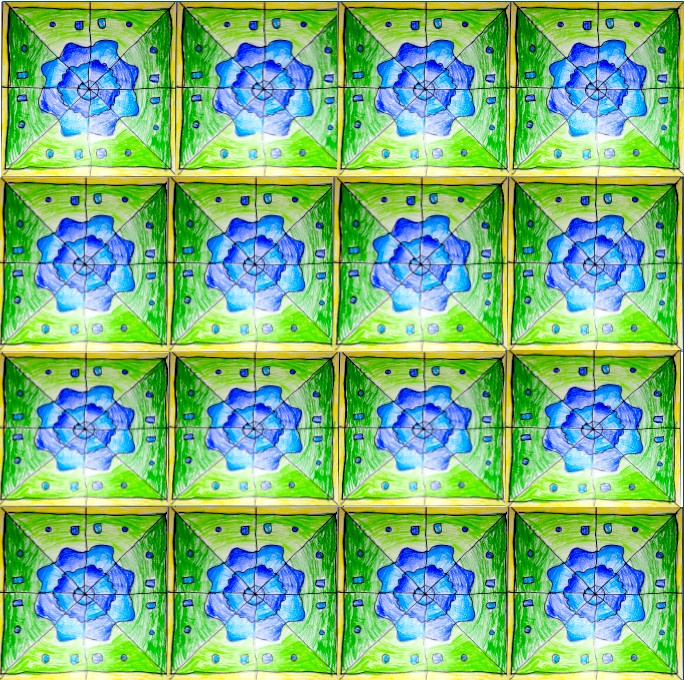
After drawing a composition in radial symmetry following the steps you can find HERE in a previous lesson, we took a picture and insert it in a Google Slide grid, shared in Google Classroom.
Here you are the steps for the radial symmetry drawing. You need a little piece of tracing paper, a sheet with squaring as in the picture below, a pencil, a felt-tip pen and 4 colored pencils.

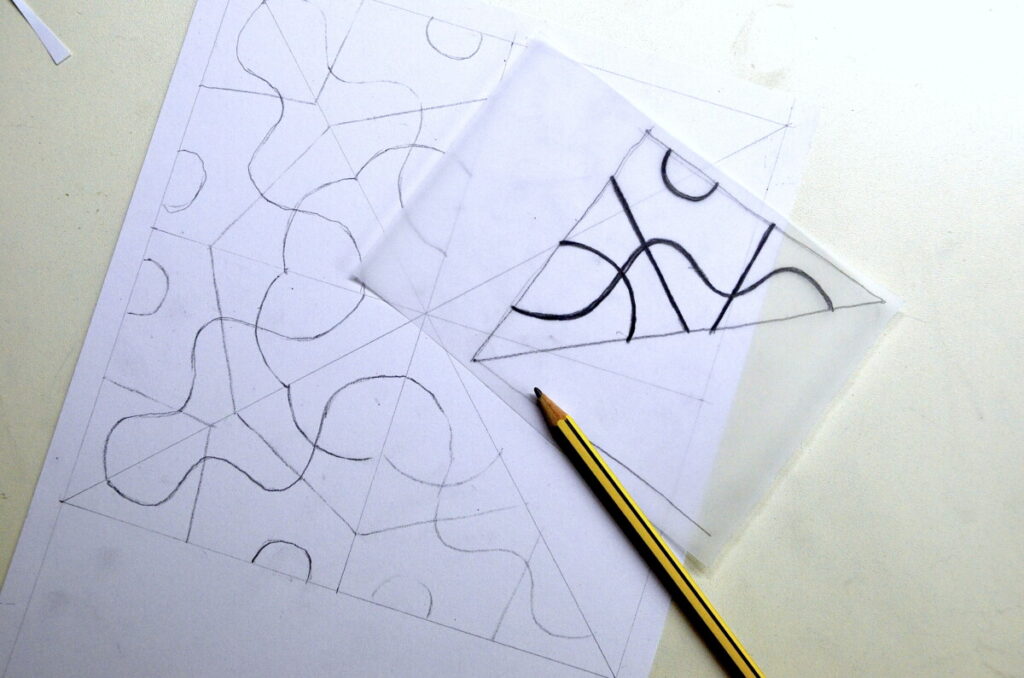
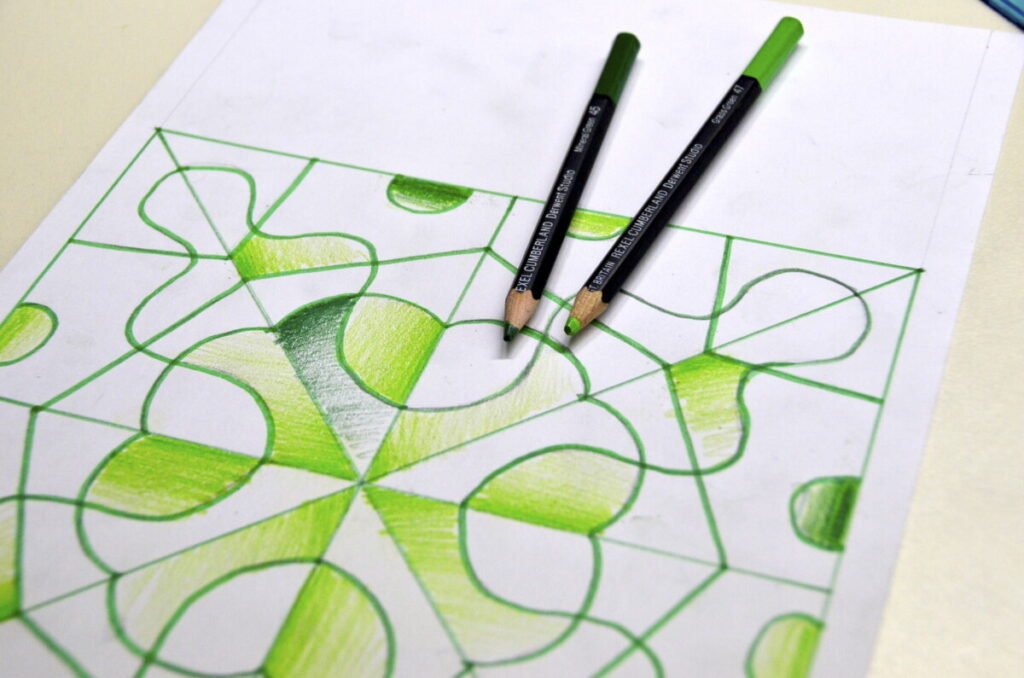
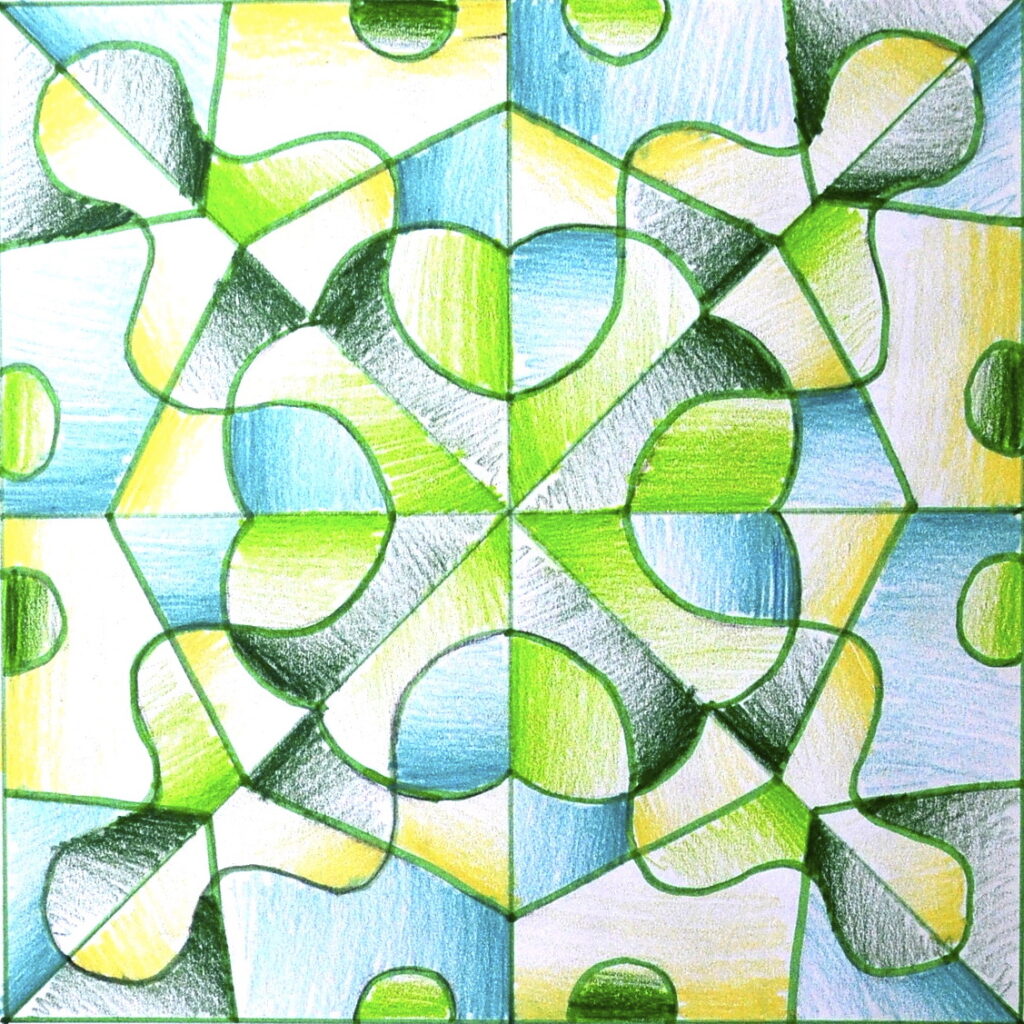
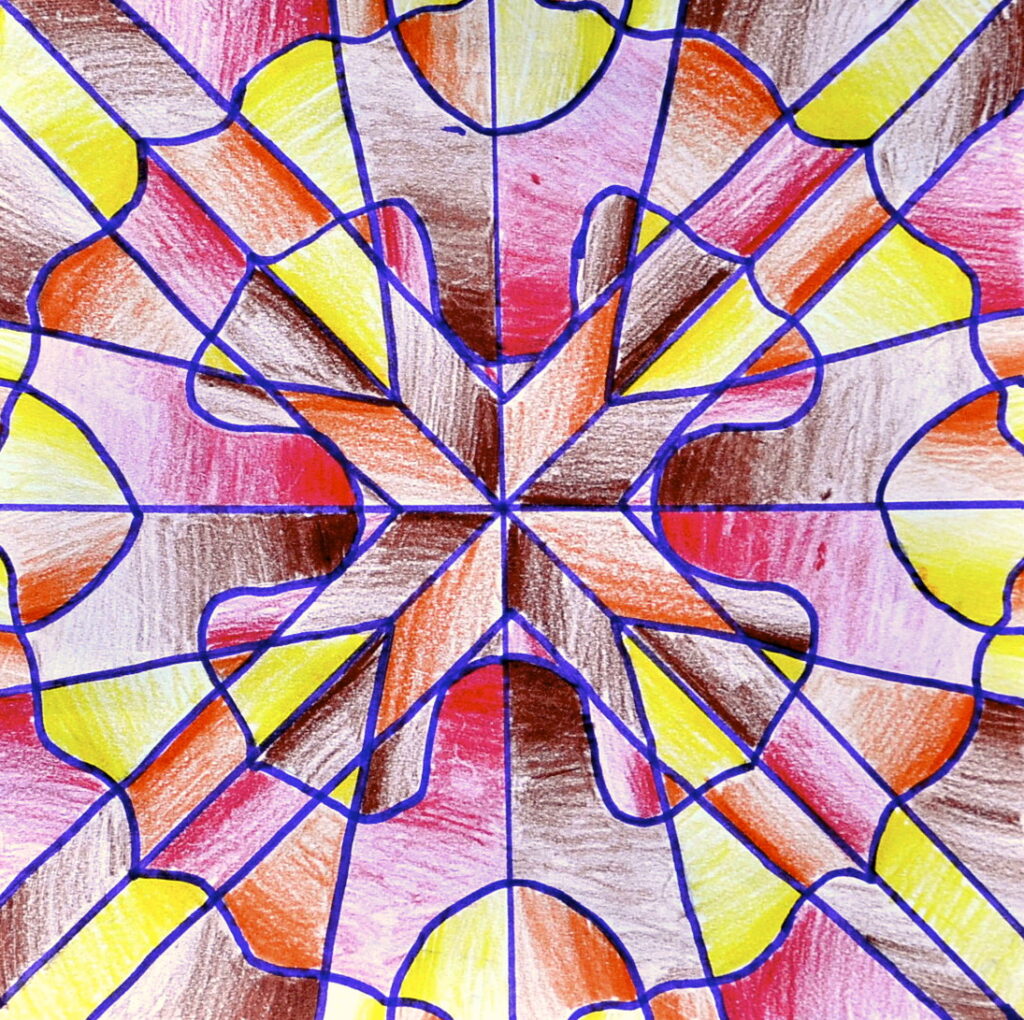
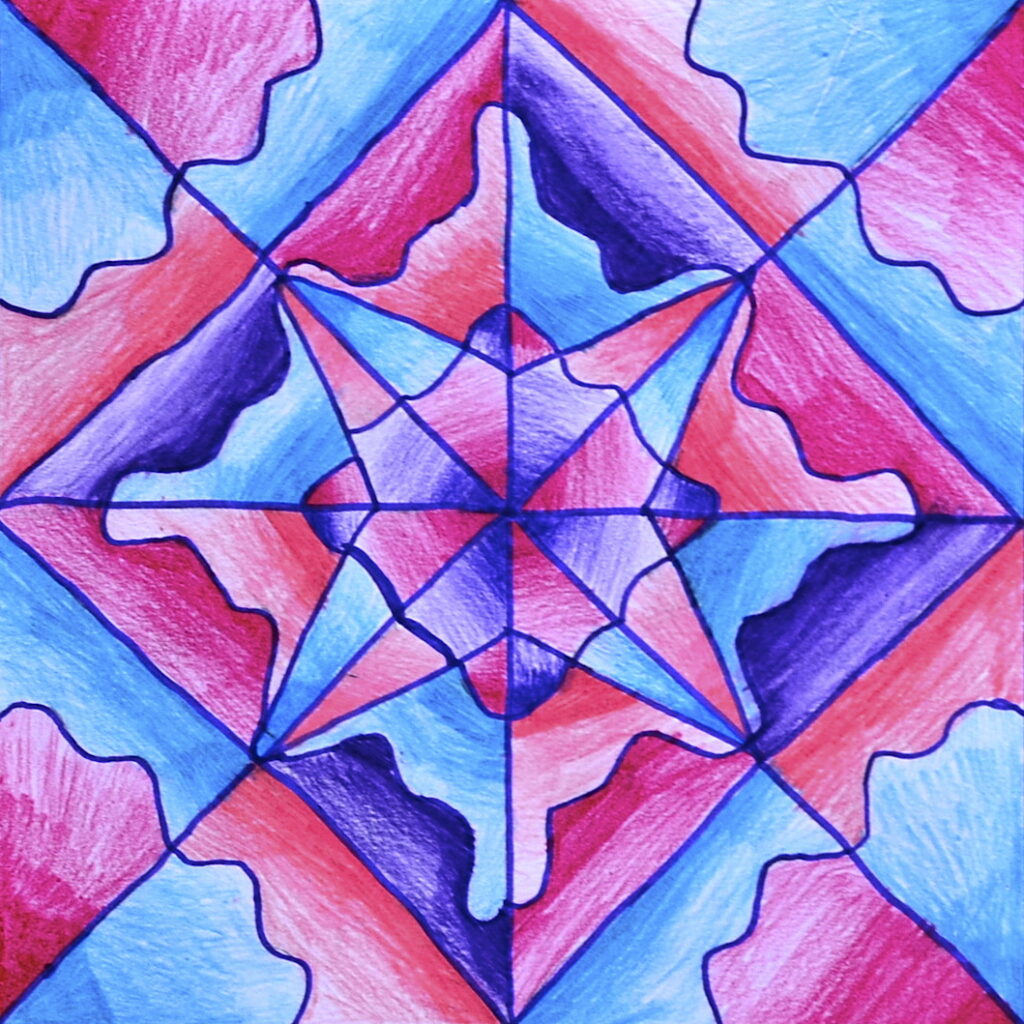
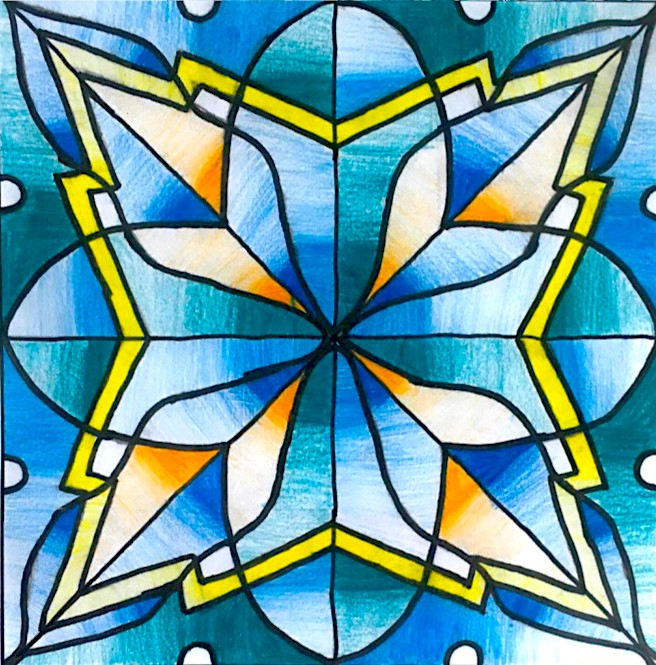
Here below you can download the grid in ppt. There are some samples of the activity in ppt and in Google Slide.
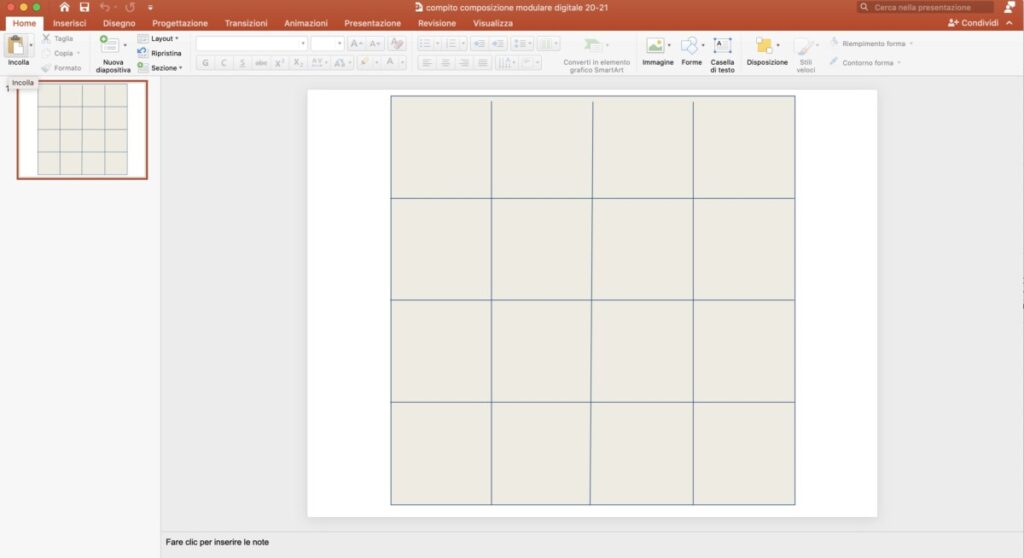
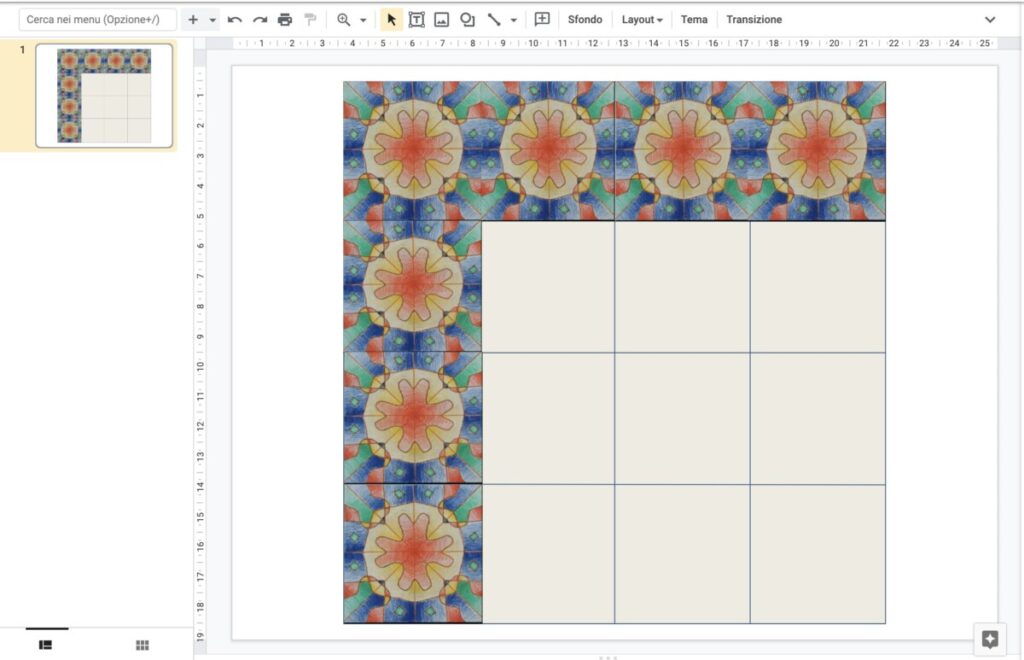
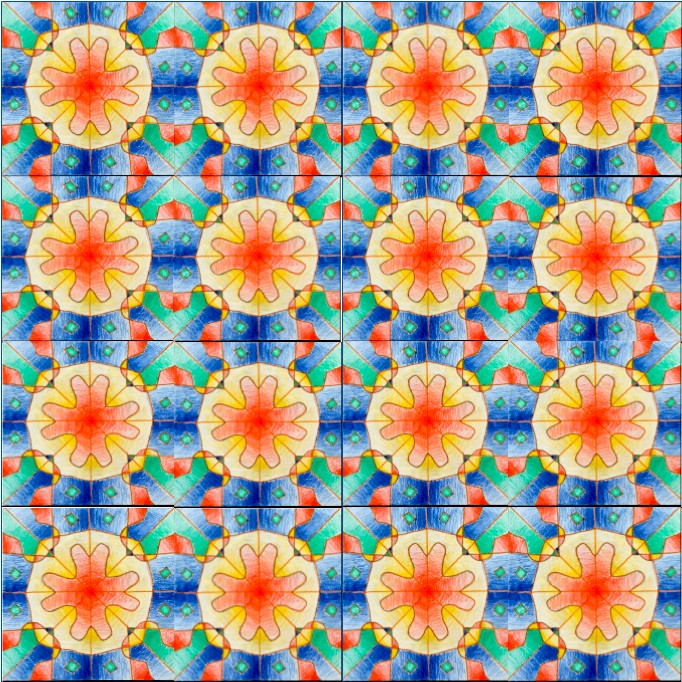
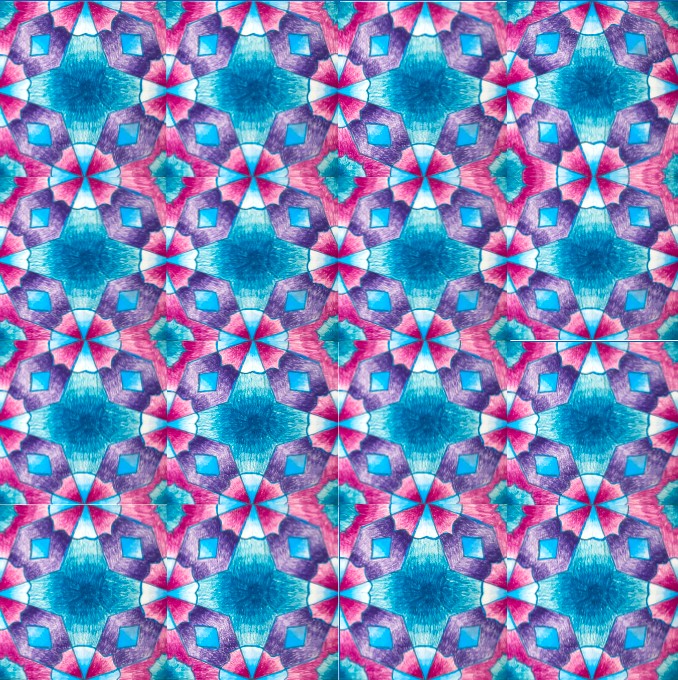
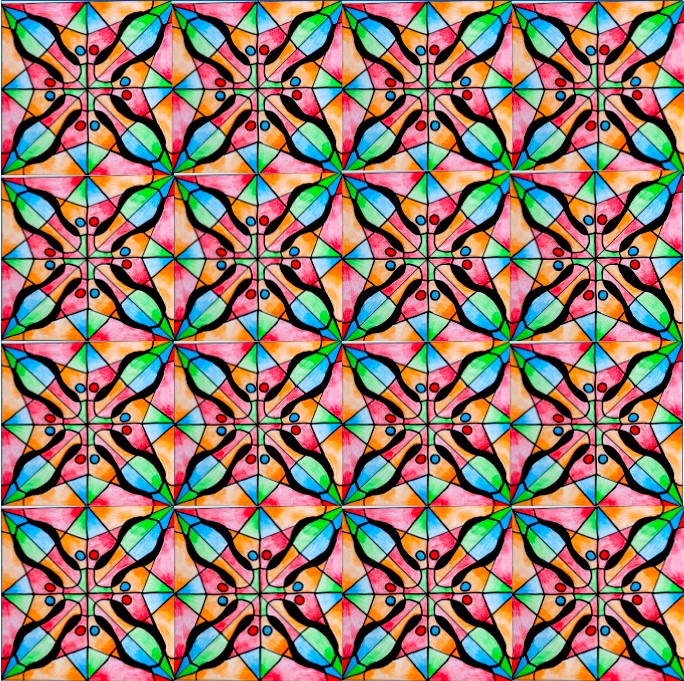
The drawing is reduced o the right size in the ppt grid, then you copy it and paste it 16 times into the grid, in order to create beautiful patterns!

Love this lesson!! How did you create a grid in Google Slides?
Hi Paolino, I just draw a square with lines to subdivide the area, then I created a module in the online classroom. Every student received his/her own slide
Stupendi!!!
grazie elisa!!