Here below an useful video tutorial created by Chad Brown for his YouTube channel theartproject.com . He shows clearly how to create the two-colors prints inspired by German Expressionism. I invite you to visit it and watch this and the other interesting art projects he proposes in his videos.
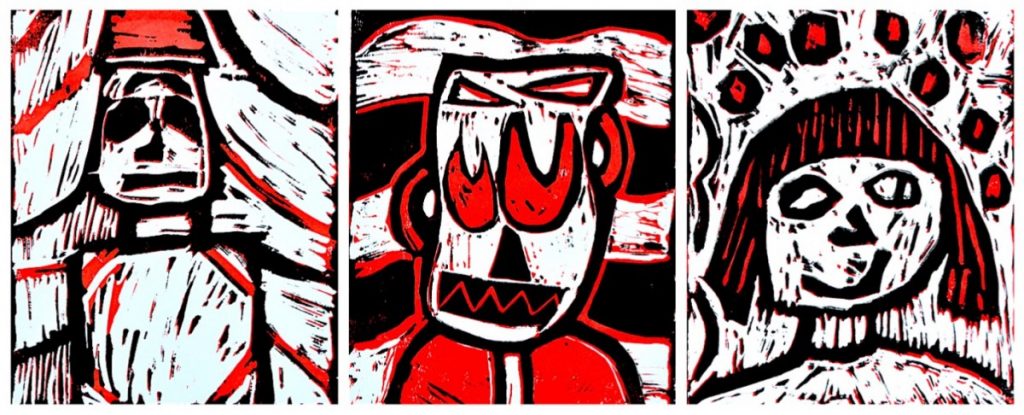
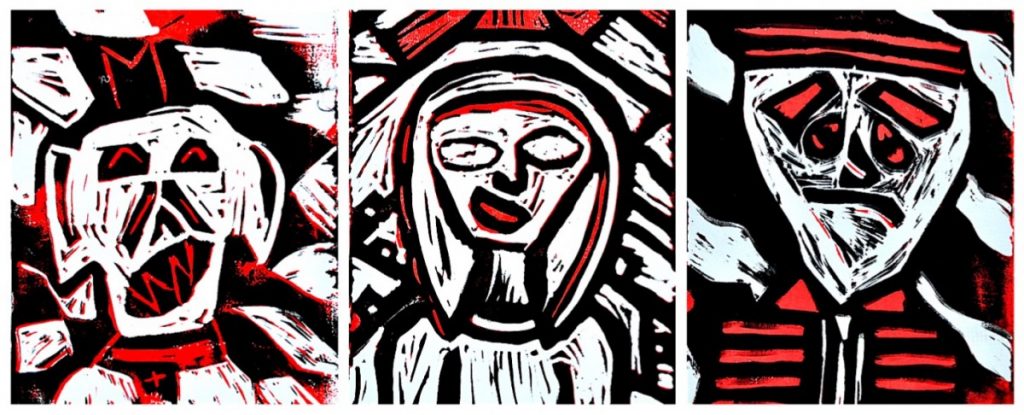
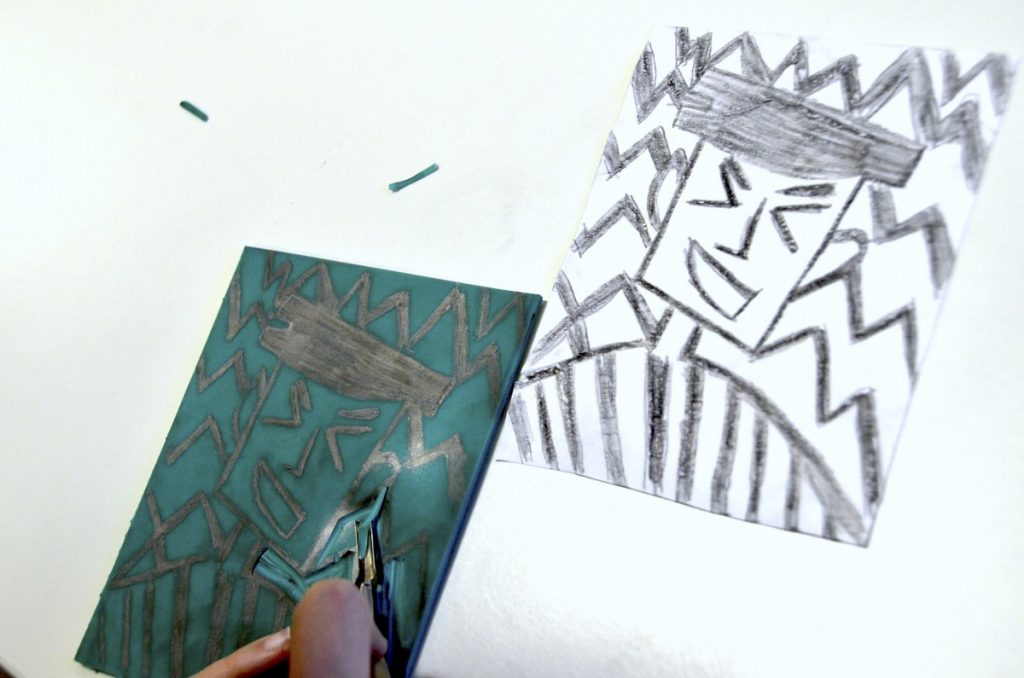
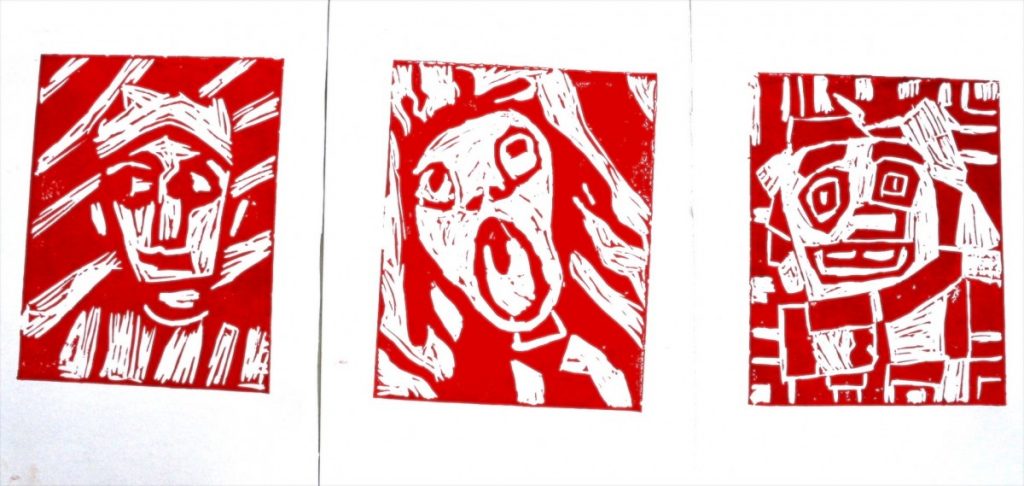
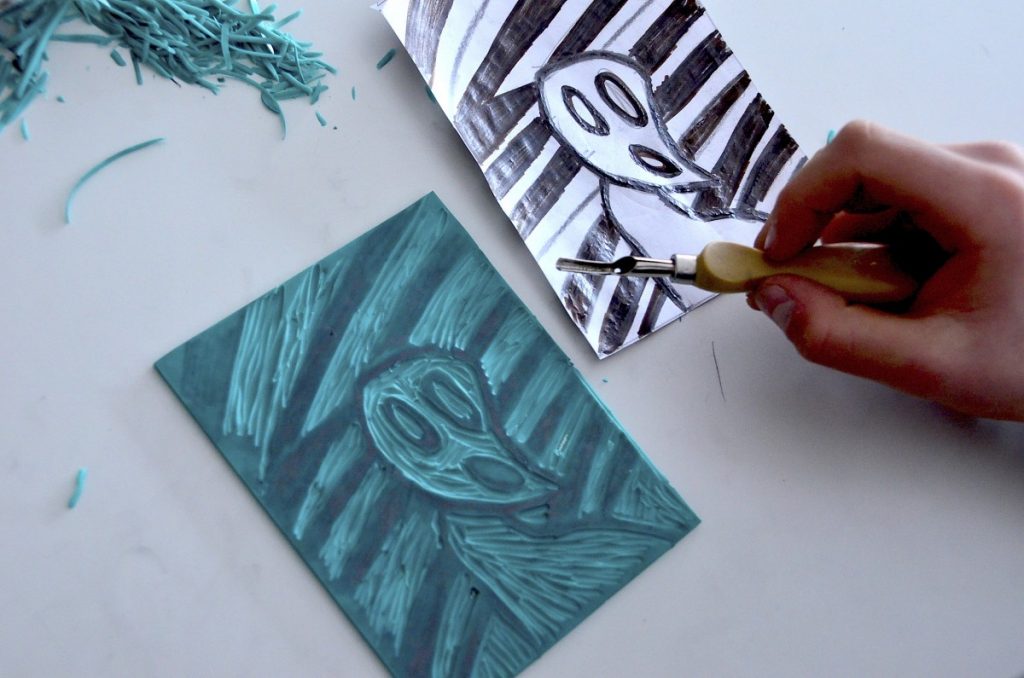
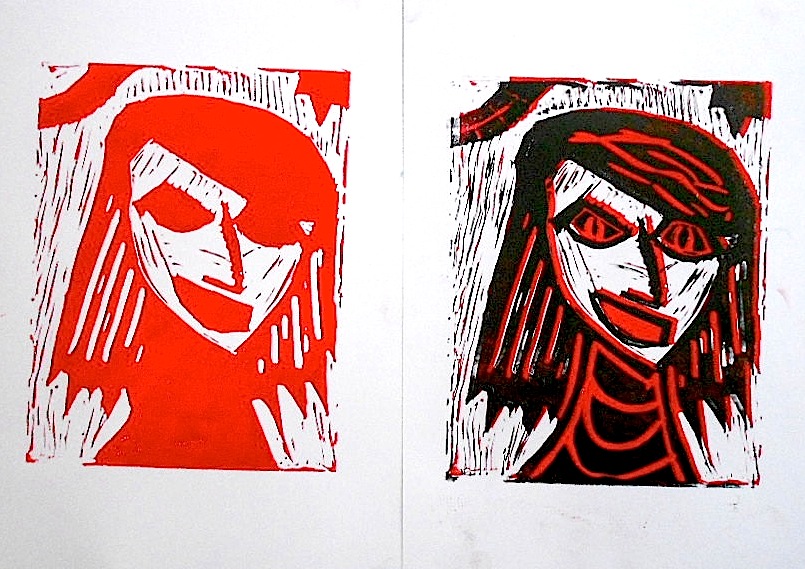
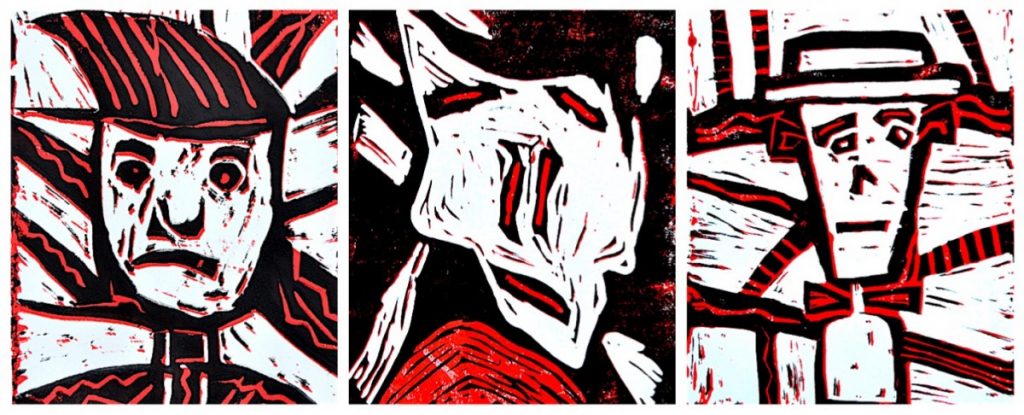
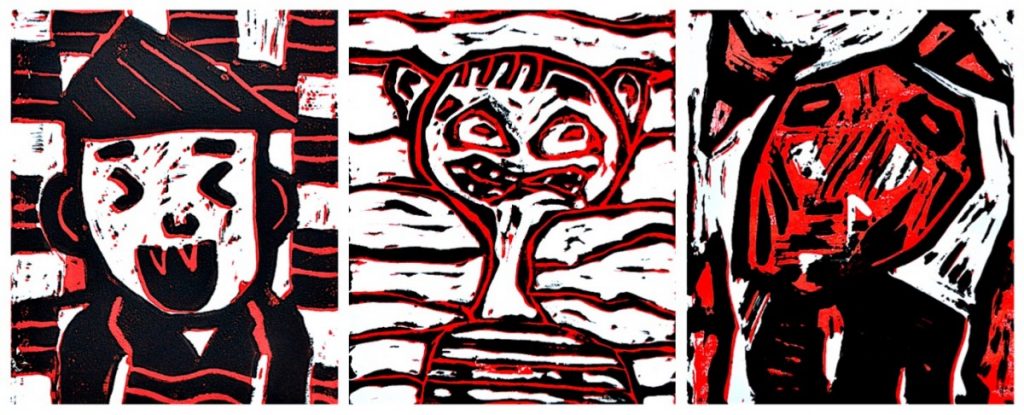
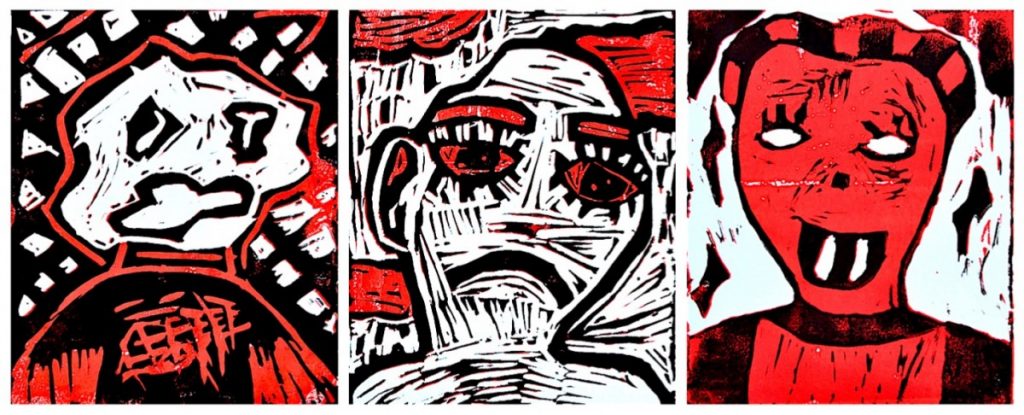
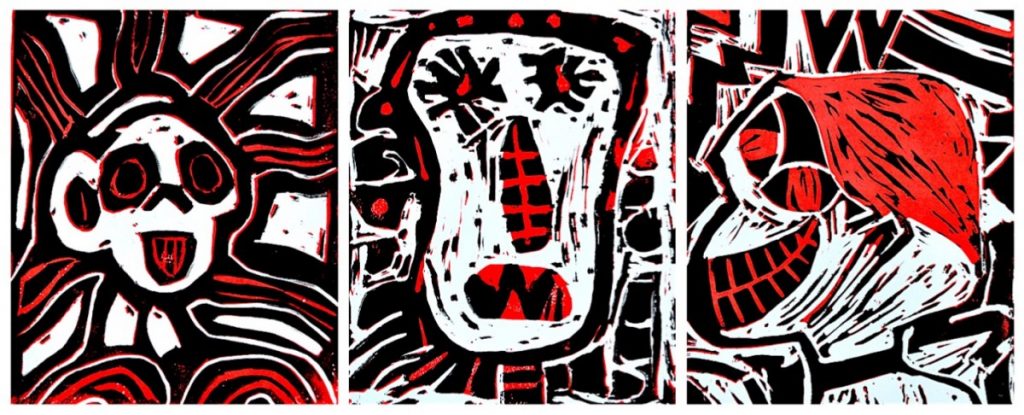
These two-colors prints were made by 9th grade students with a printing plate called Adigraf, a soft and easily workable rubber. First, we drew an image depicting a face, inspired by the portraits of the German Expressionists made with Xylograph (technique of printing with woodcut plate). The sketch was then transferred on the Adigraf plate pressing the graphite on the rubber.
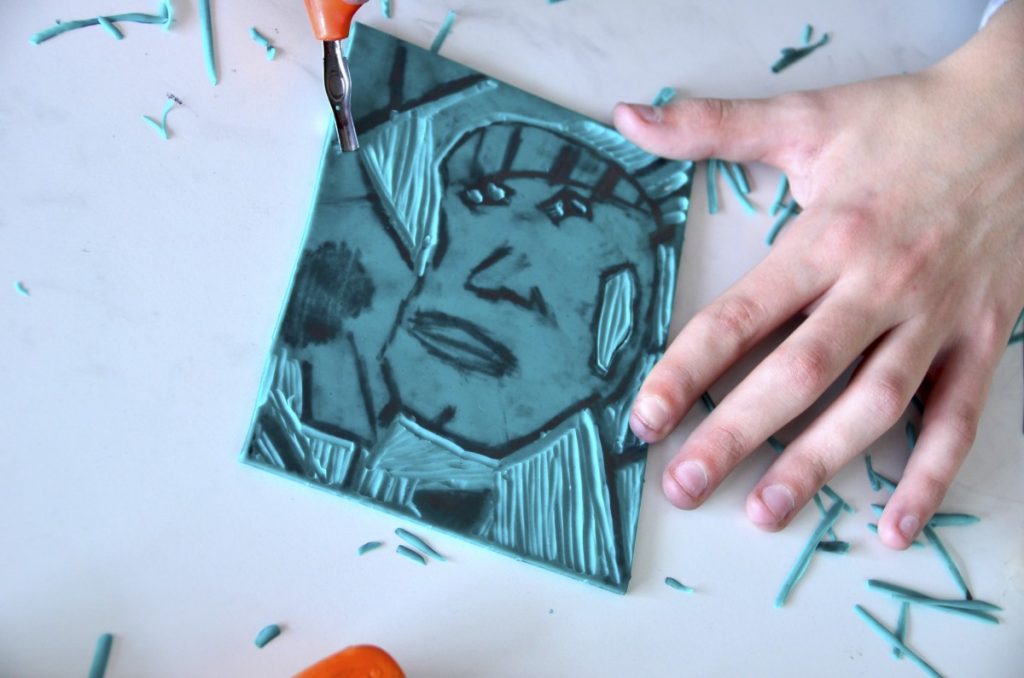
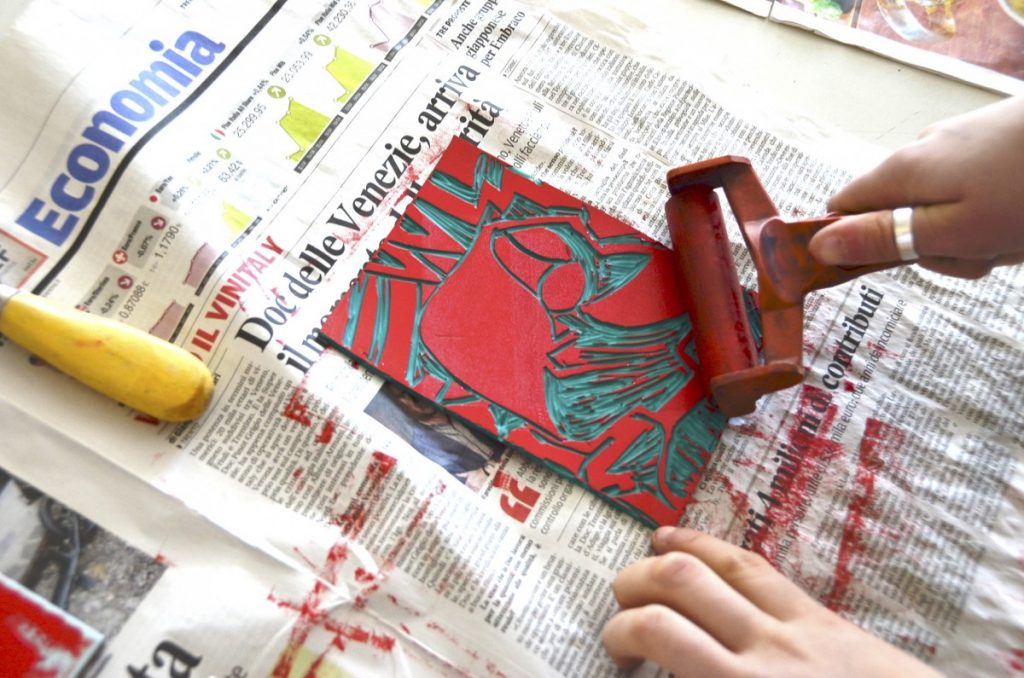
After that, the plate has been carved with chisels of various shapes. The students carved their figure making sure to carve the empty areas (negative space) and leaving the colored areas in relief (positive space). They carved only certain parts of the design for the first print with the red paint.
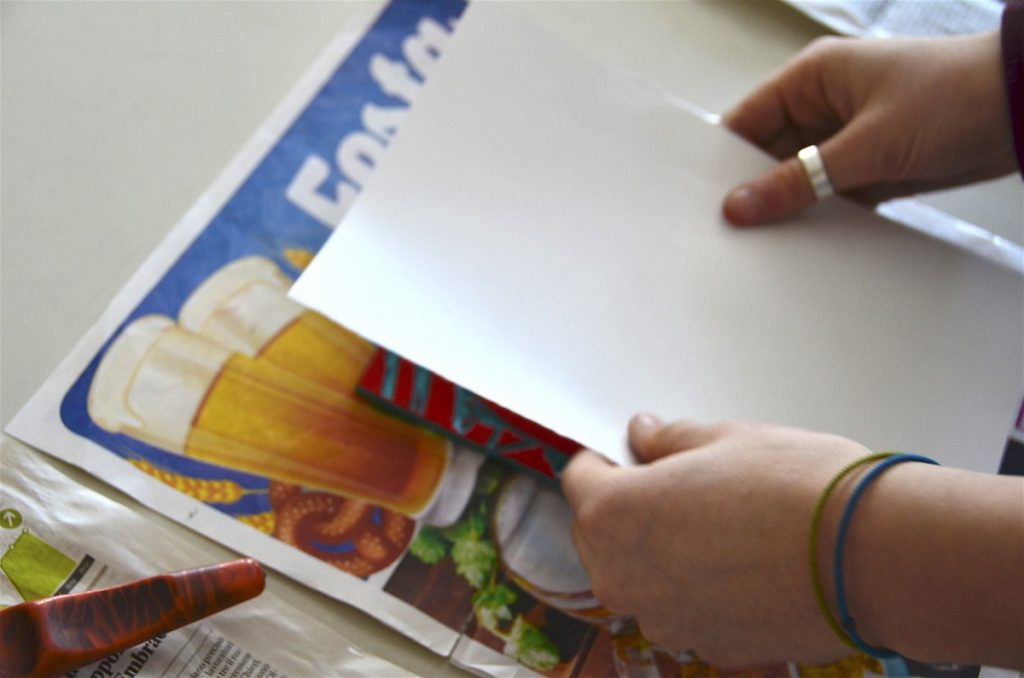
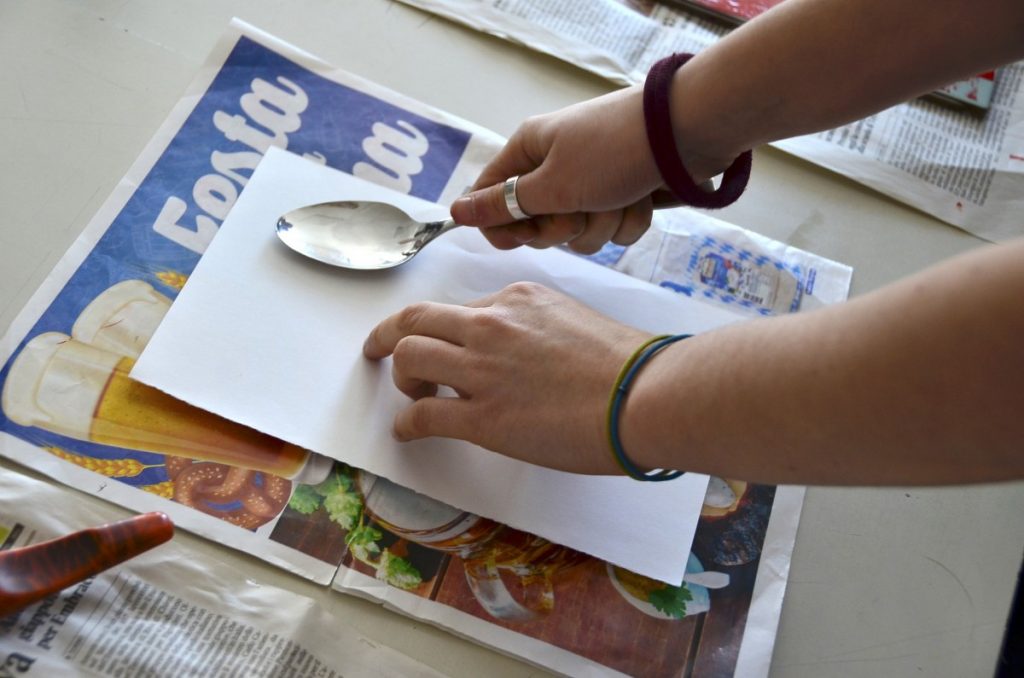
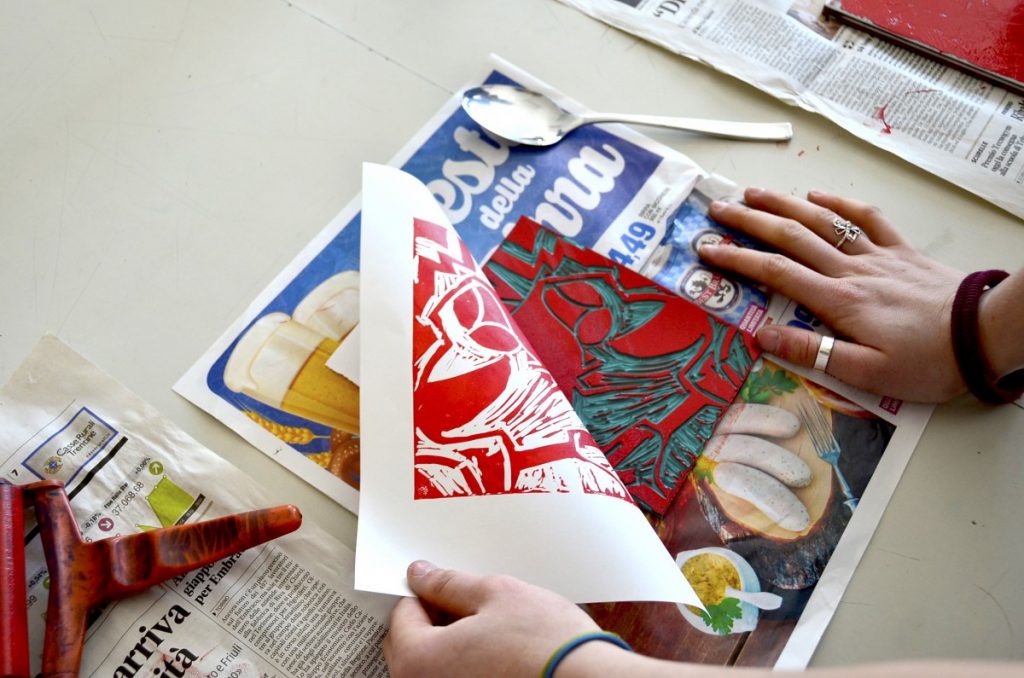
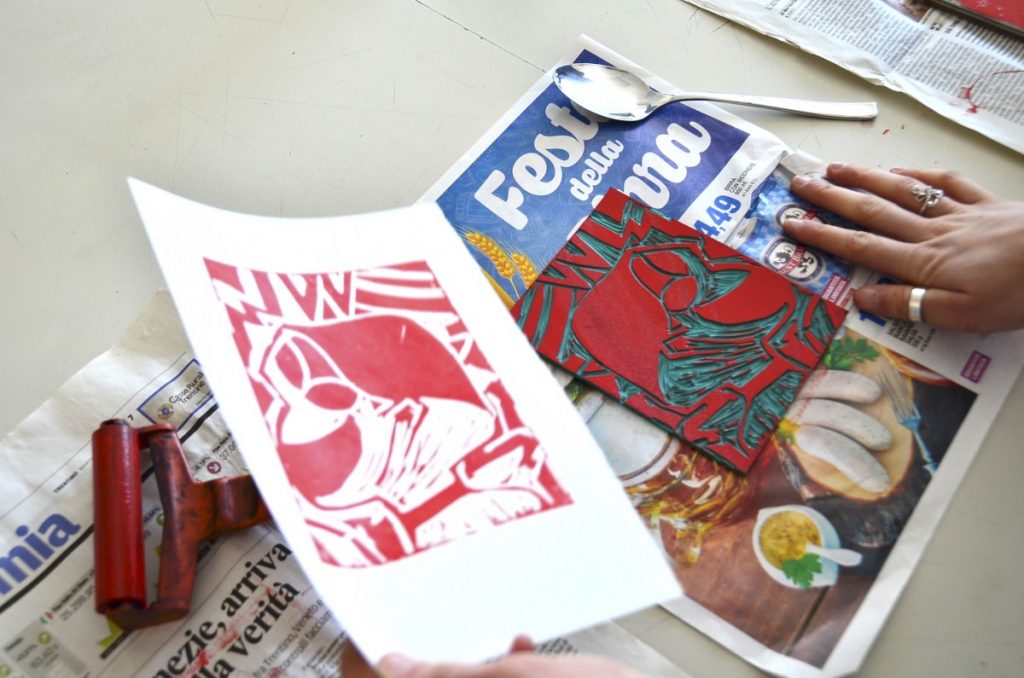
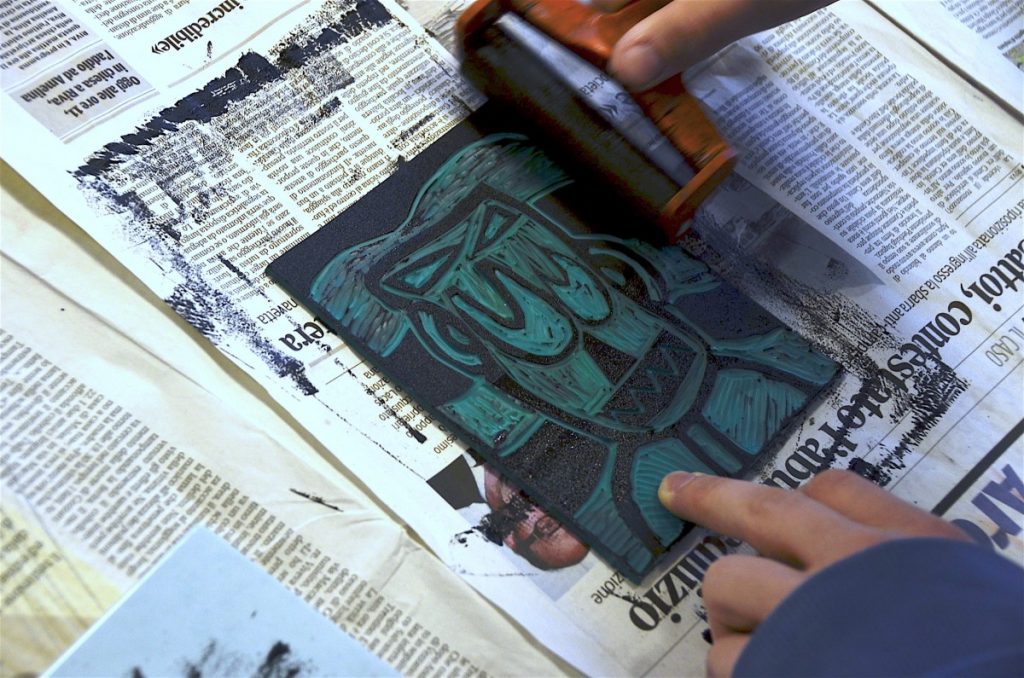
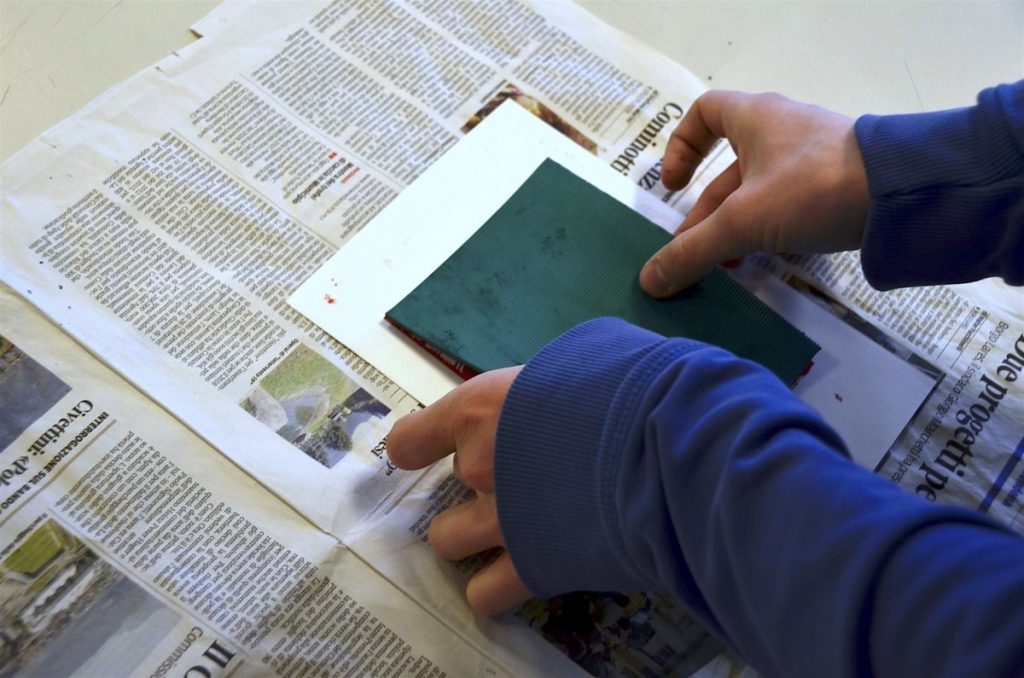
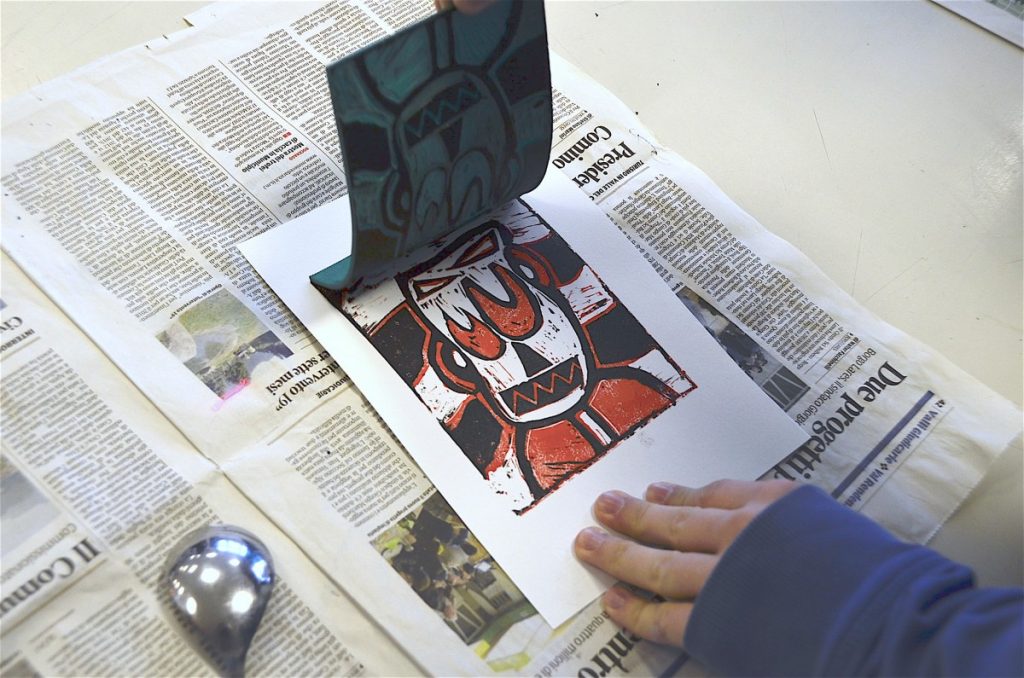
After the first print in red, the plate was further carved with new details. They actually carved out more parts of the design to print in black over the red. The second print with black paint was superimposed on the first printing in red, so as to thereby obtain a two-color printing. In the pictures below we see the whole procedure.
