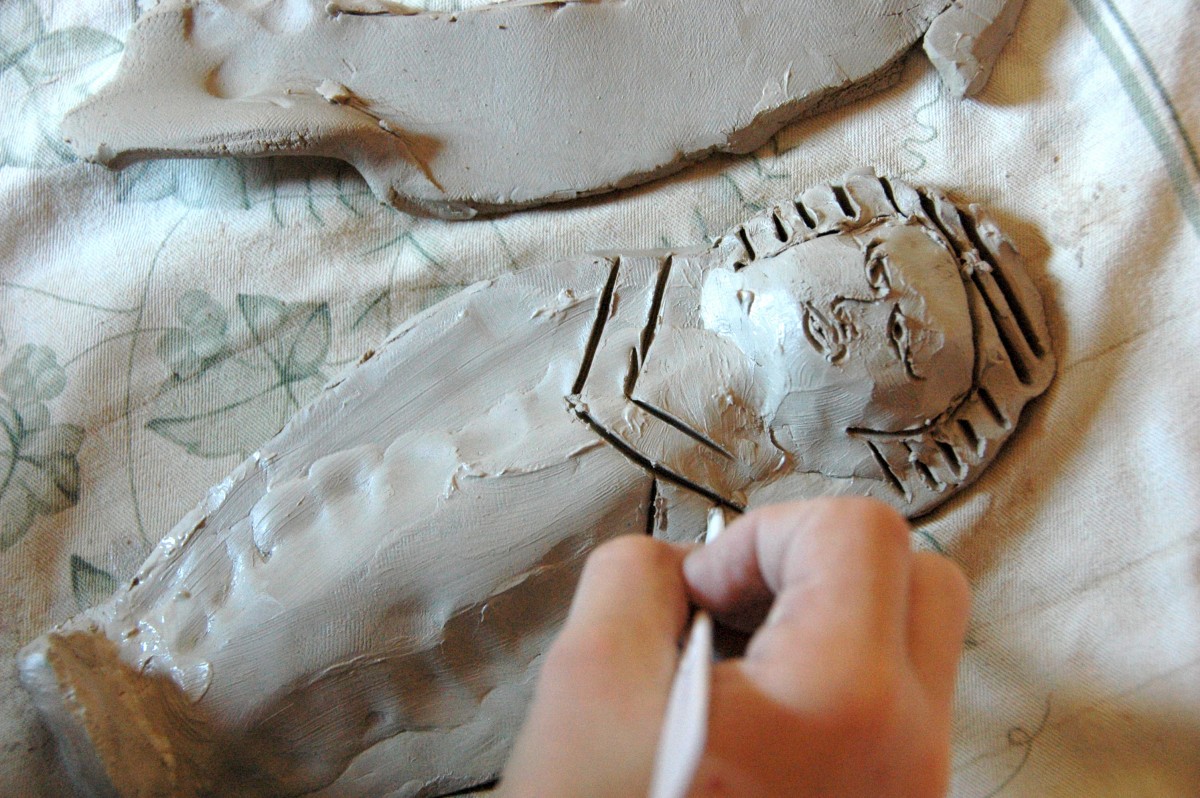
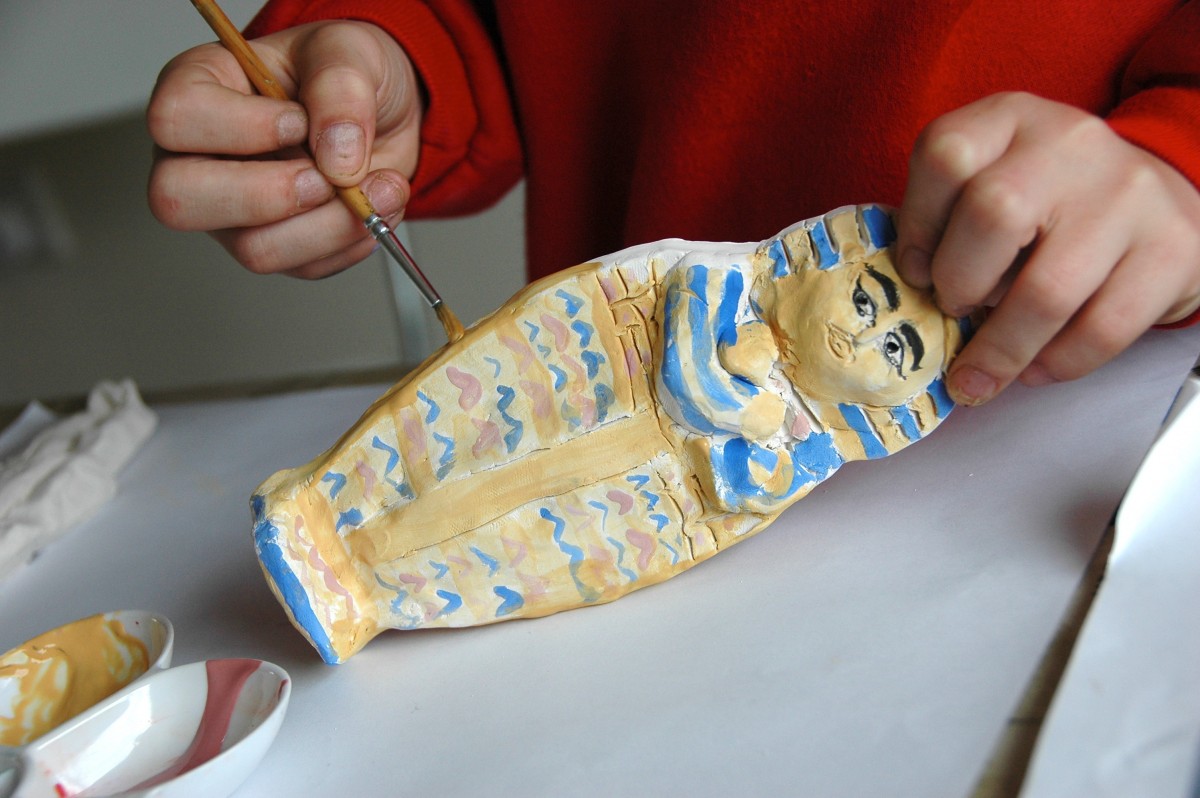
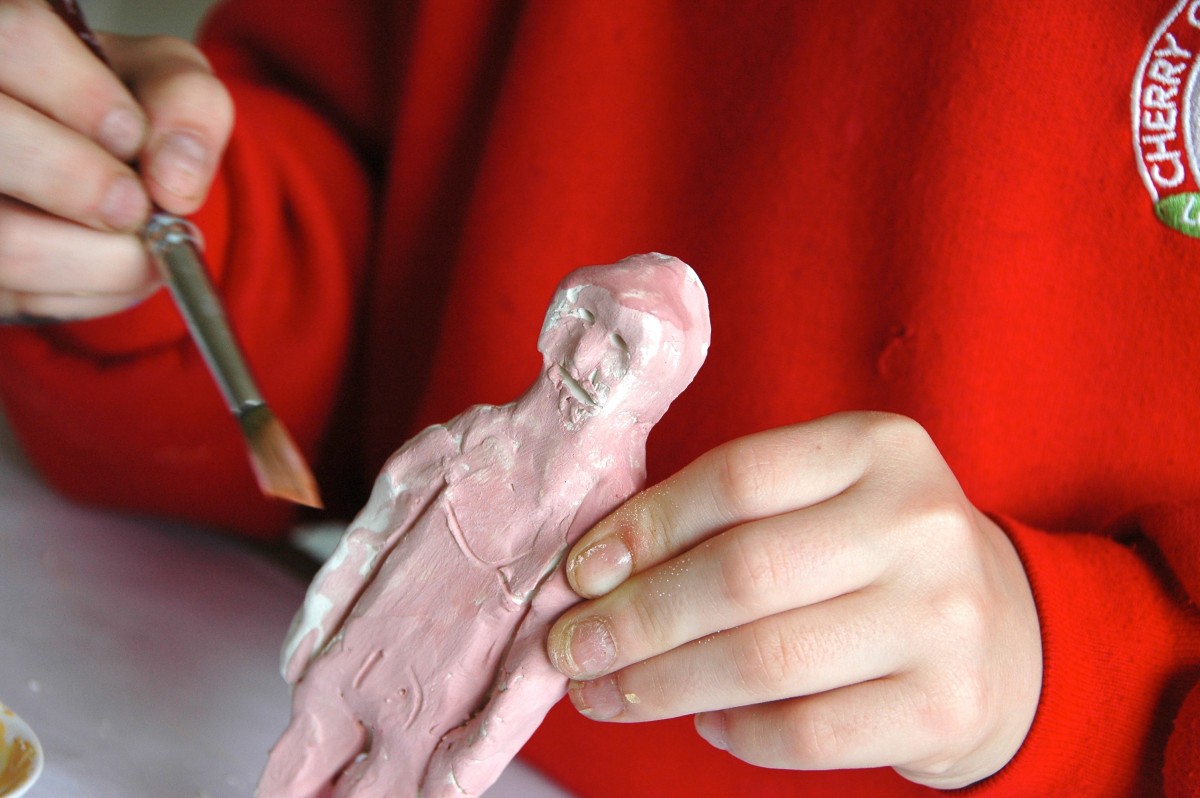
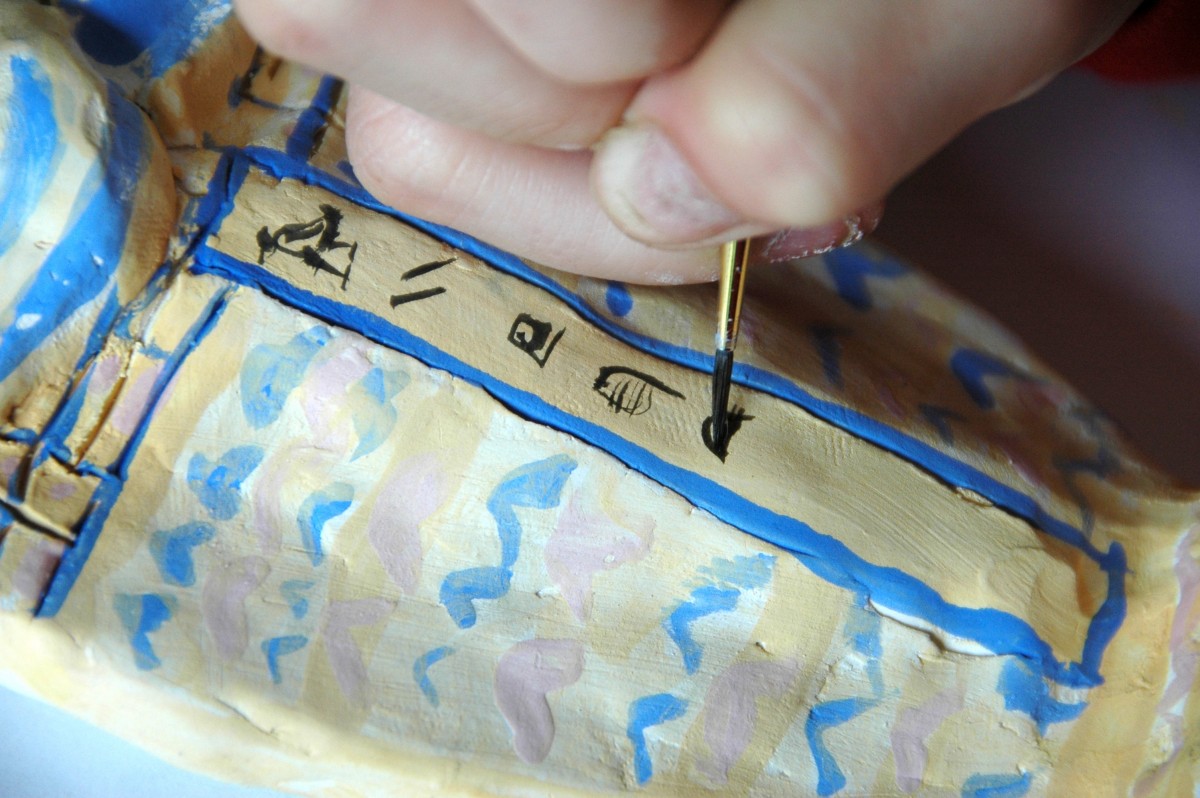
With the technique of slabs of clay here is an activity for the children of the Primary School on the subject of Ancient Egypt. The realization of a box-sarcophagus with a mummy inside! The box was painted with engobes after the first firing and then glazed for the second firing. Here are the phases of construction.


Are there any actual instructions here? or just pictures? This looks like a good project
Hi Kristie! How can I help you? Here we have only pictures, which kind of instructions do you need?
I can explain you how to built the sarcophagus. We used white clay and engobe for color it. Let me know which steps you need to know better. 🙂
This looks like just what I am after – how did you make the shape of the sarcophagus?
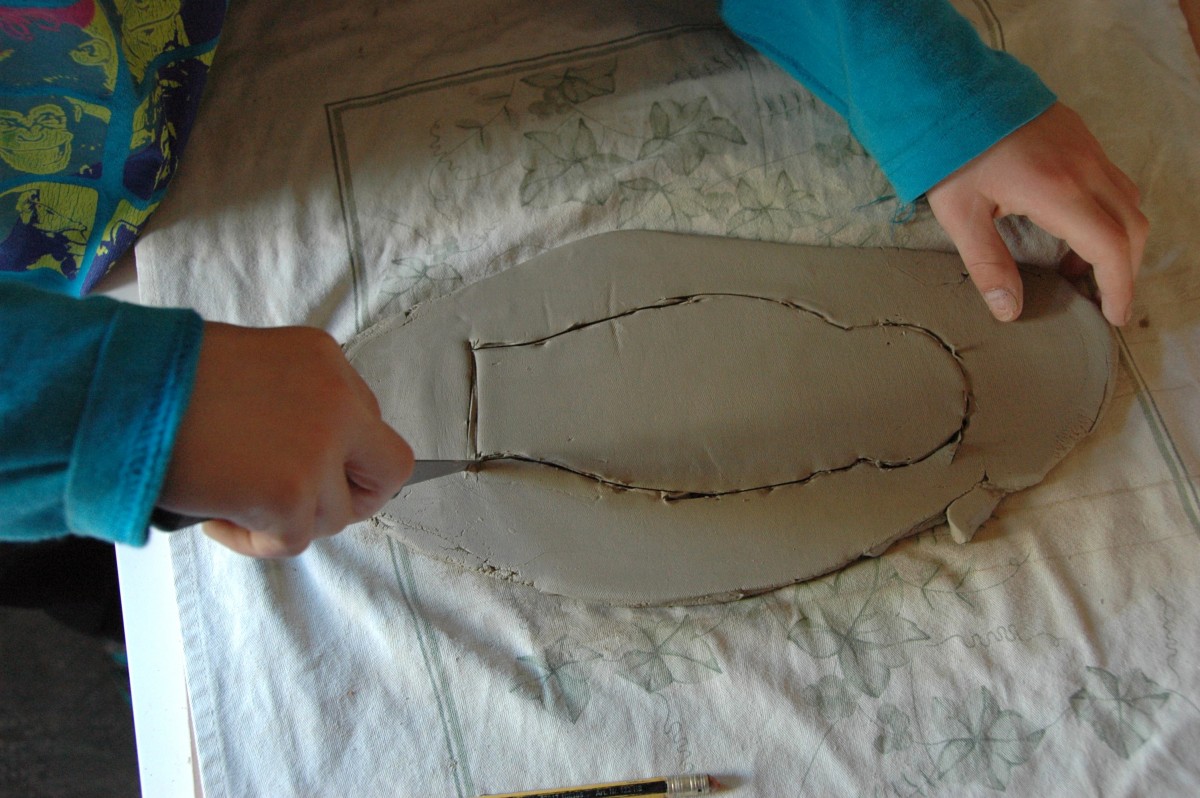
I copied it from a picture. For children you could draw the shape on a cardboard an cut out the shape, so they can trace the shape on the slab of clay. The students can use it to model the bottom and the top of the sarcophagus with slab of clay. Can you see the shape that is drawn on paper beside the slab, in the first picture?
I love this project as well and want to try it with 3rd grade students, studying ancient art. How high are the slabs for the side of the box? Is it one slab for each side or a single, large slab that wraps around the mummy base? The mummy shape is simple and I know they can do this part. Do you make them the same size for both top of the sarcophagus and base? Thanks for your help!
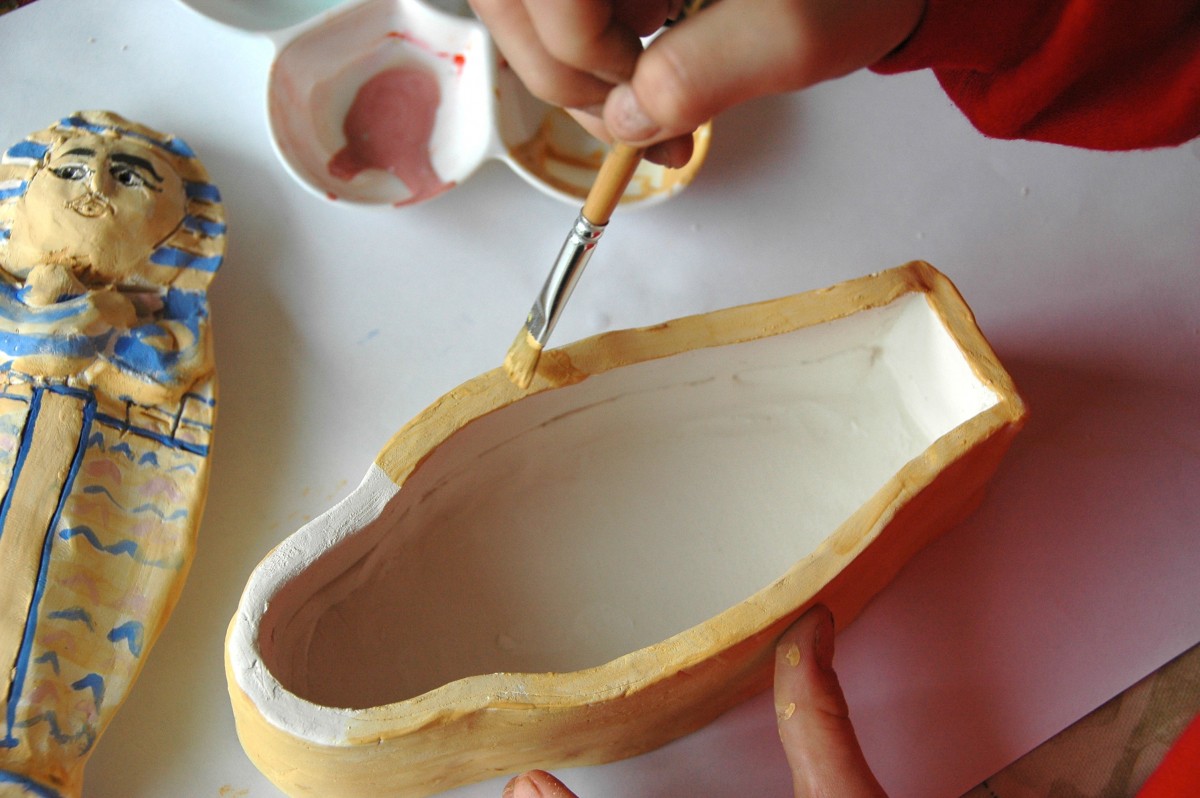
Hi Ann! The side slabs are around 6 centimeter high. It can be more effective to use one single slab for the side, but it could be very large and difficult to hand. You can use two slabs, paying attention to join them very well, in order to avoid cracks in the surface. I used the same shape for the base and for the top, You can give your student a photocopy with the shape to put on the slab and to trace with a sharpened pencil, engraving the clay surface. 🙂
Let me know if you need any further help 😉
Hi Miriam. We made our sarcophagus. It turned great. We thought we were finished but the teacher wants a lid that will not slide off. I need to put an edge around the top. I was thinking of maybe putting a bead of caulking around the edge and painting it. Do you think it would work? Do you have any ideas that might help? Our sarcophagus is already dried and painted.
I made the edge with clay when the lid was leather-hard, but now that your lids are already dried and painted a bead of caulking should work as well!
What did they use to paint the black? underglaze? What are the steps to add the colors?
Hi Ashley, the black is an engobe (basically it’s a colored clay) as the others colors. You can color directly the clay with engobe when it is leather-hard, and then you fire the clay the first time to obtain bisque. After that you can apply the transparent glaze and fire the ceramic again or you can keep the underglazed colored ceramic (bisque). Engobe is also used to paint the bisque and subsequently you shall cover the bisque with transparent glaze and fire the pottery for the second time.
I love this, but have no access to firing. Do you think this project might work ok with Sculpey or air dry clay?
I think it is possible to realize this sculpture even with dry clay, perhaps it should be a bit smaller to be more solid
Hi there, I’m hoping to use these instructions with my class soon. Can you please advise what weight of clay each child would need so that I know how much to buy? Thanks.
This looks awesome….how many classes would this take do you estimate? I see my kids 2 days a week for 44 minutes each
Hi Michelle, I think you need at least 3 lessons to realize the sarcophagus, then, after the first fire, you need one or two lessons to decorate it
Dag Miriam, Ik ben benieuwd hoe je de zijkant deed van de sarcofaag. Liet je de kinderen een rechthoek van 6 cm hoog uitsnijden uit een kleiplaat of hoe deed je dit? hartelijk bedankt.