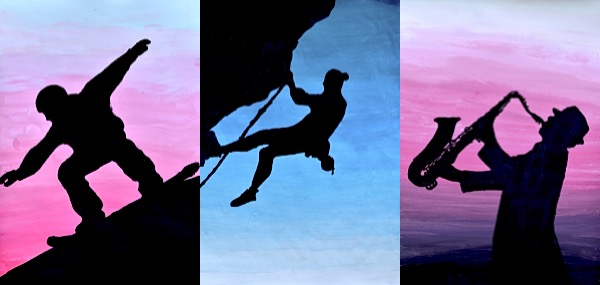
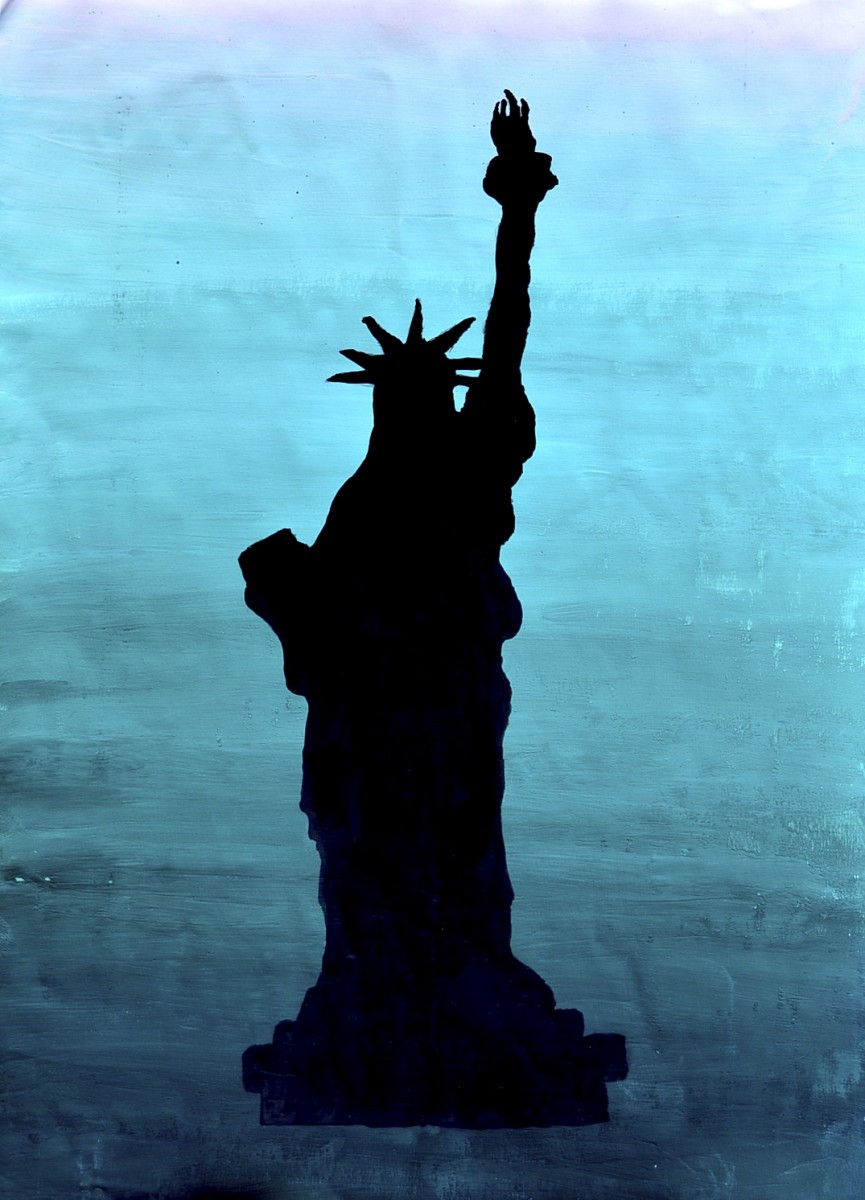
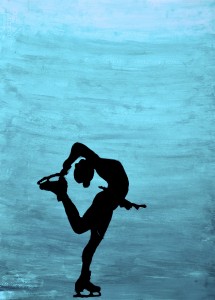
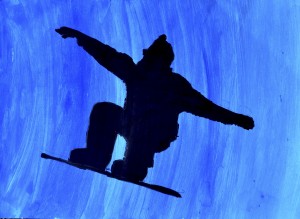
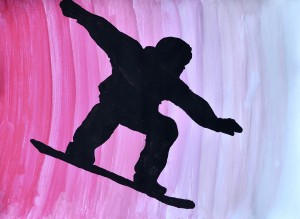
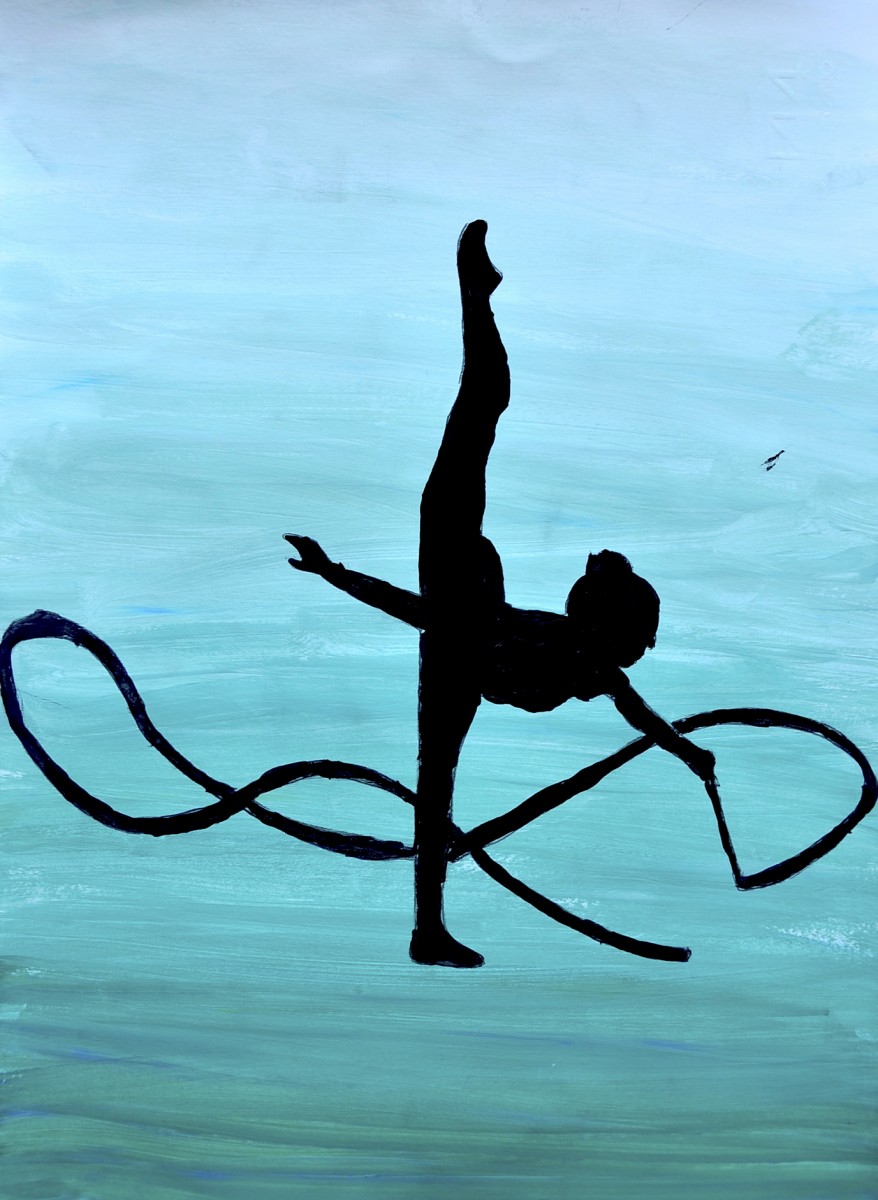
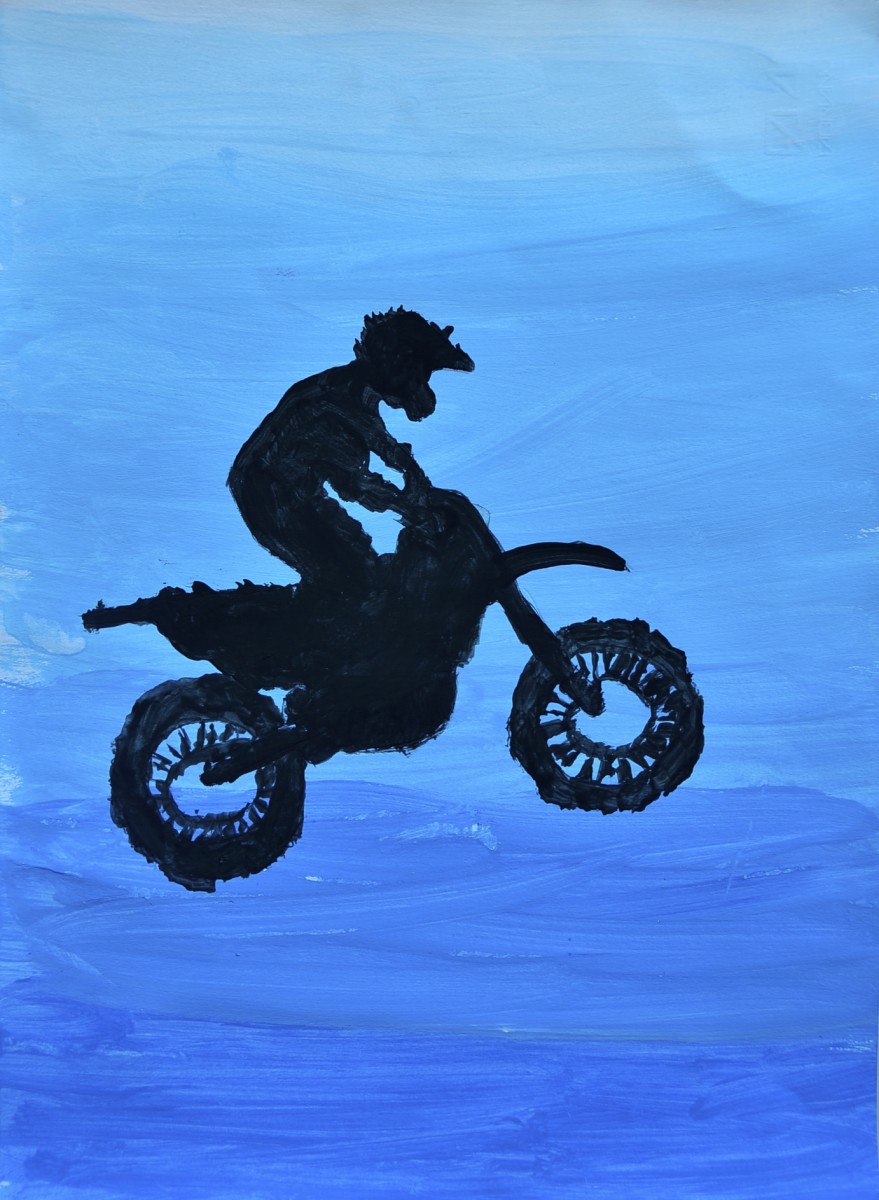
A simple exercise that has always a great success, is the painting of a silhouette that stands out against a background painted in gradation. In this case we have created a tonal gradation with acrylic paint, starting from white color and gradually adding small amounts of another color. The painting of the background is done quickly with a flat brush, before the colors dry. In this way you can mix a shade in the other while painting is still damp. The black figure was traced on the painted background with tracing paper and then colored with black painting.


Buongiorno! I love your blog. I teach elementary art in Orlando FL, but I see some of your lessons that I can adapt for my students. I especially enjoy your blog in Italian because I love the language and try to learn it as much as possible. My husband and I visited Venice, Florence, San Gimignano, Rome, Positano and Capri a few years ago. We also went to Anagni which is where my husband’s family is from. I love Italy and I can’t wait to visit again. In the meantime I will enjoy your posts and work on my Italian. 🙂
Thank You!
Teresa Tucciarelli- I am also on twitter, @CCEArtroom
Ciao Teresa! I guessed your husband’s origin from your Italian surname! I’m in north Italy, if you come please, contact me! I’ll show you the Trentino’s mountains! 🙂
These are beautiful, I love the motion of the silhouettes!
Hi Abby! The effect of black silhouettes is really elegant! My students were proud of their work! 🙂
These are incredible!
Hi Daniel! I’m following your amazing blog and your boards on pinterest, I like your blue abyss and 3D letters! Your students are very talented! Keep in touch!
🙂
Hi Miriam- It’s Alice in Oakland, California.
Can you help me with instructions again?
My students completed the background today. I can’t figure out how you transferred the silhouette image? Did you use some kind of transfer paper to get it onto the canvas after tracing it from a photo?
Thanks!
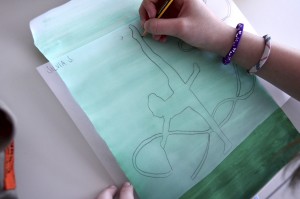
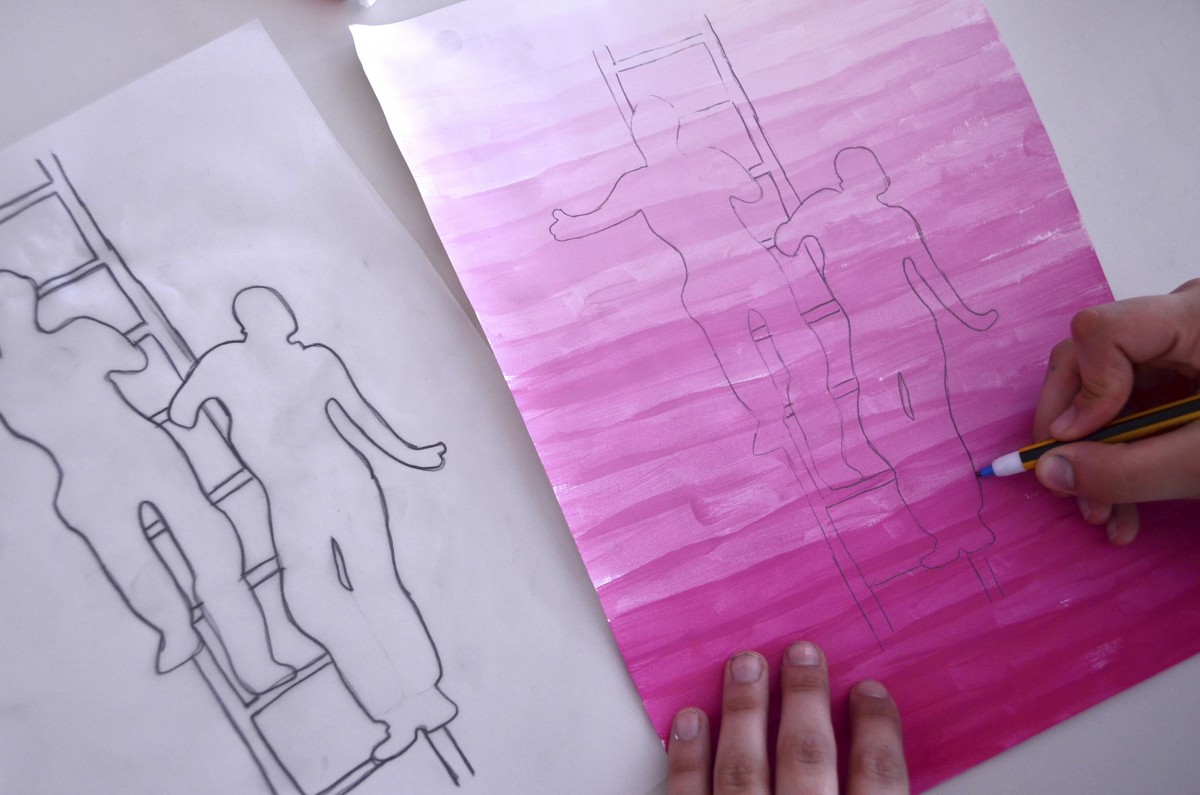
Hi Alice! We used tracing paper, a sort of transparent-matt paper. We overlap the tracing paper on the photocopy of the silhouette, and we draw the outline of the shape on the tracing paper with a pencil (soft graphite B1 or B2). Then we turn the tracing paper upside down over the painted background. Eventually we retrace the line on the reverse side of tracing paper, in order to “print” the graphite on the painted background. The drawing will be light, tenue and faint, bus visible on the background. At this point is possible redraw the line and paint the silhouette with black paint or with a black permanent marker. let me know if everything is clear, or if you need other information, suggestion or picture. 🙂
Thanks so much…I bought some graphite transfer paper but it started to get the paintings all smudgy. So this is much better!
I’m happy that I could help you. Sometimes I’m worried for my English. I’m afraid that some of my technical explanations are not understandable because of my bad English … so it’s a satisfaction for me to know that! Let me know if can I help you anymore! 🙂