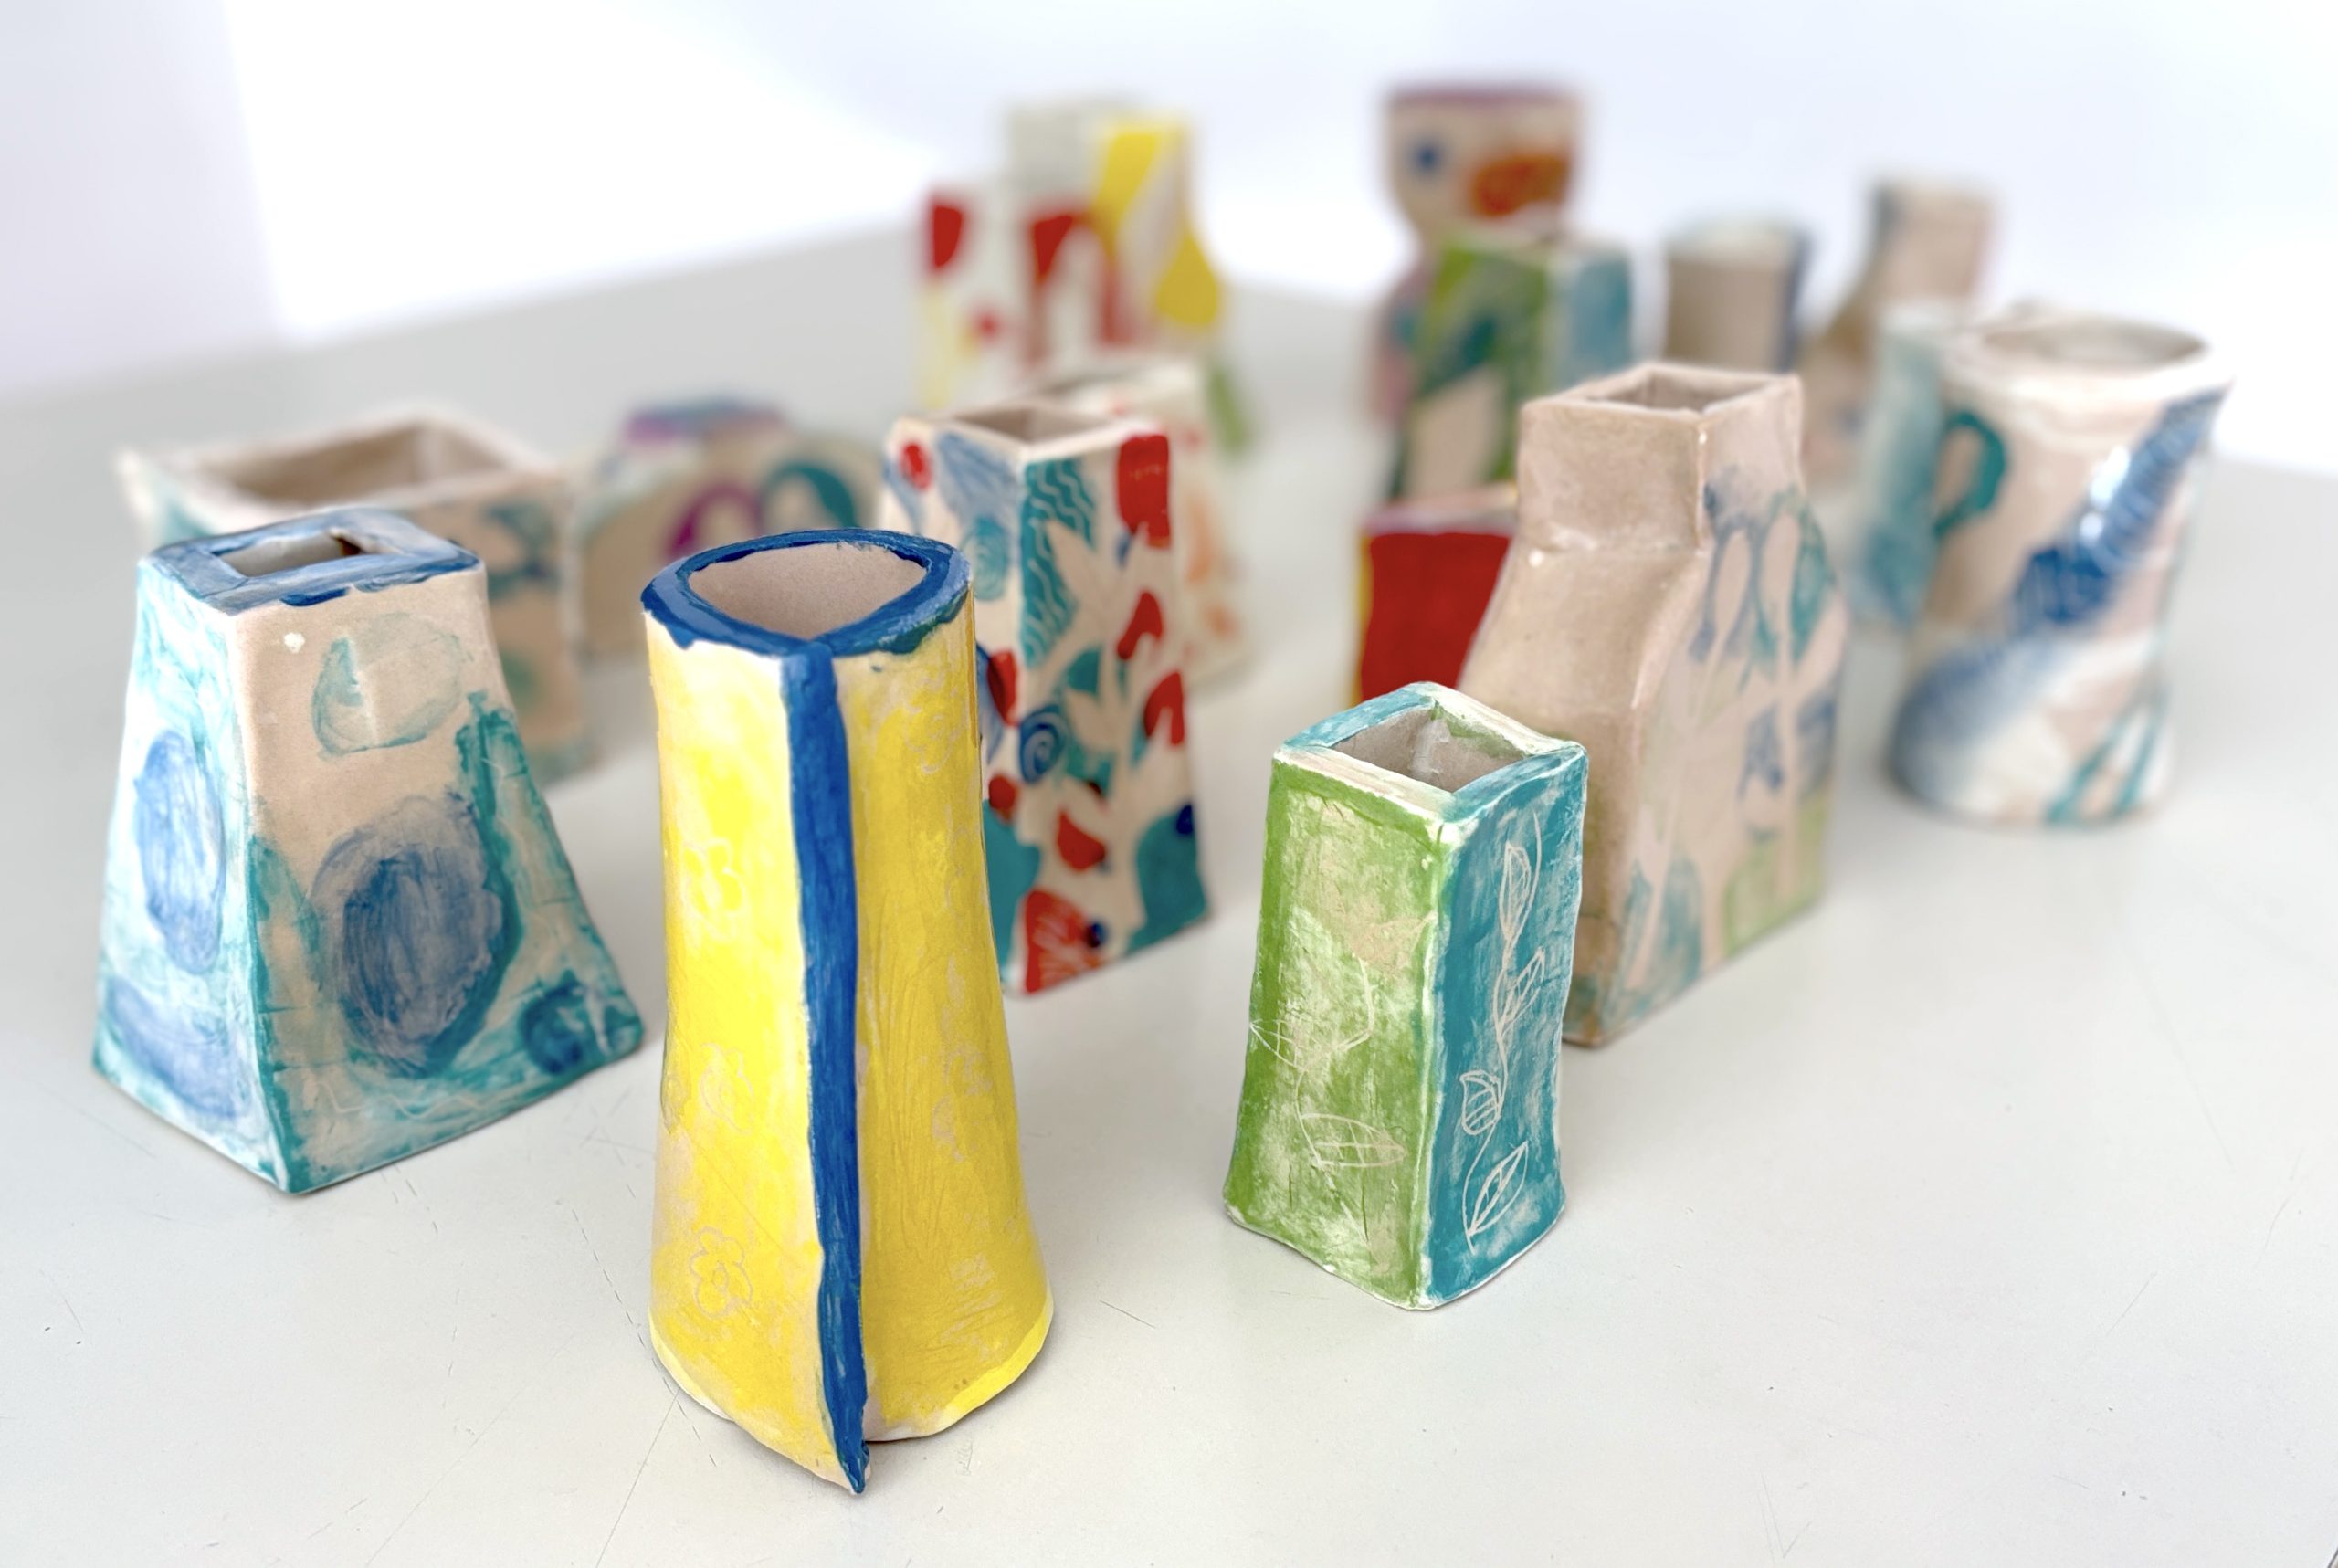
With our 7th Grade students, we created clay vases using the slab technique. Each student designed and planned their own vase, starting from a paper model.
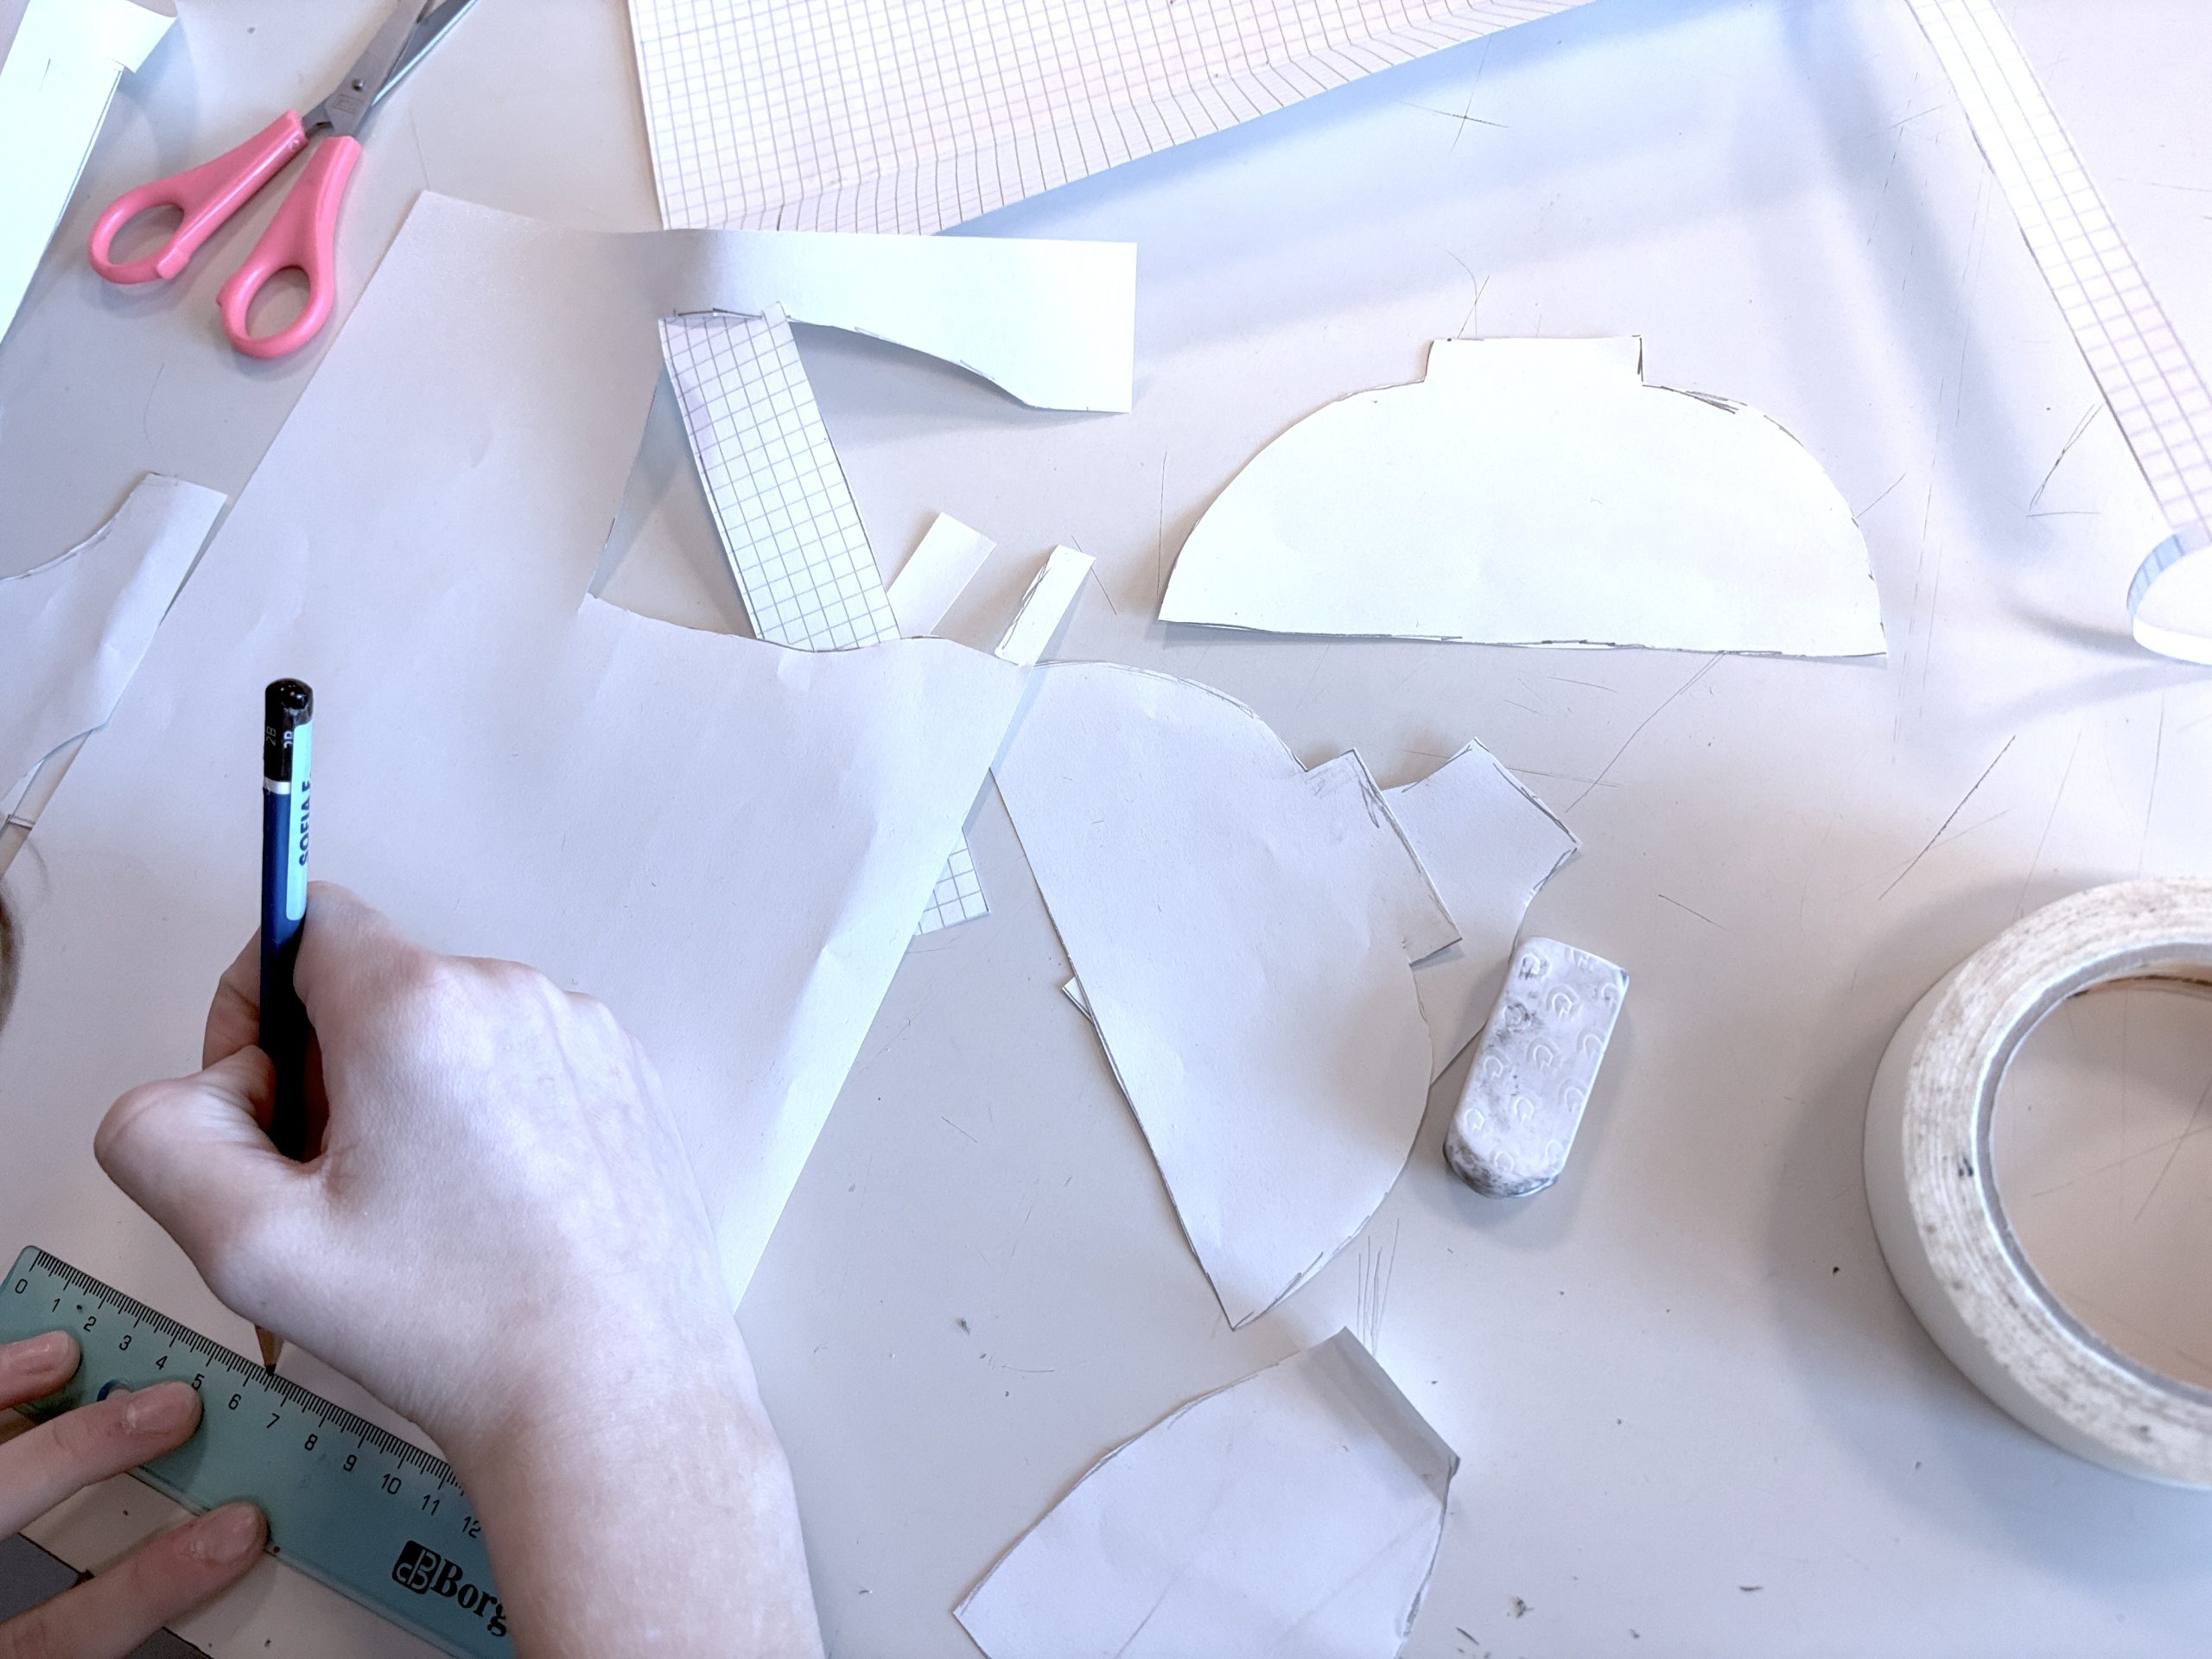
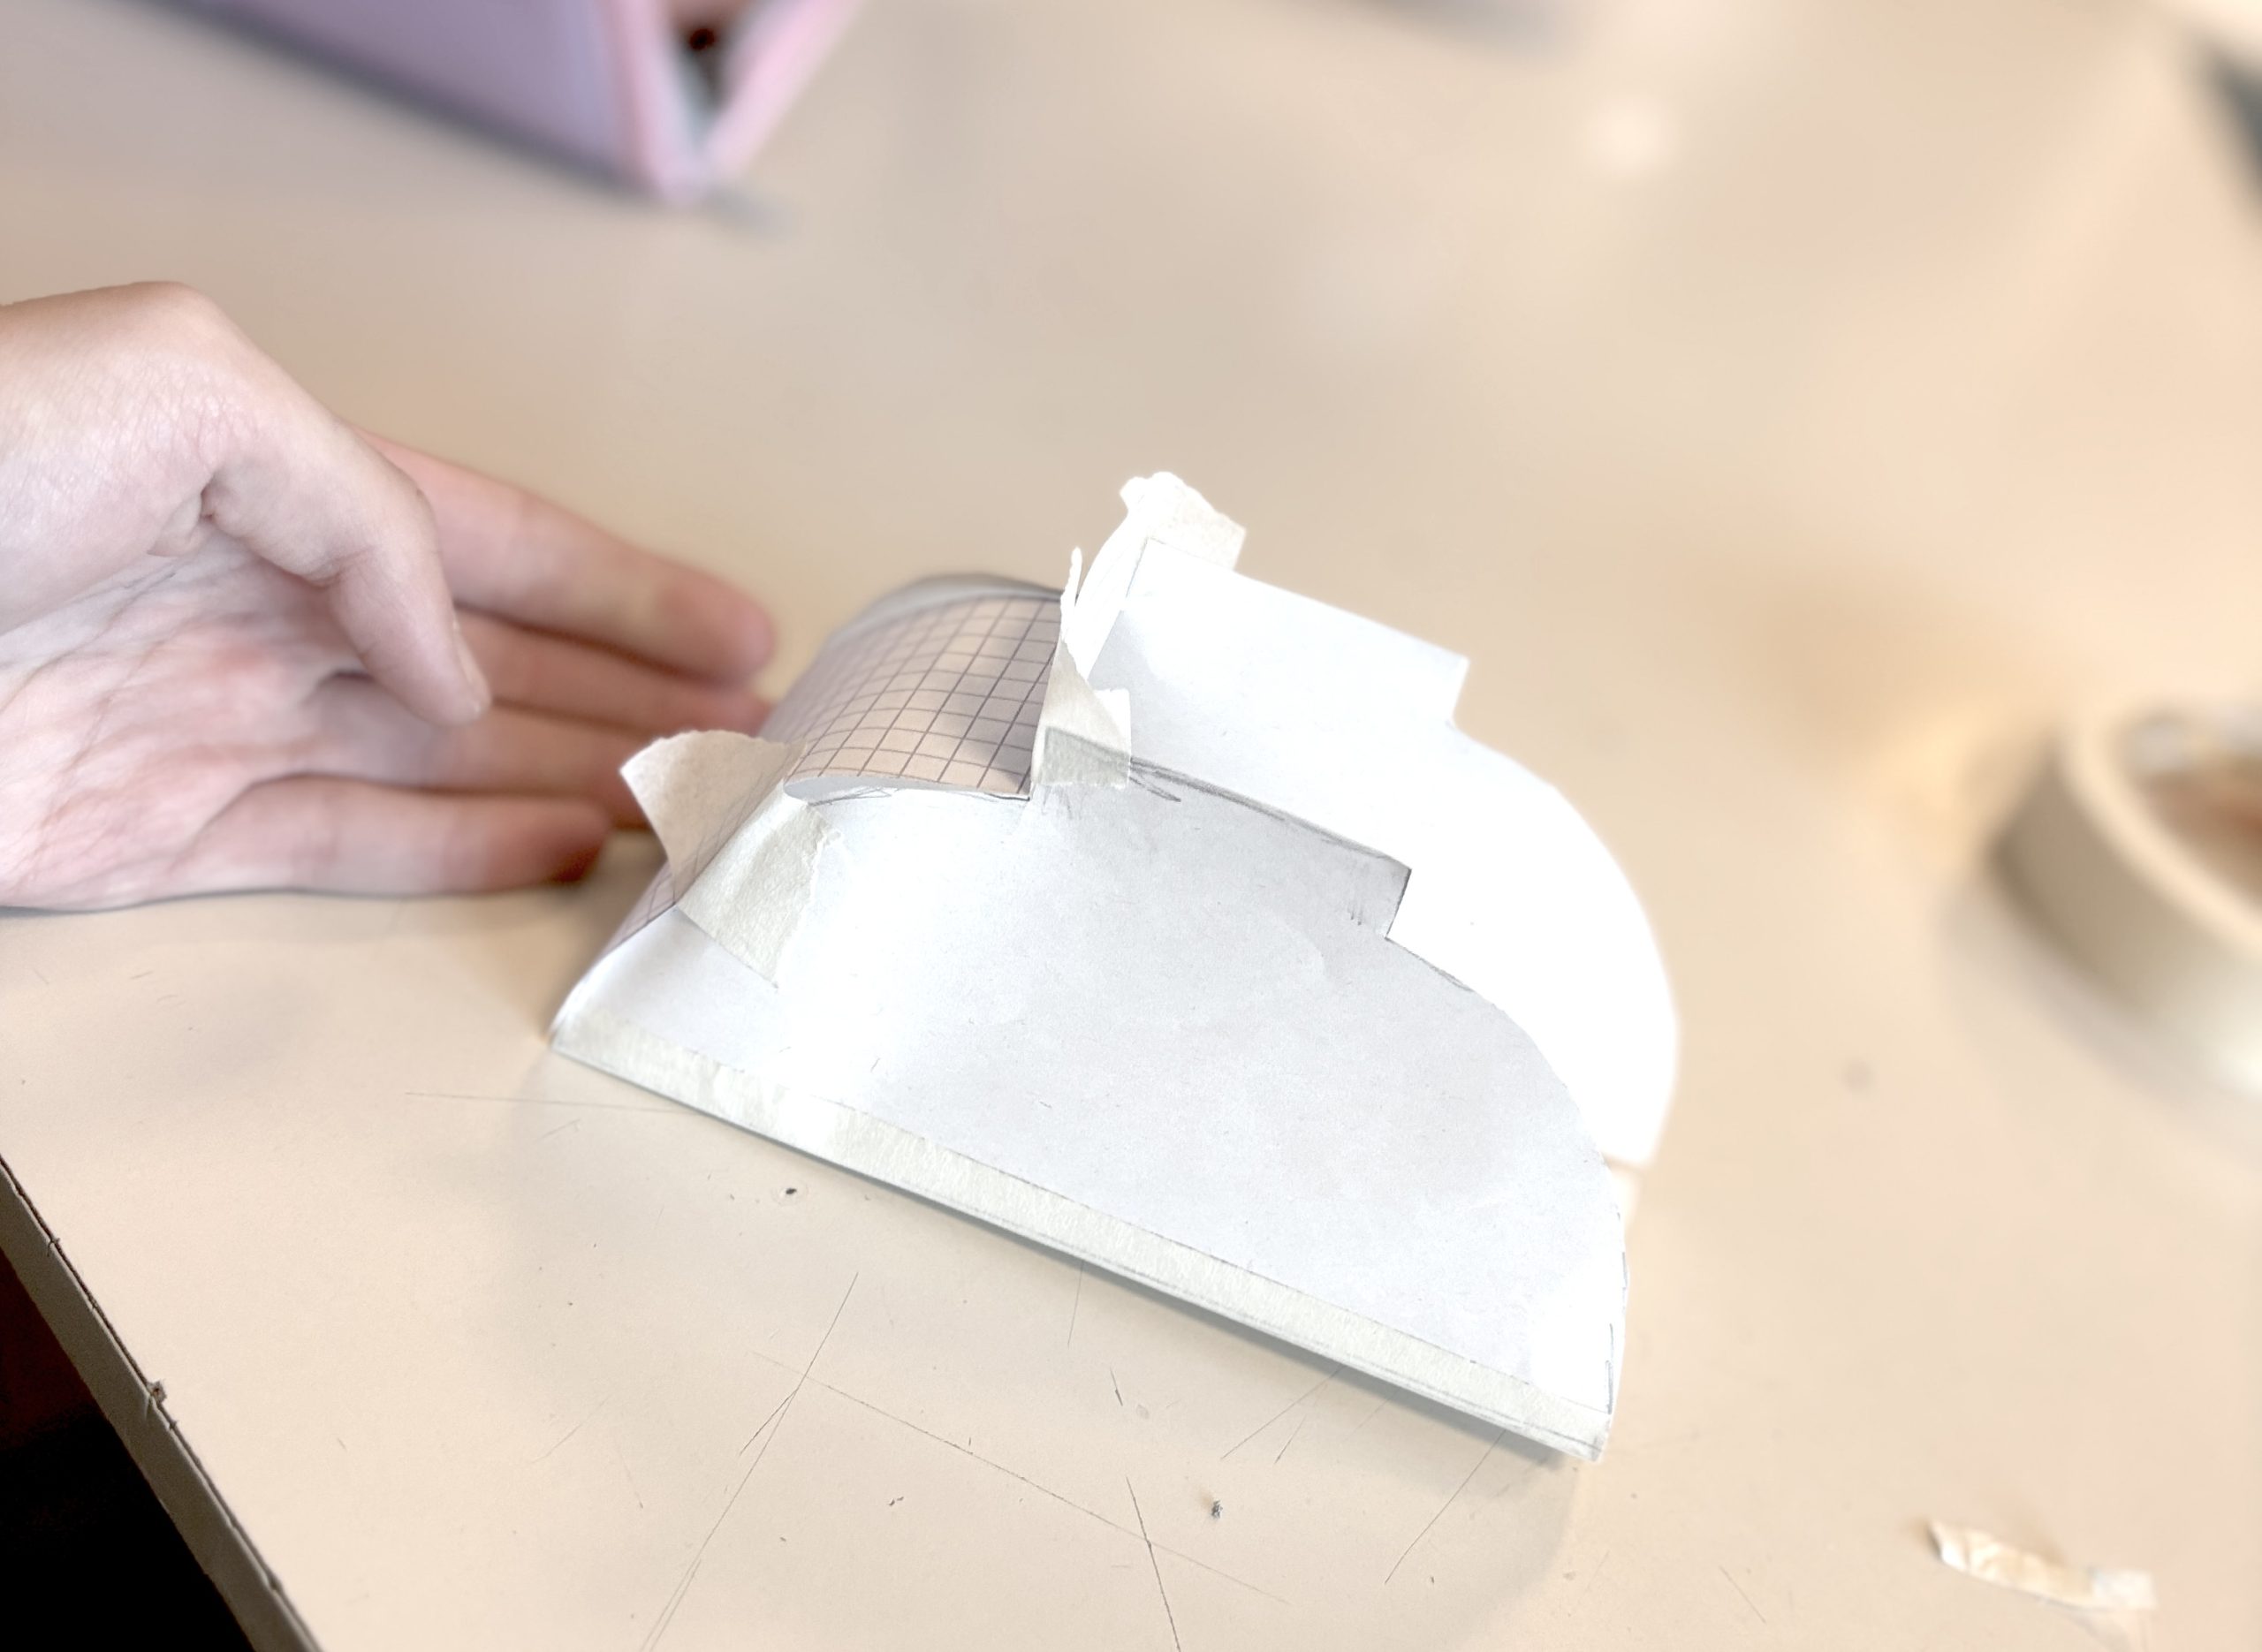
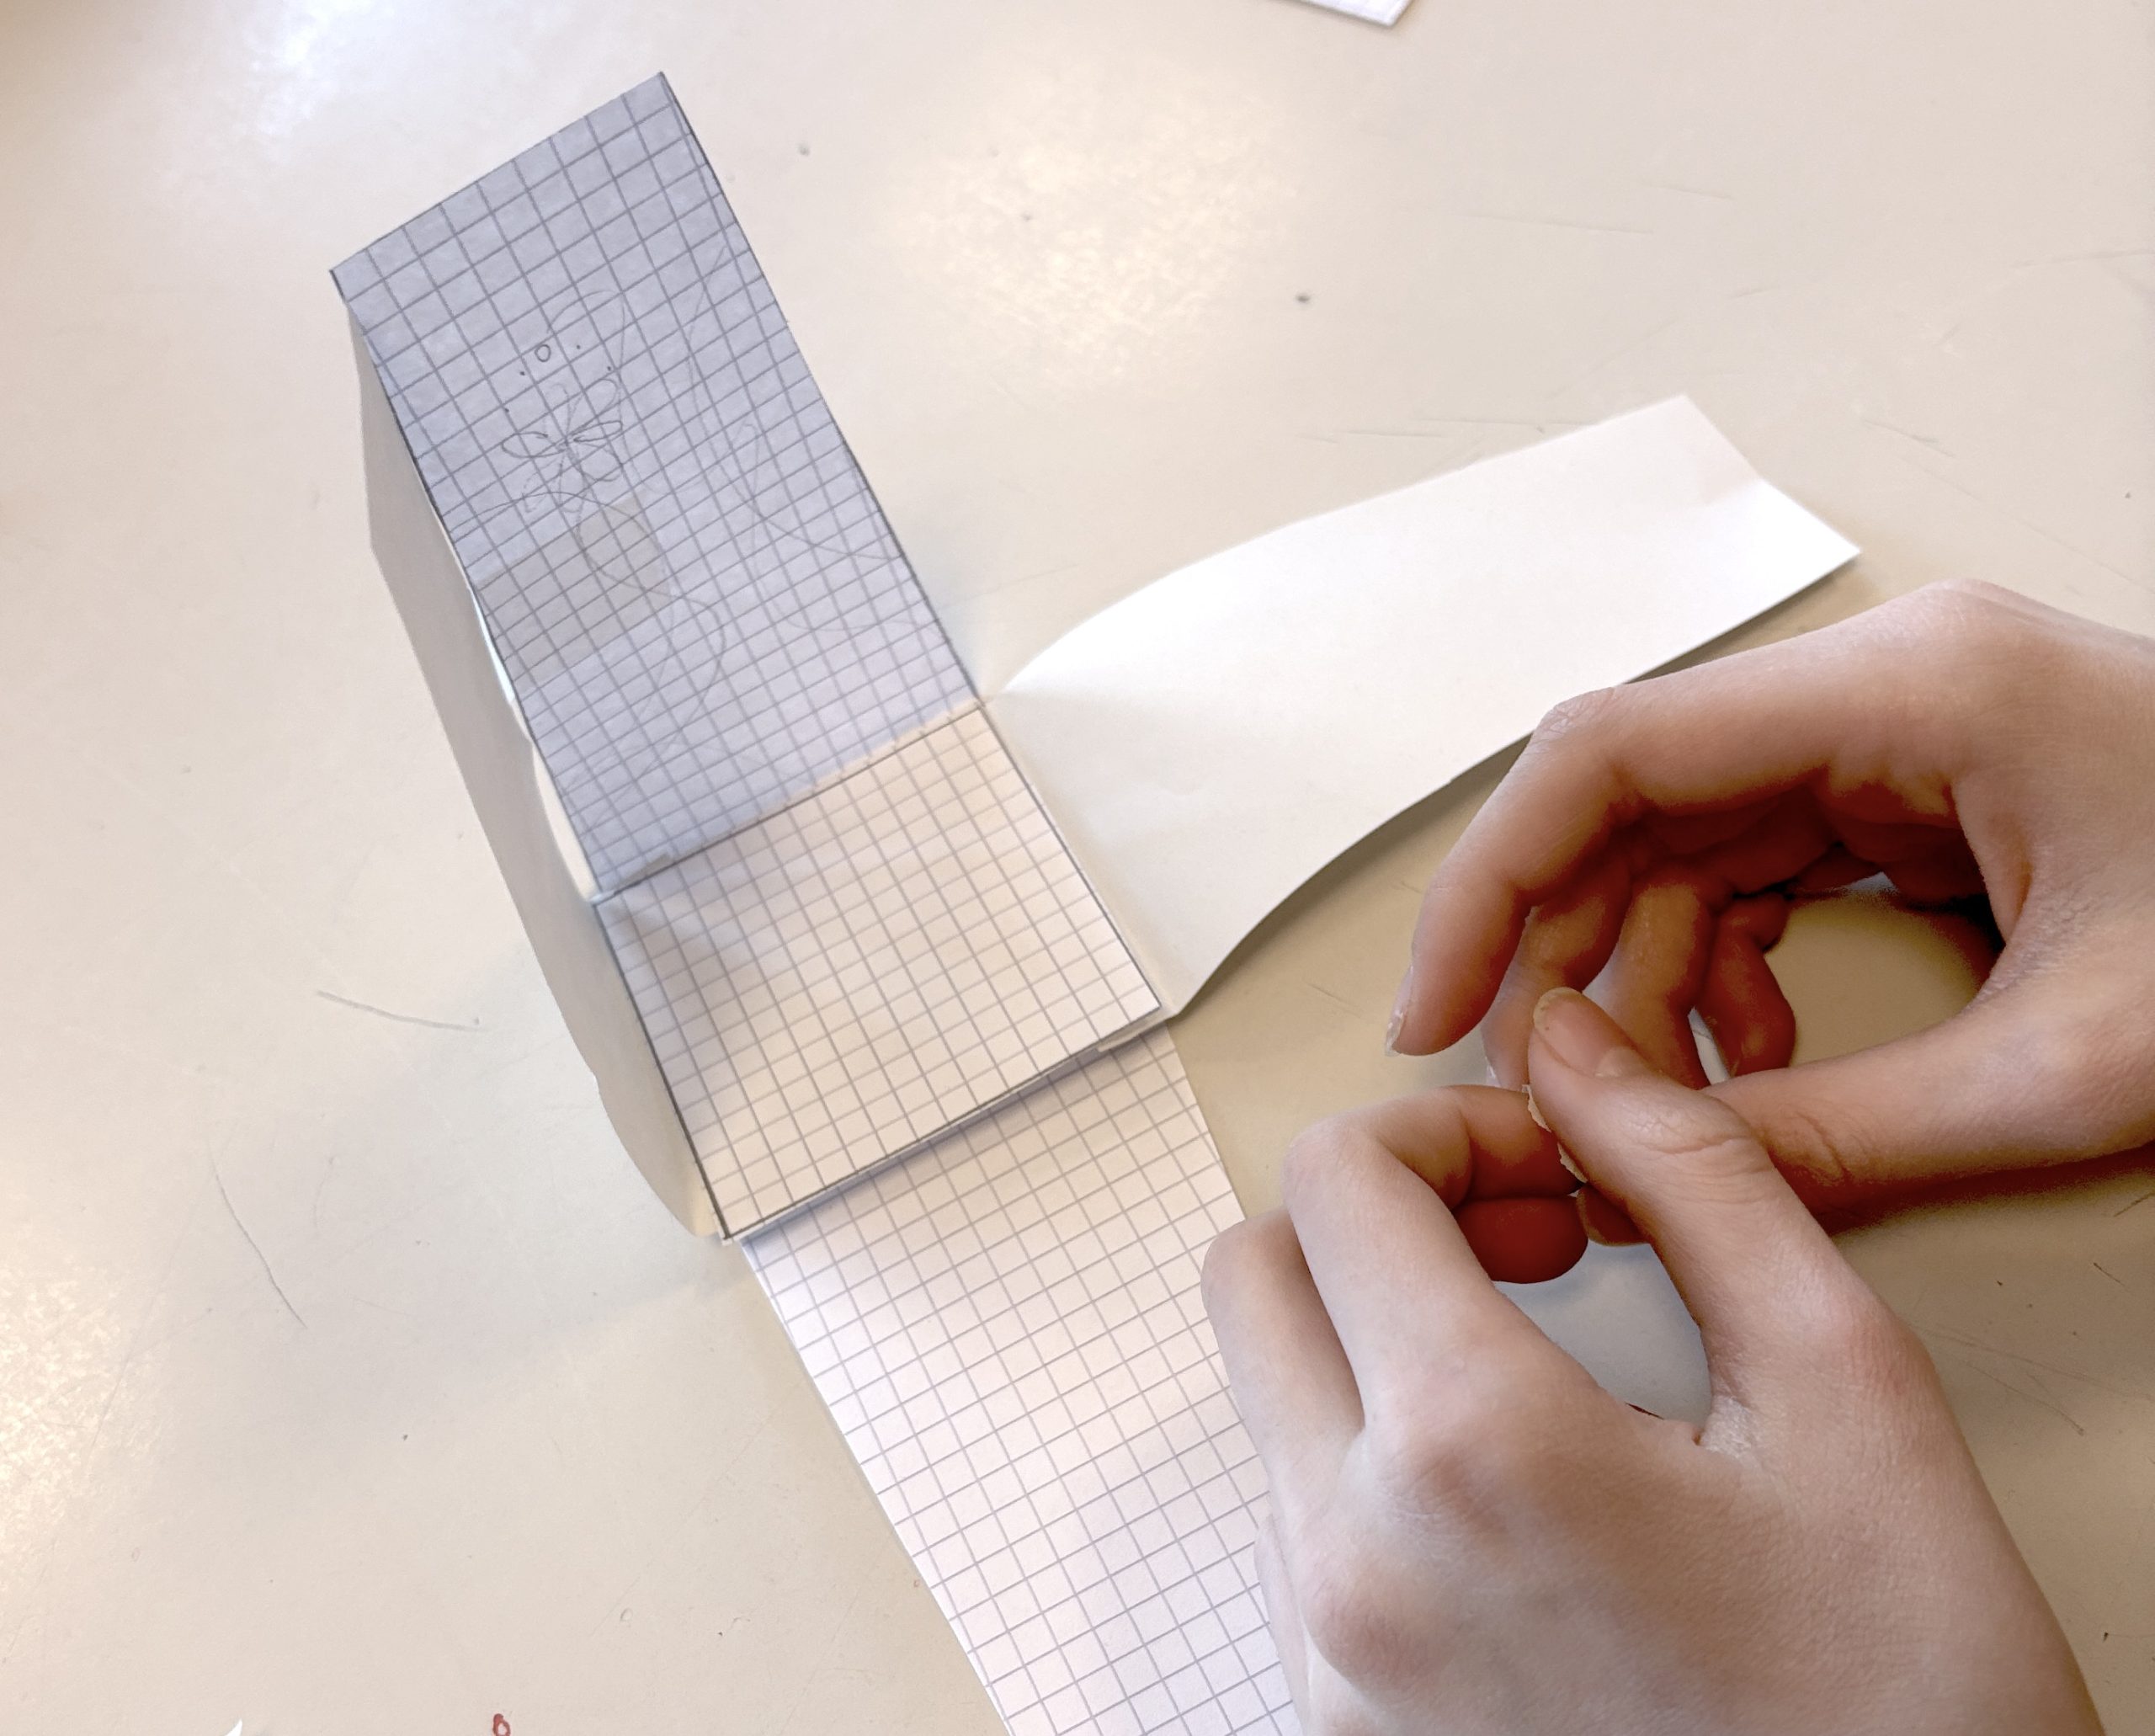
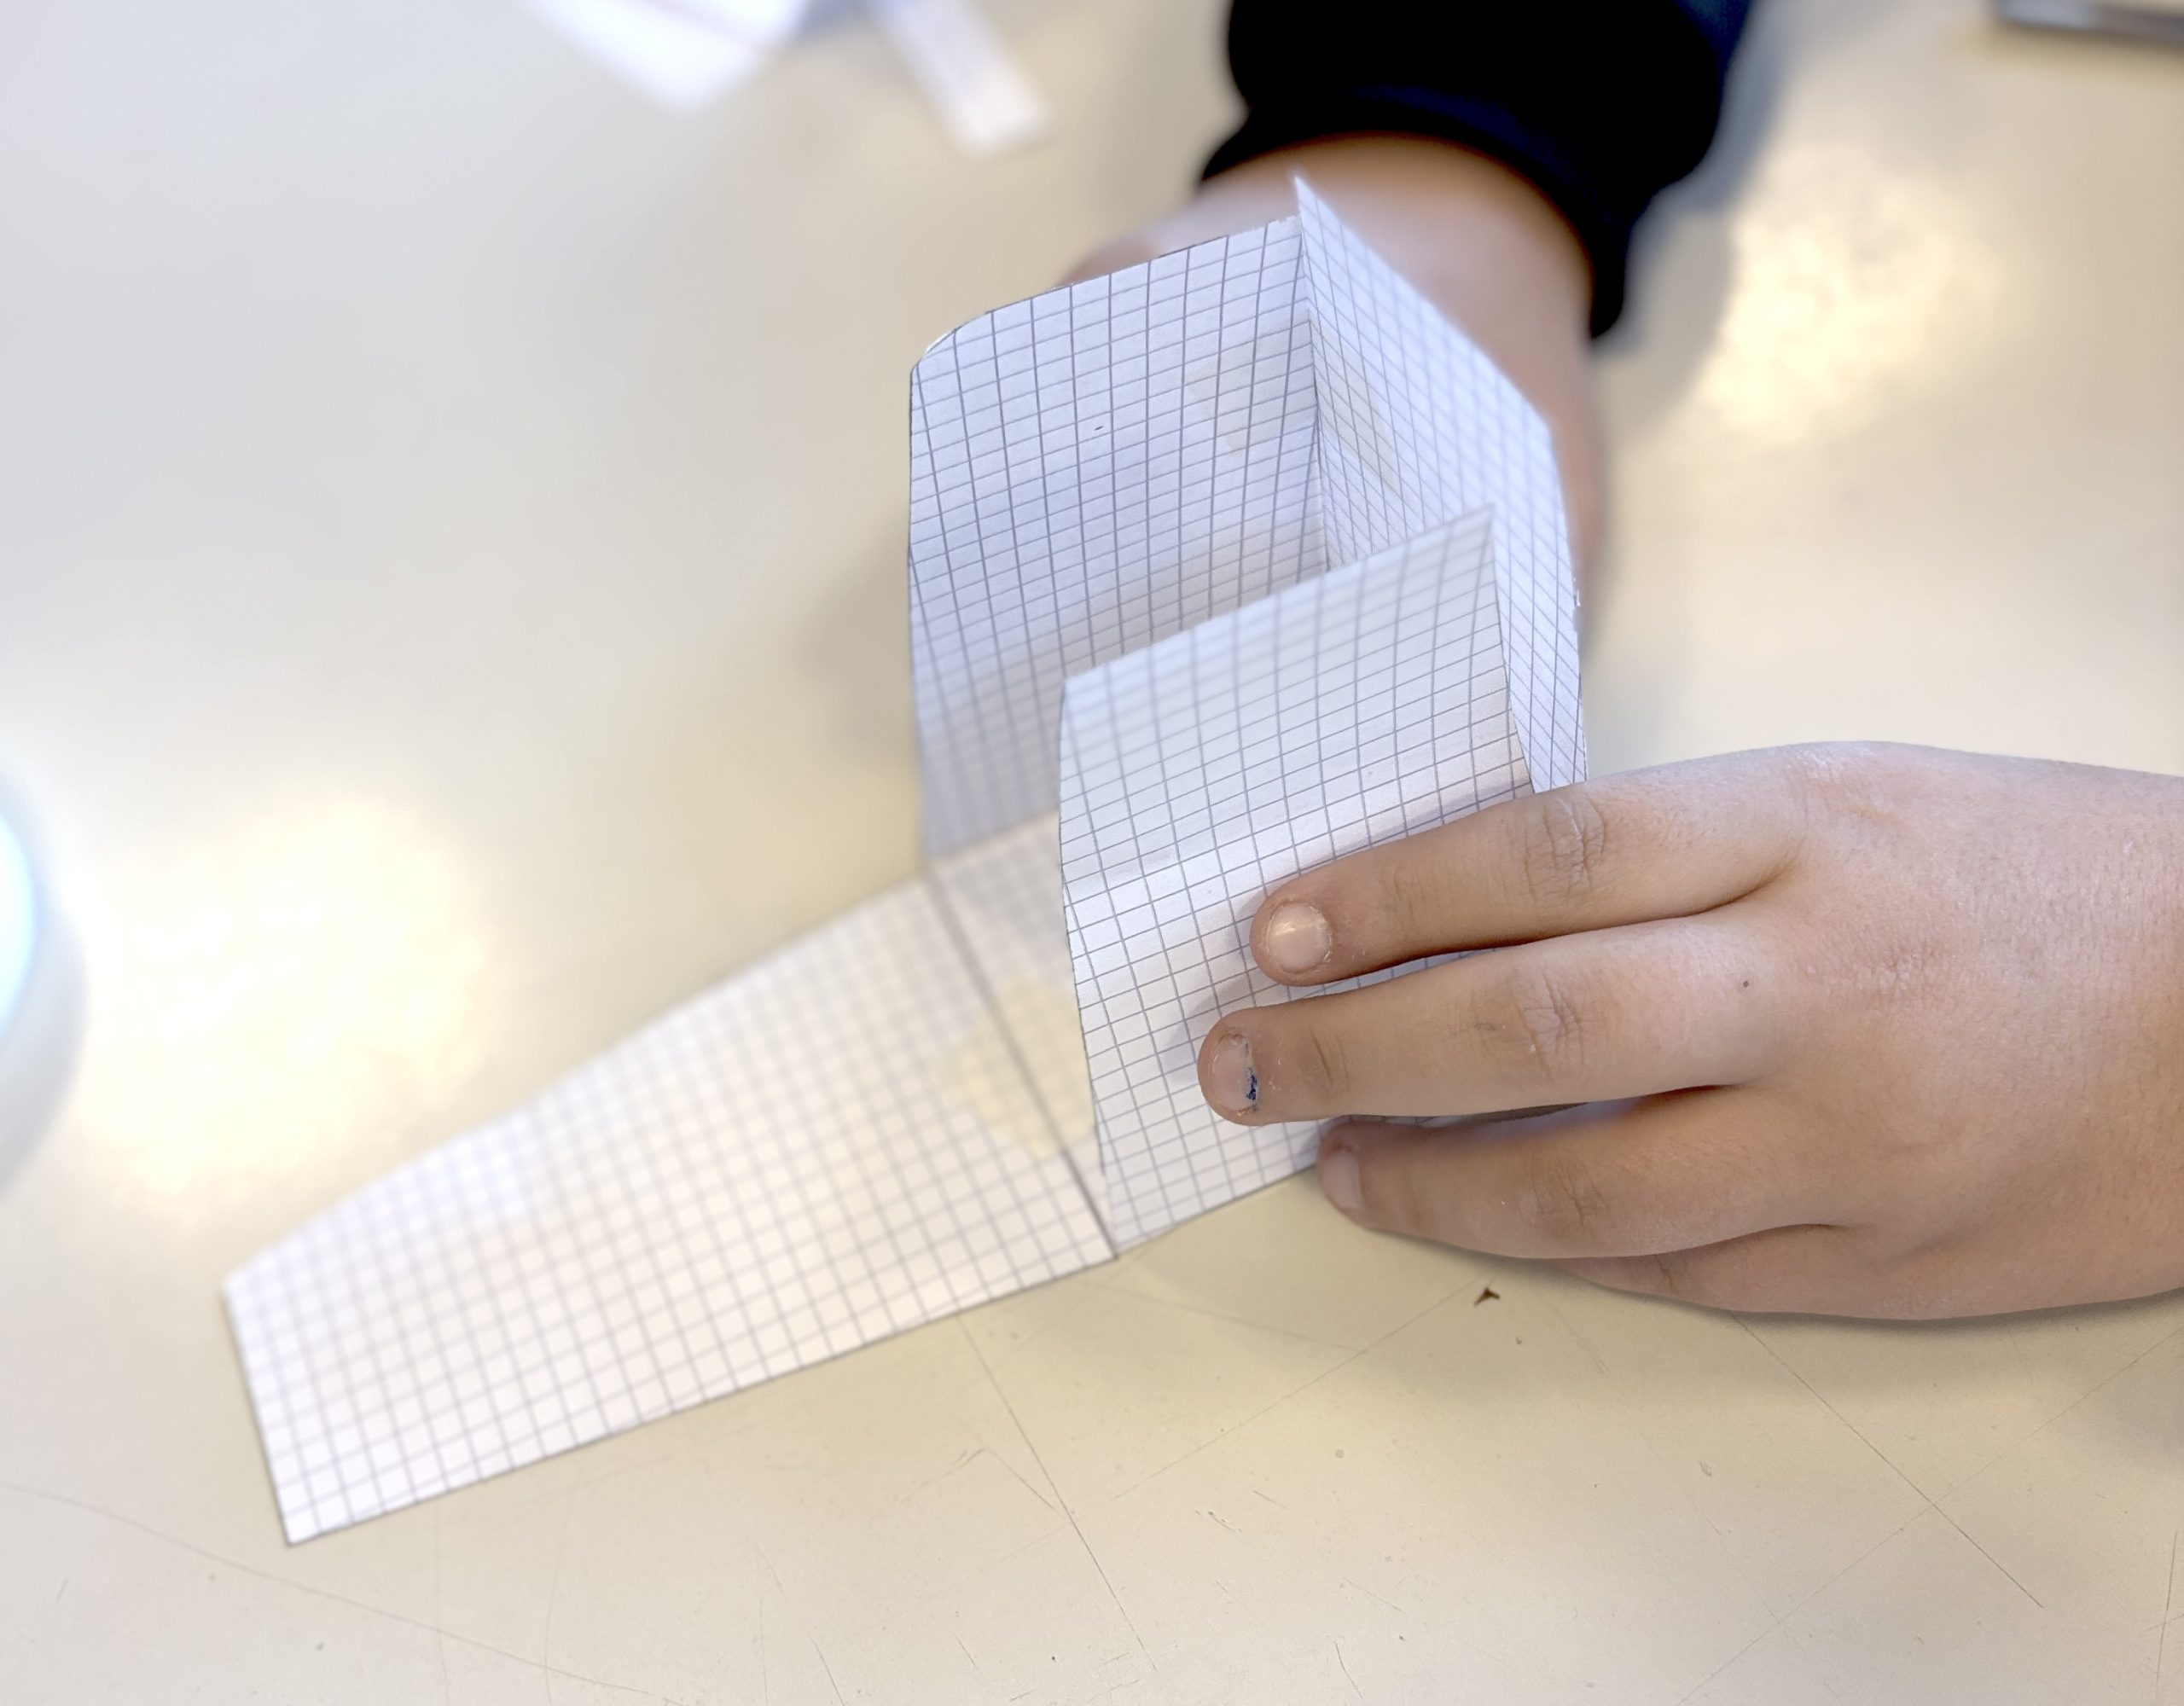
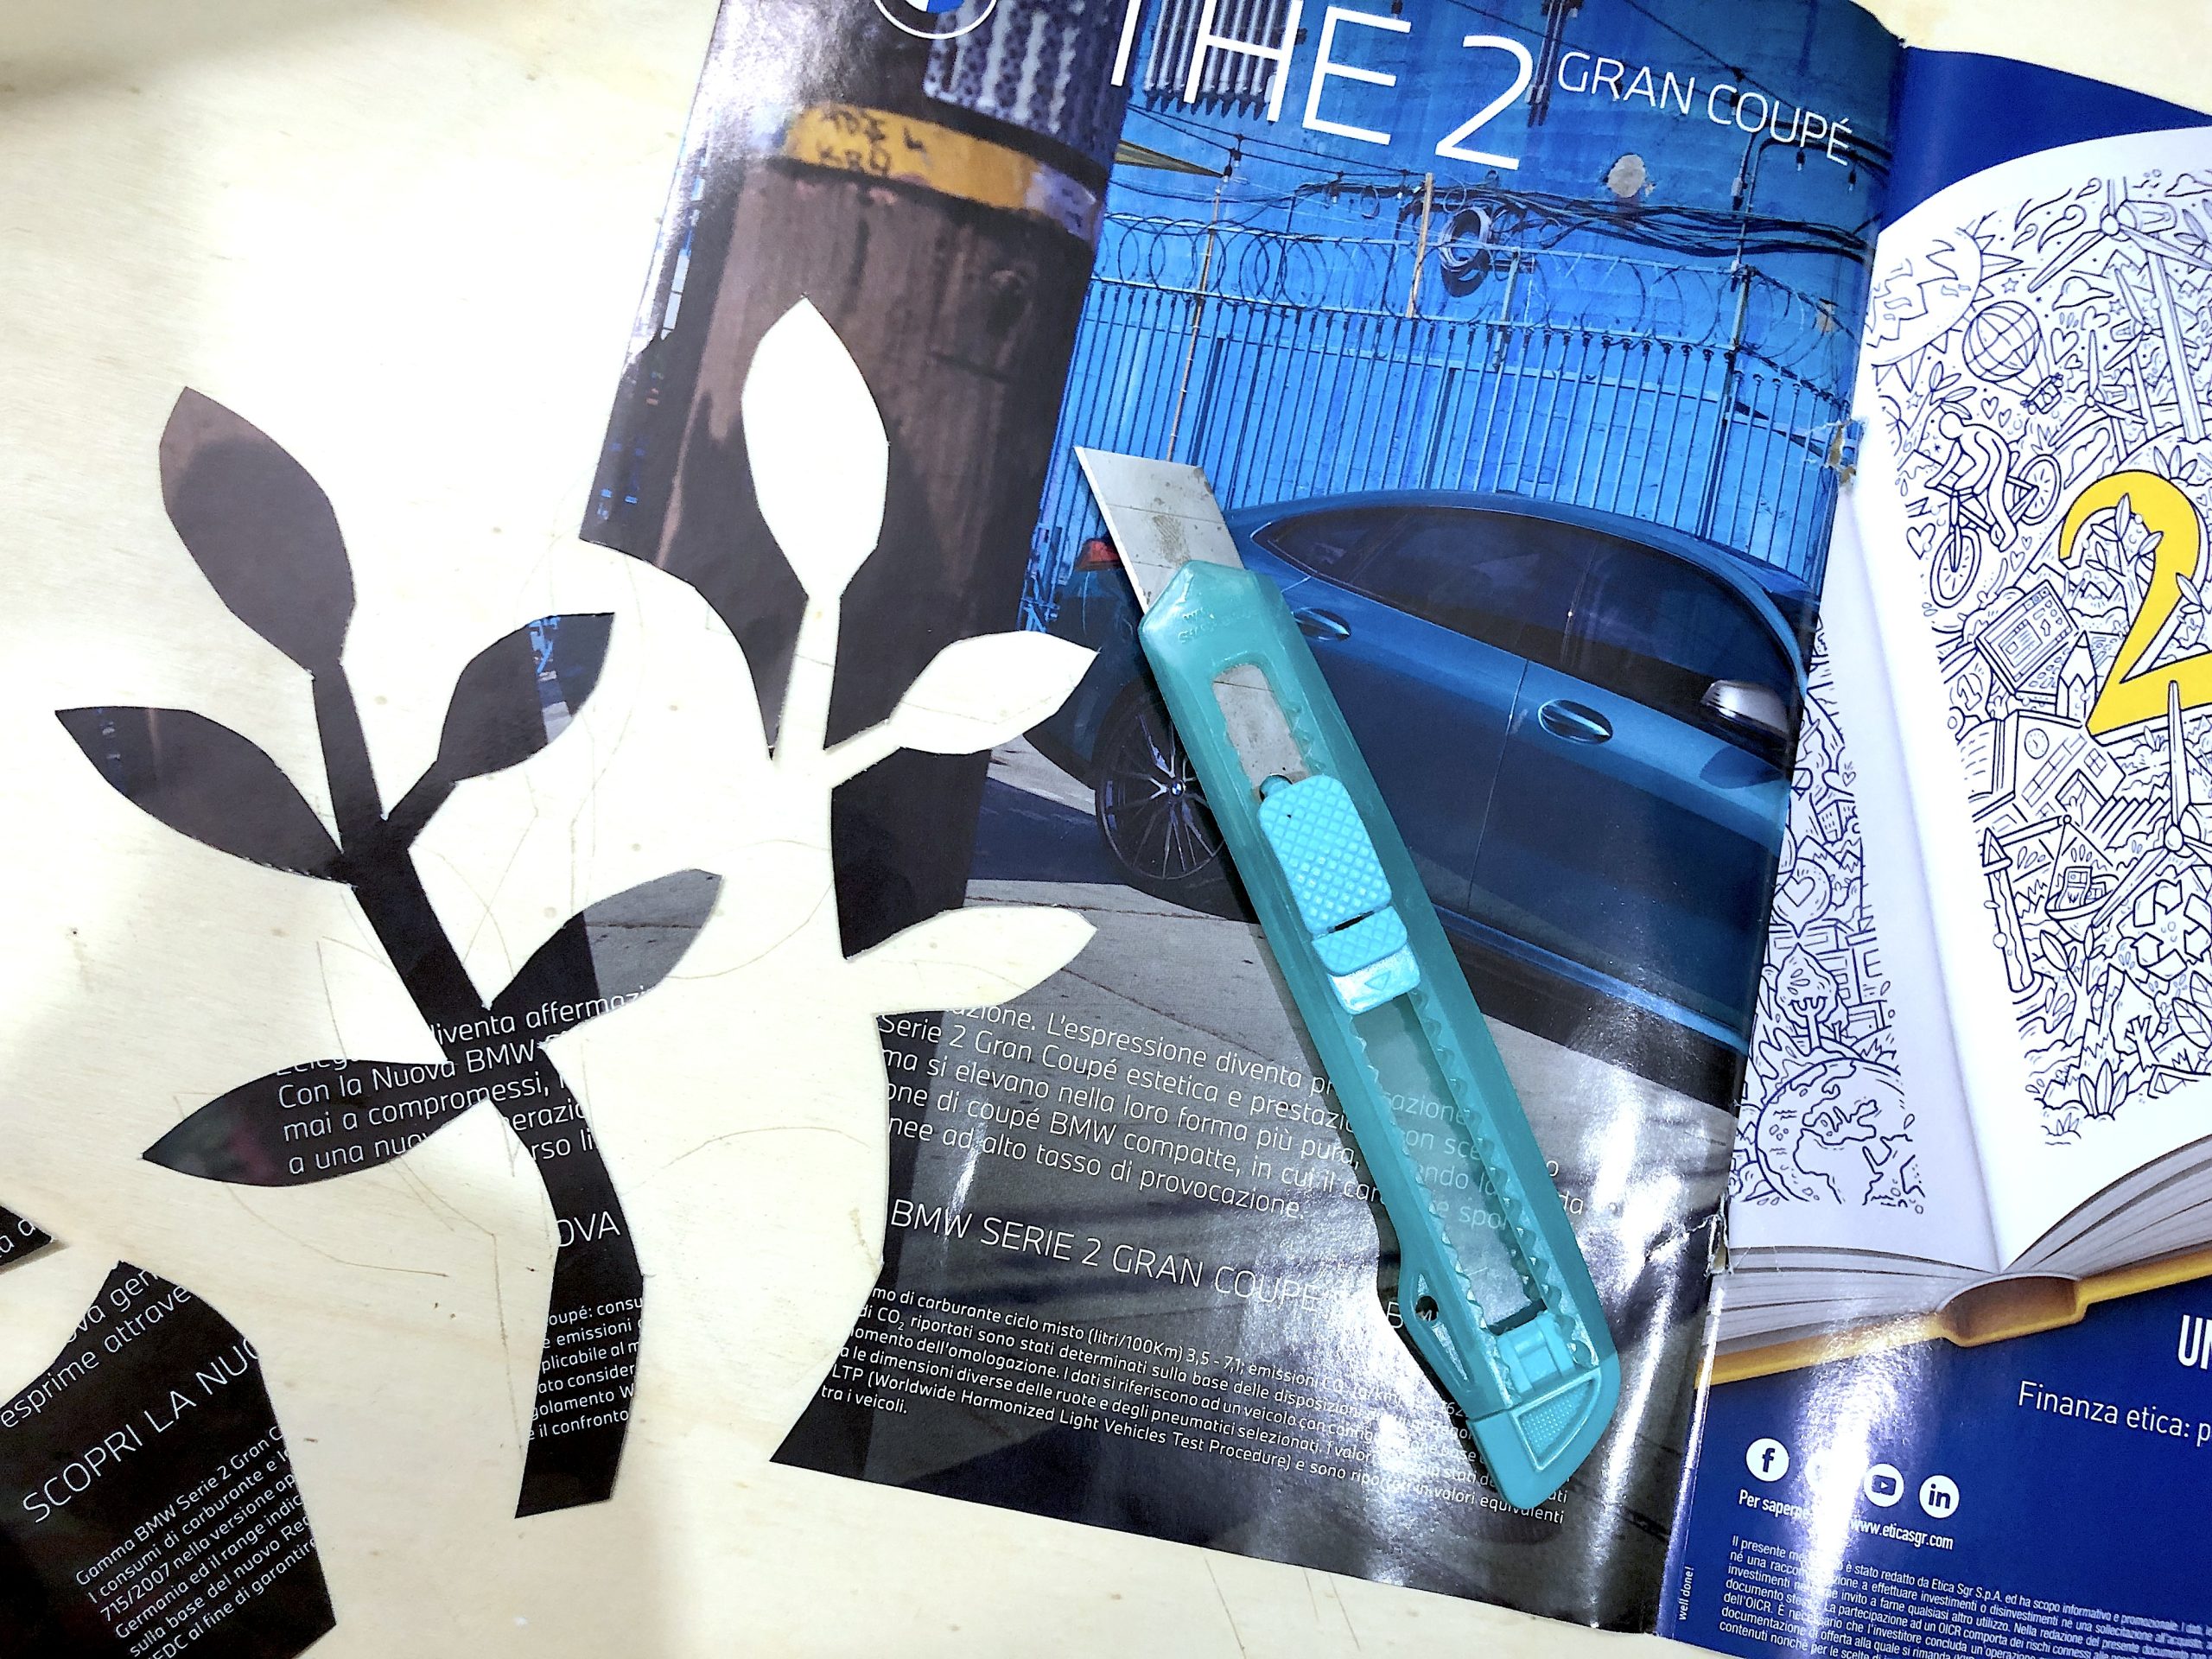
After brainstorming and sketching several ideas, students drew the templates for the different parts of their vase, trying to understand how they would fit together. To develop their project, they cut out and assembled the paper pieces with tape, building a three-dimensional prototype. This step was very useful for checking whether the project was actually feasible in clay, as well as for evaluating shapes, proportions, and dimensions.
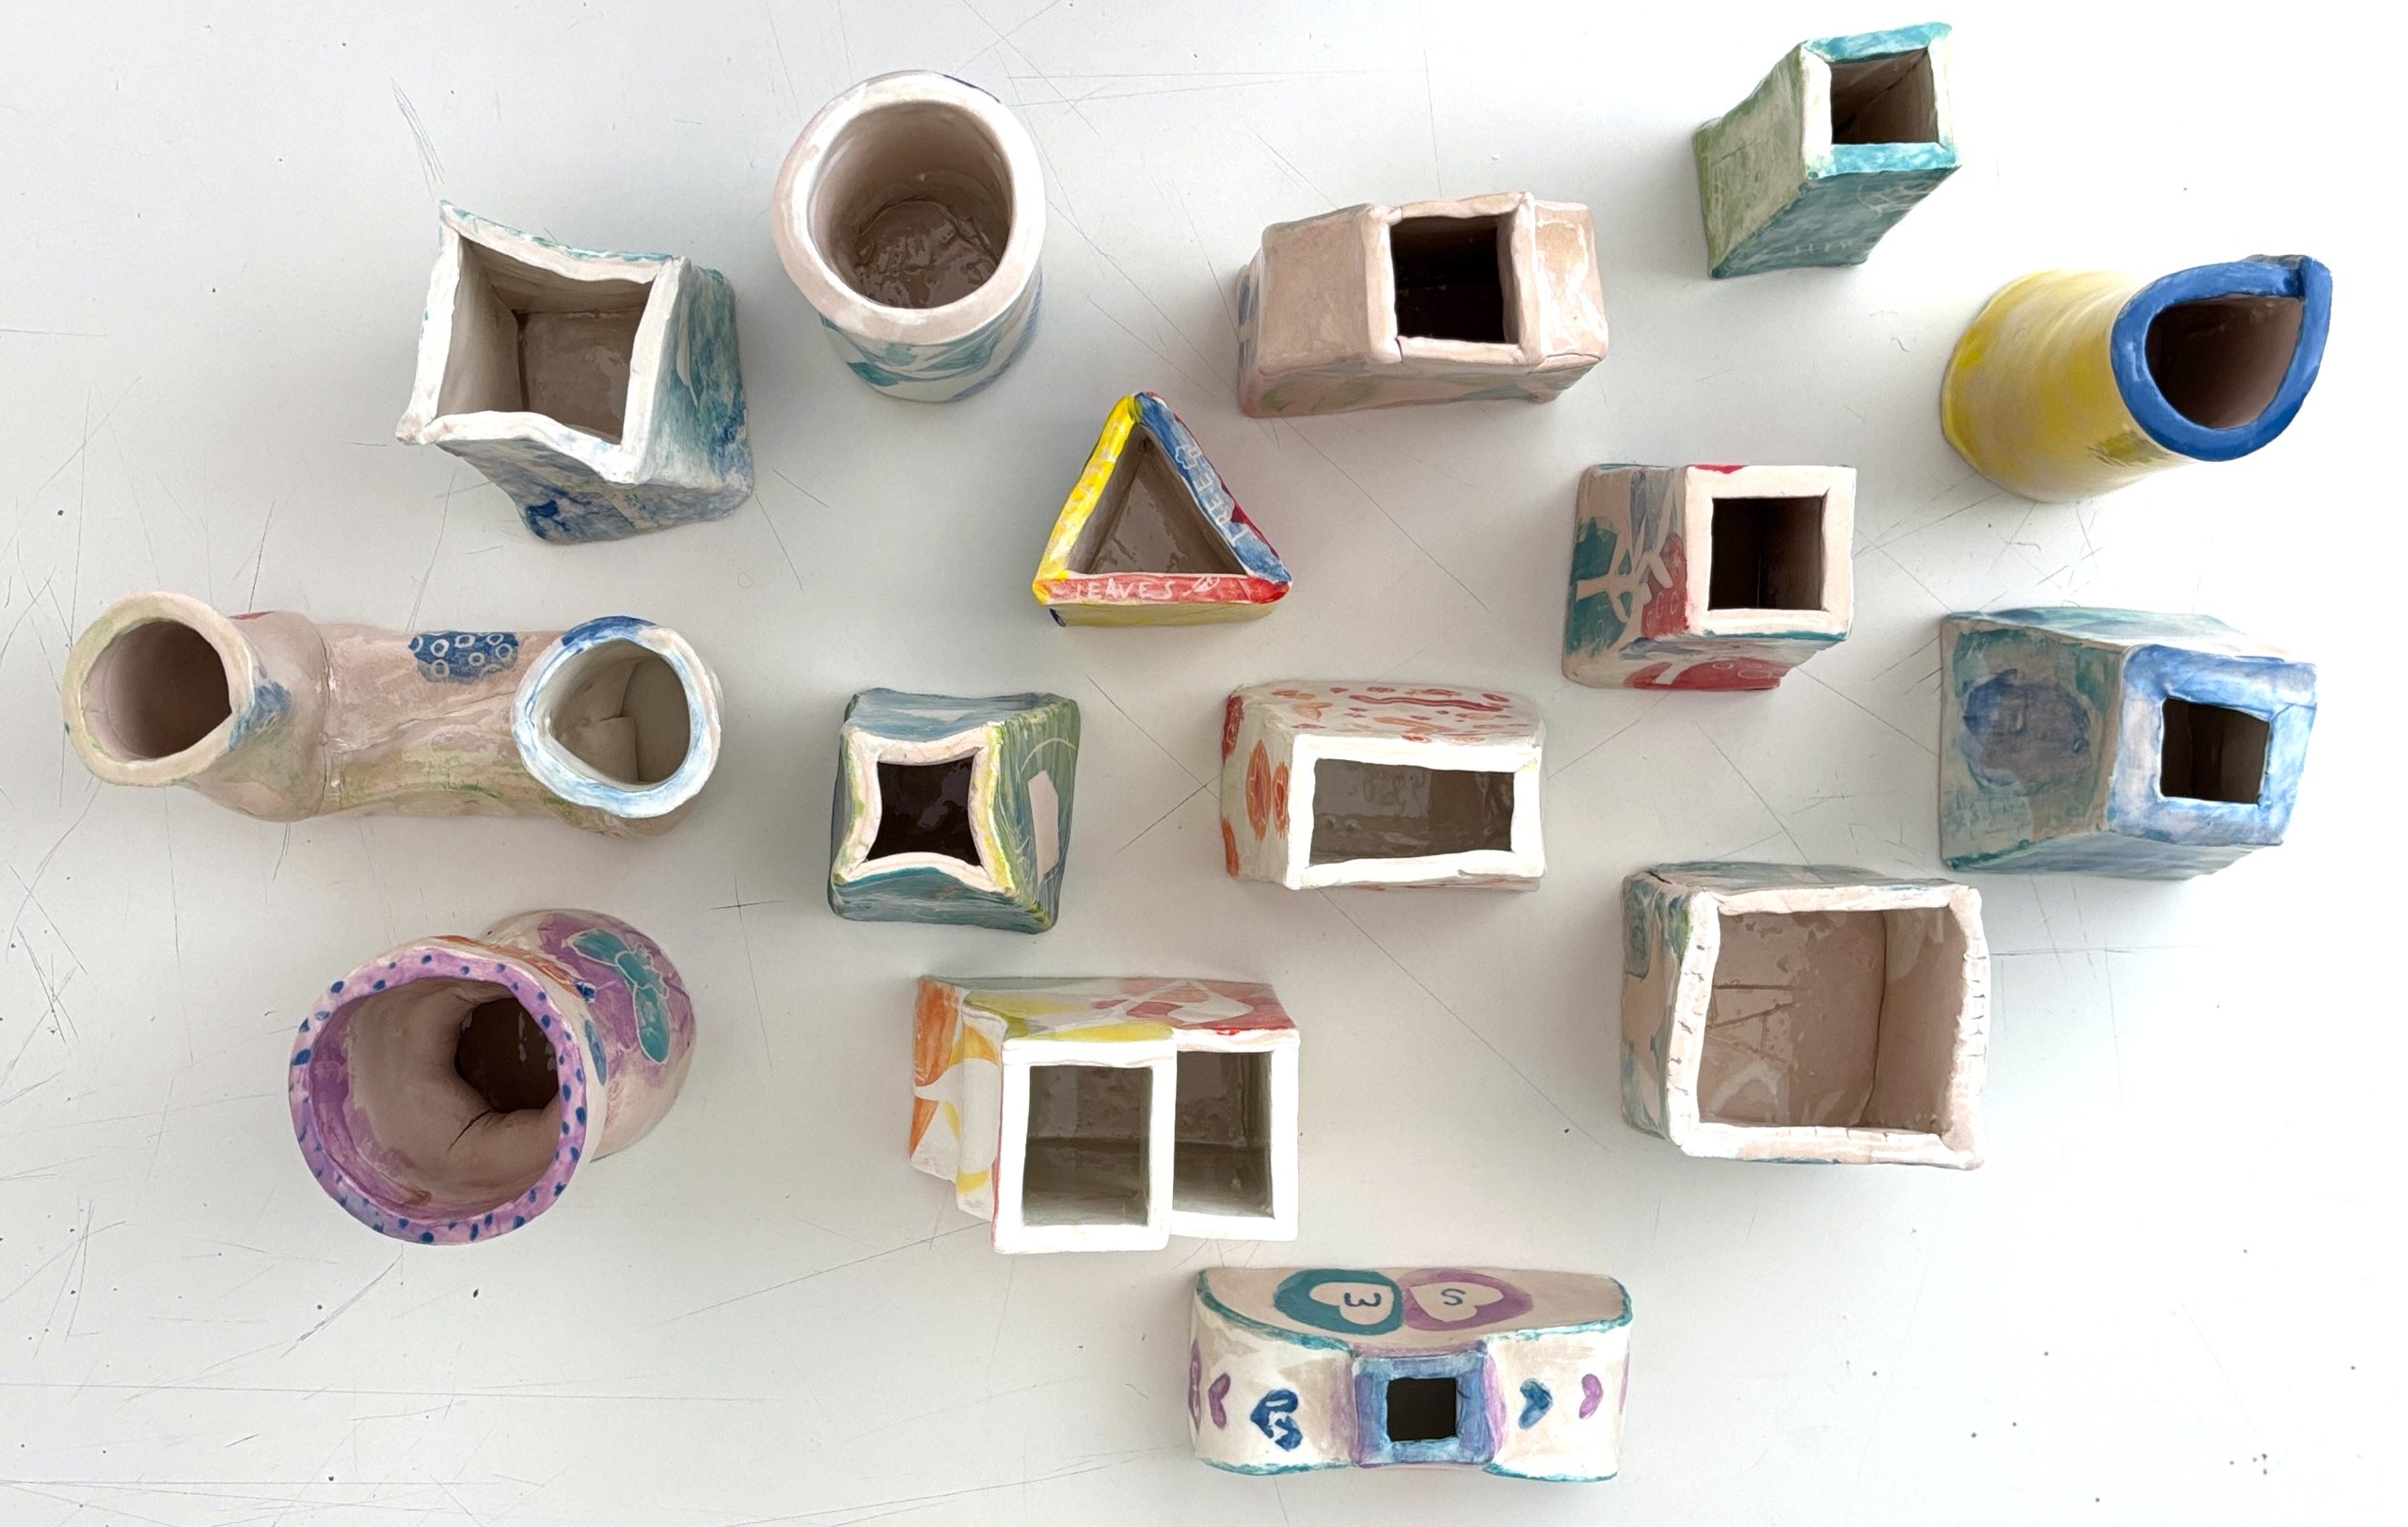
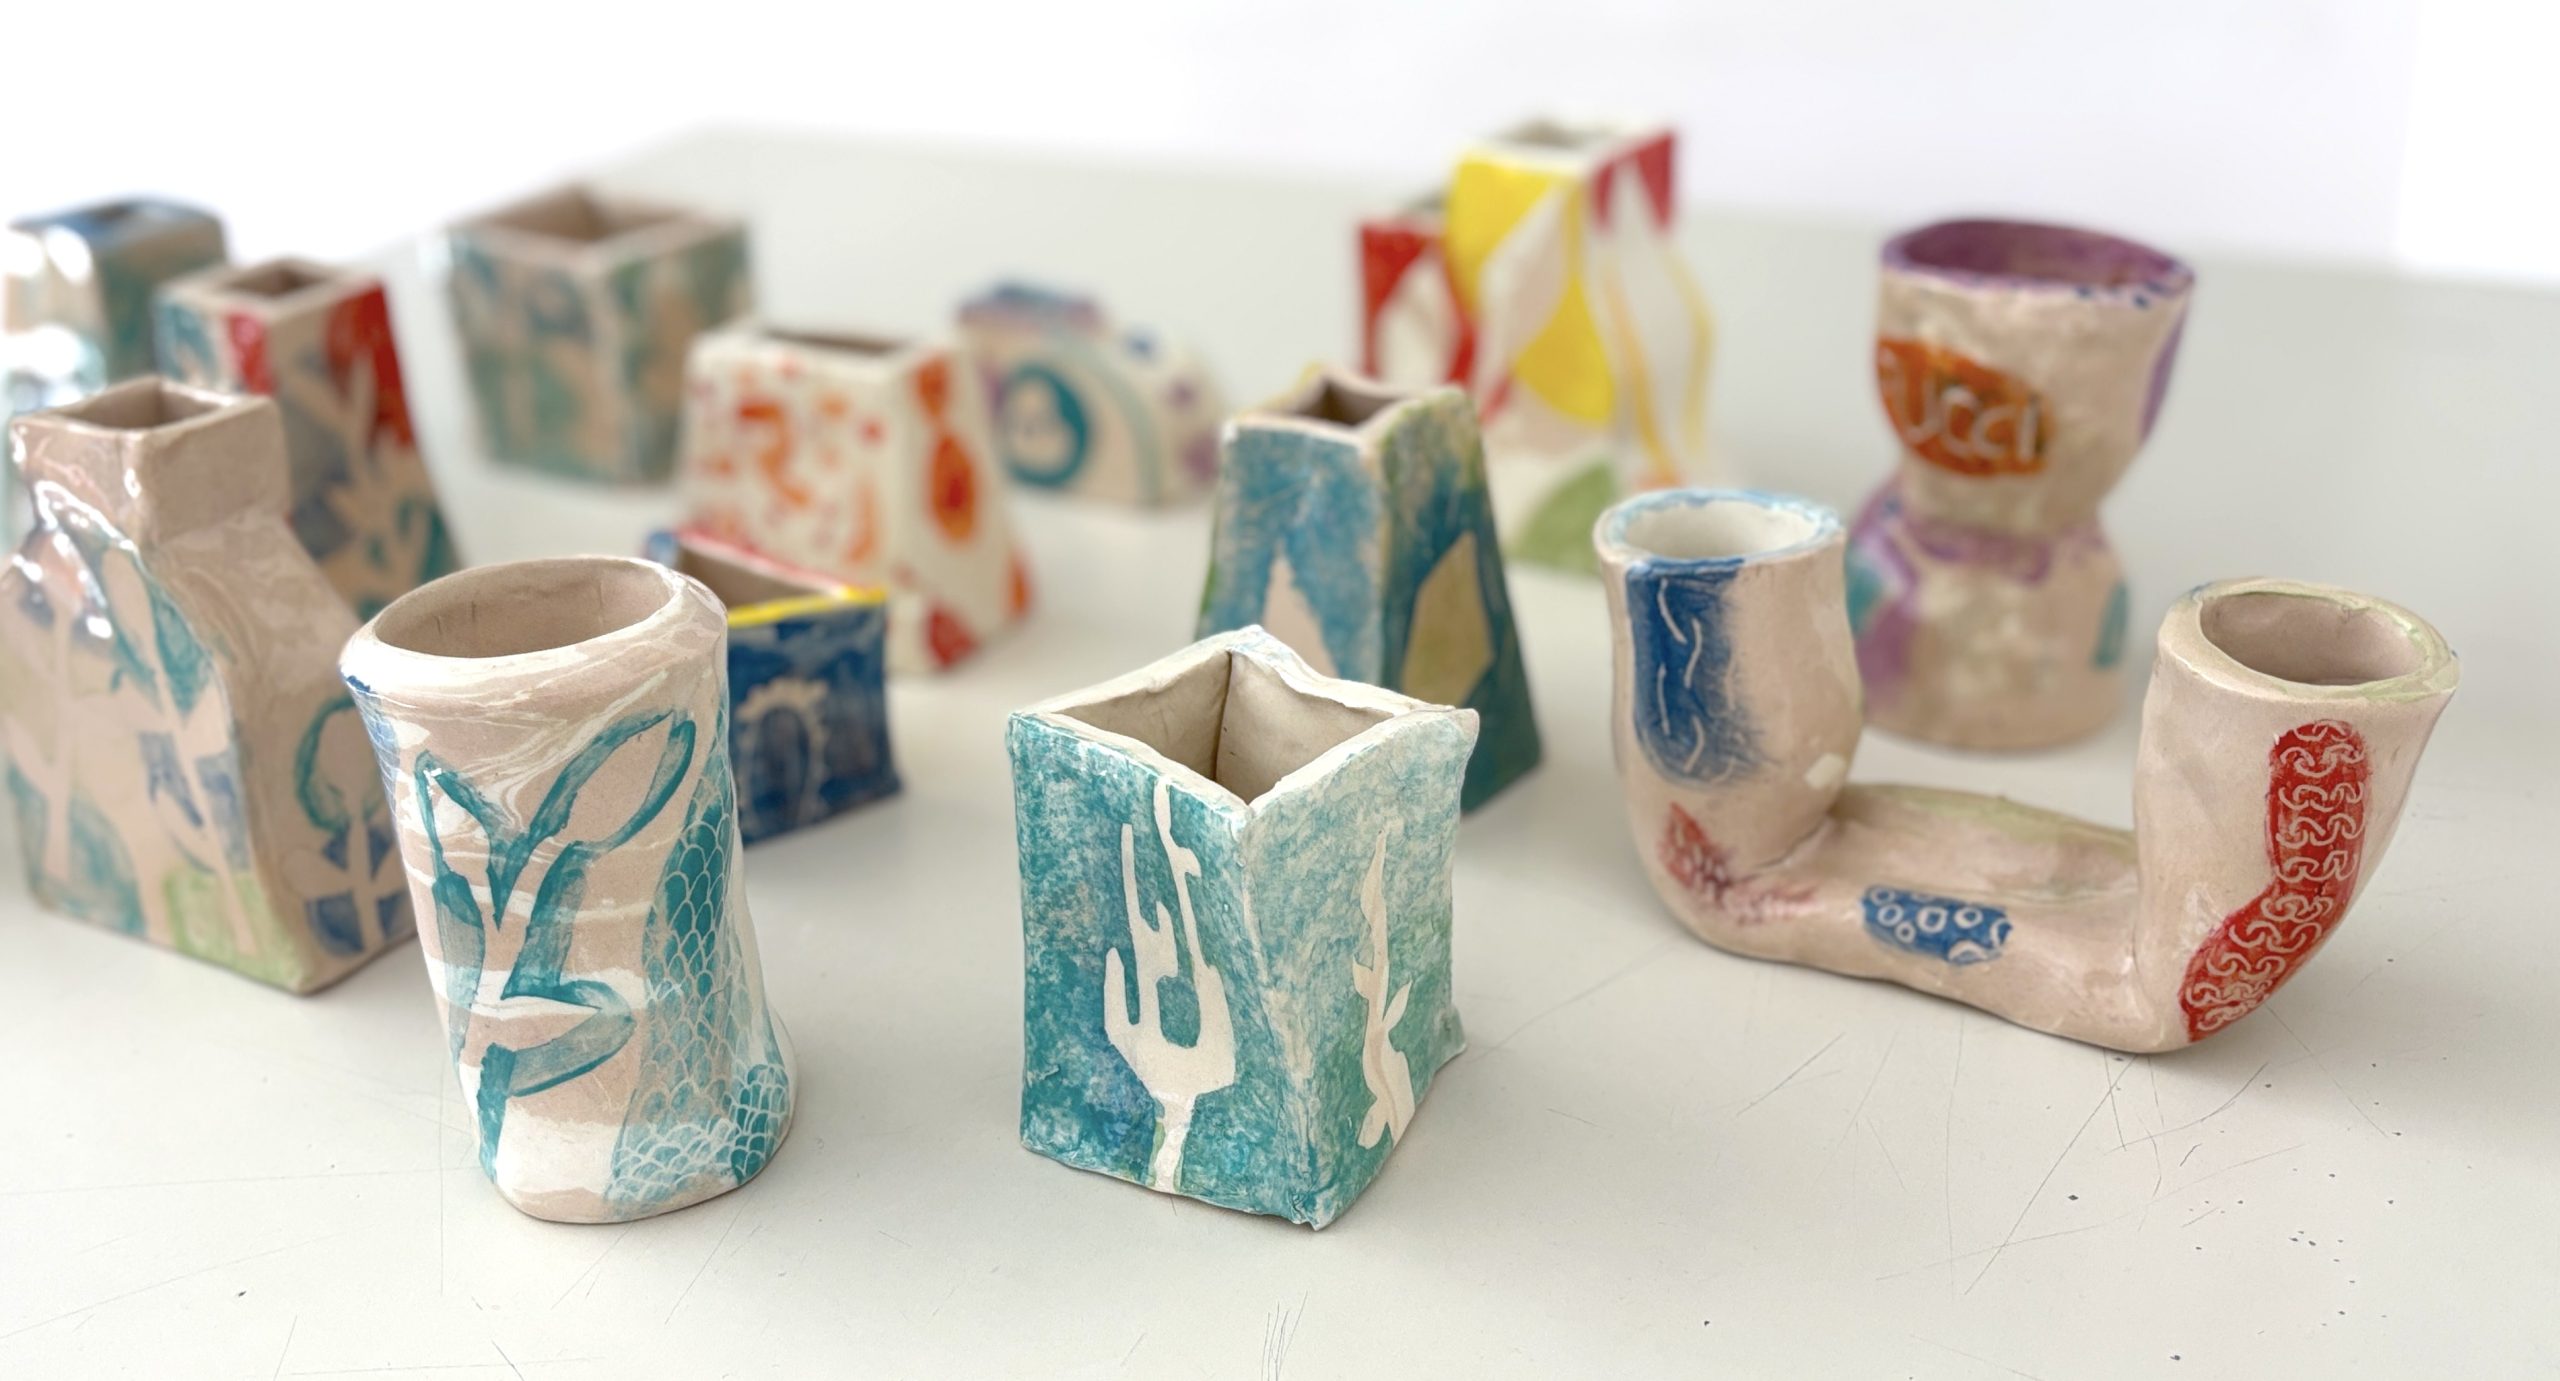
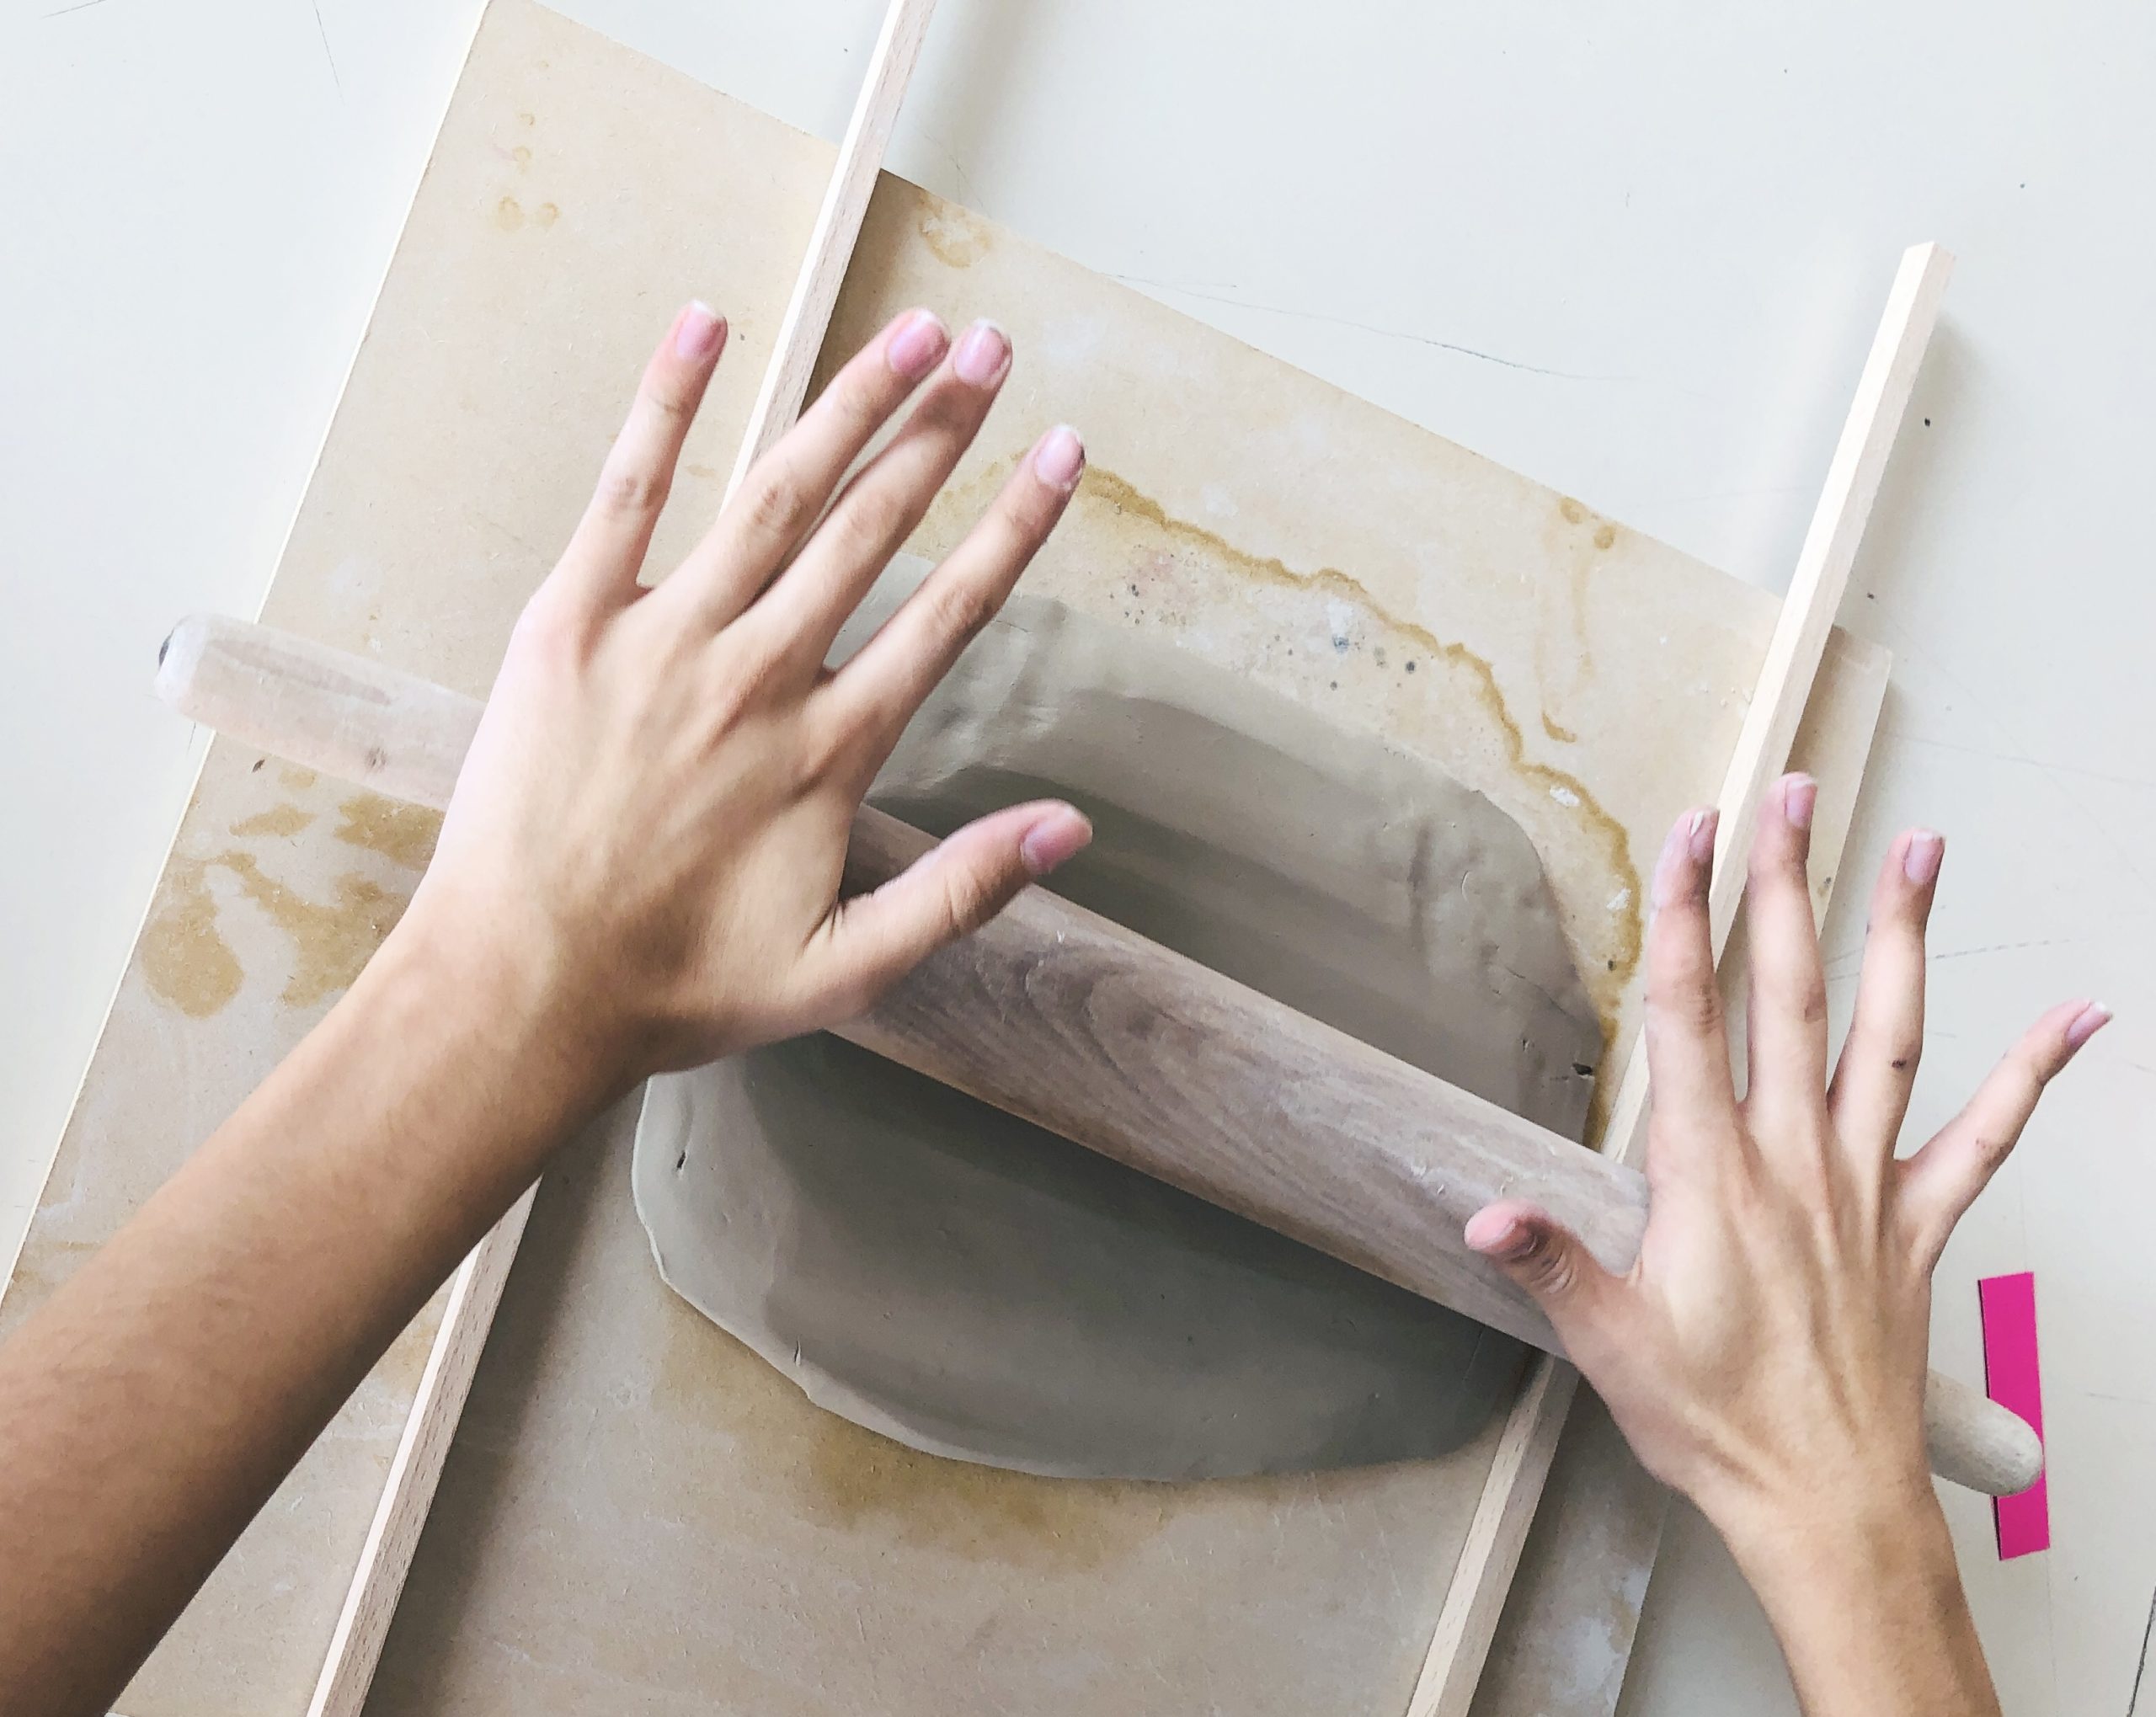
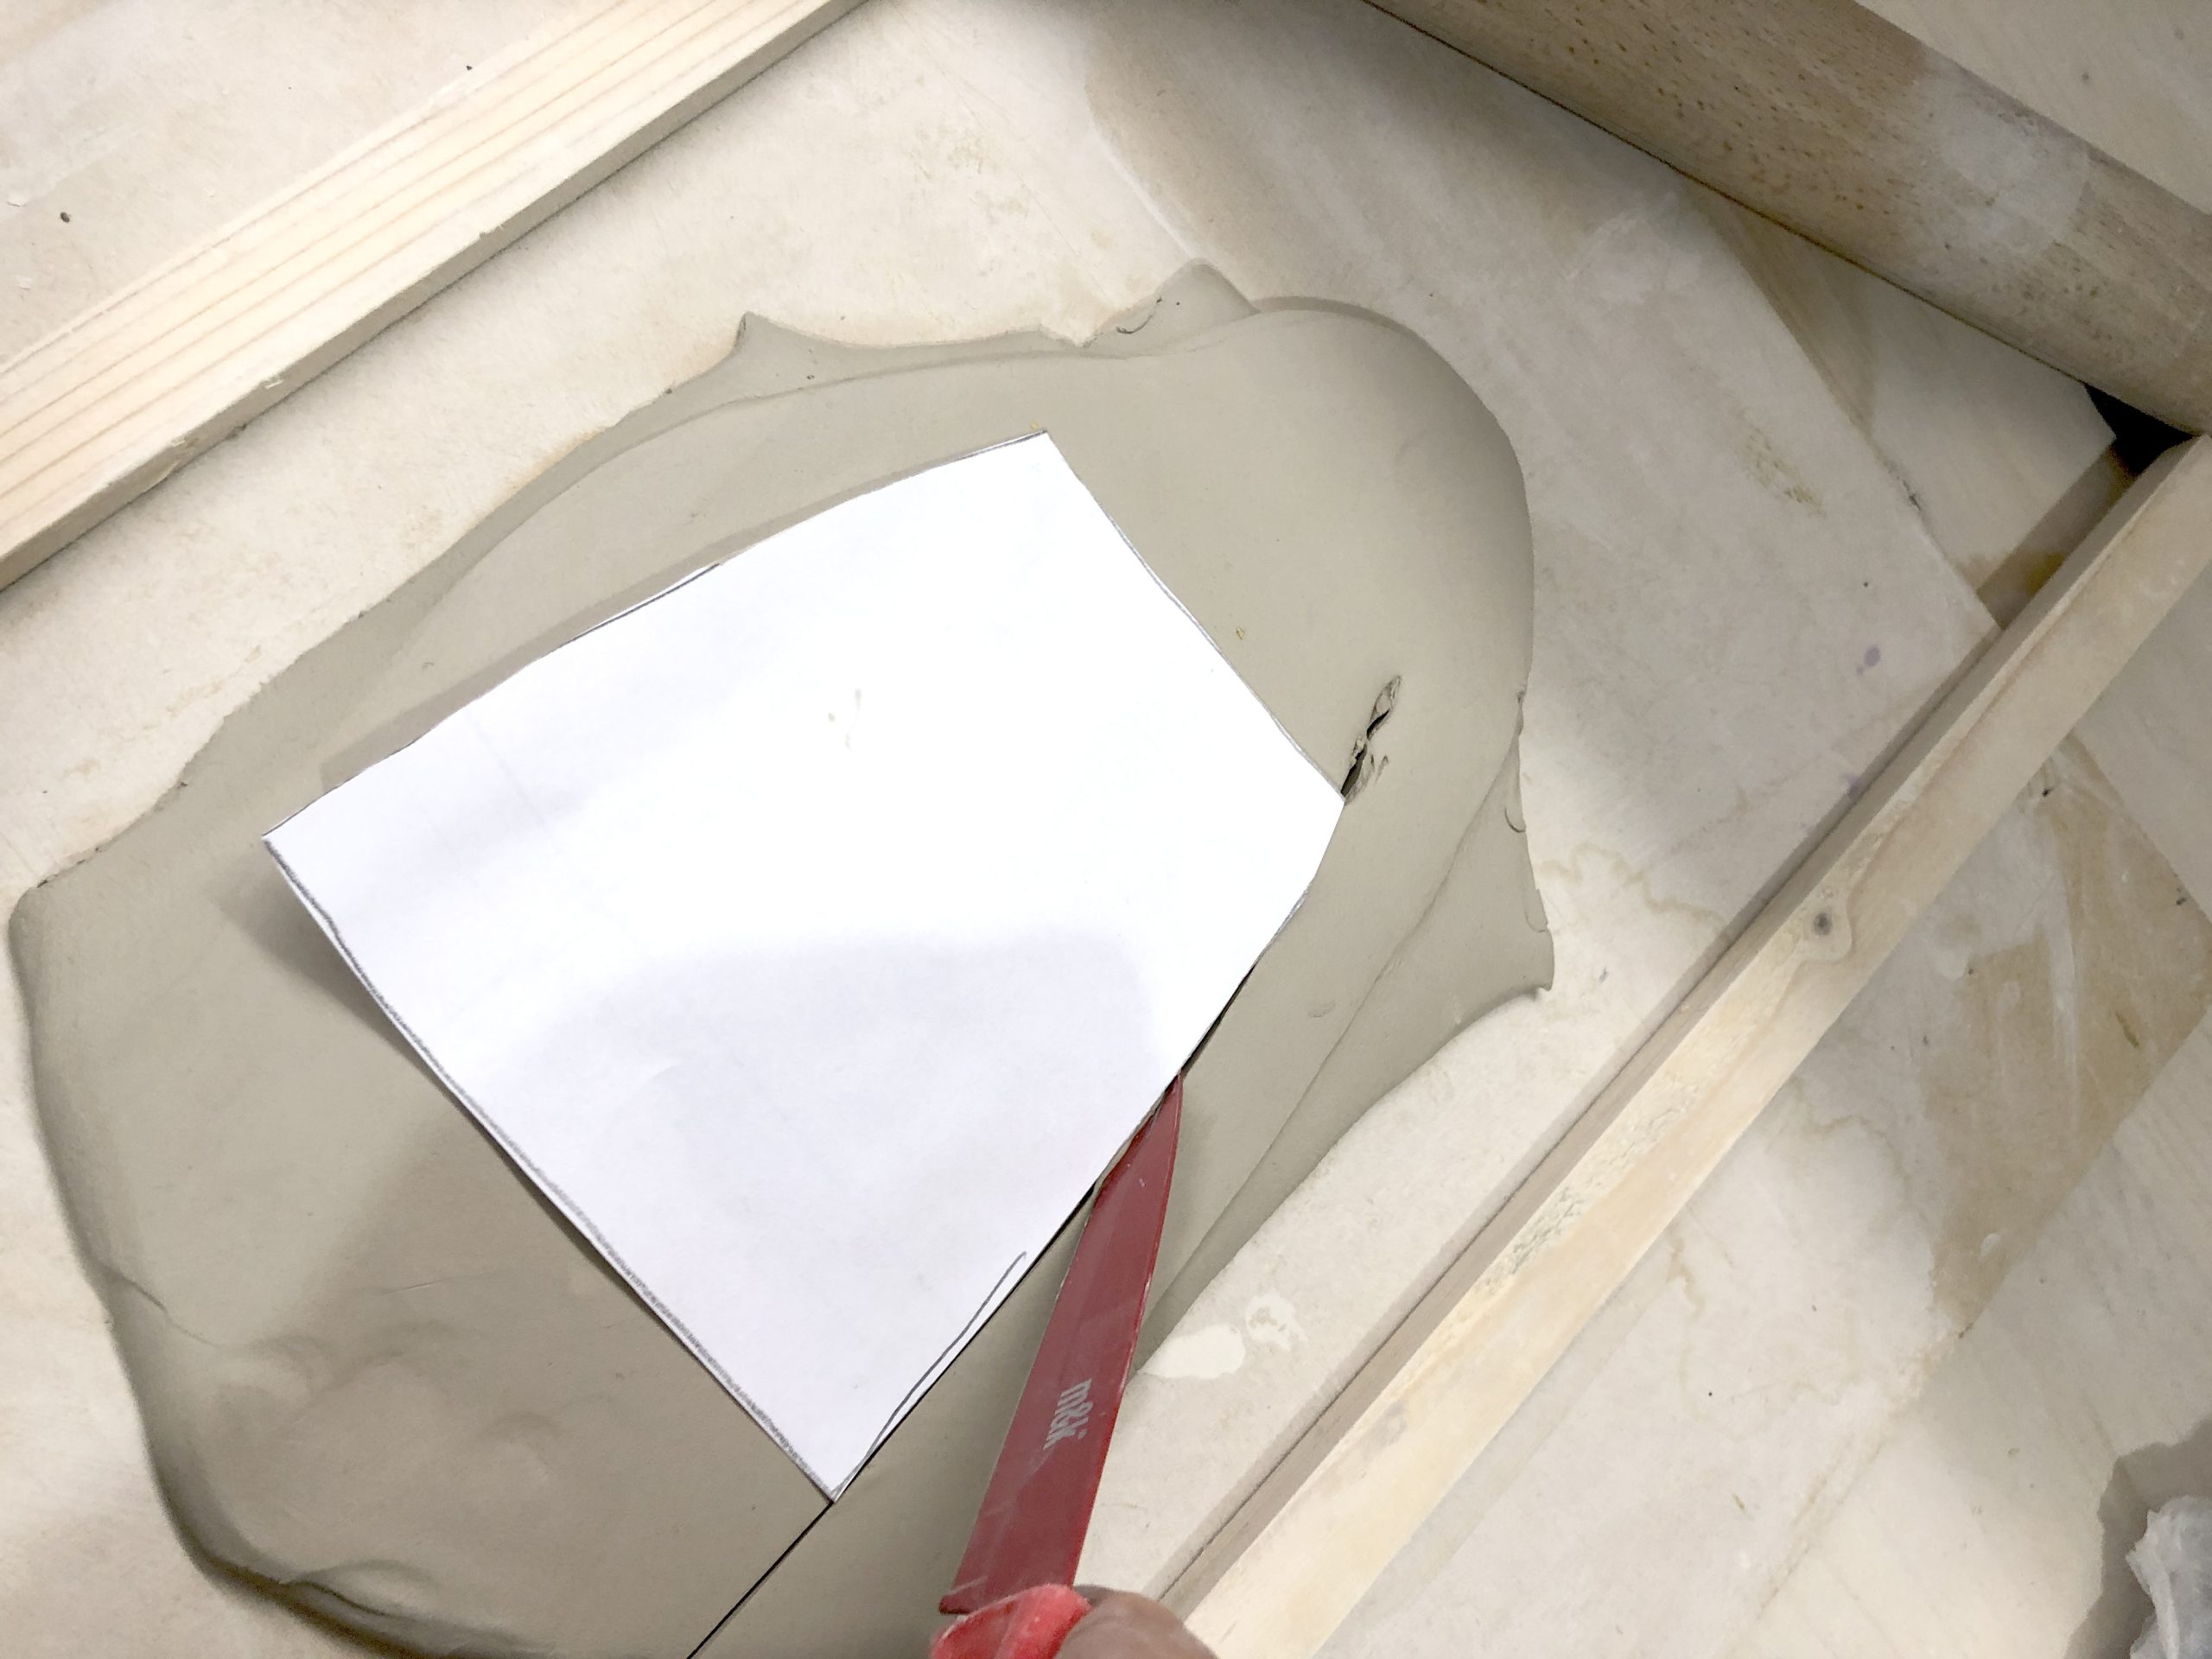
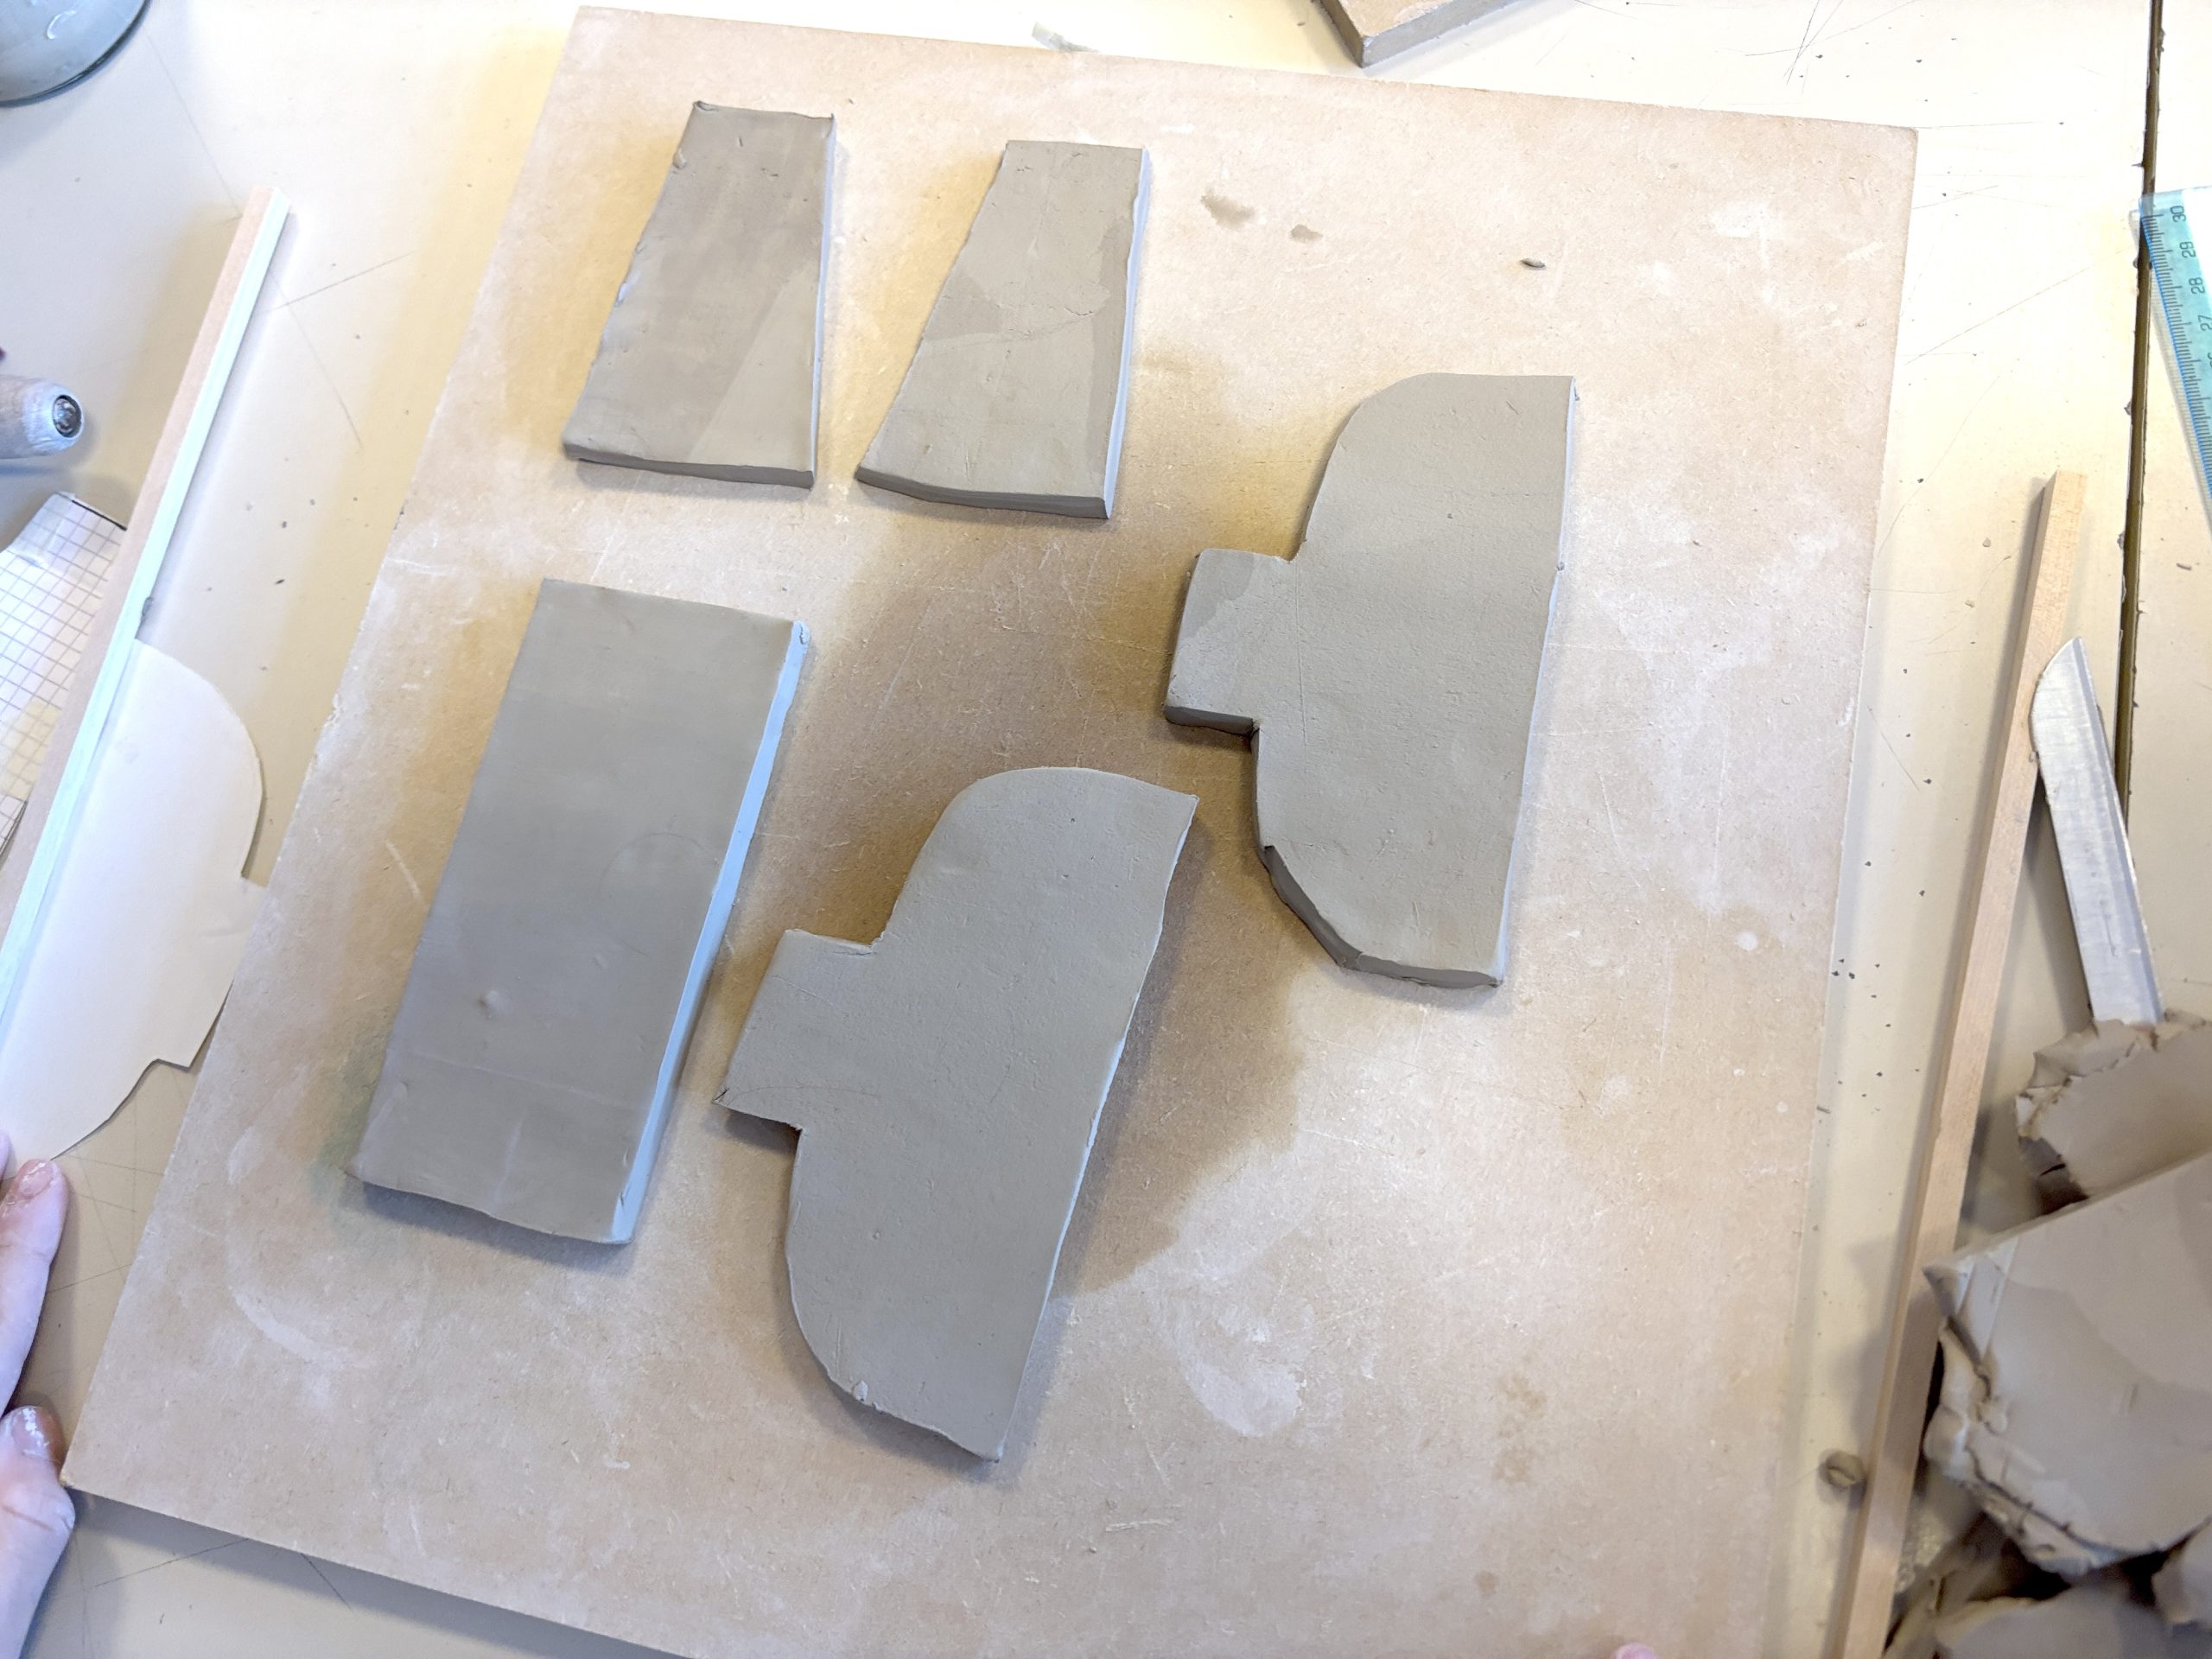
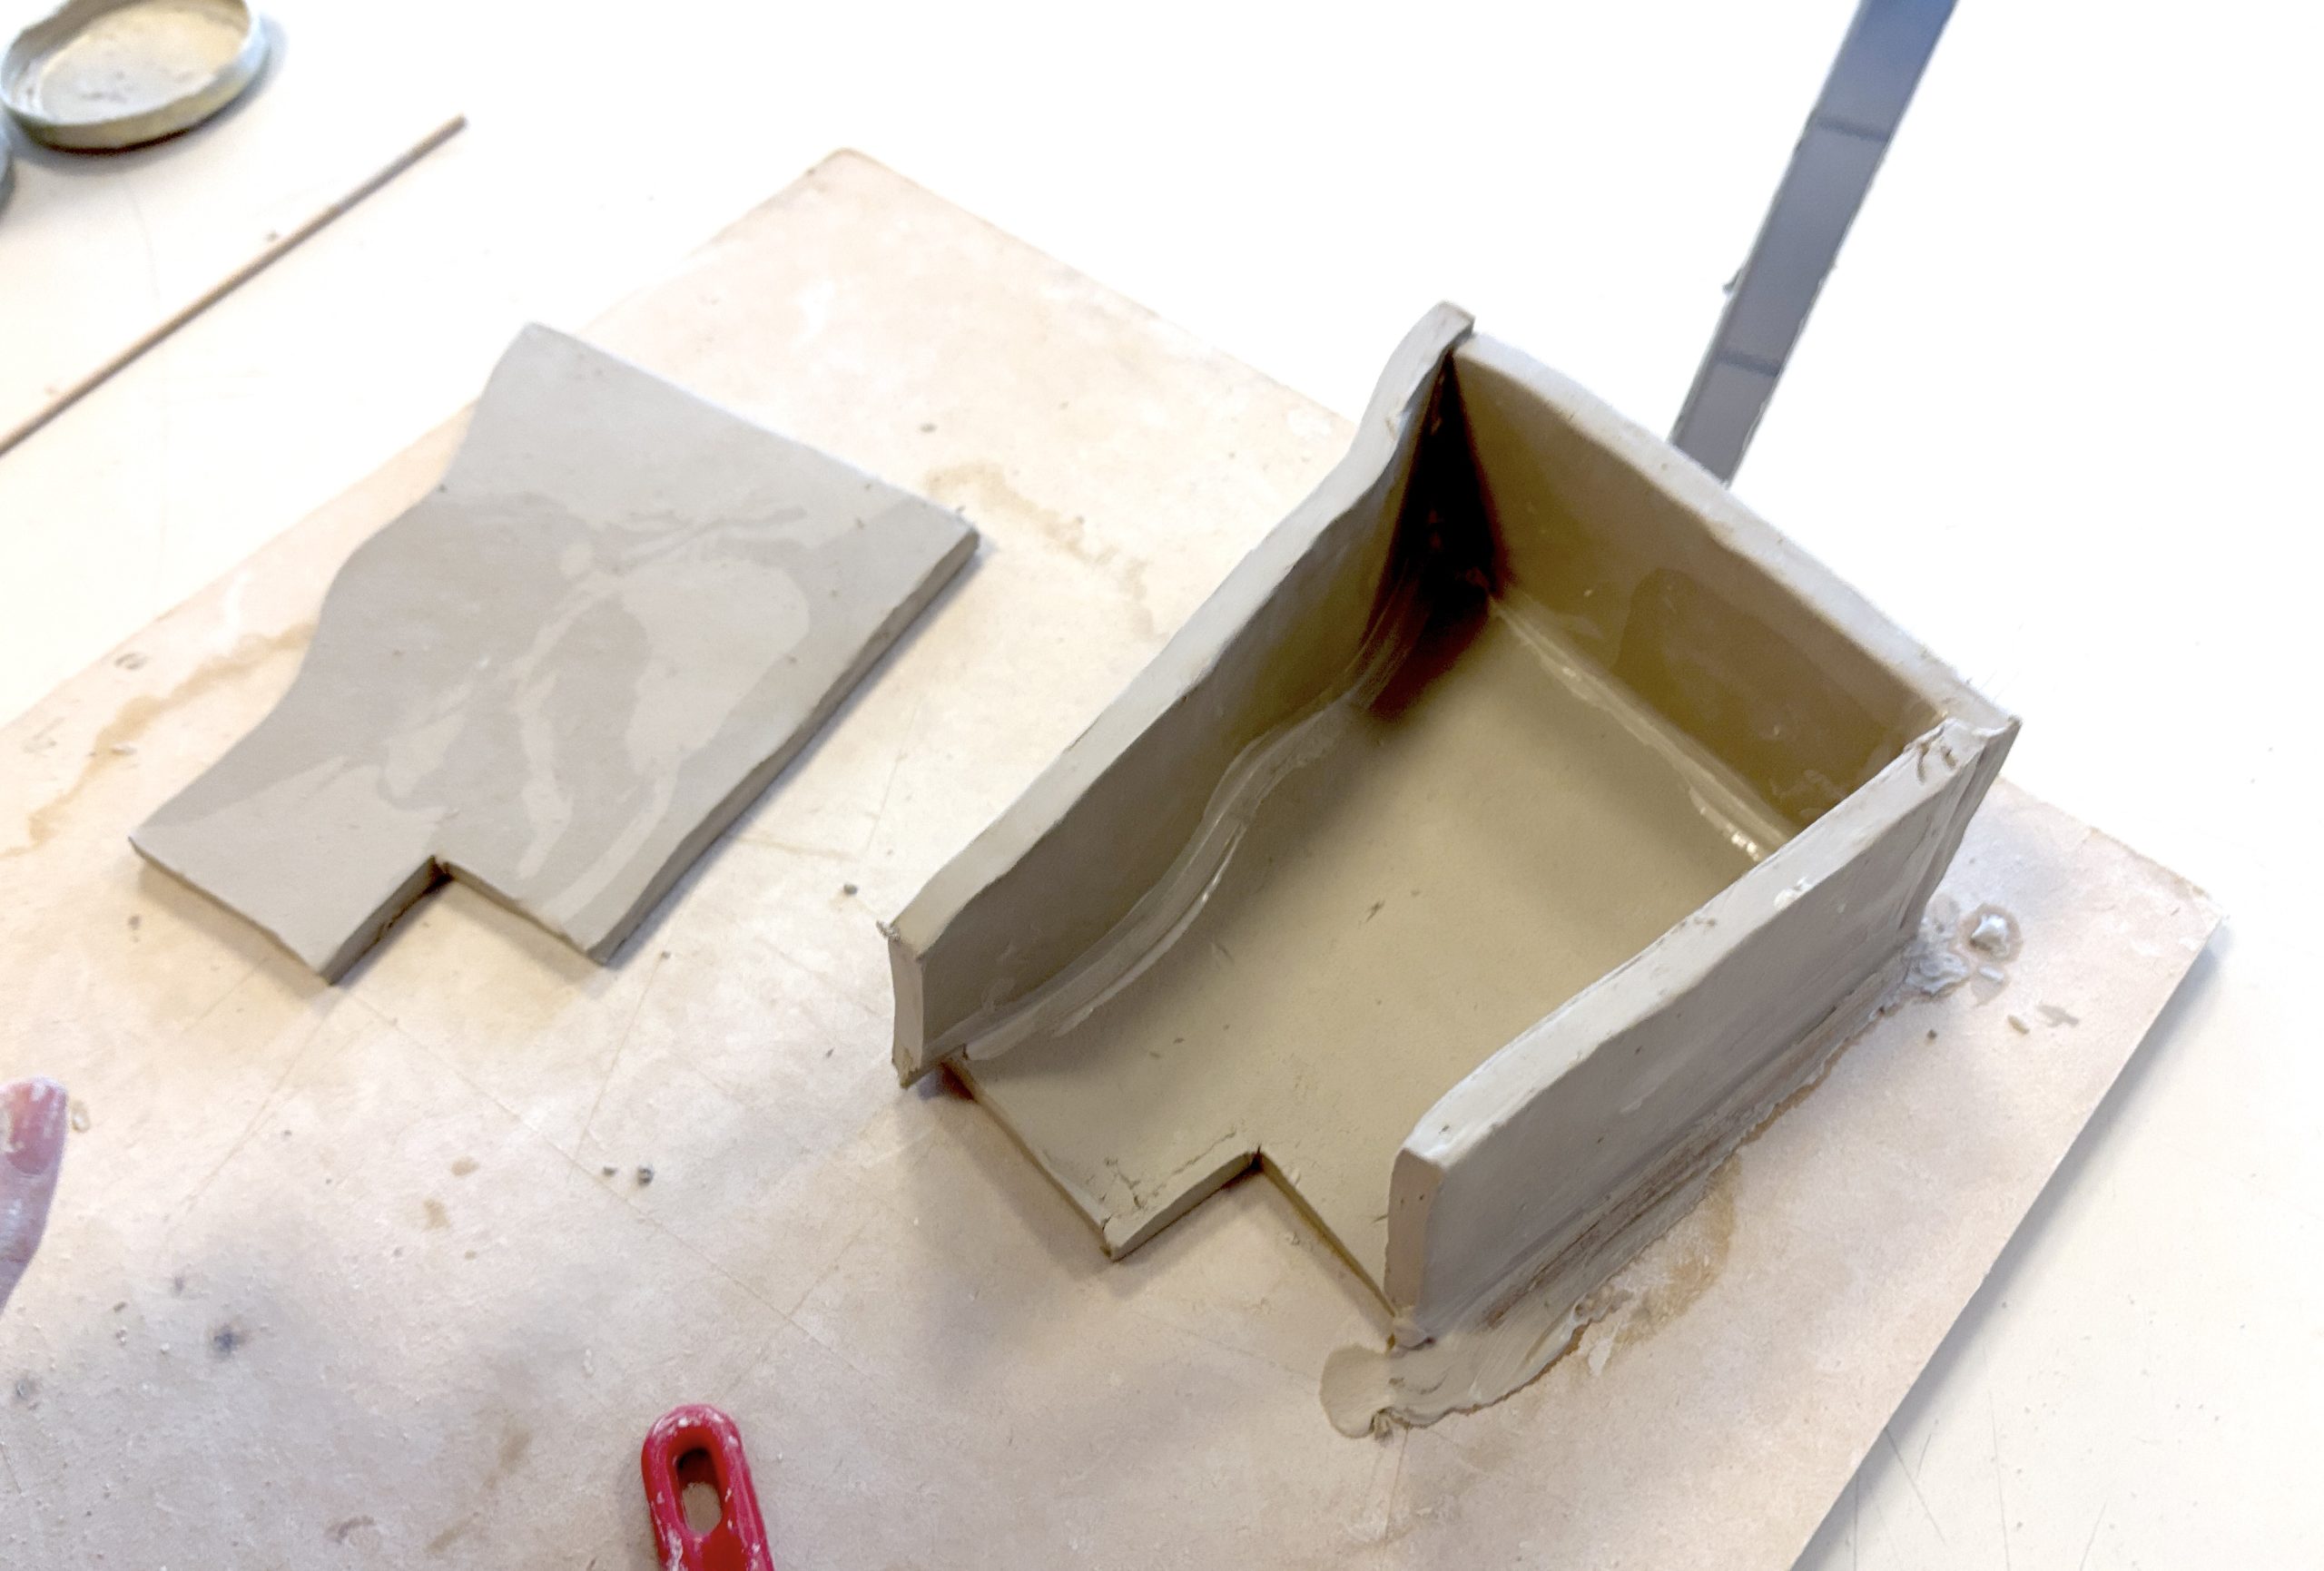
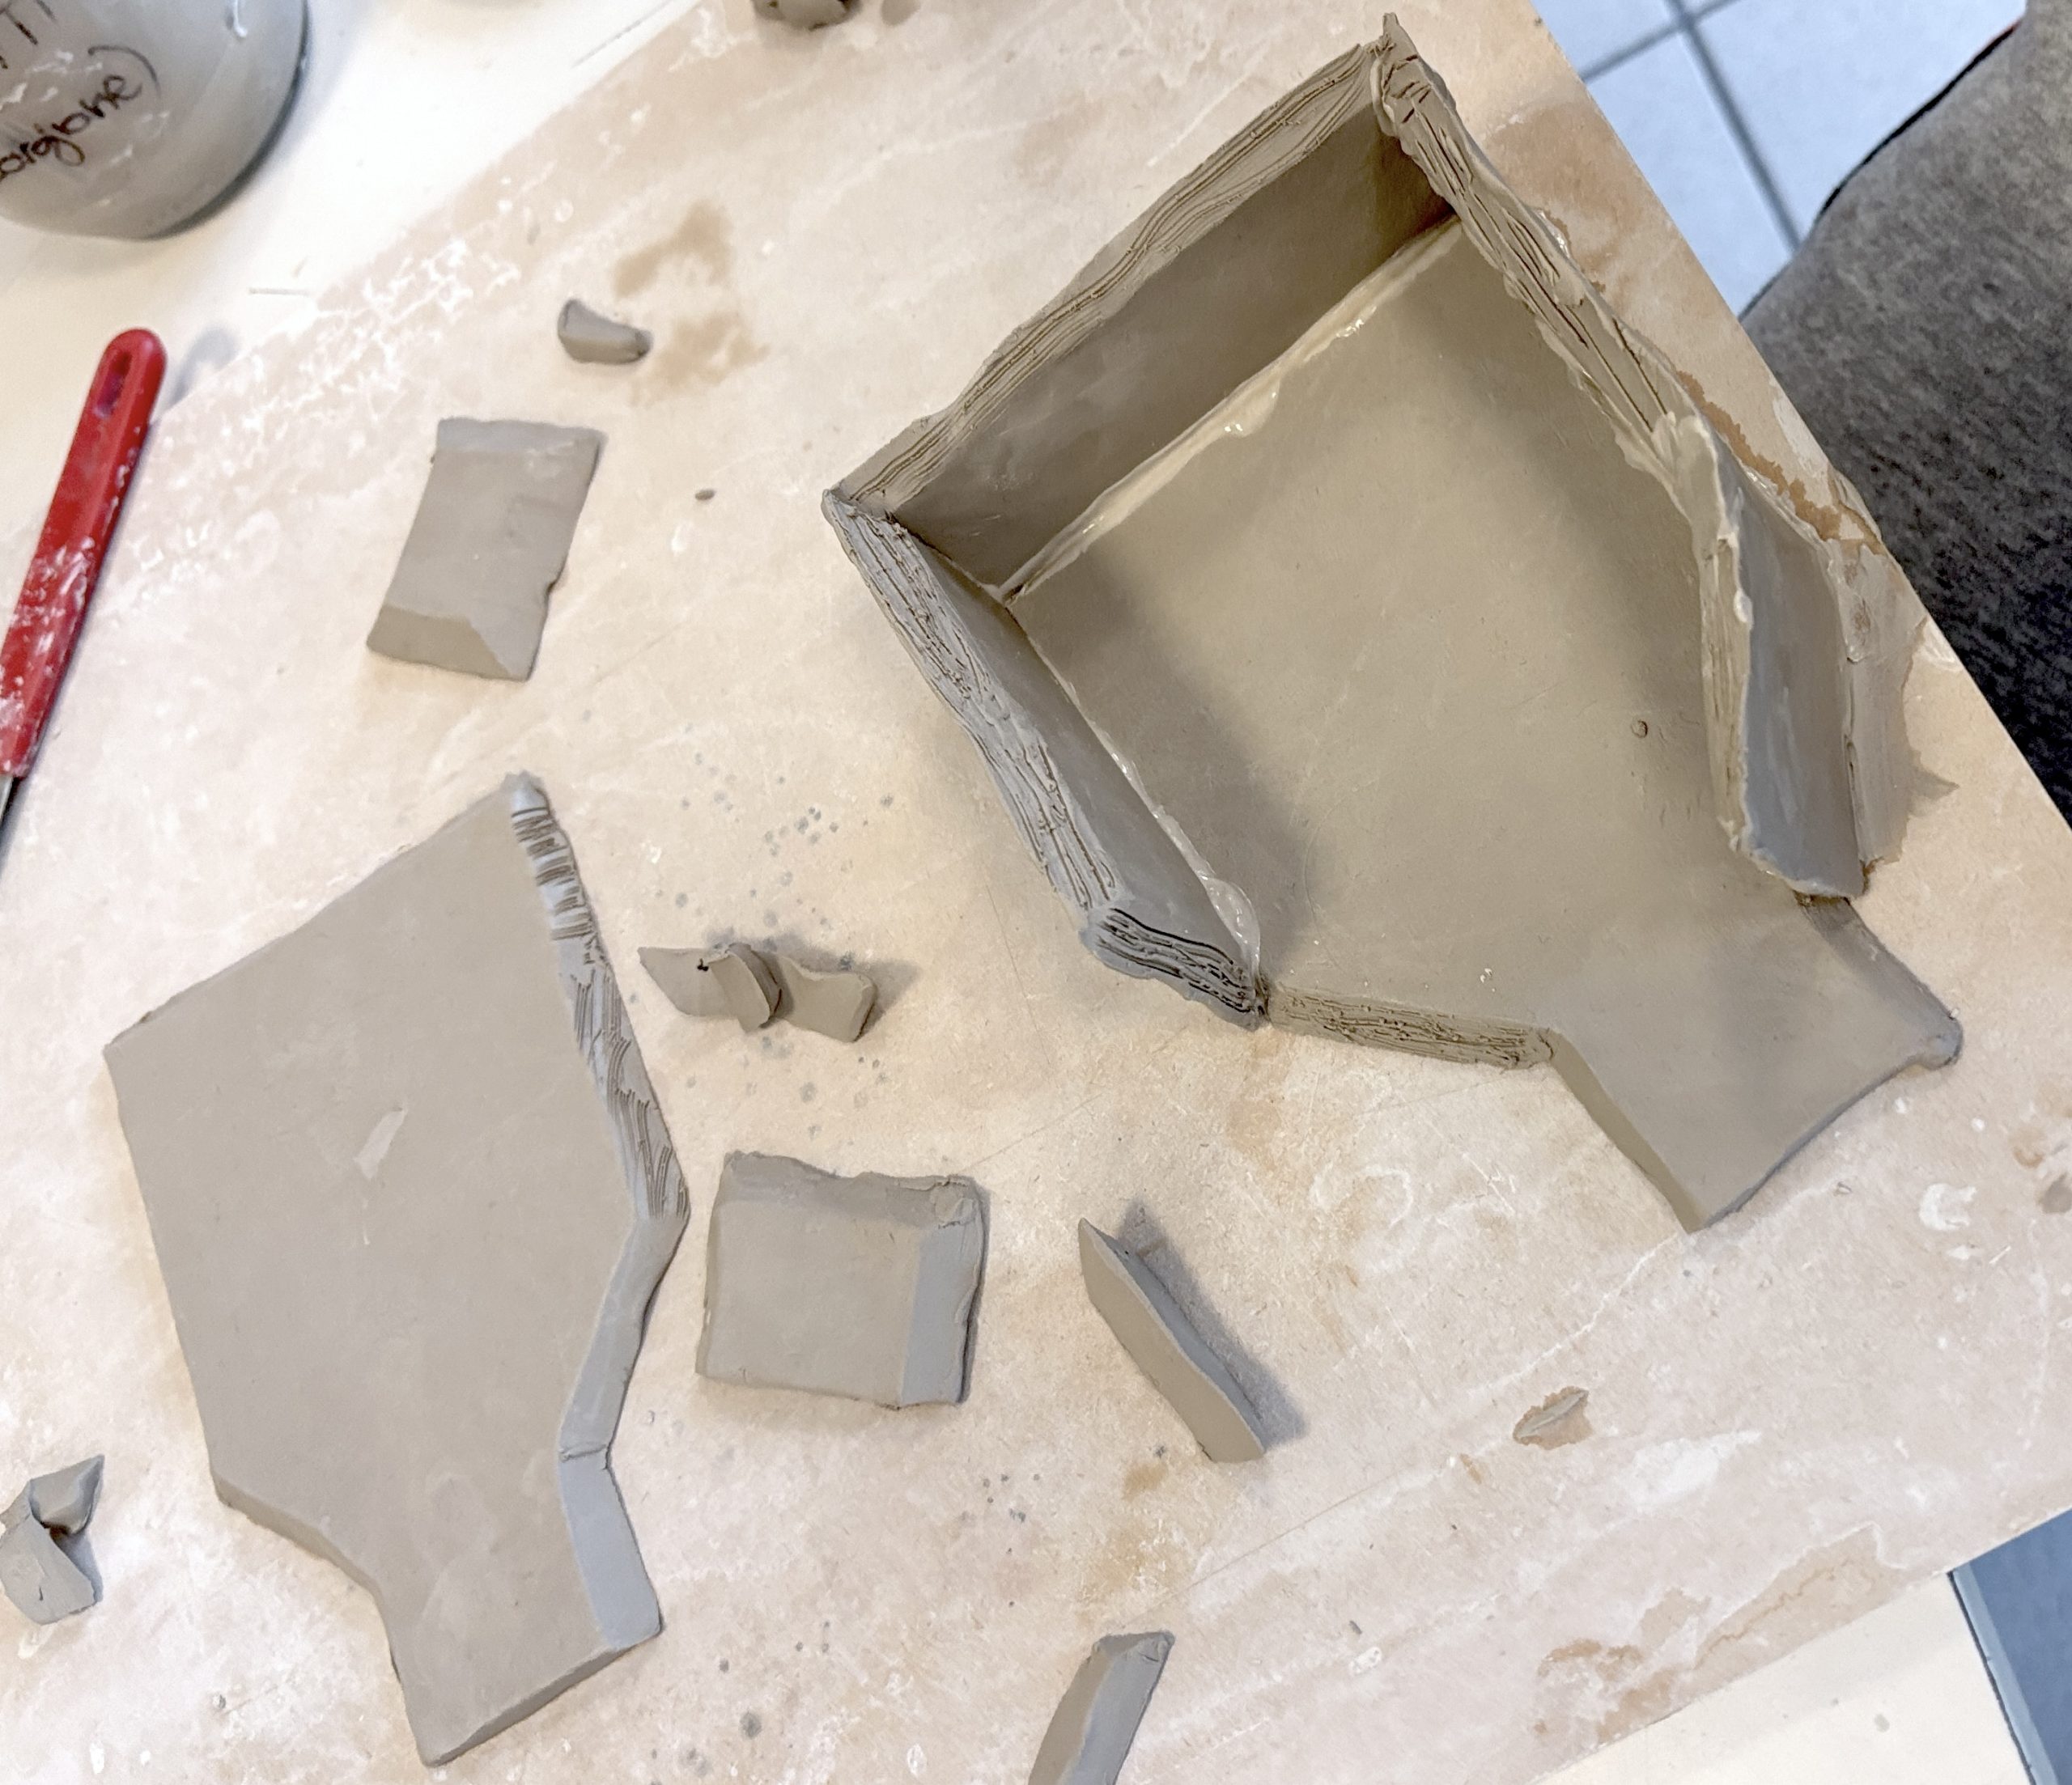
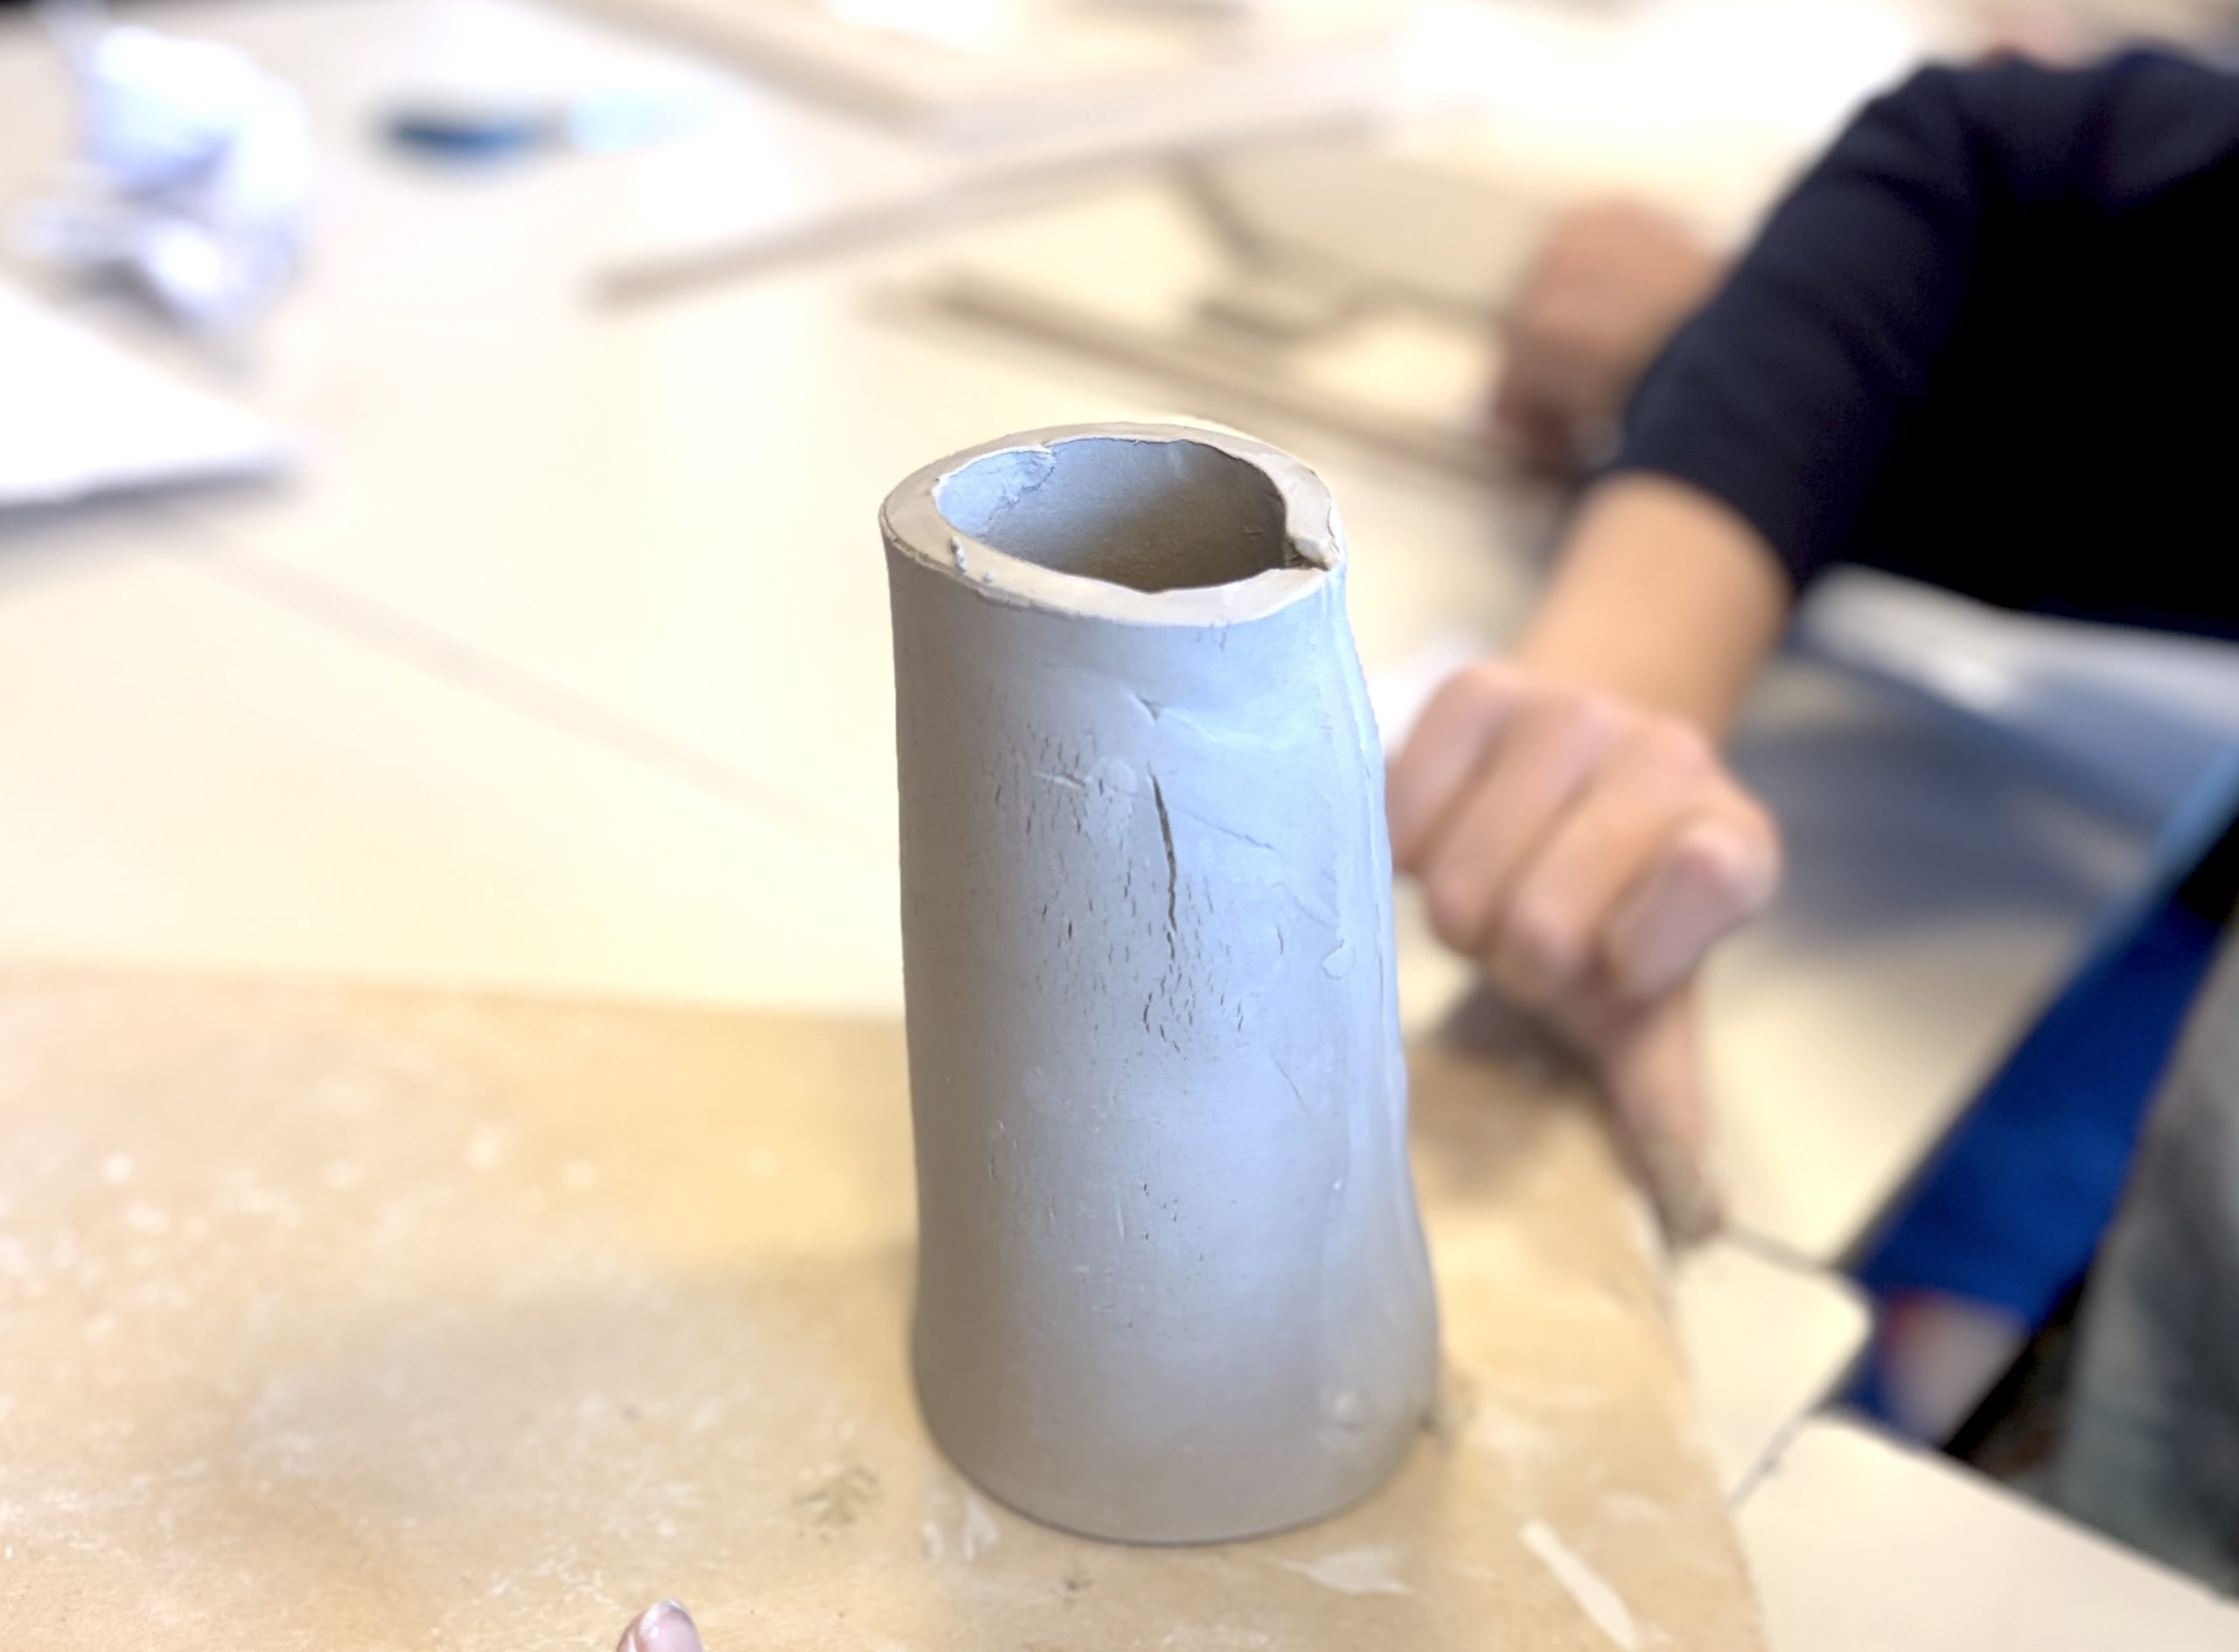
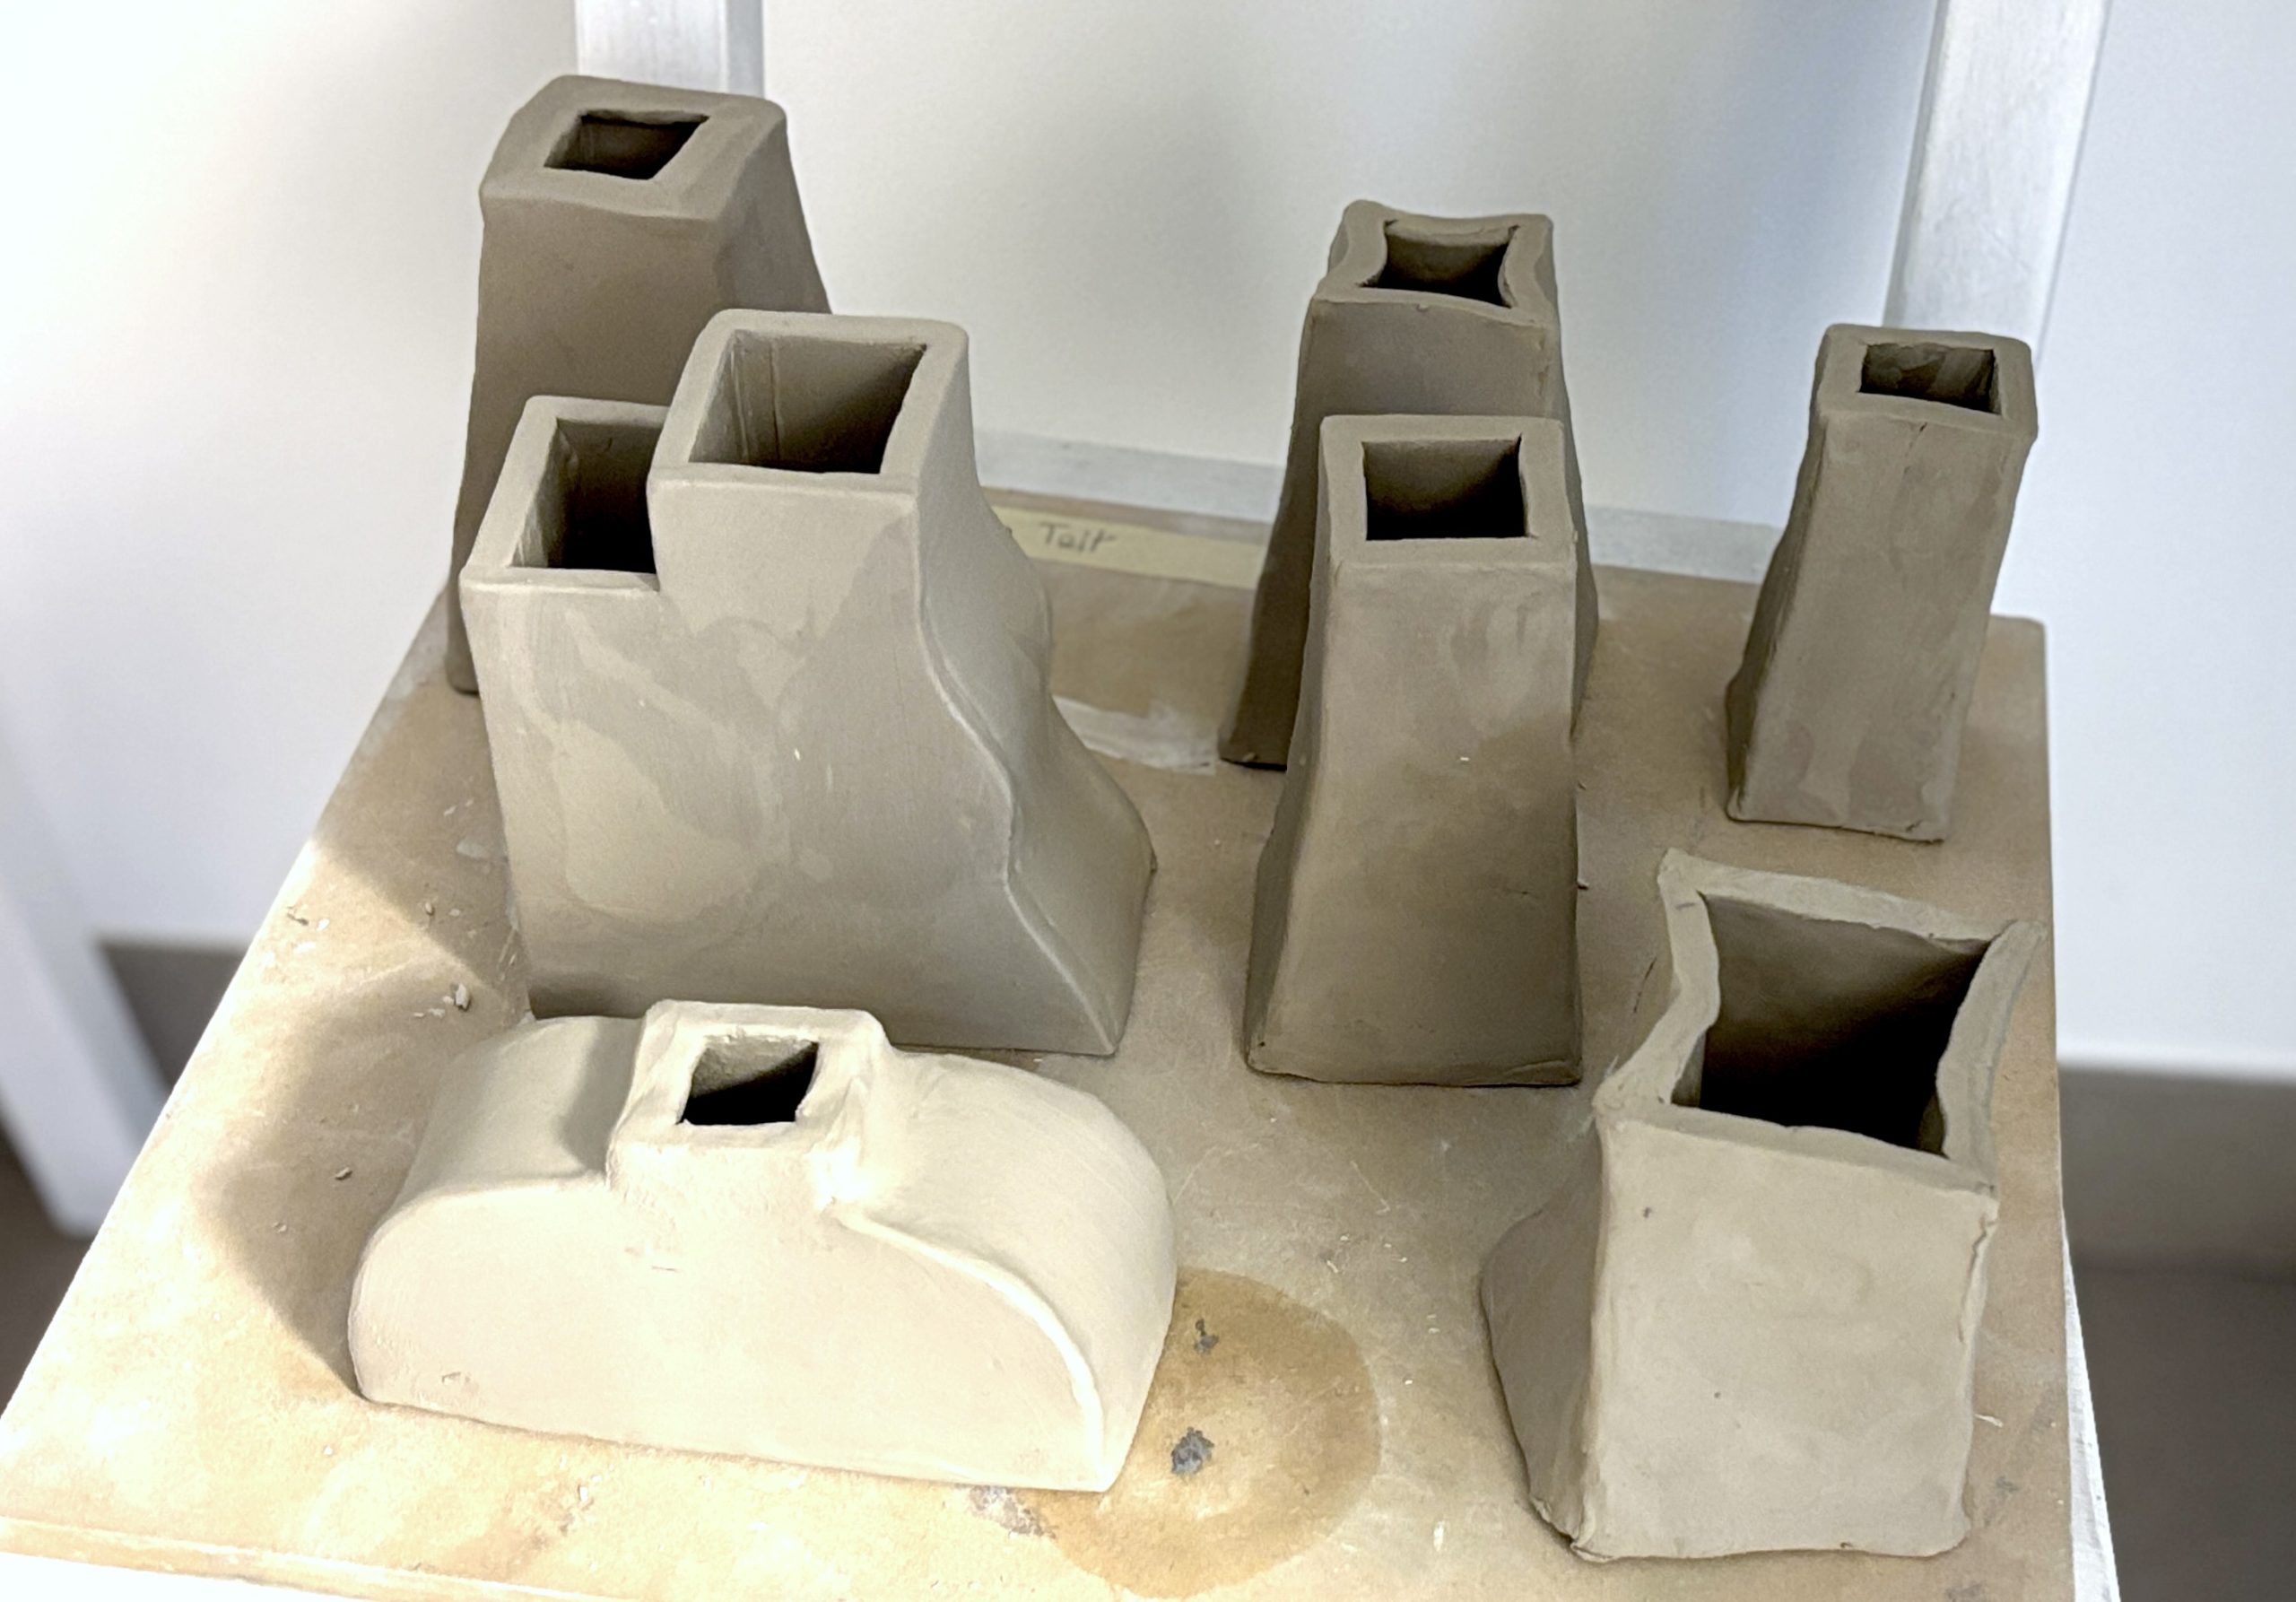
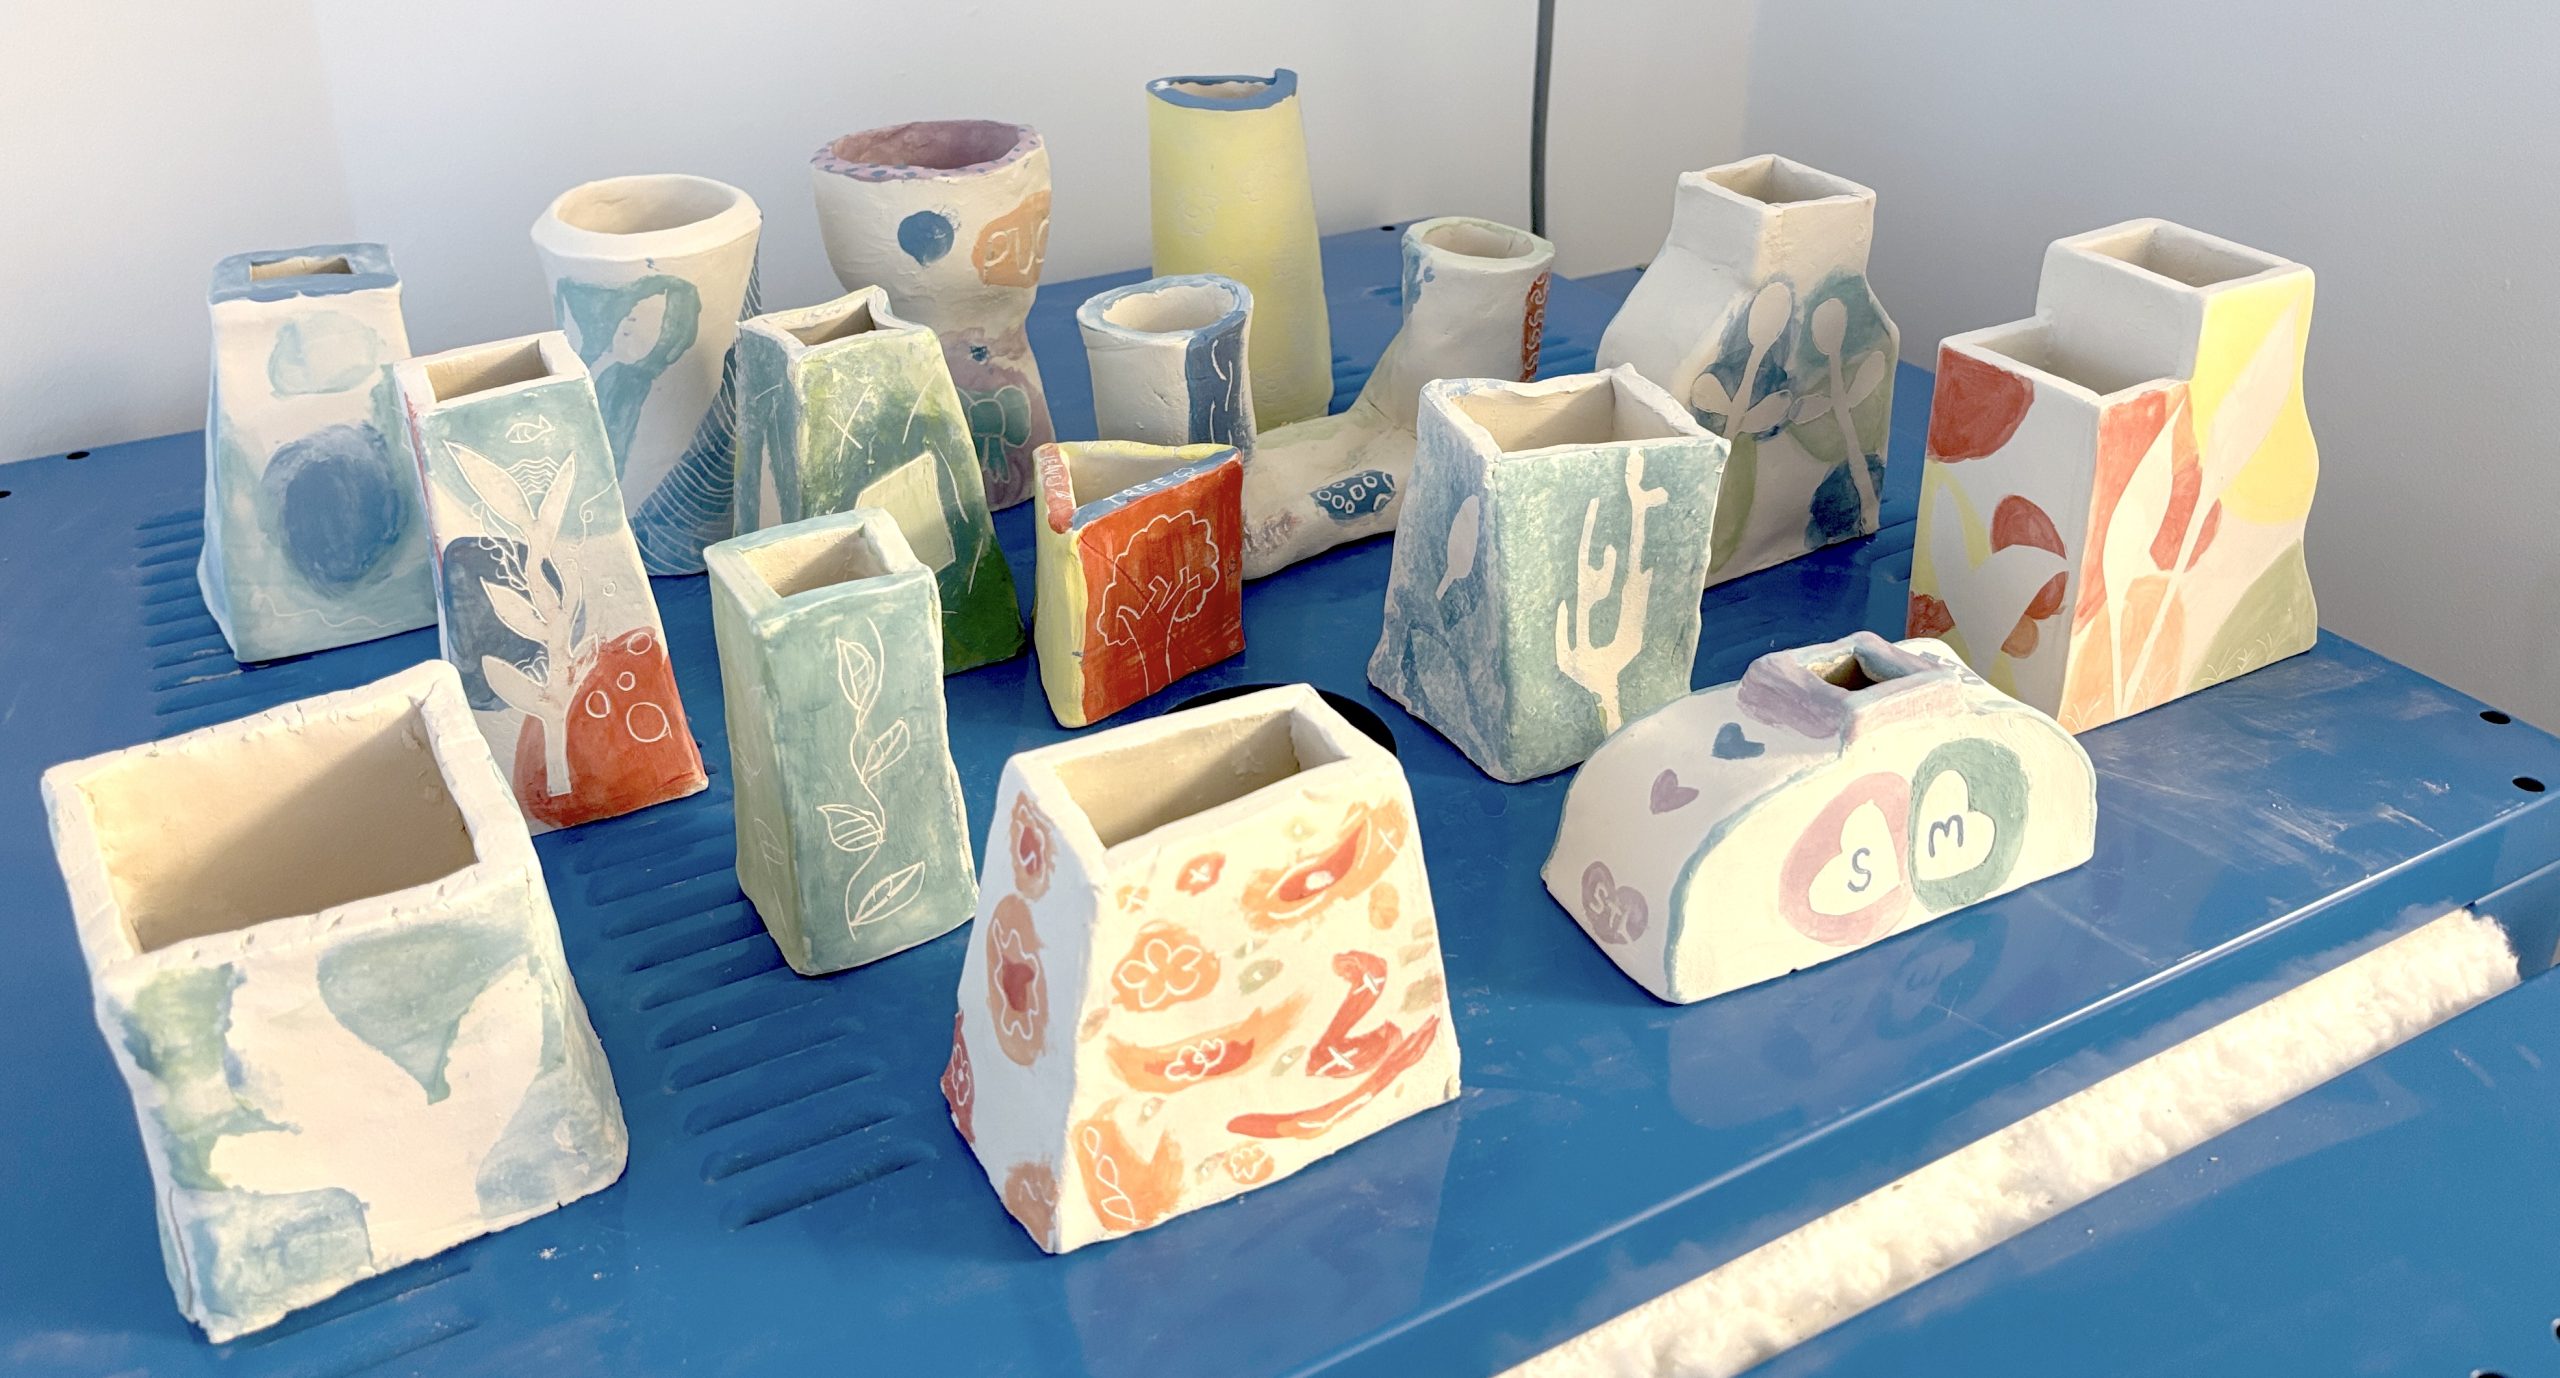
Next, we rolled out the clay slabs using a rolling pin and wooden guides 7 mm thick. From these slabs, students cut out the shapes needed to build their vases, following their paper models. It was fascinating to see the great variety of creative solutions—each vase turned out unique in form and design.
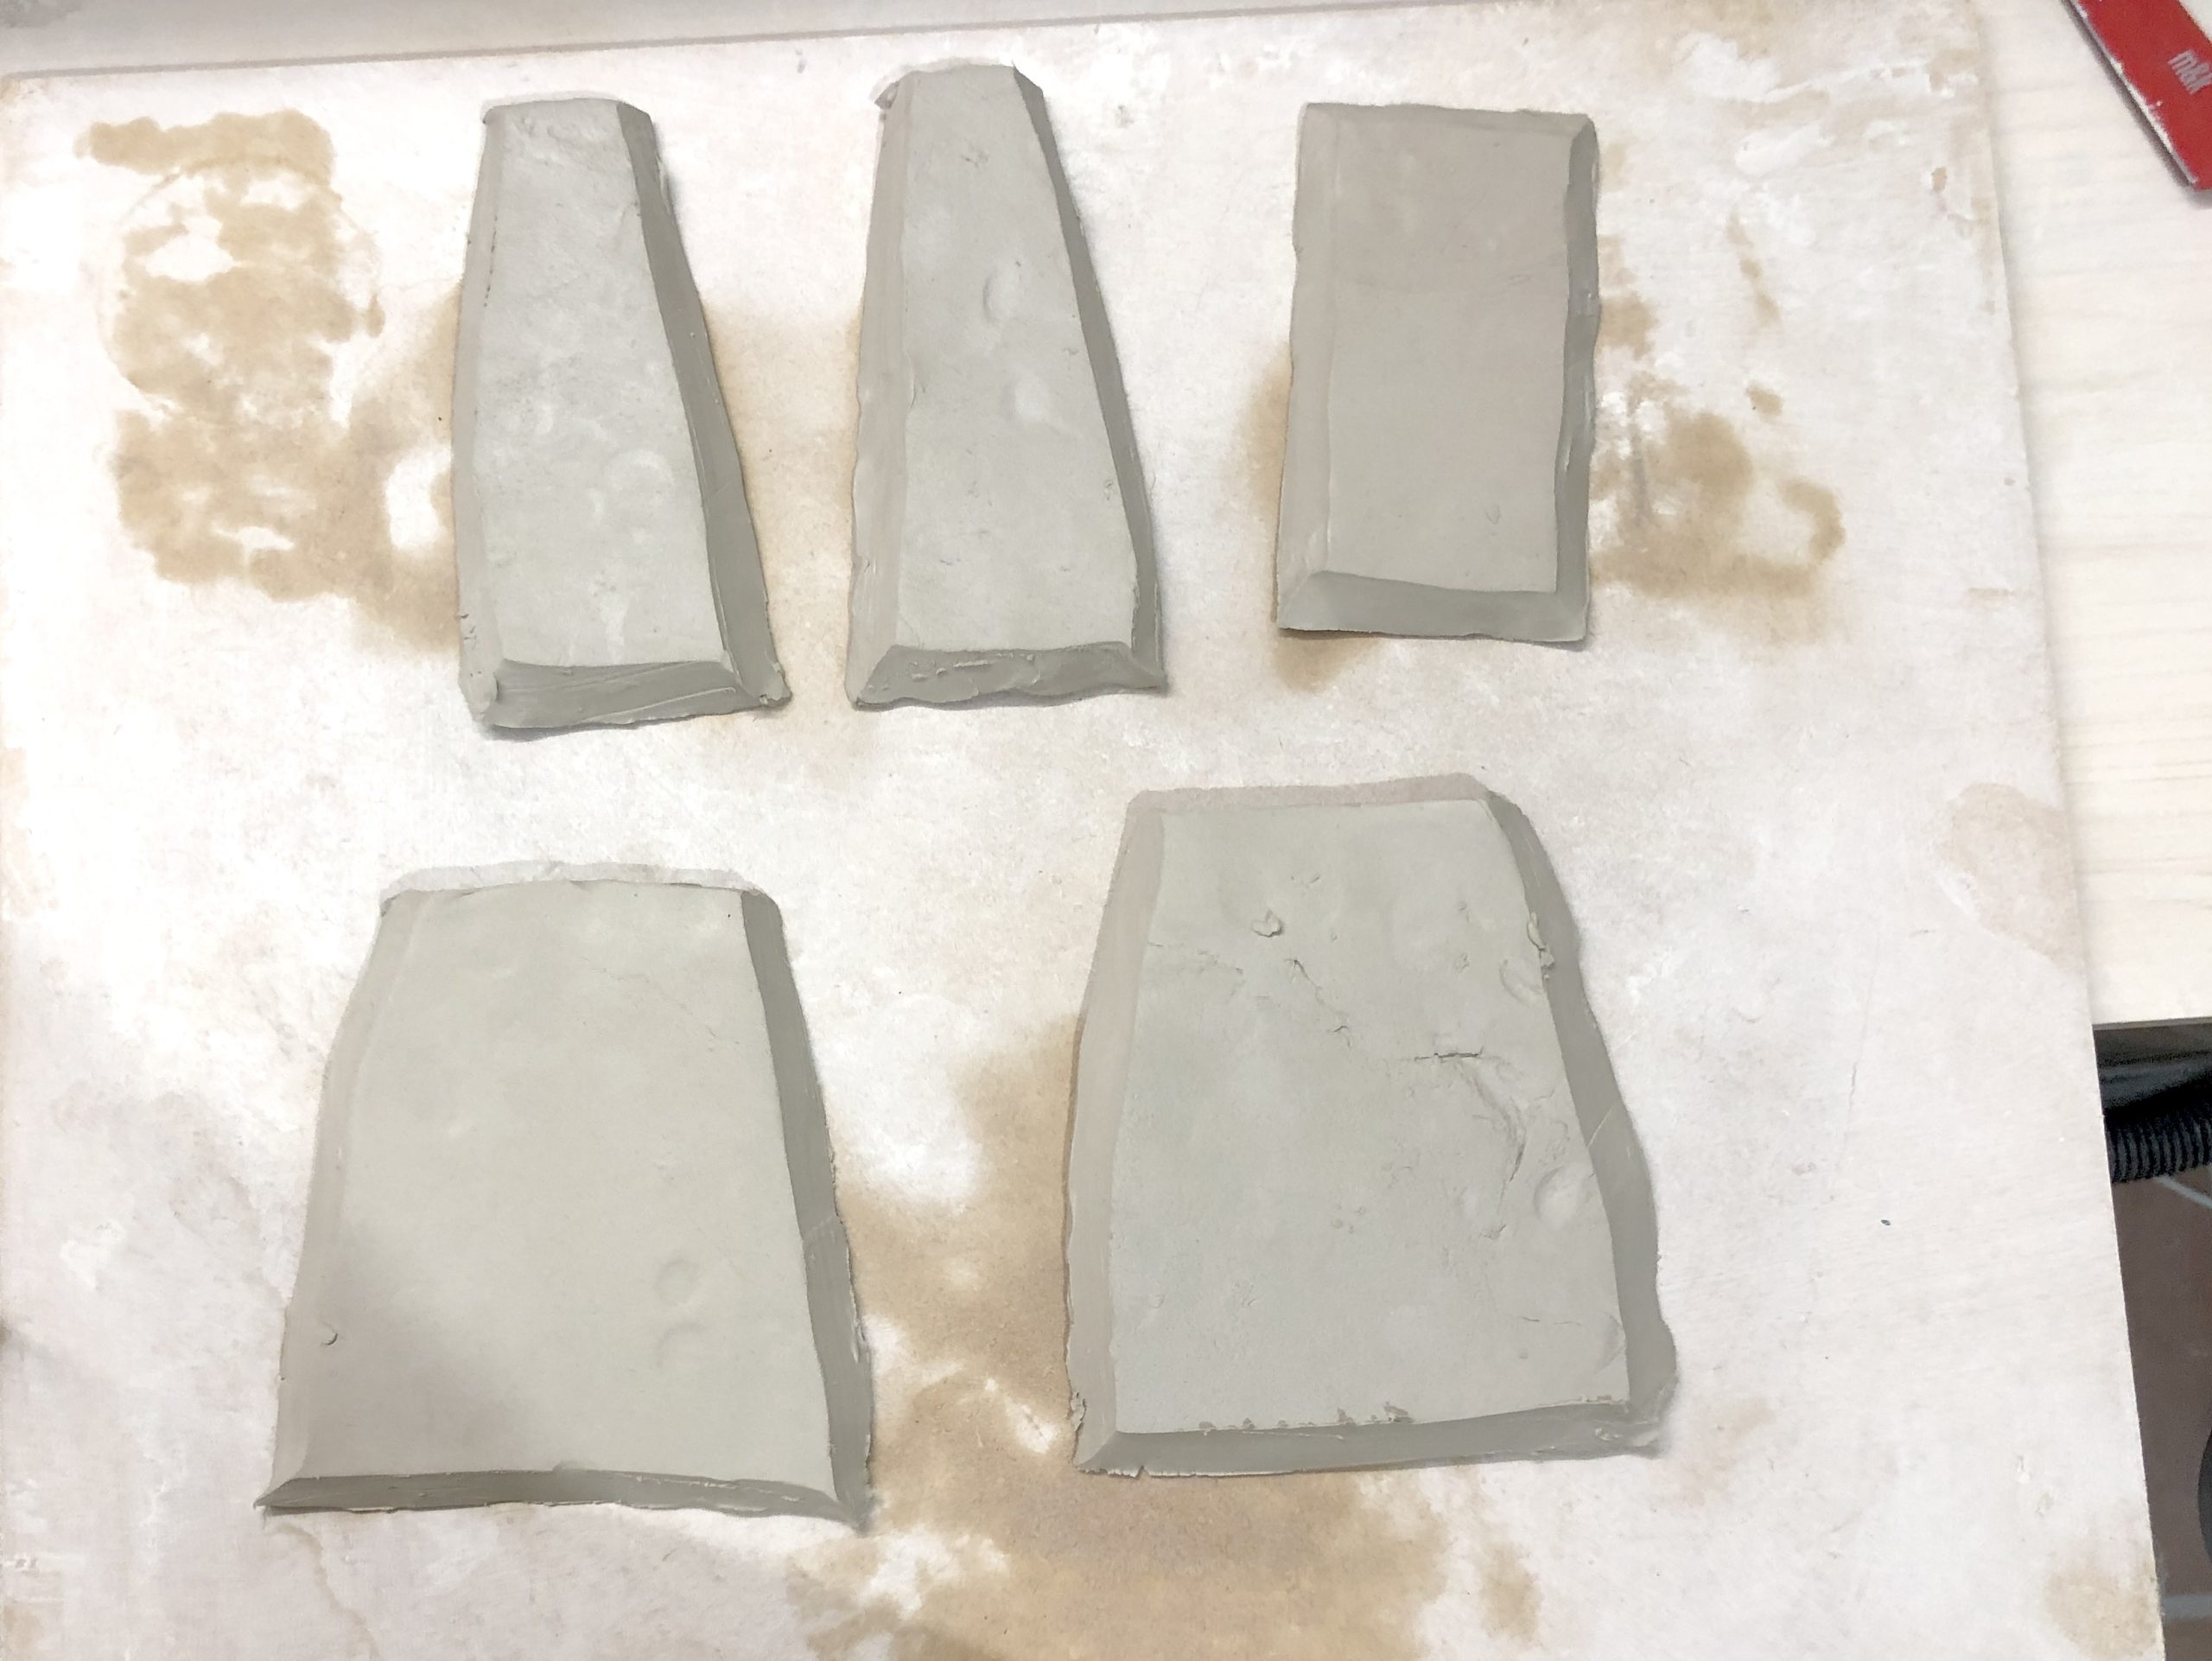
The various parts were joined using the scoring and slip technique, which allows clay surfaces to adhere firmly to one another.
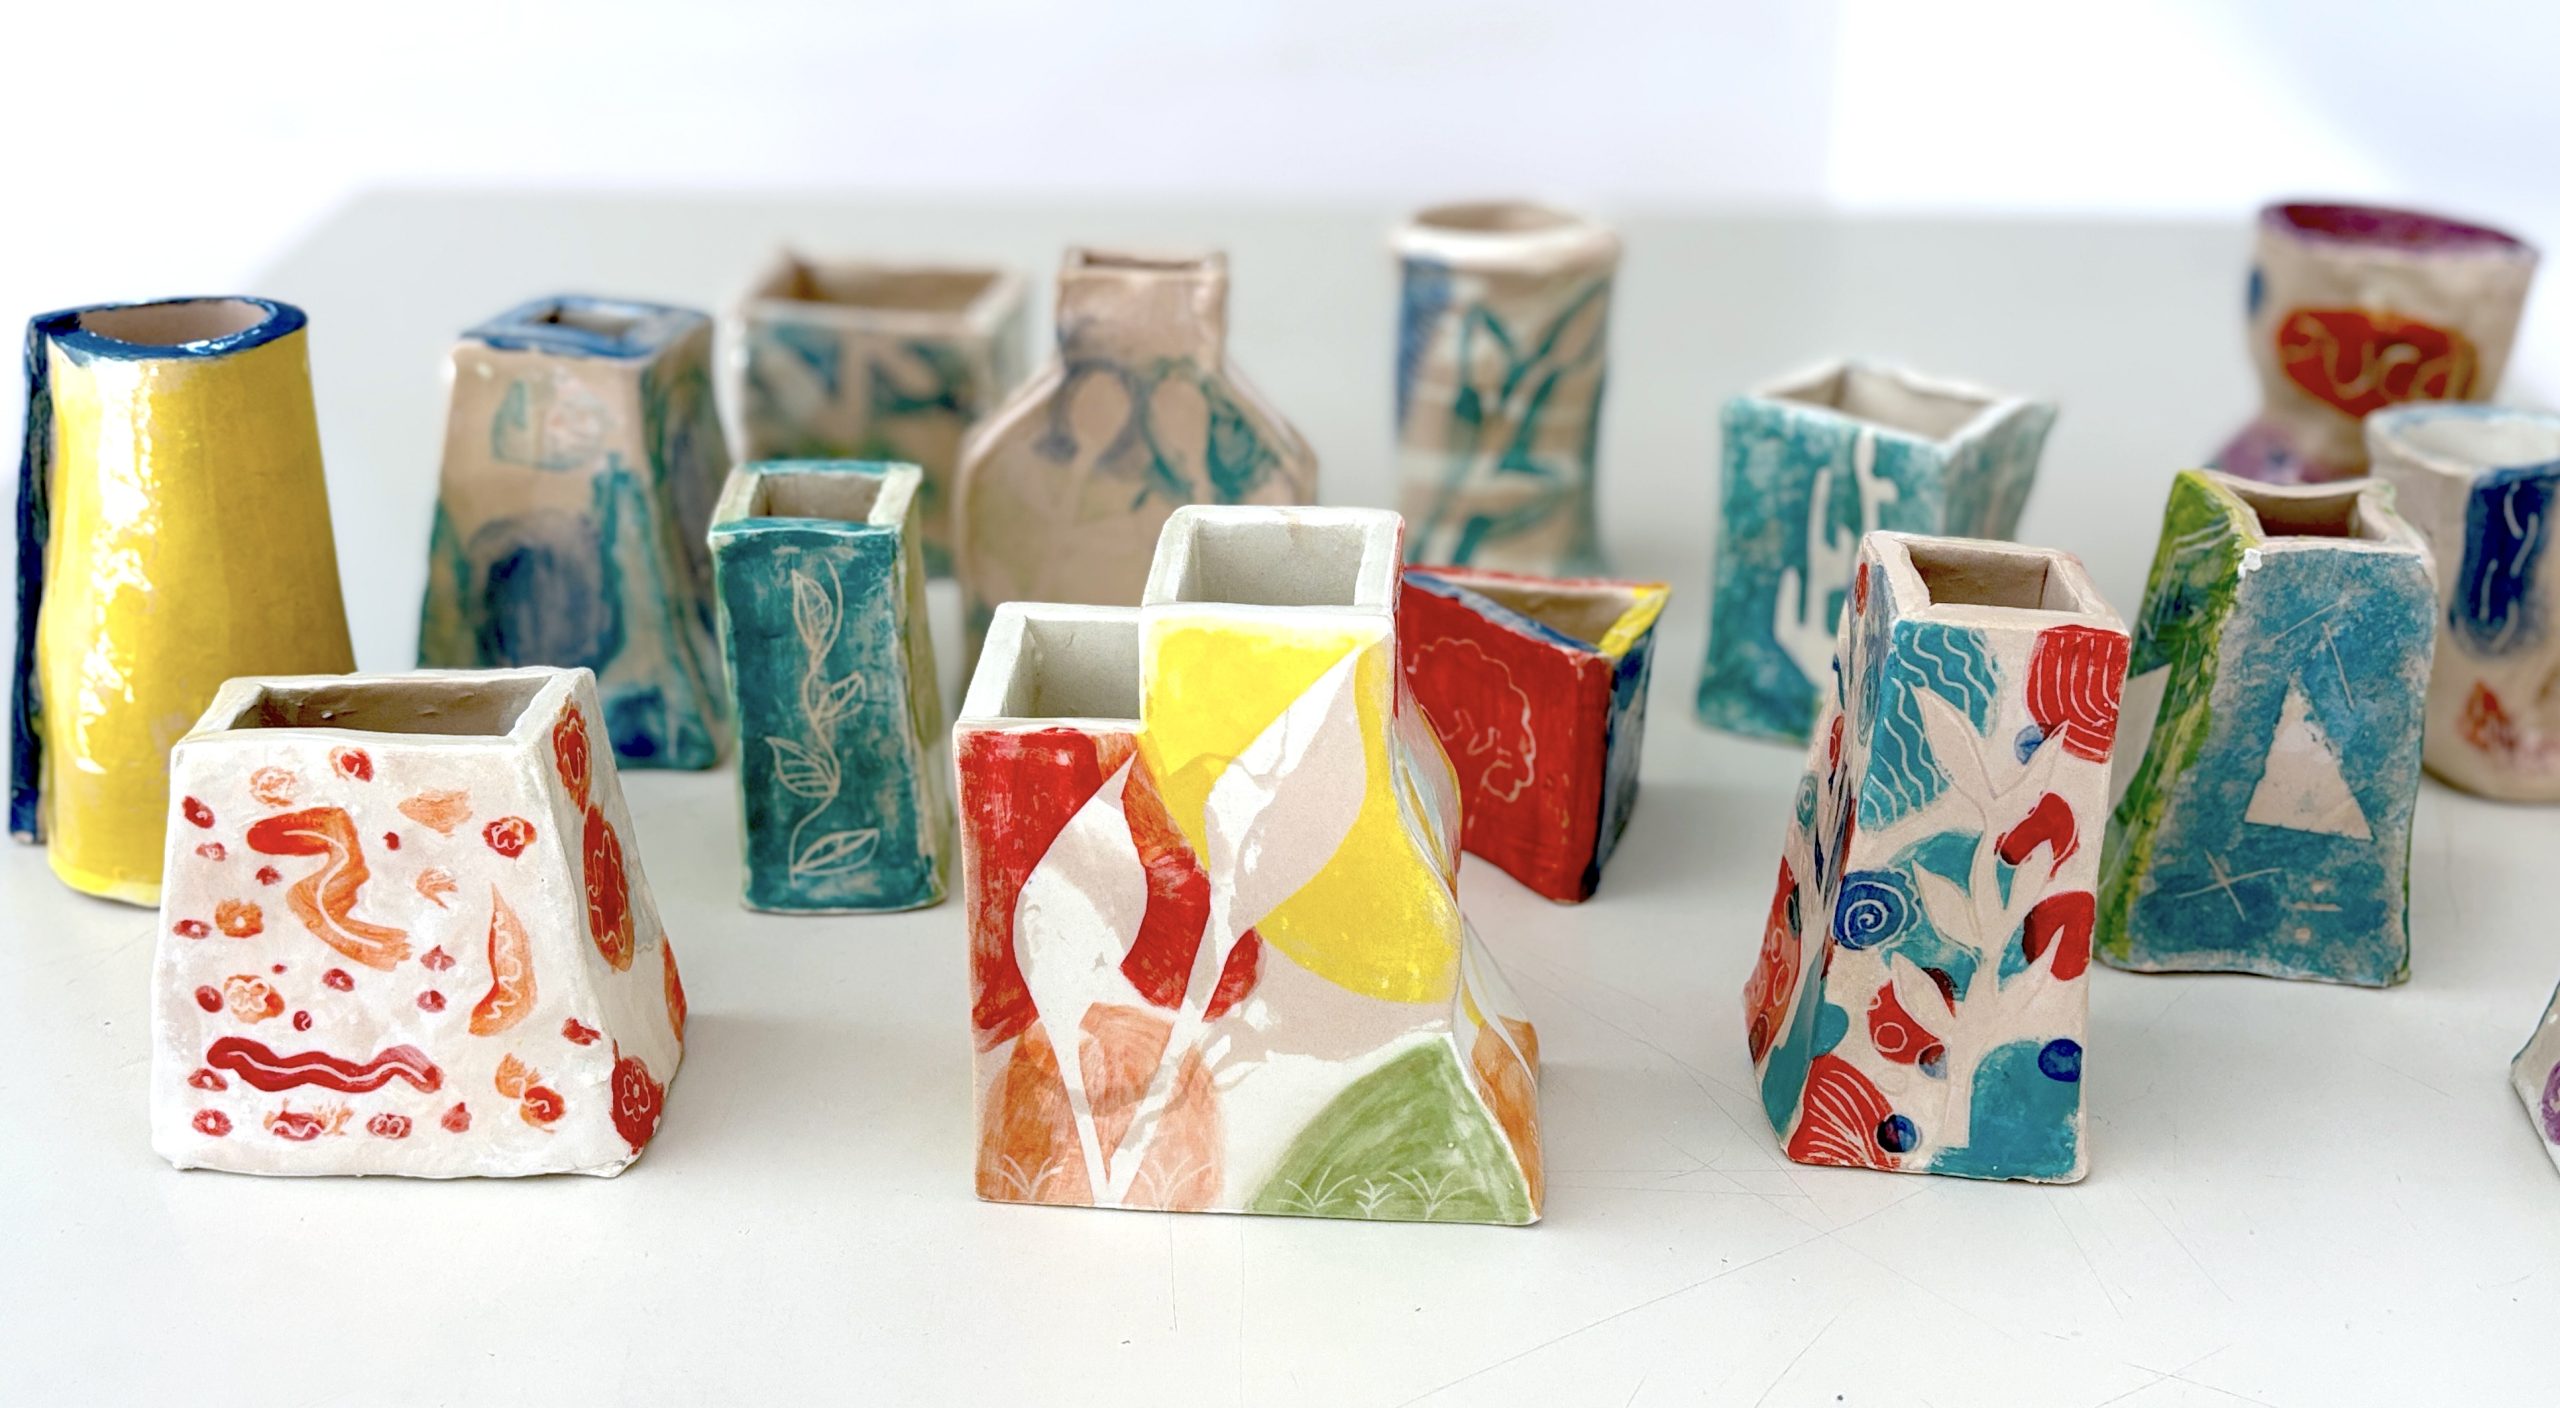
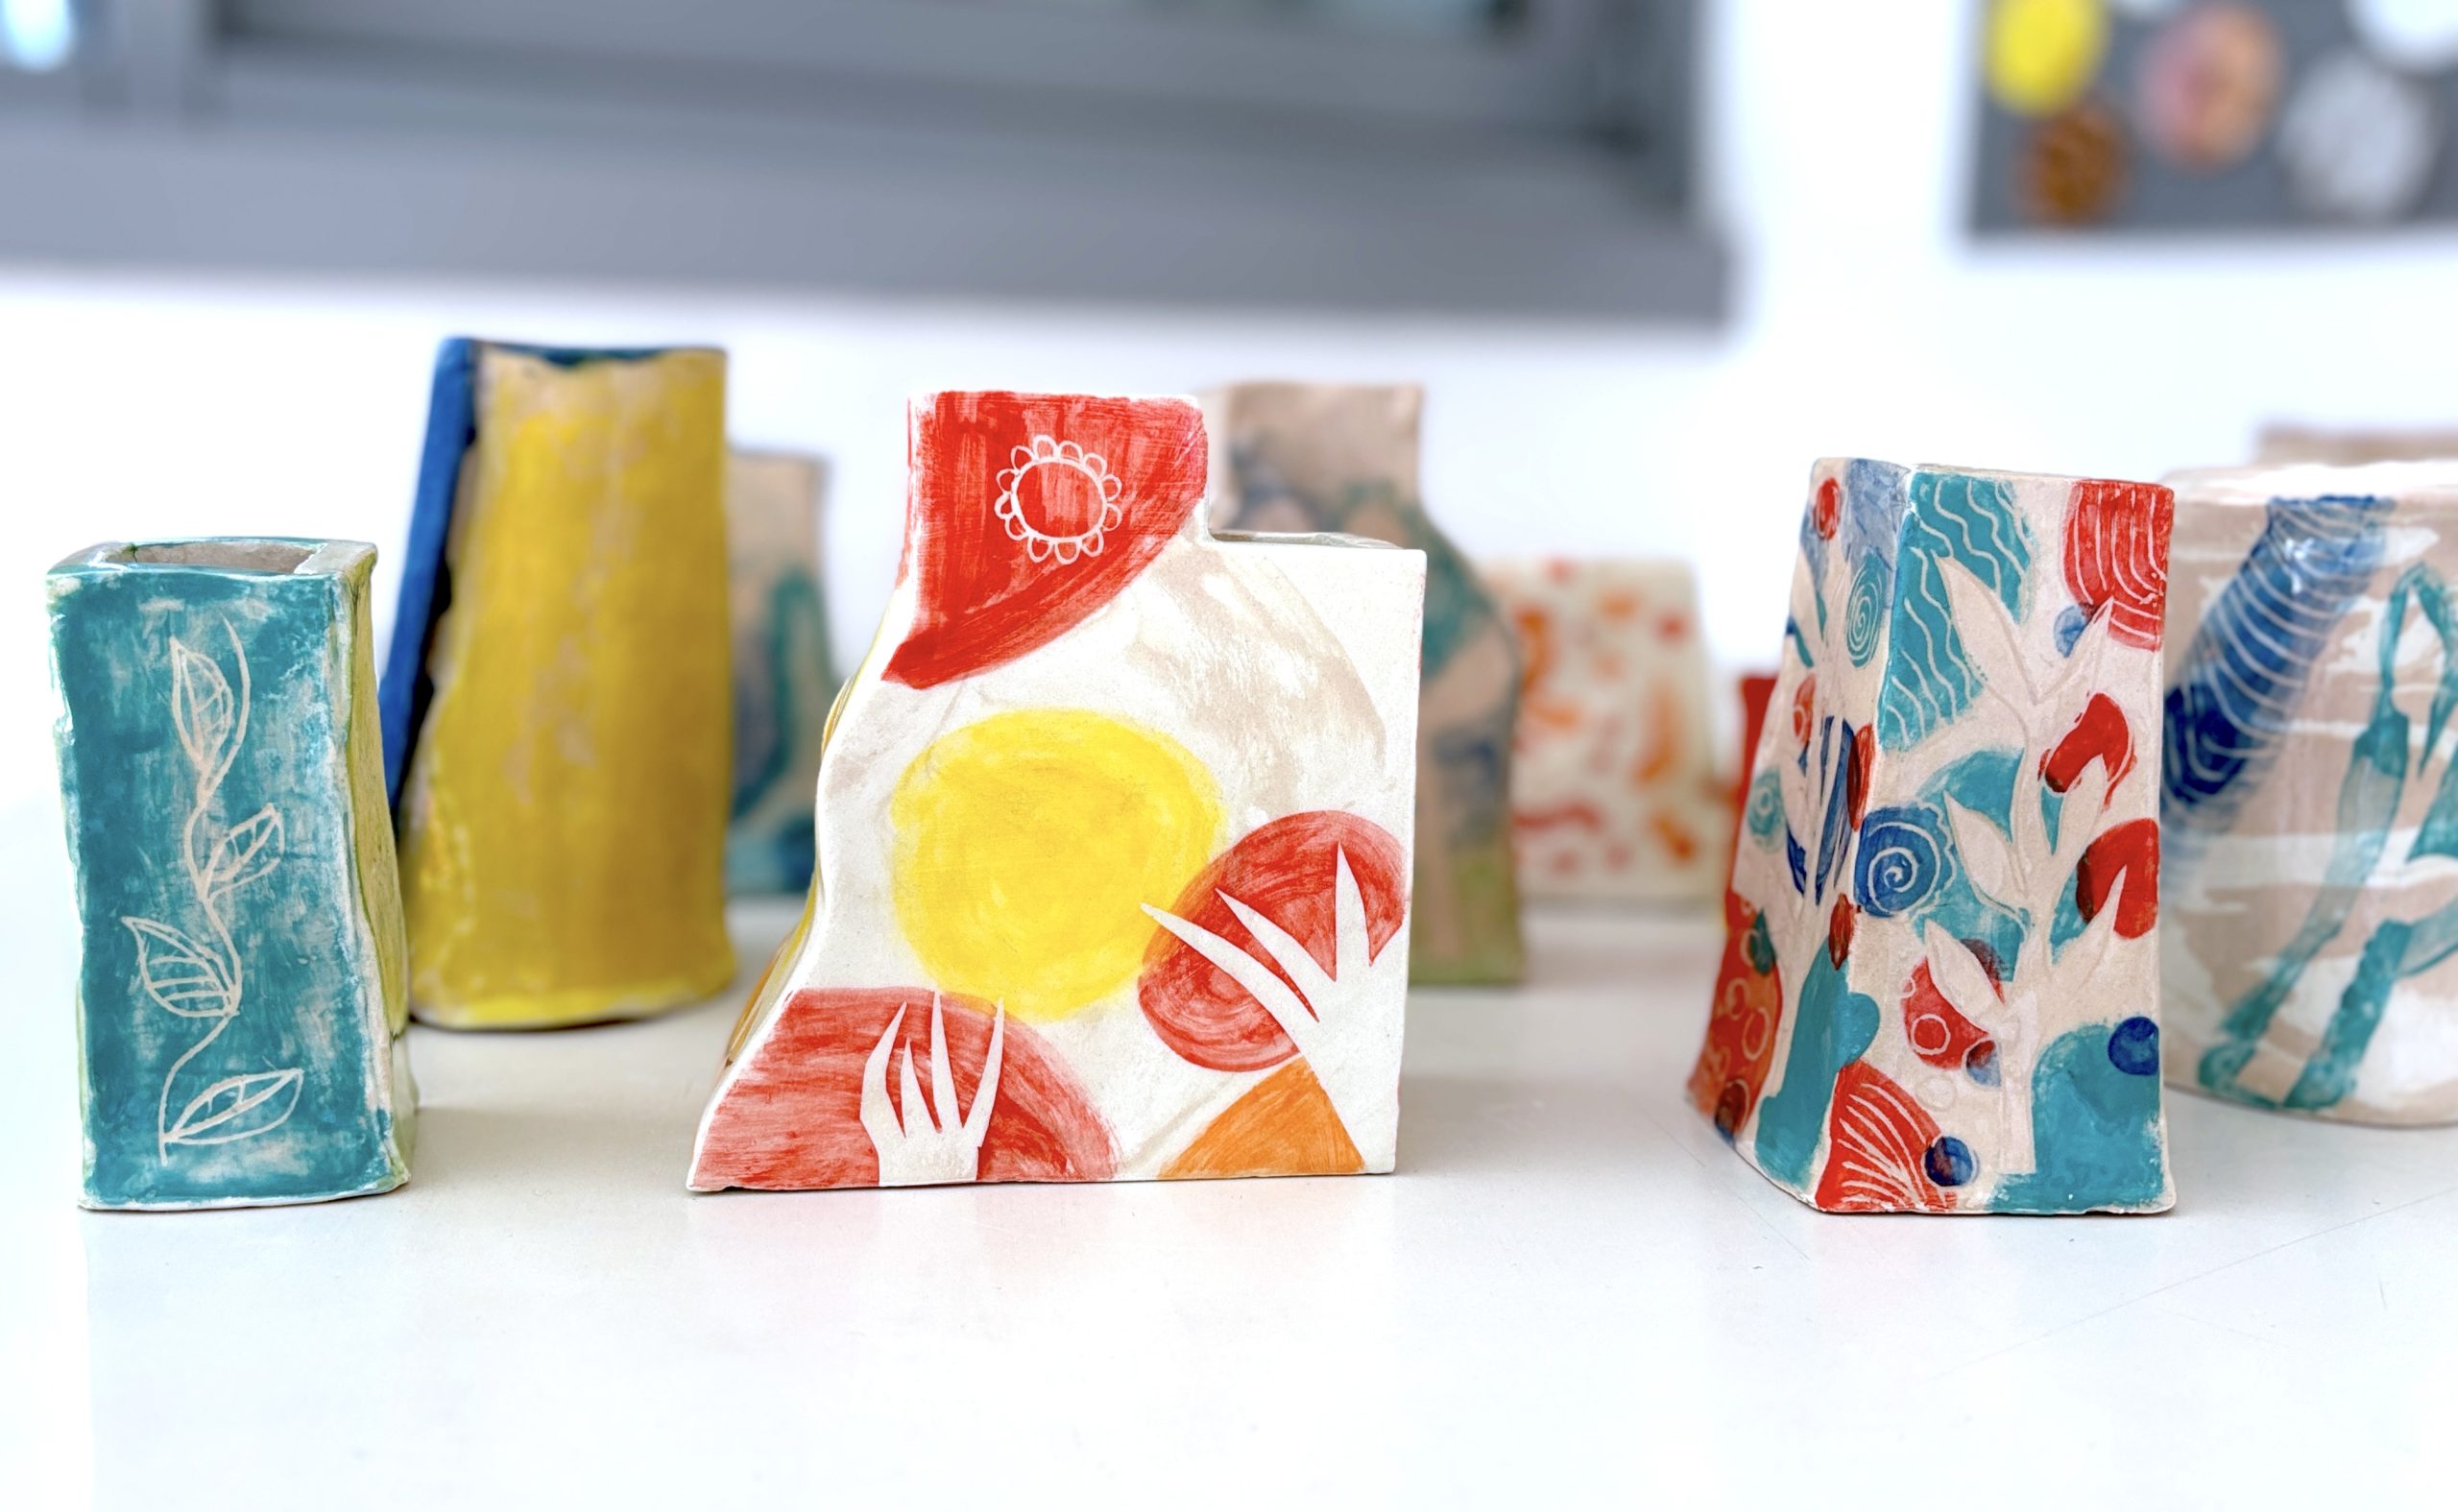
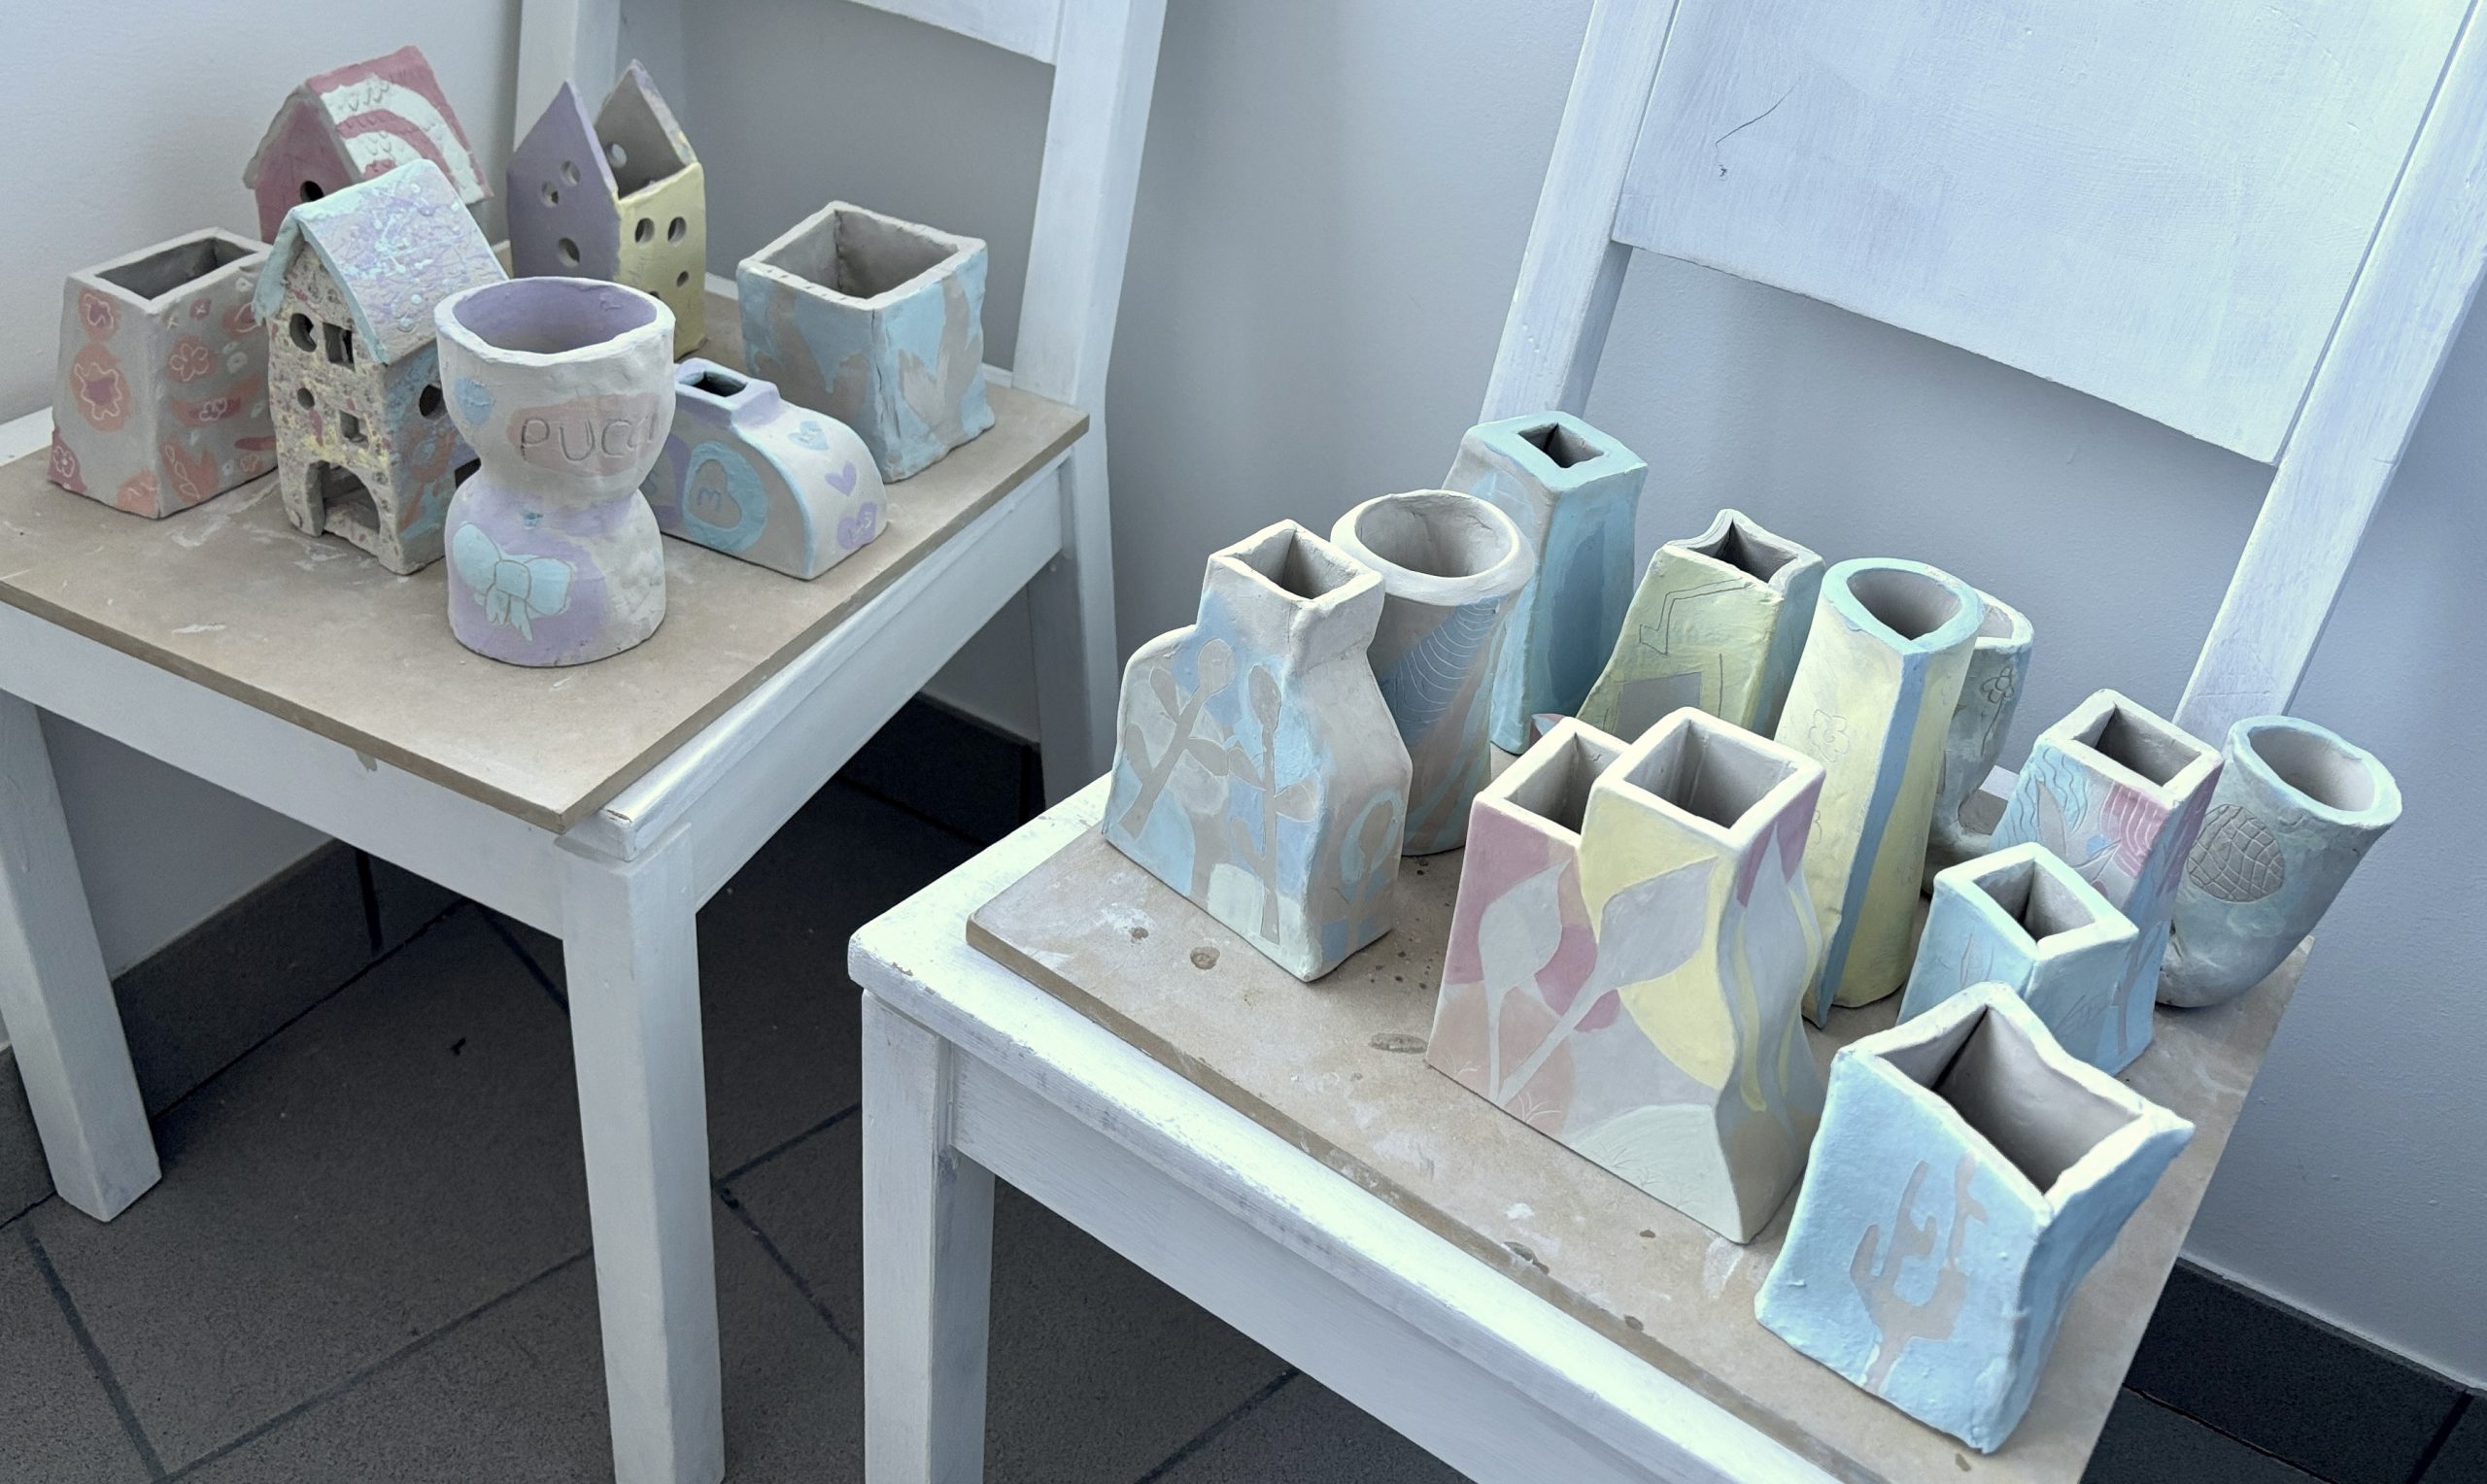
The decorations were applied when the pieces had reached the leather-hard stage, an intermediate phase of drying. We used colored slips and two main decorative techniques: stencil and sgraffito.
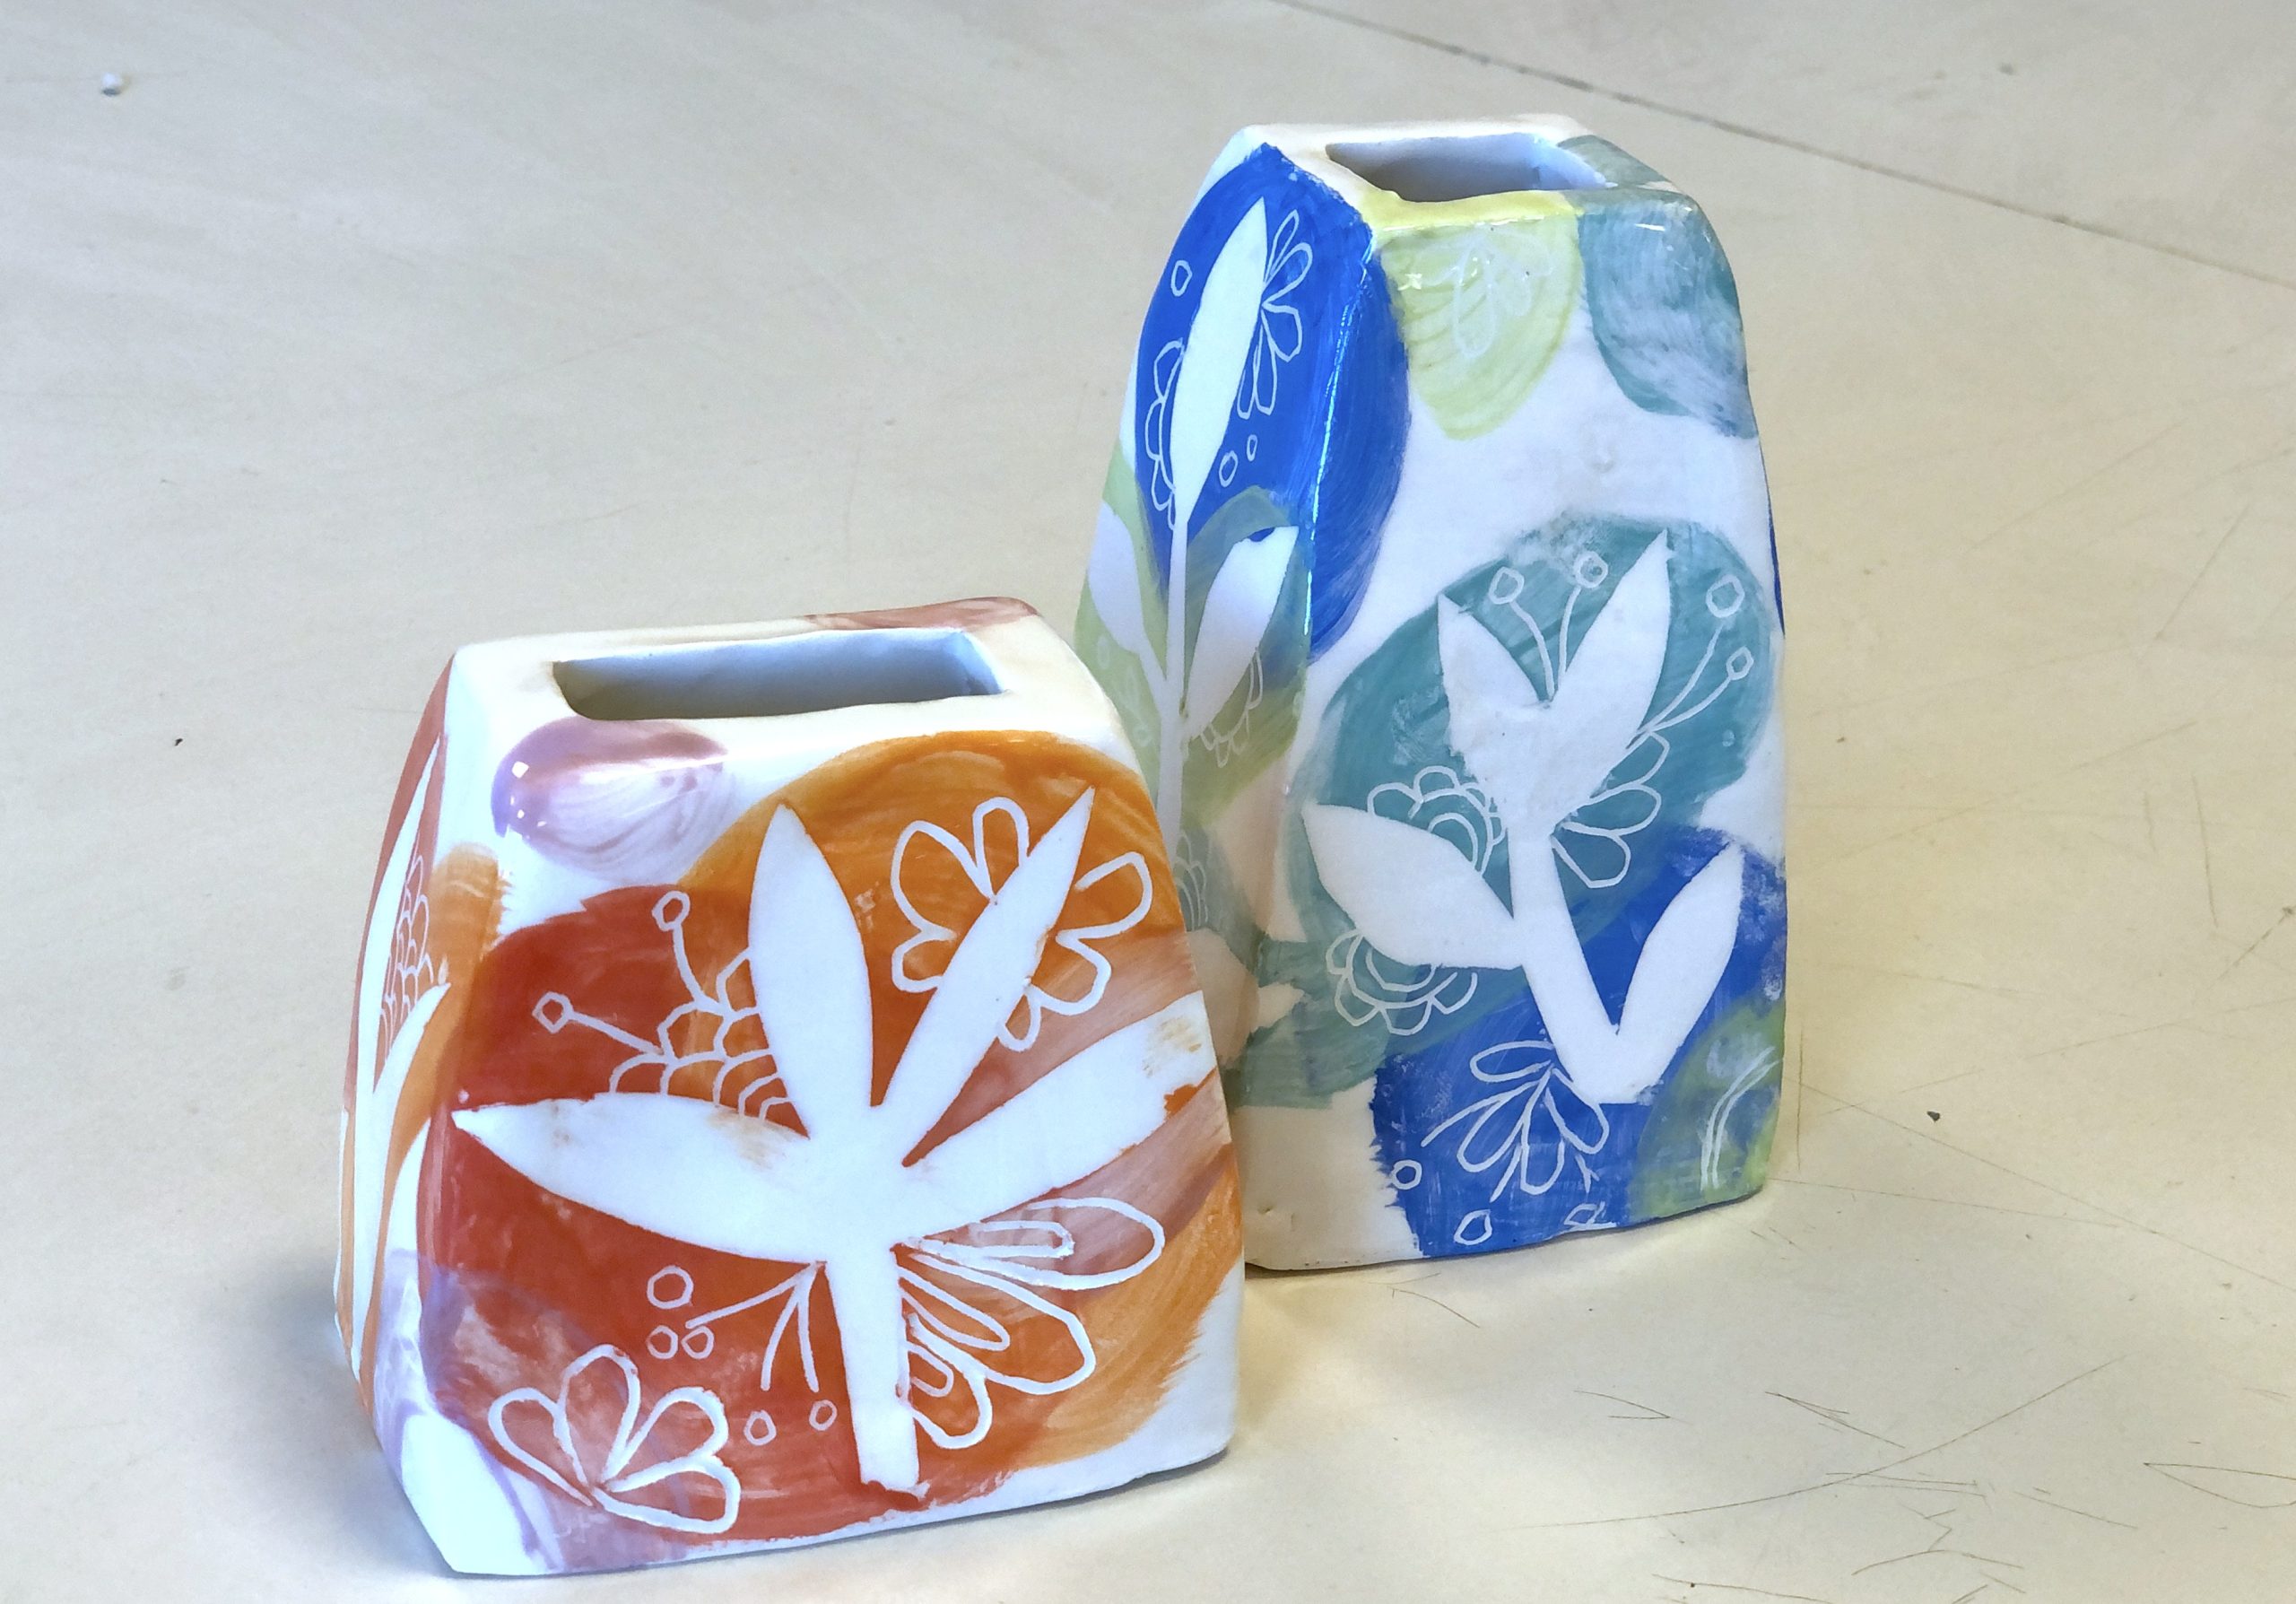
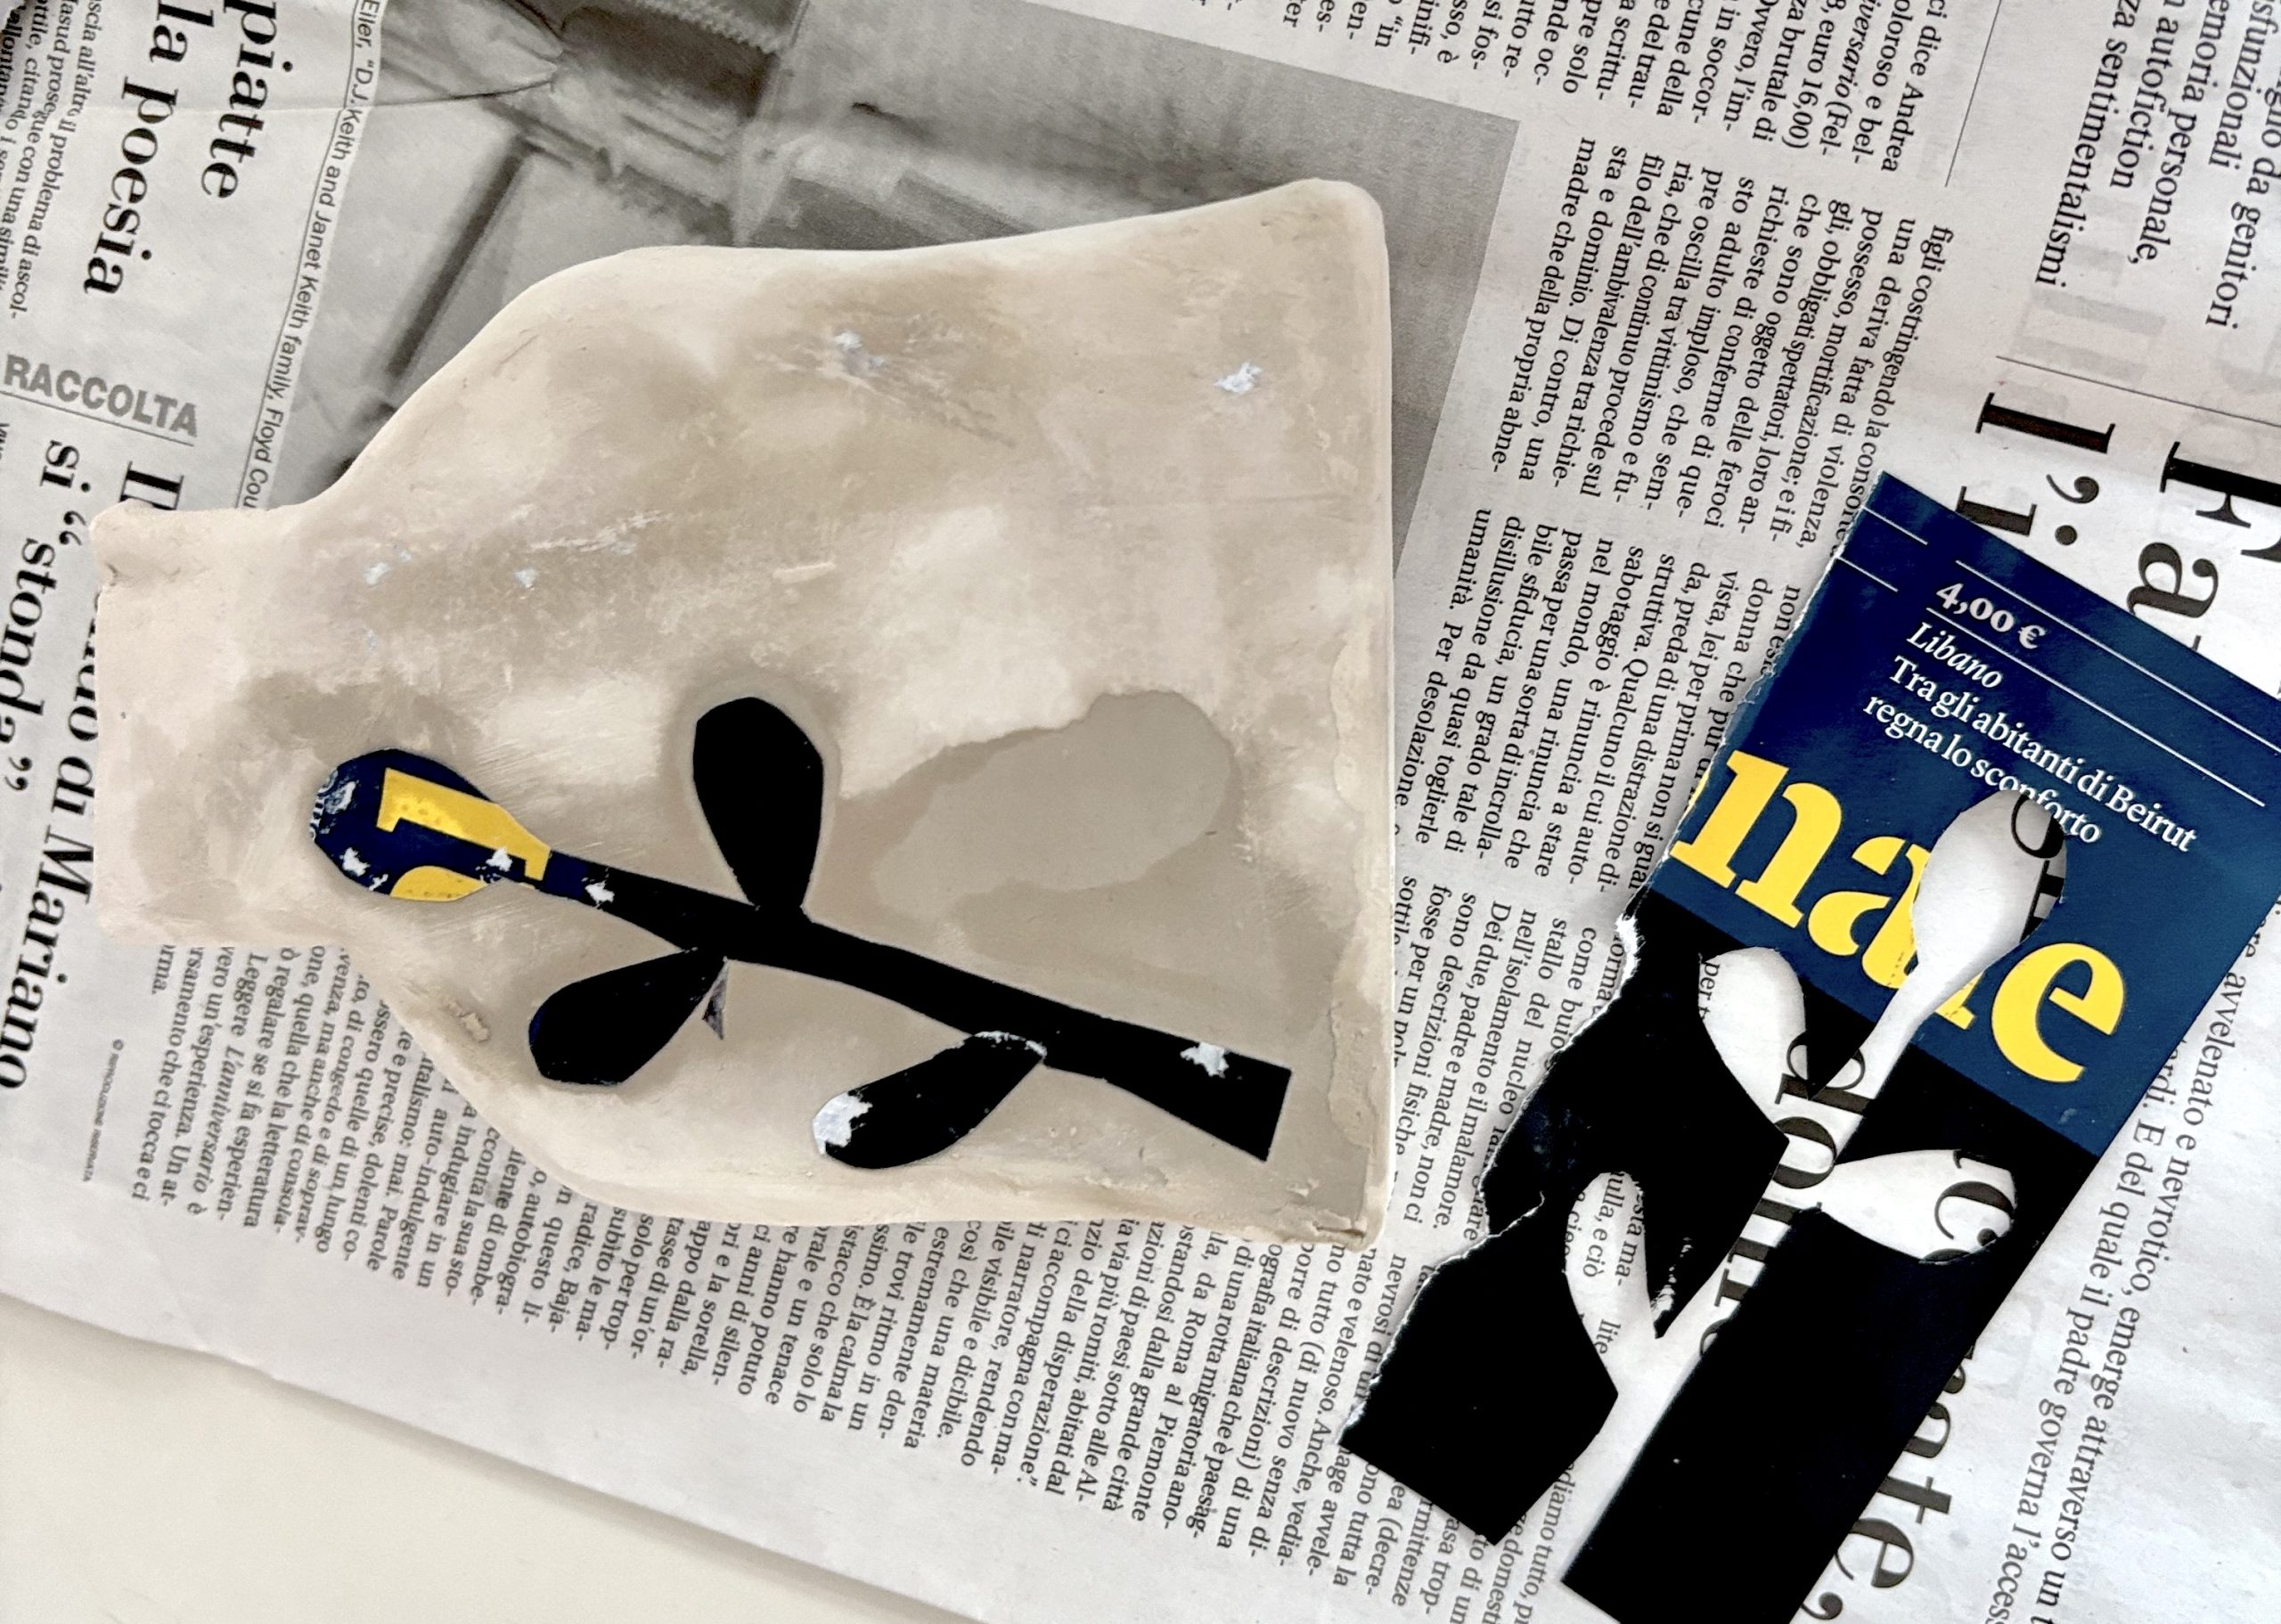
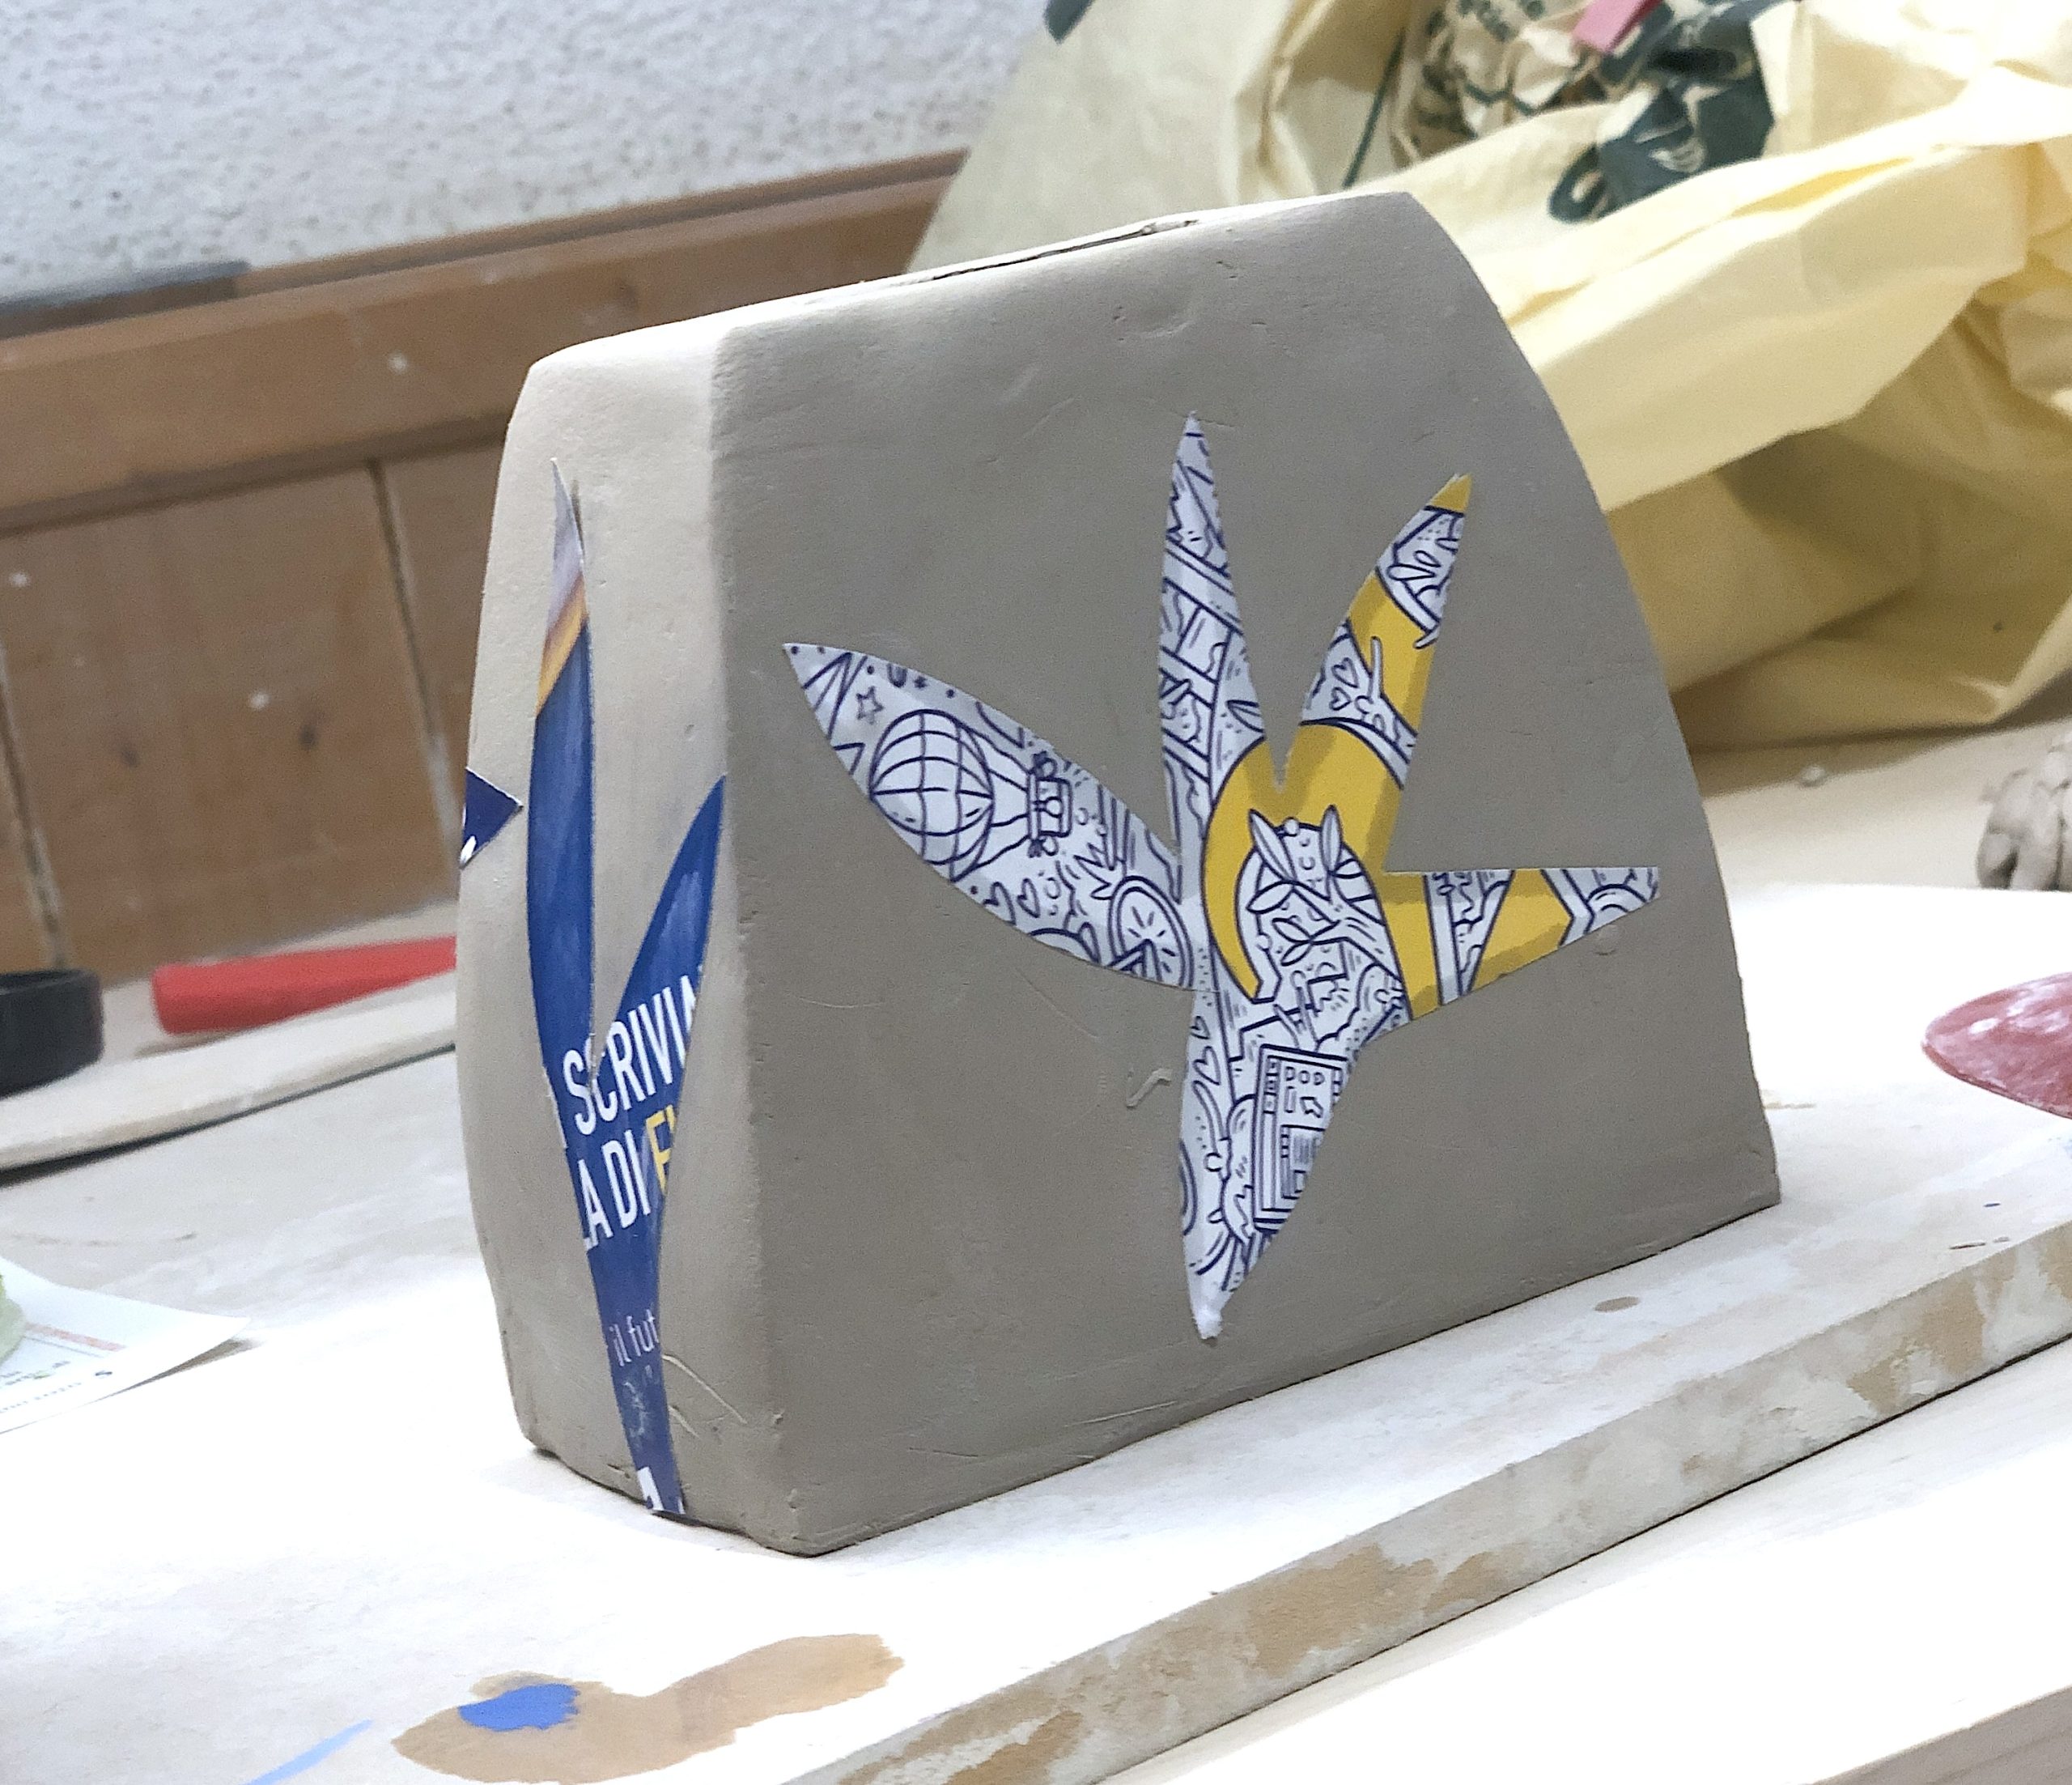
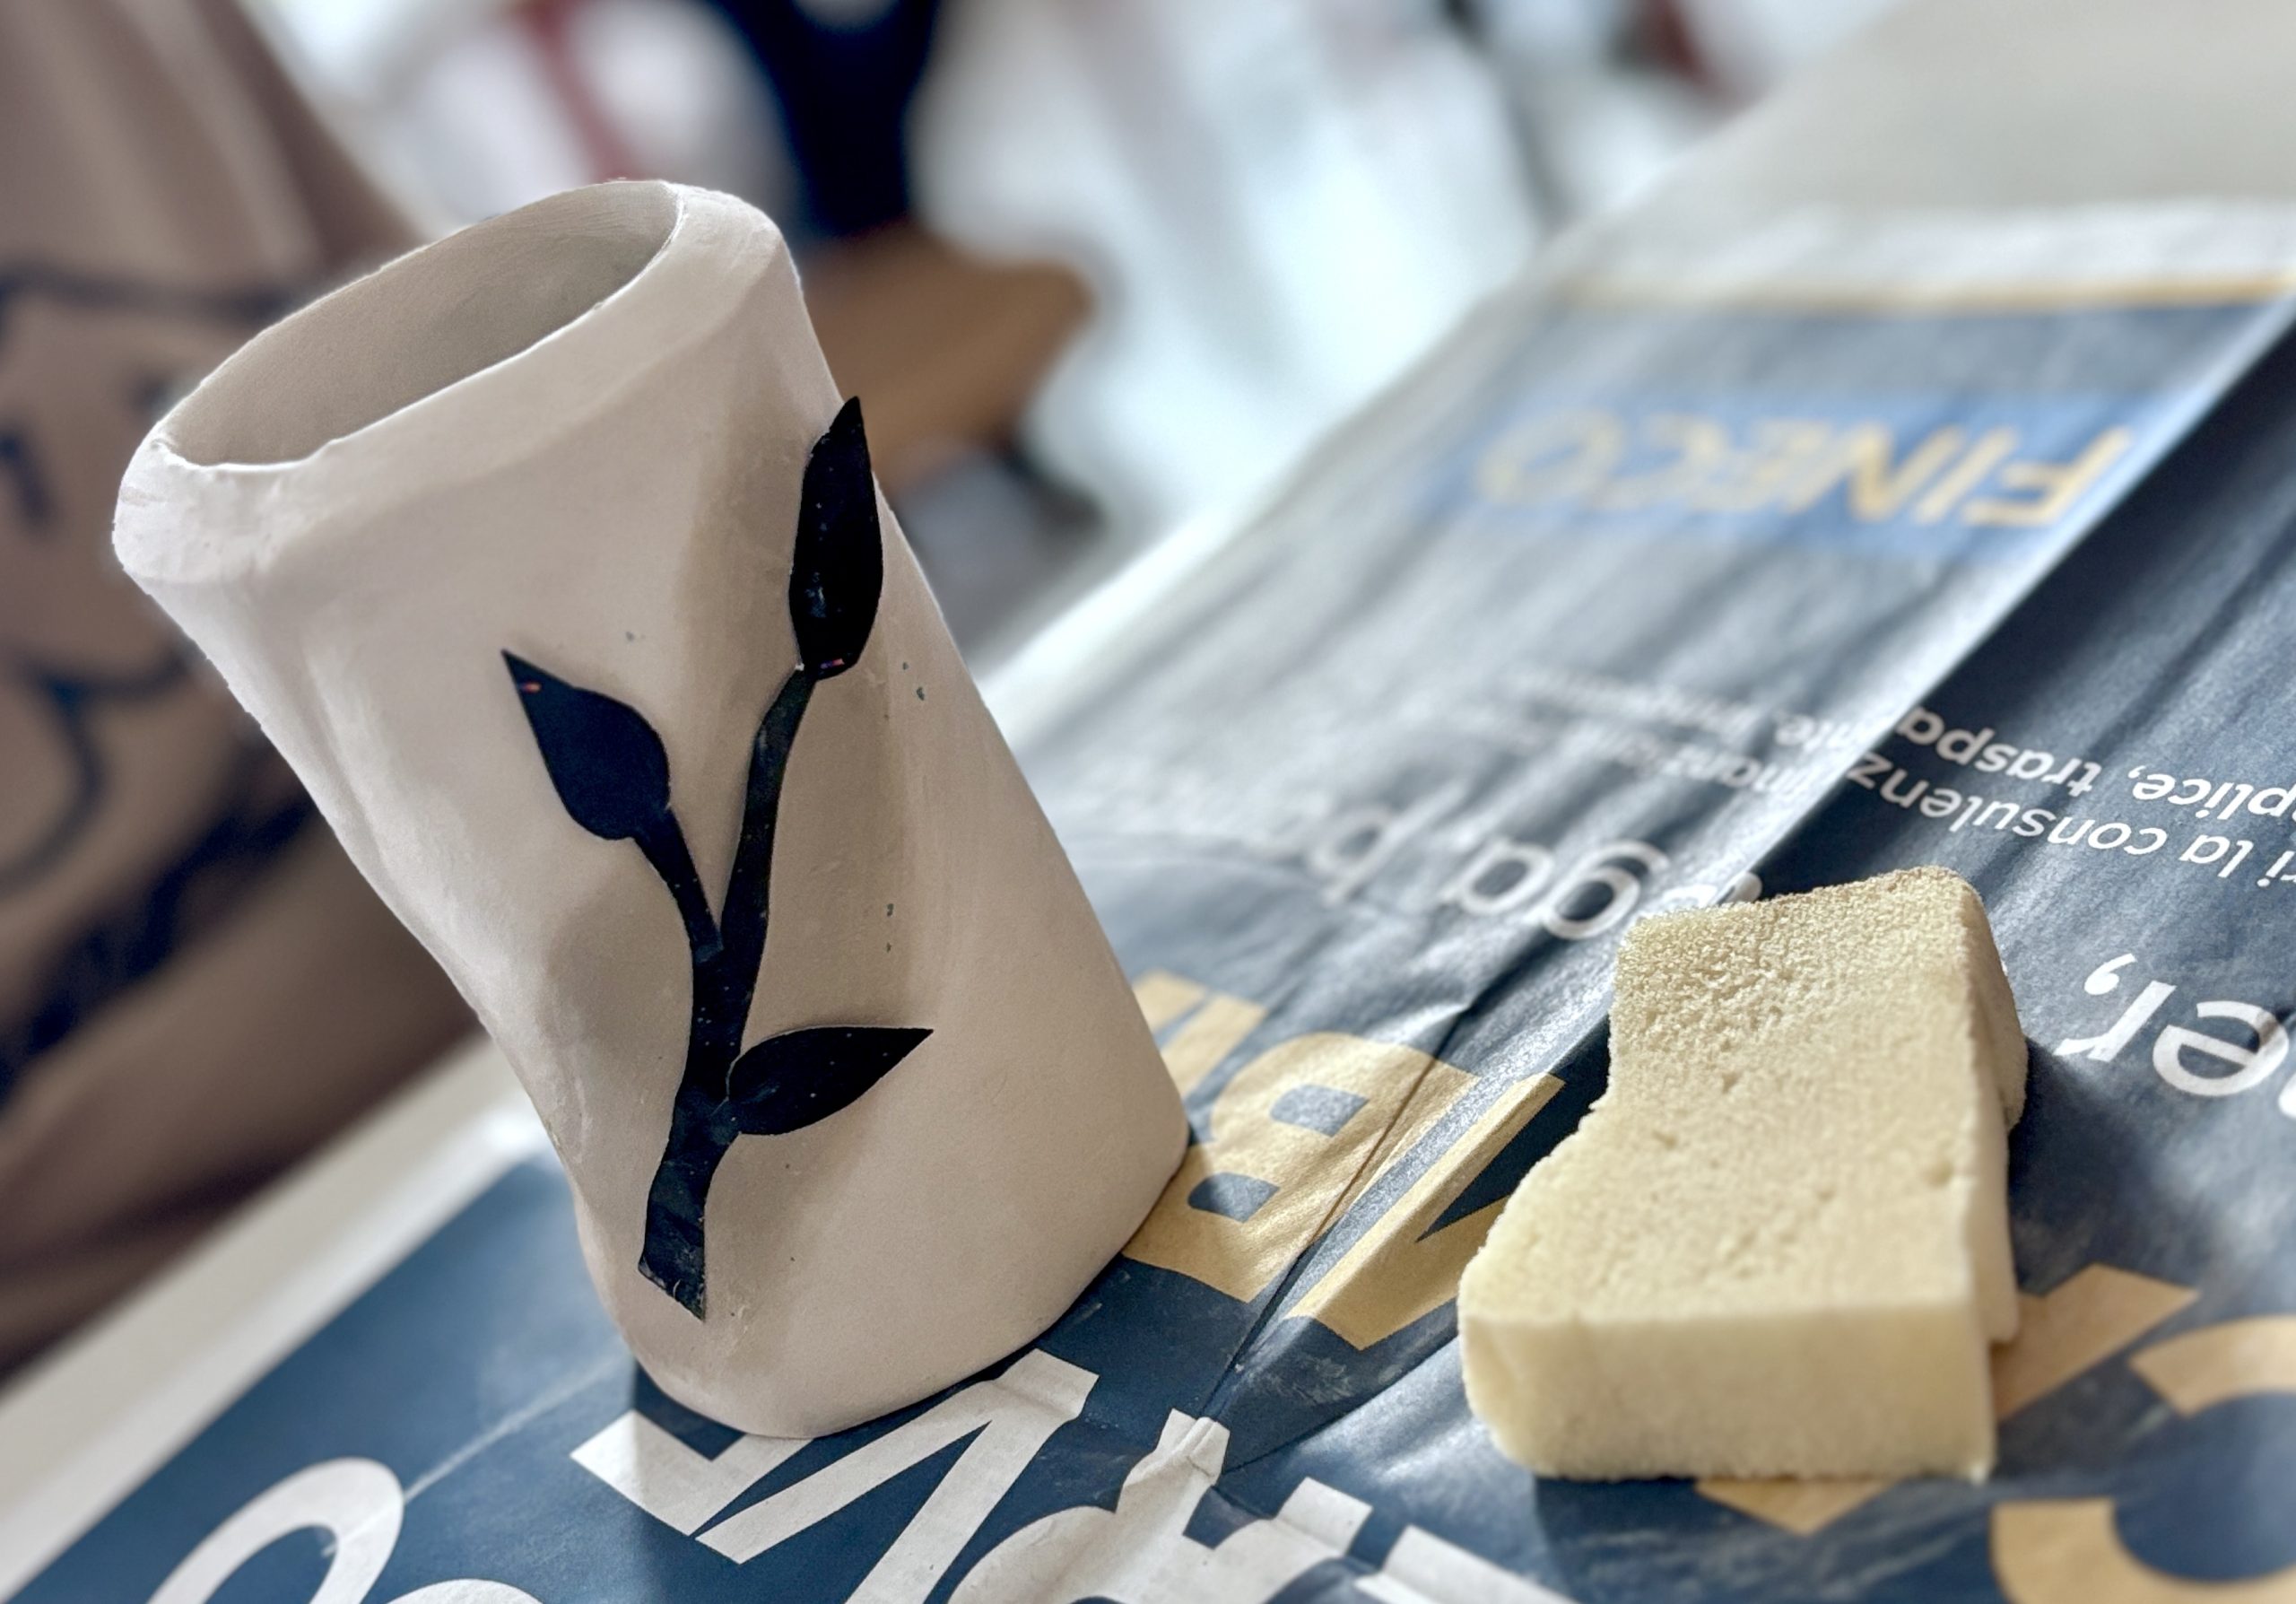
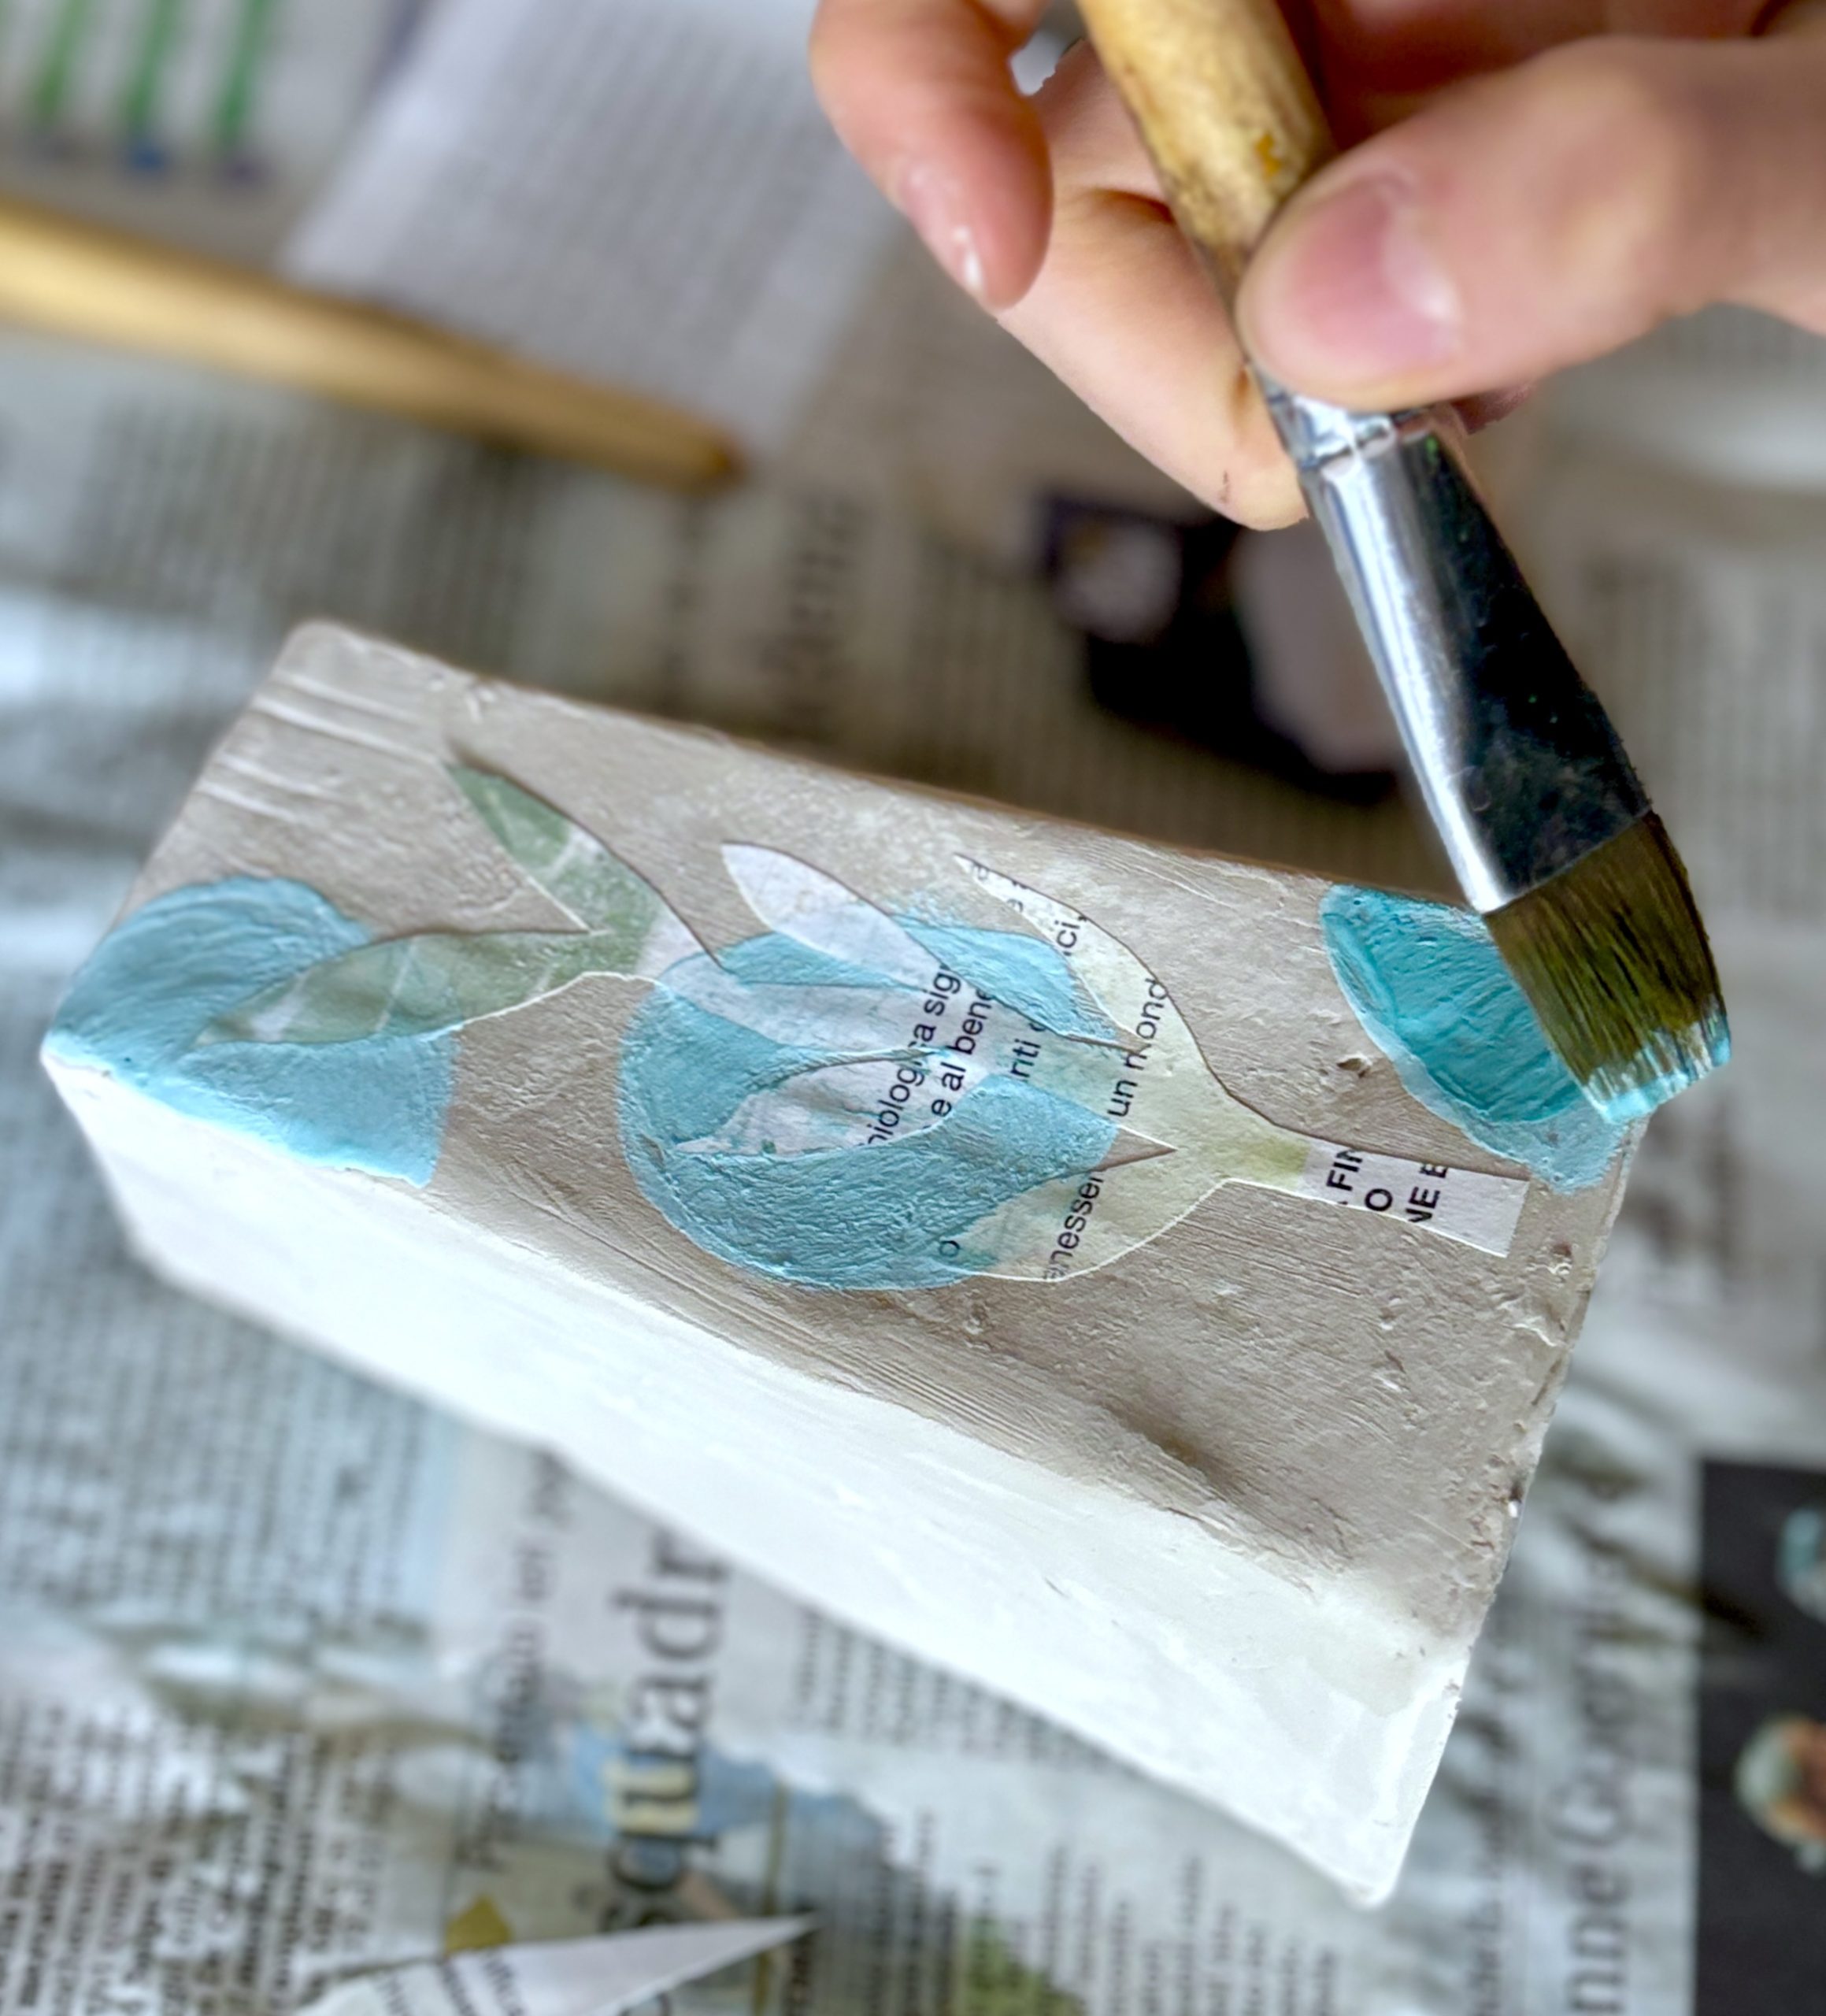
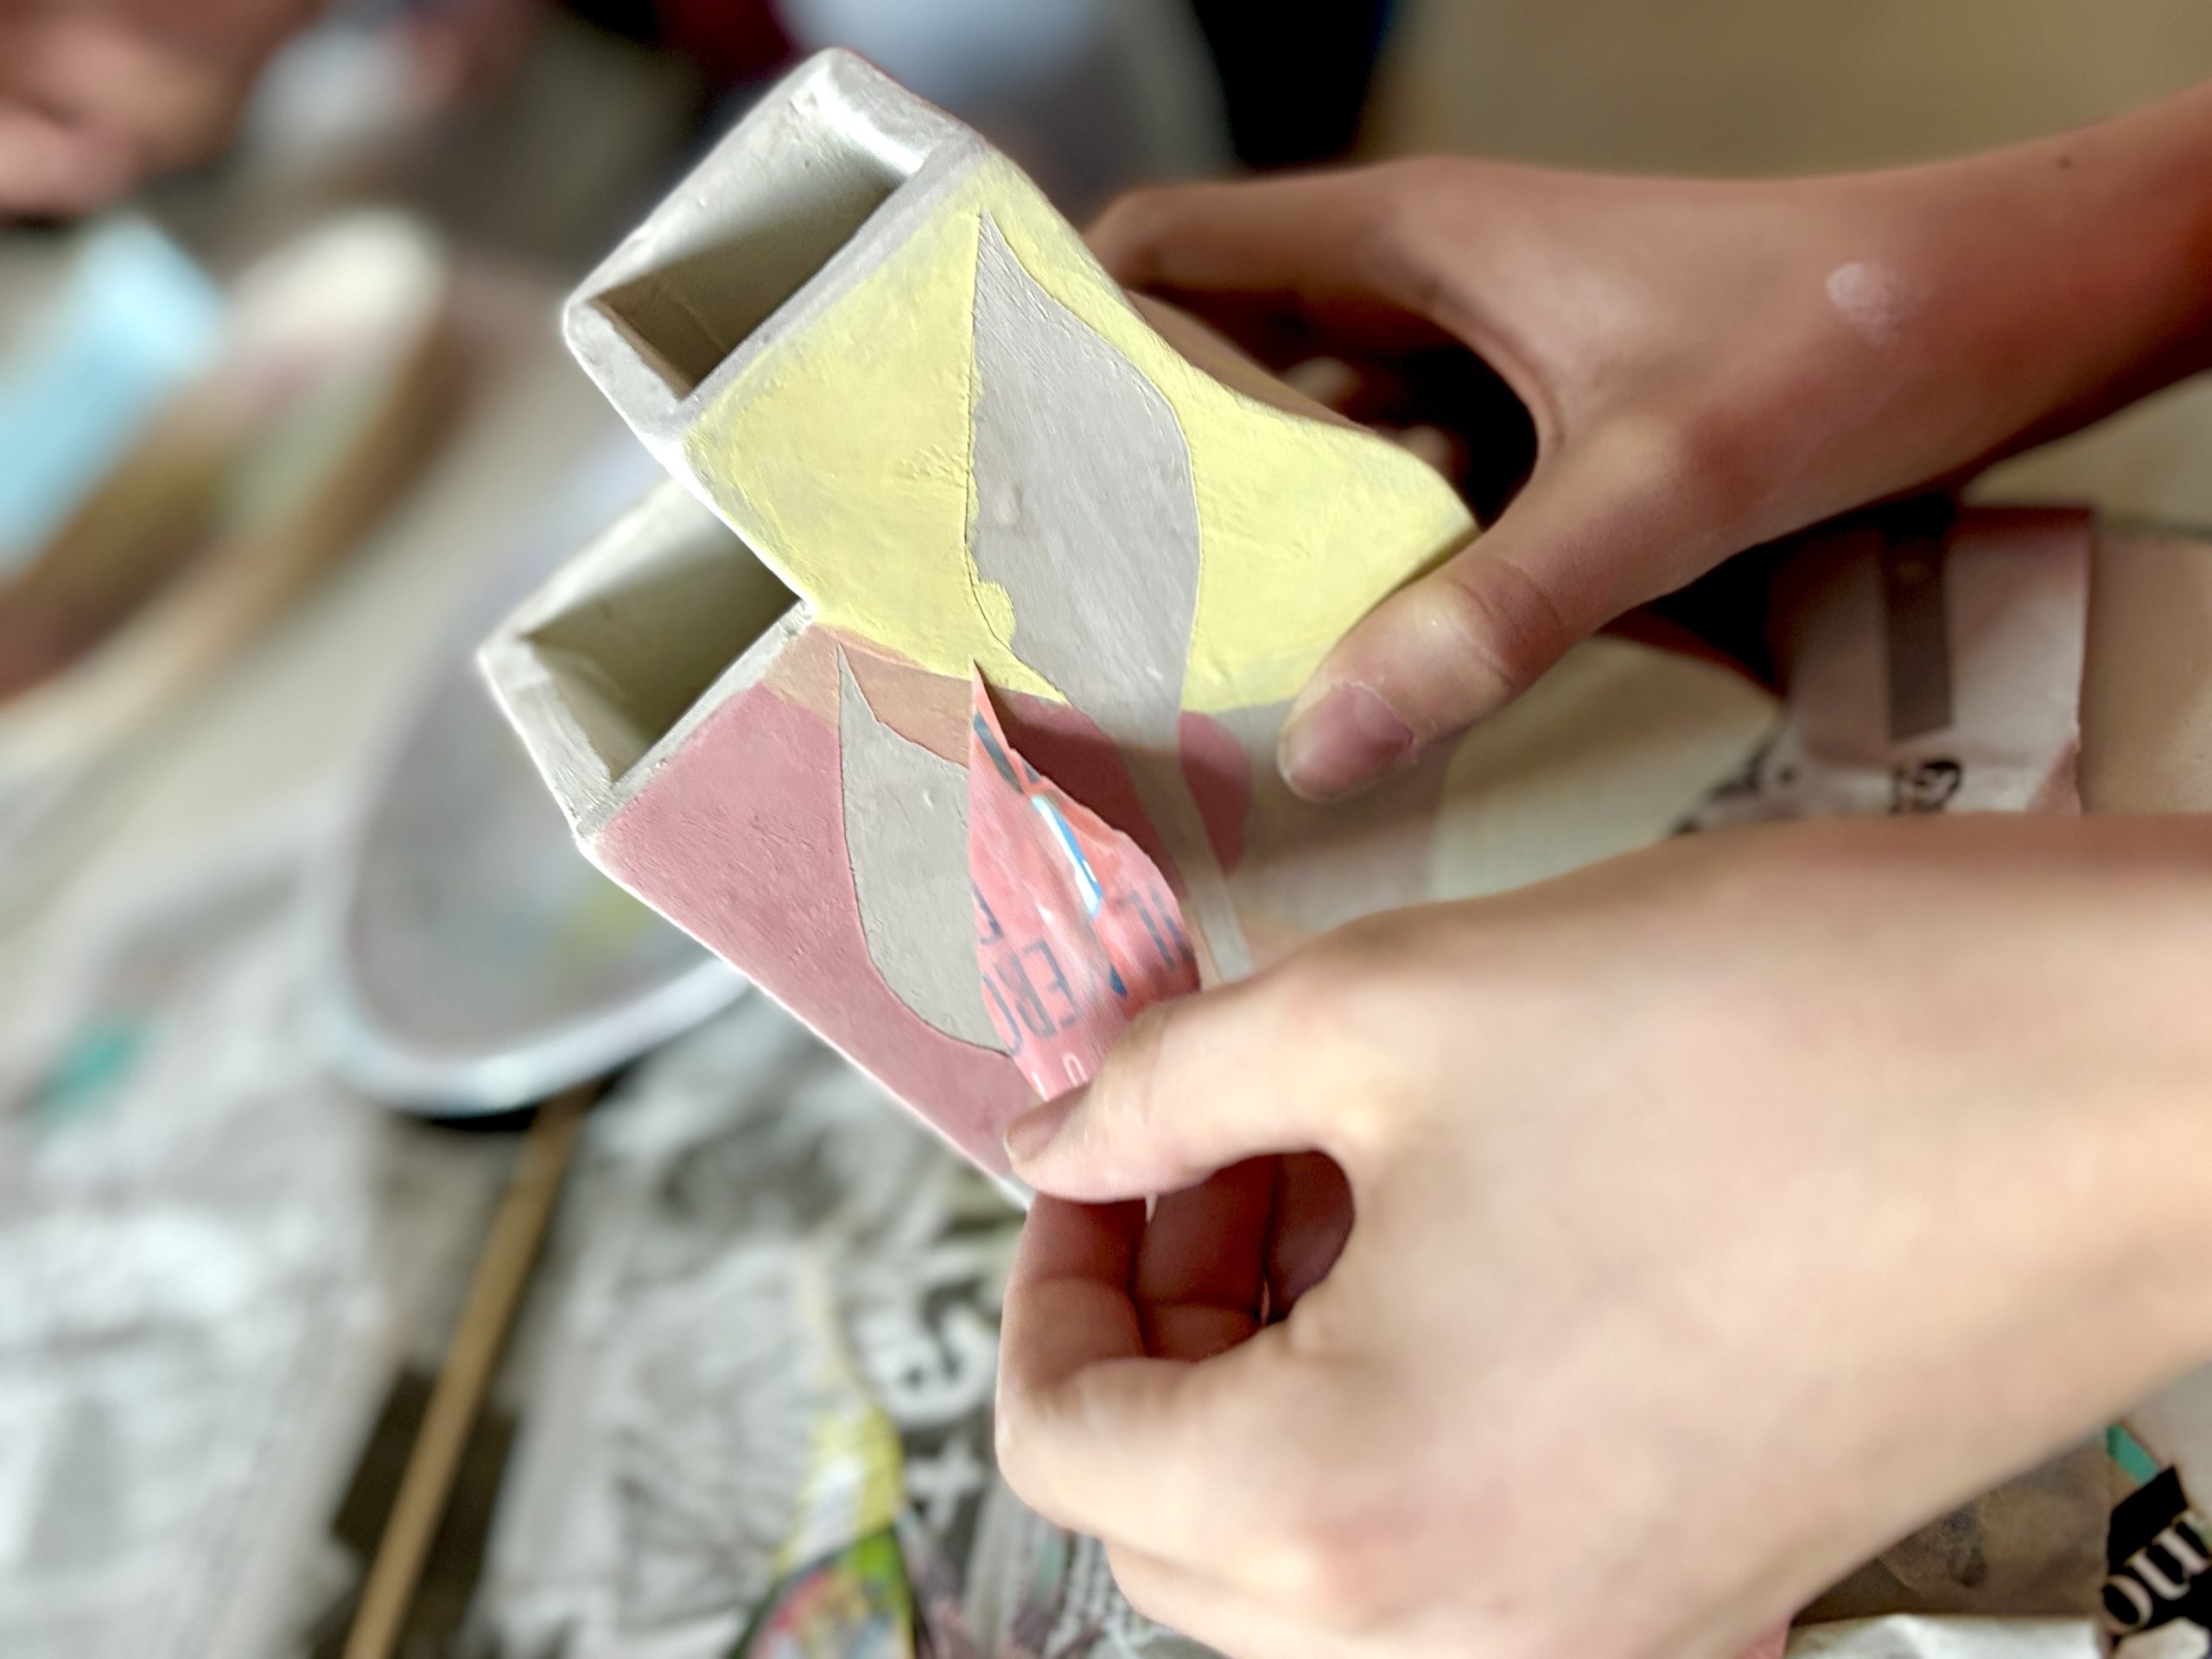
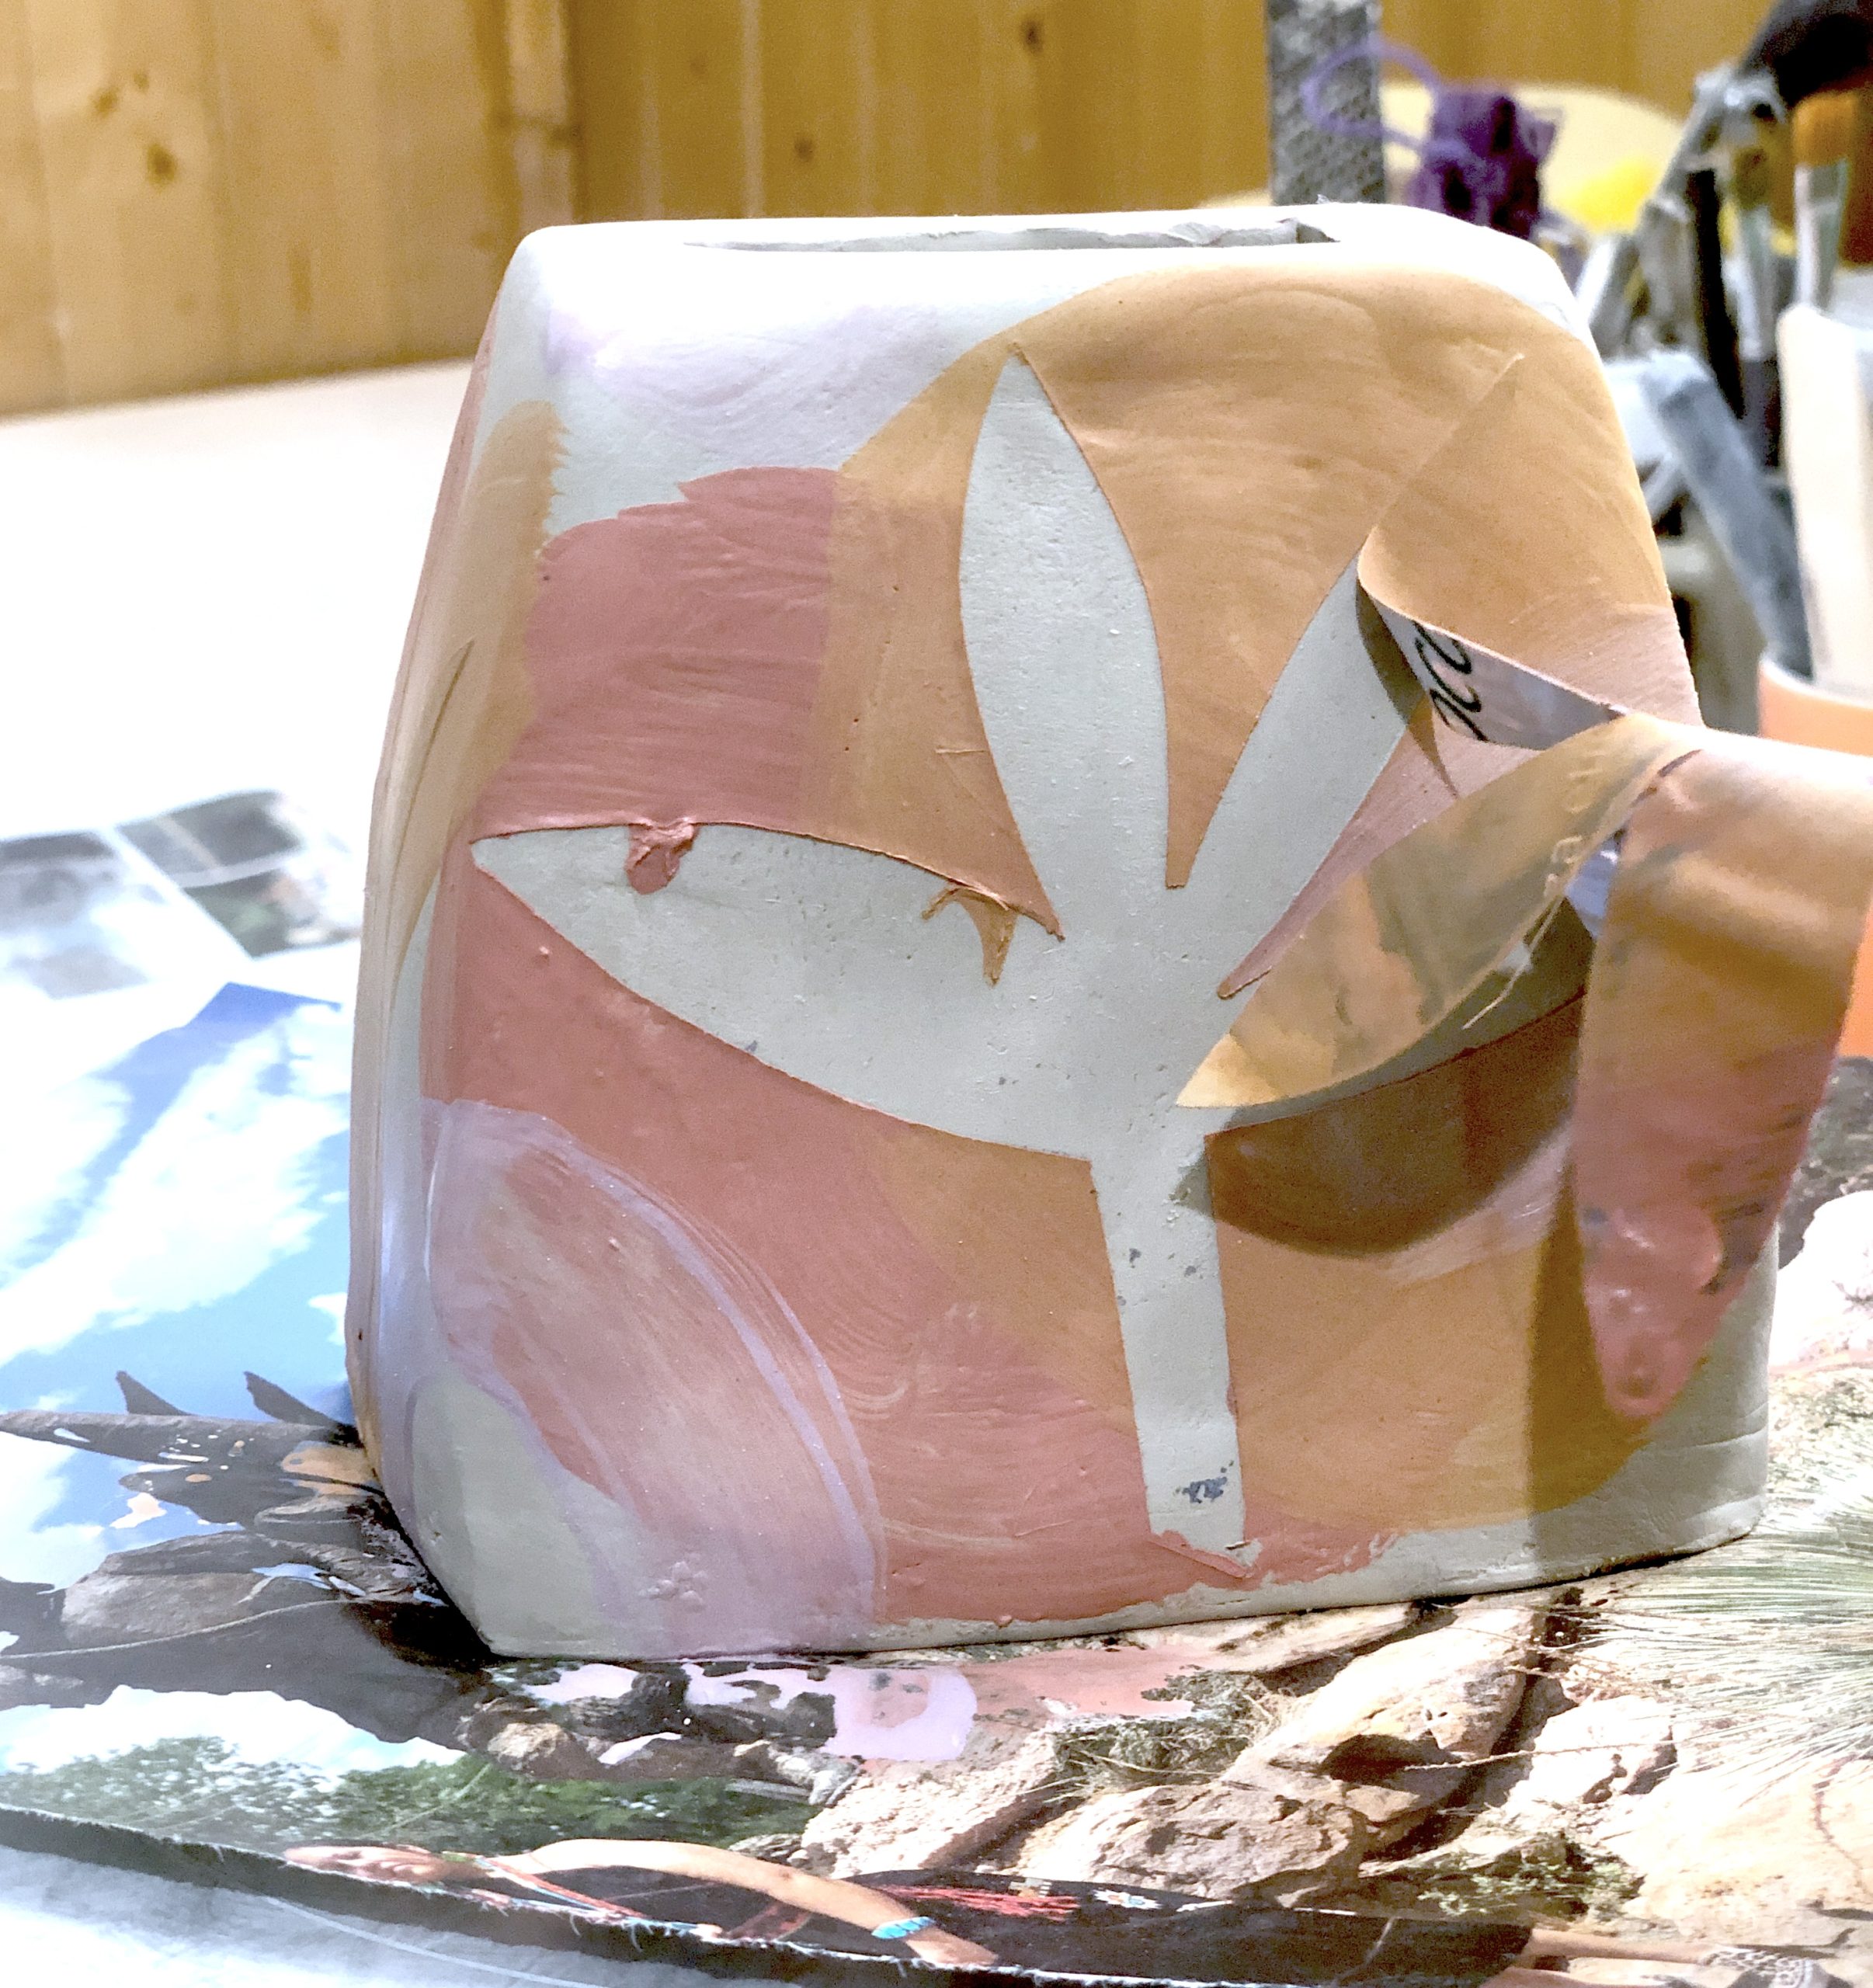
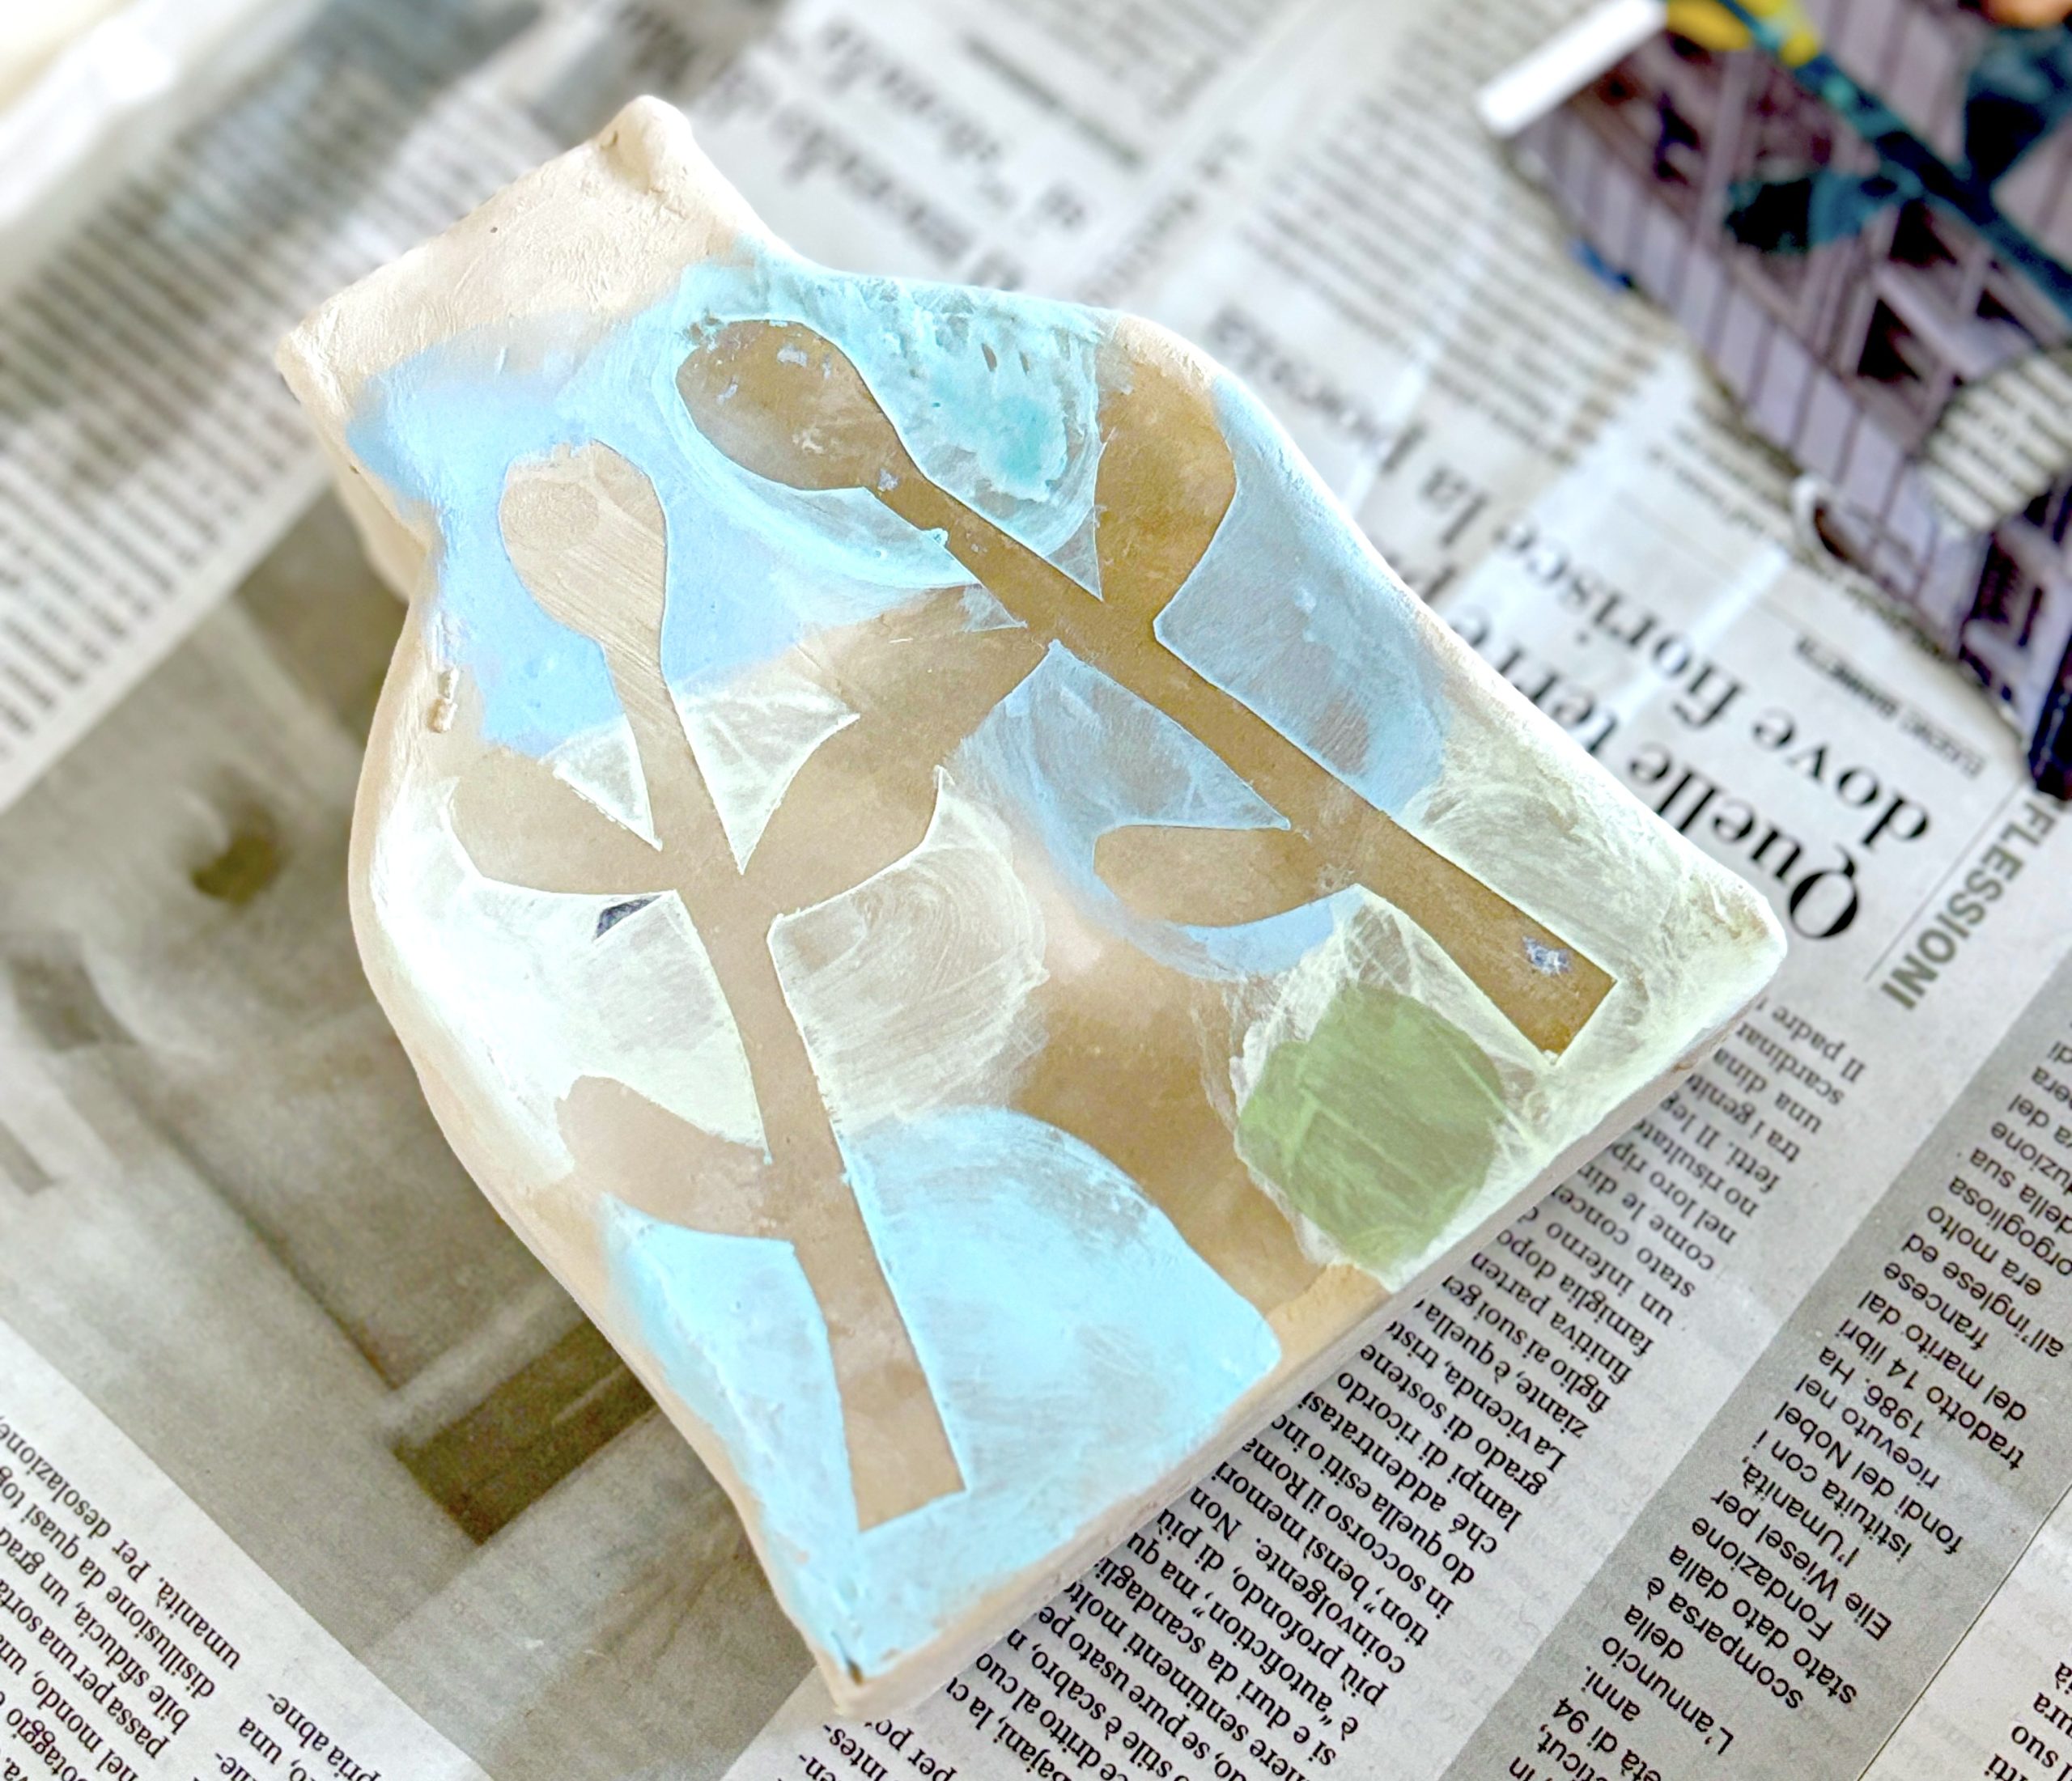
For the stencil, students cut out simple shapes from magazine pages and applied them to the vase surfaces with a bit of water. Colored slip was then brushed over the paper shapes. Once dry, the paper was removed, leaving a white silhouette in negative.
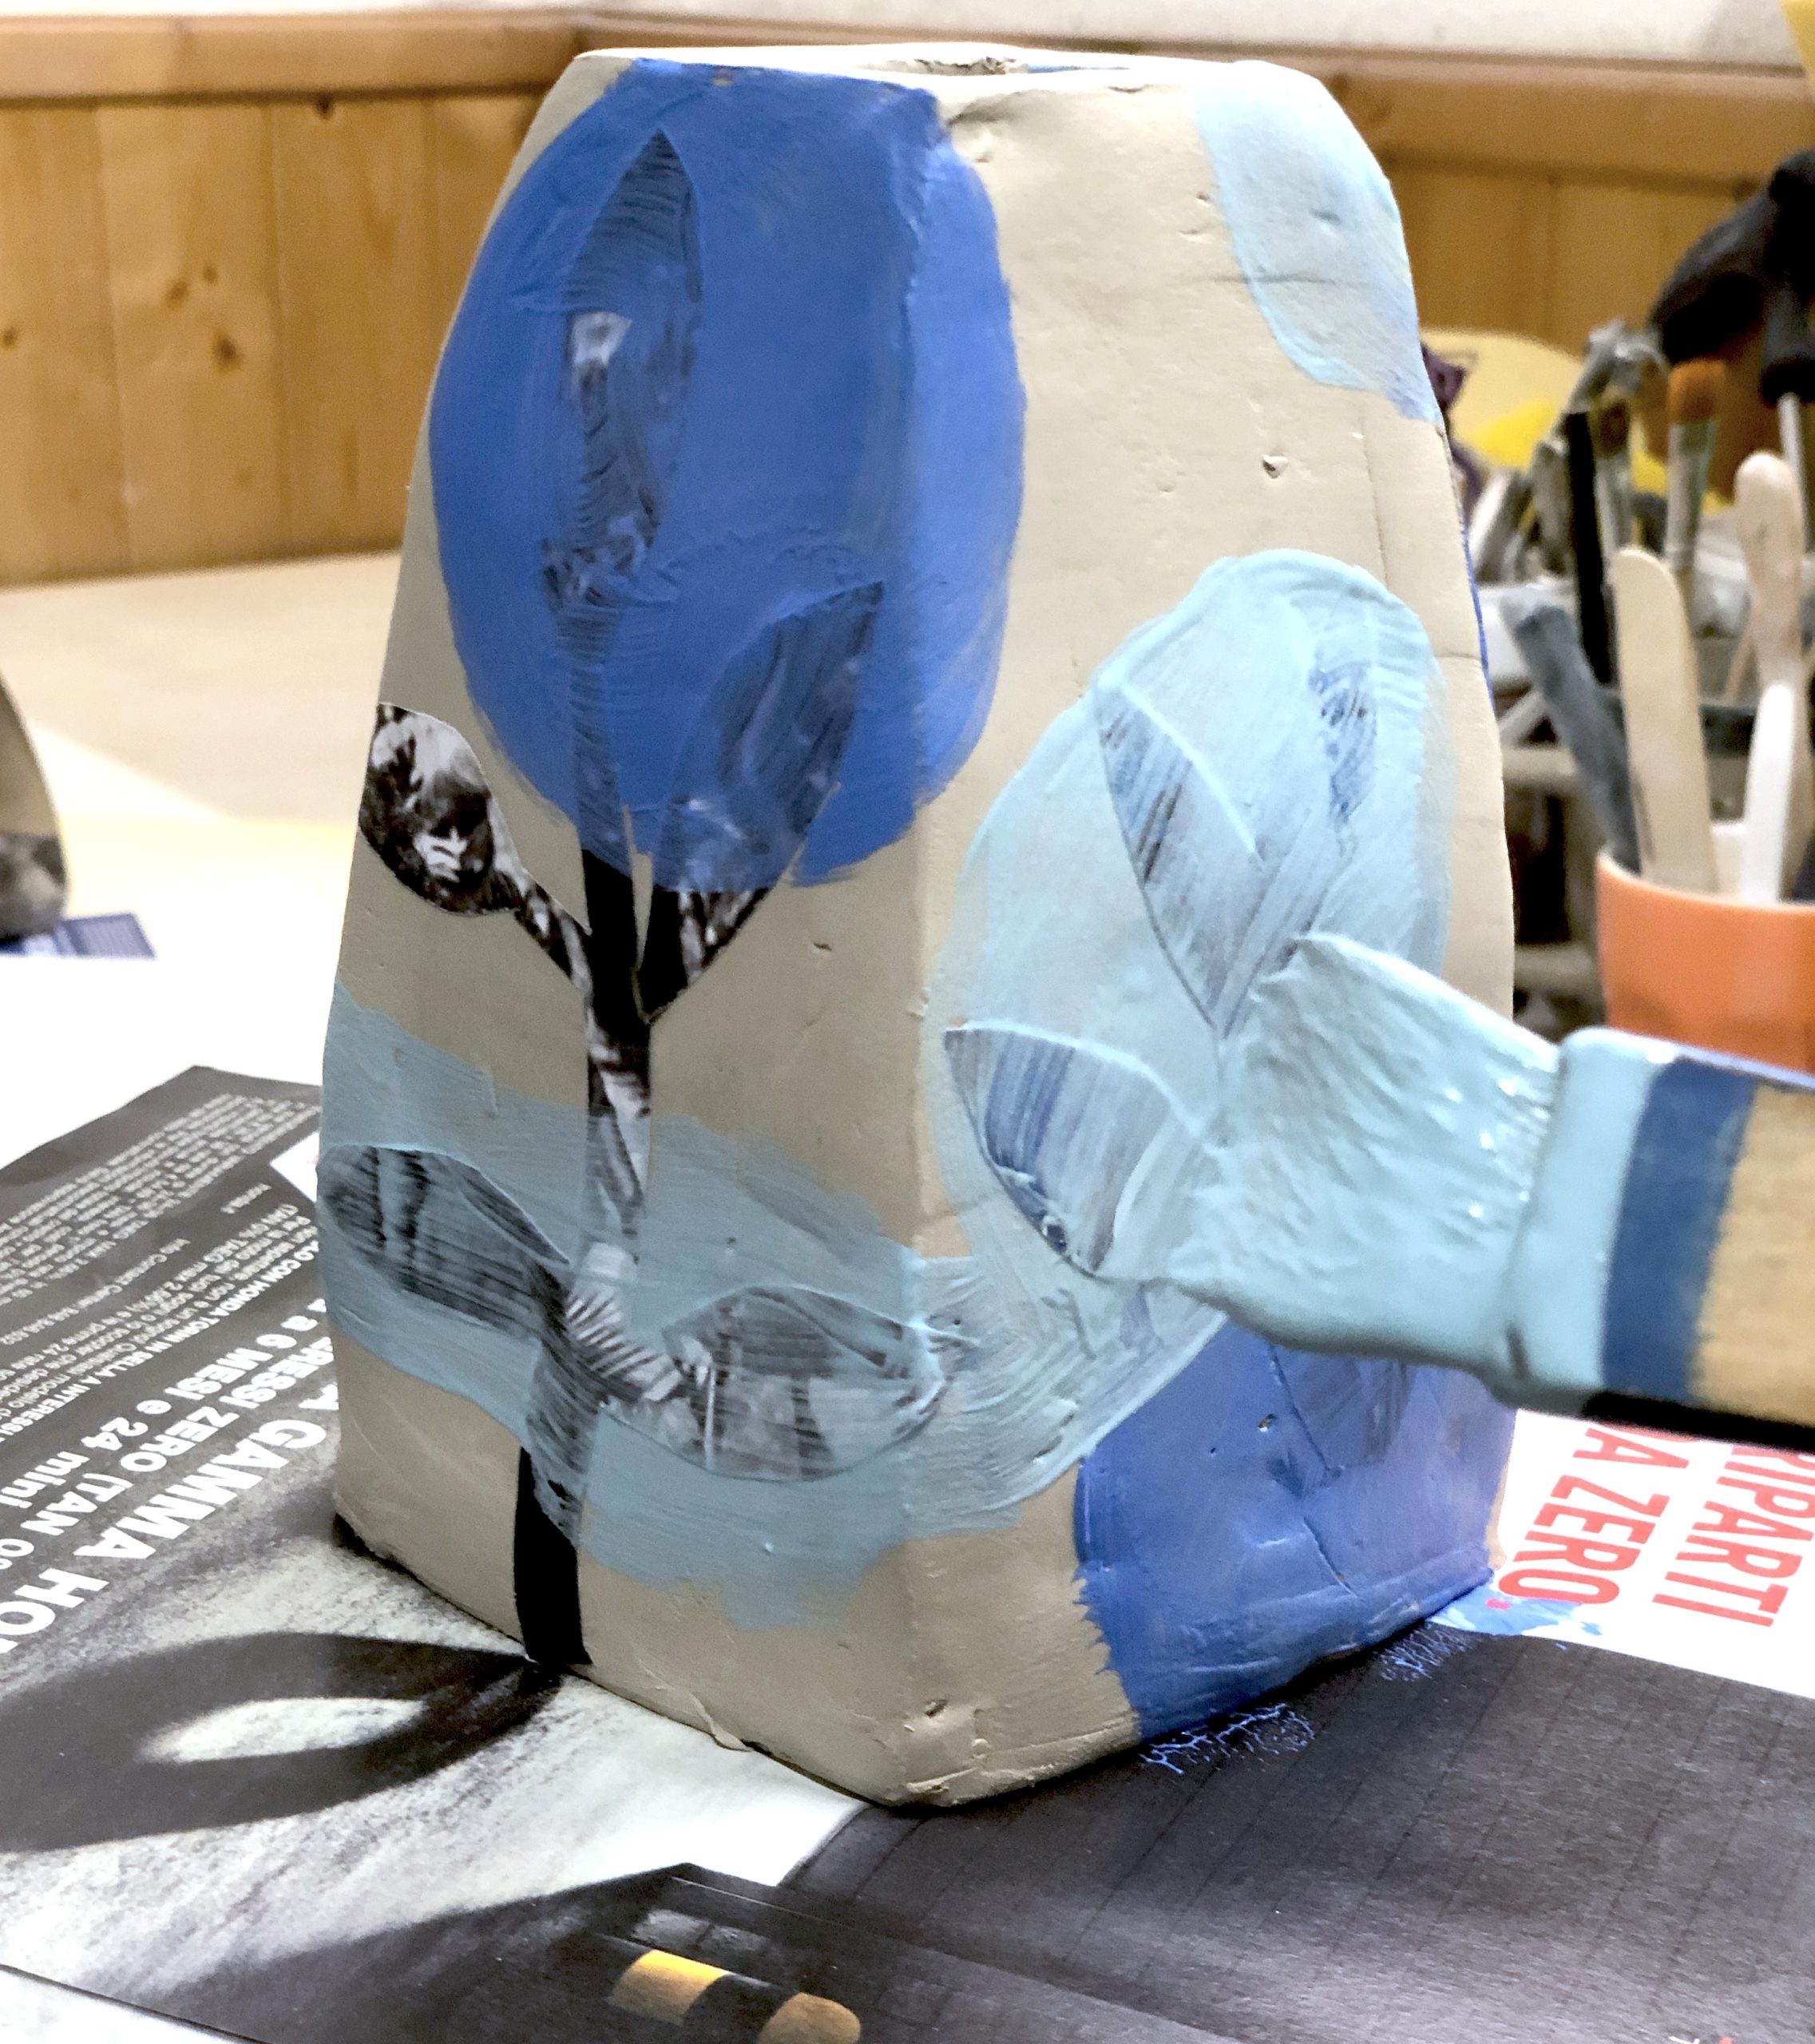
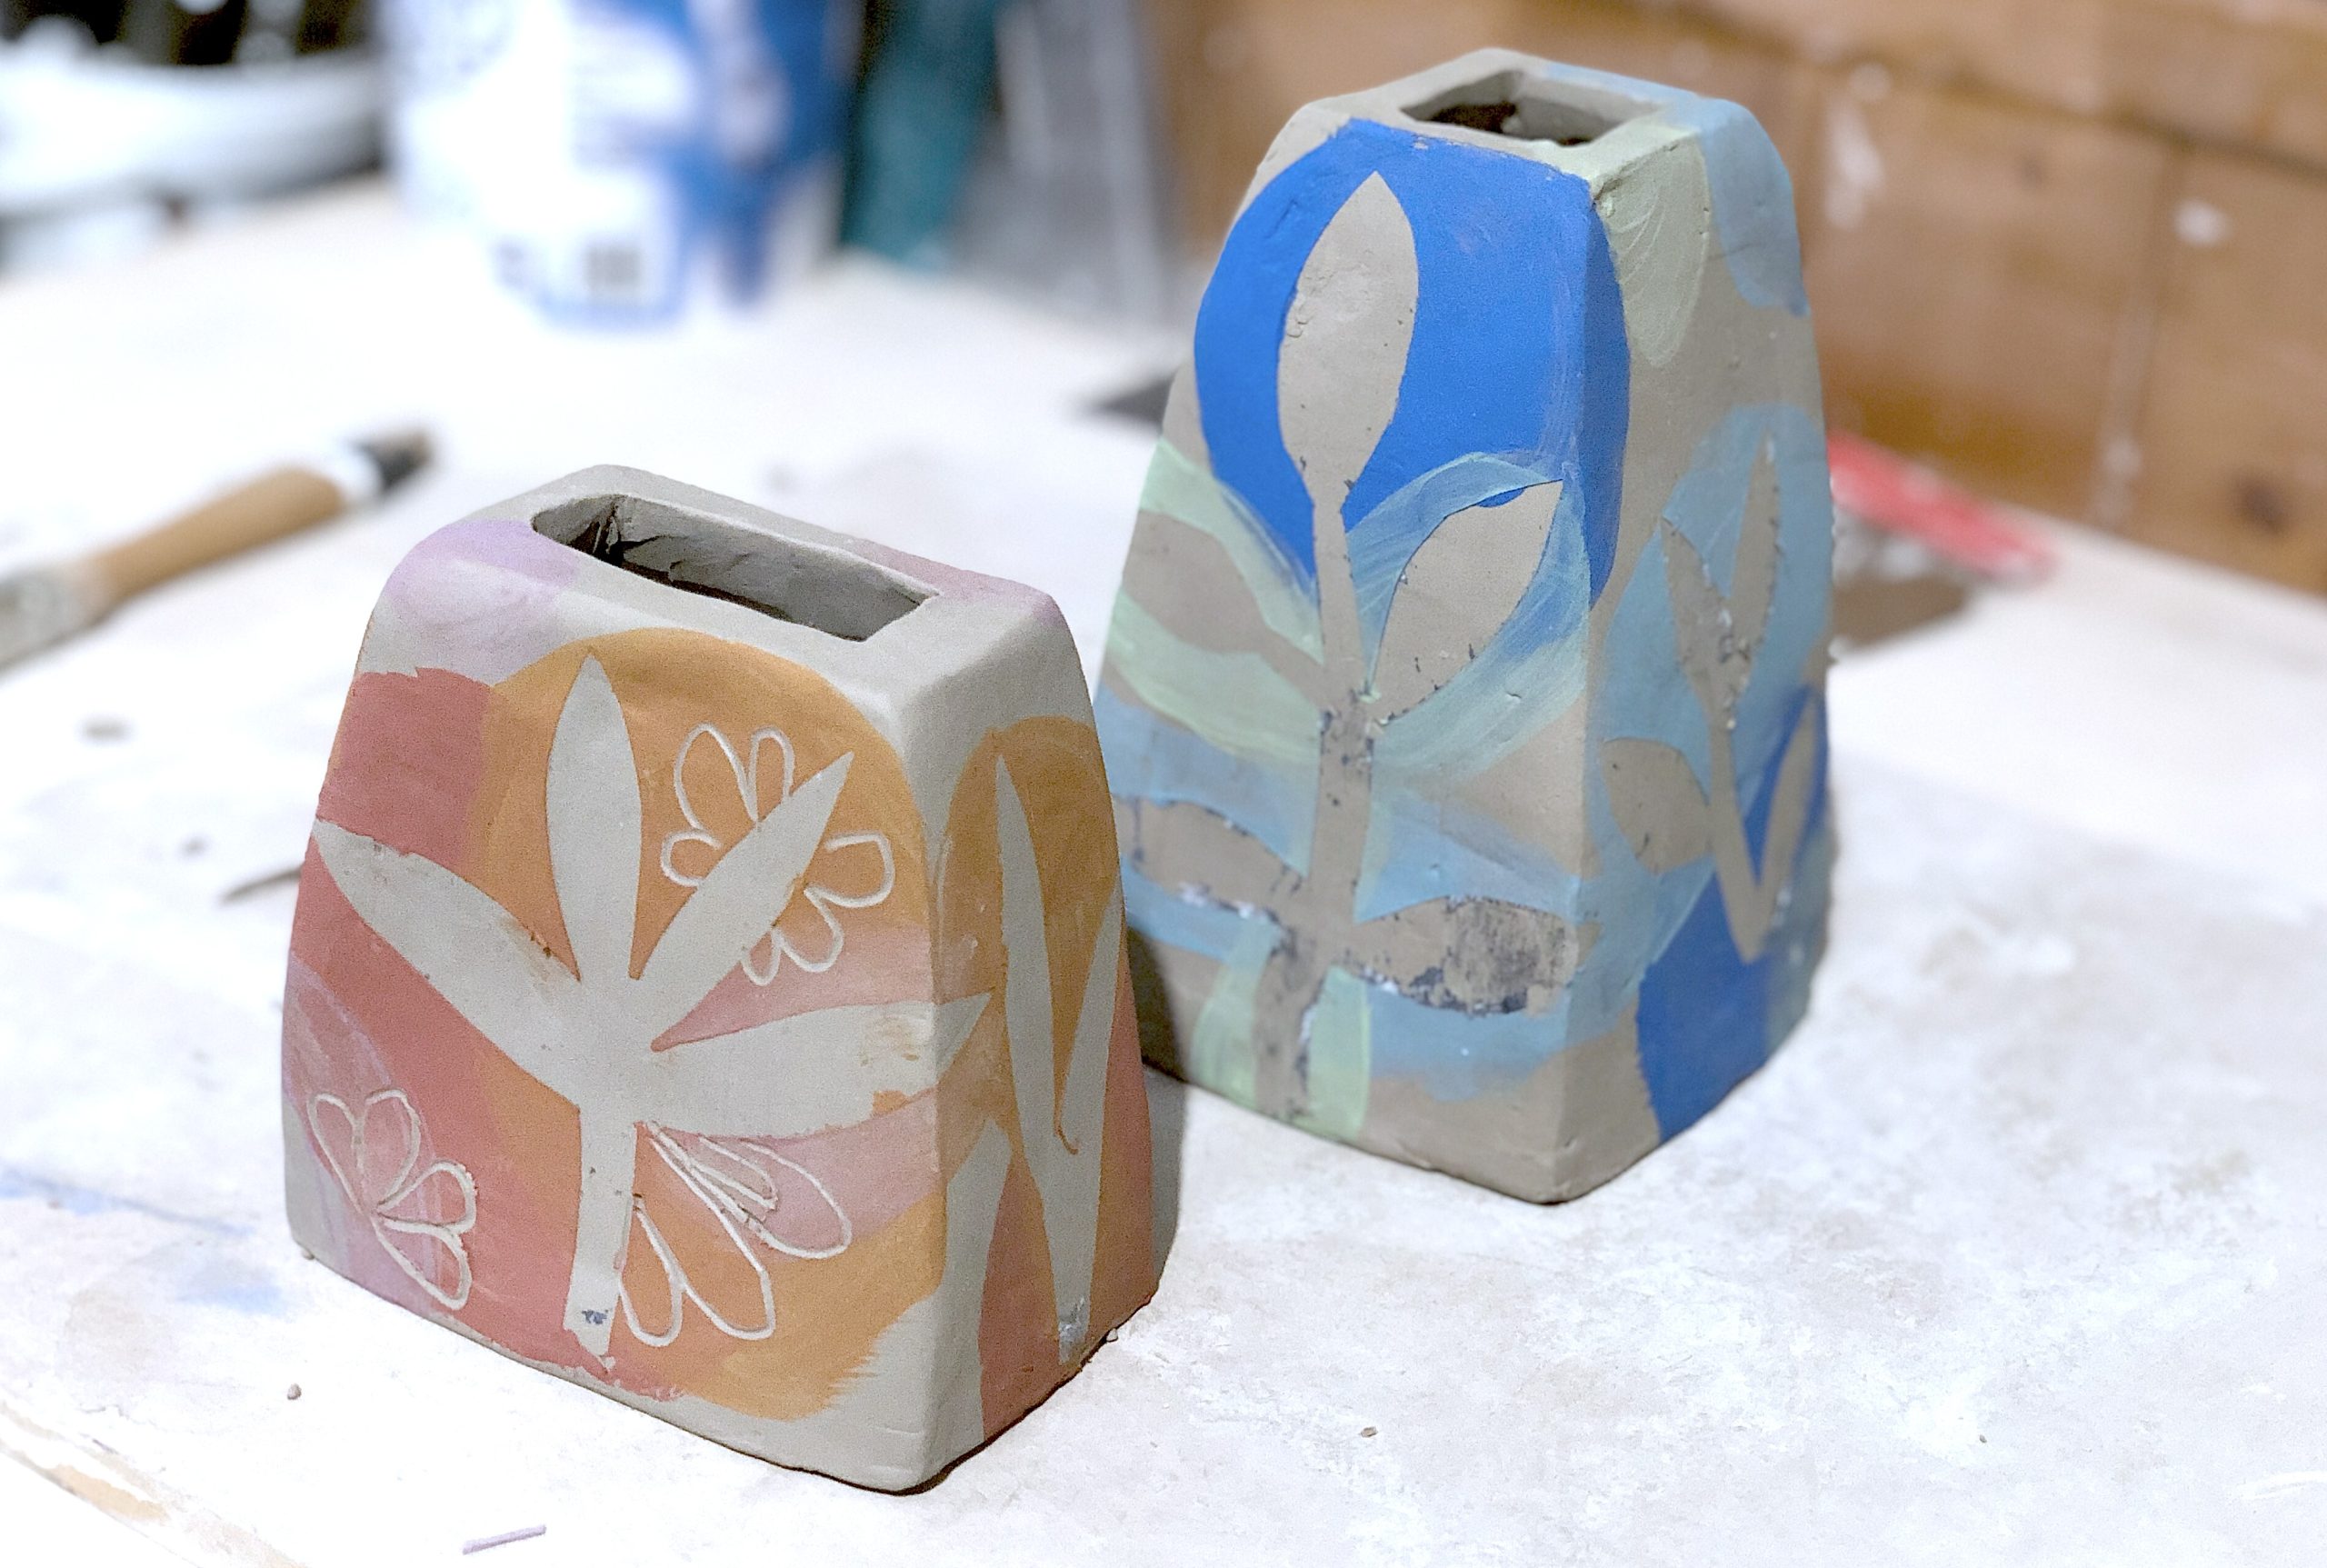
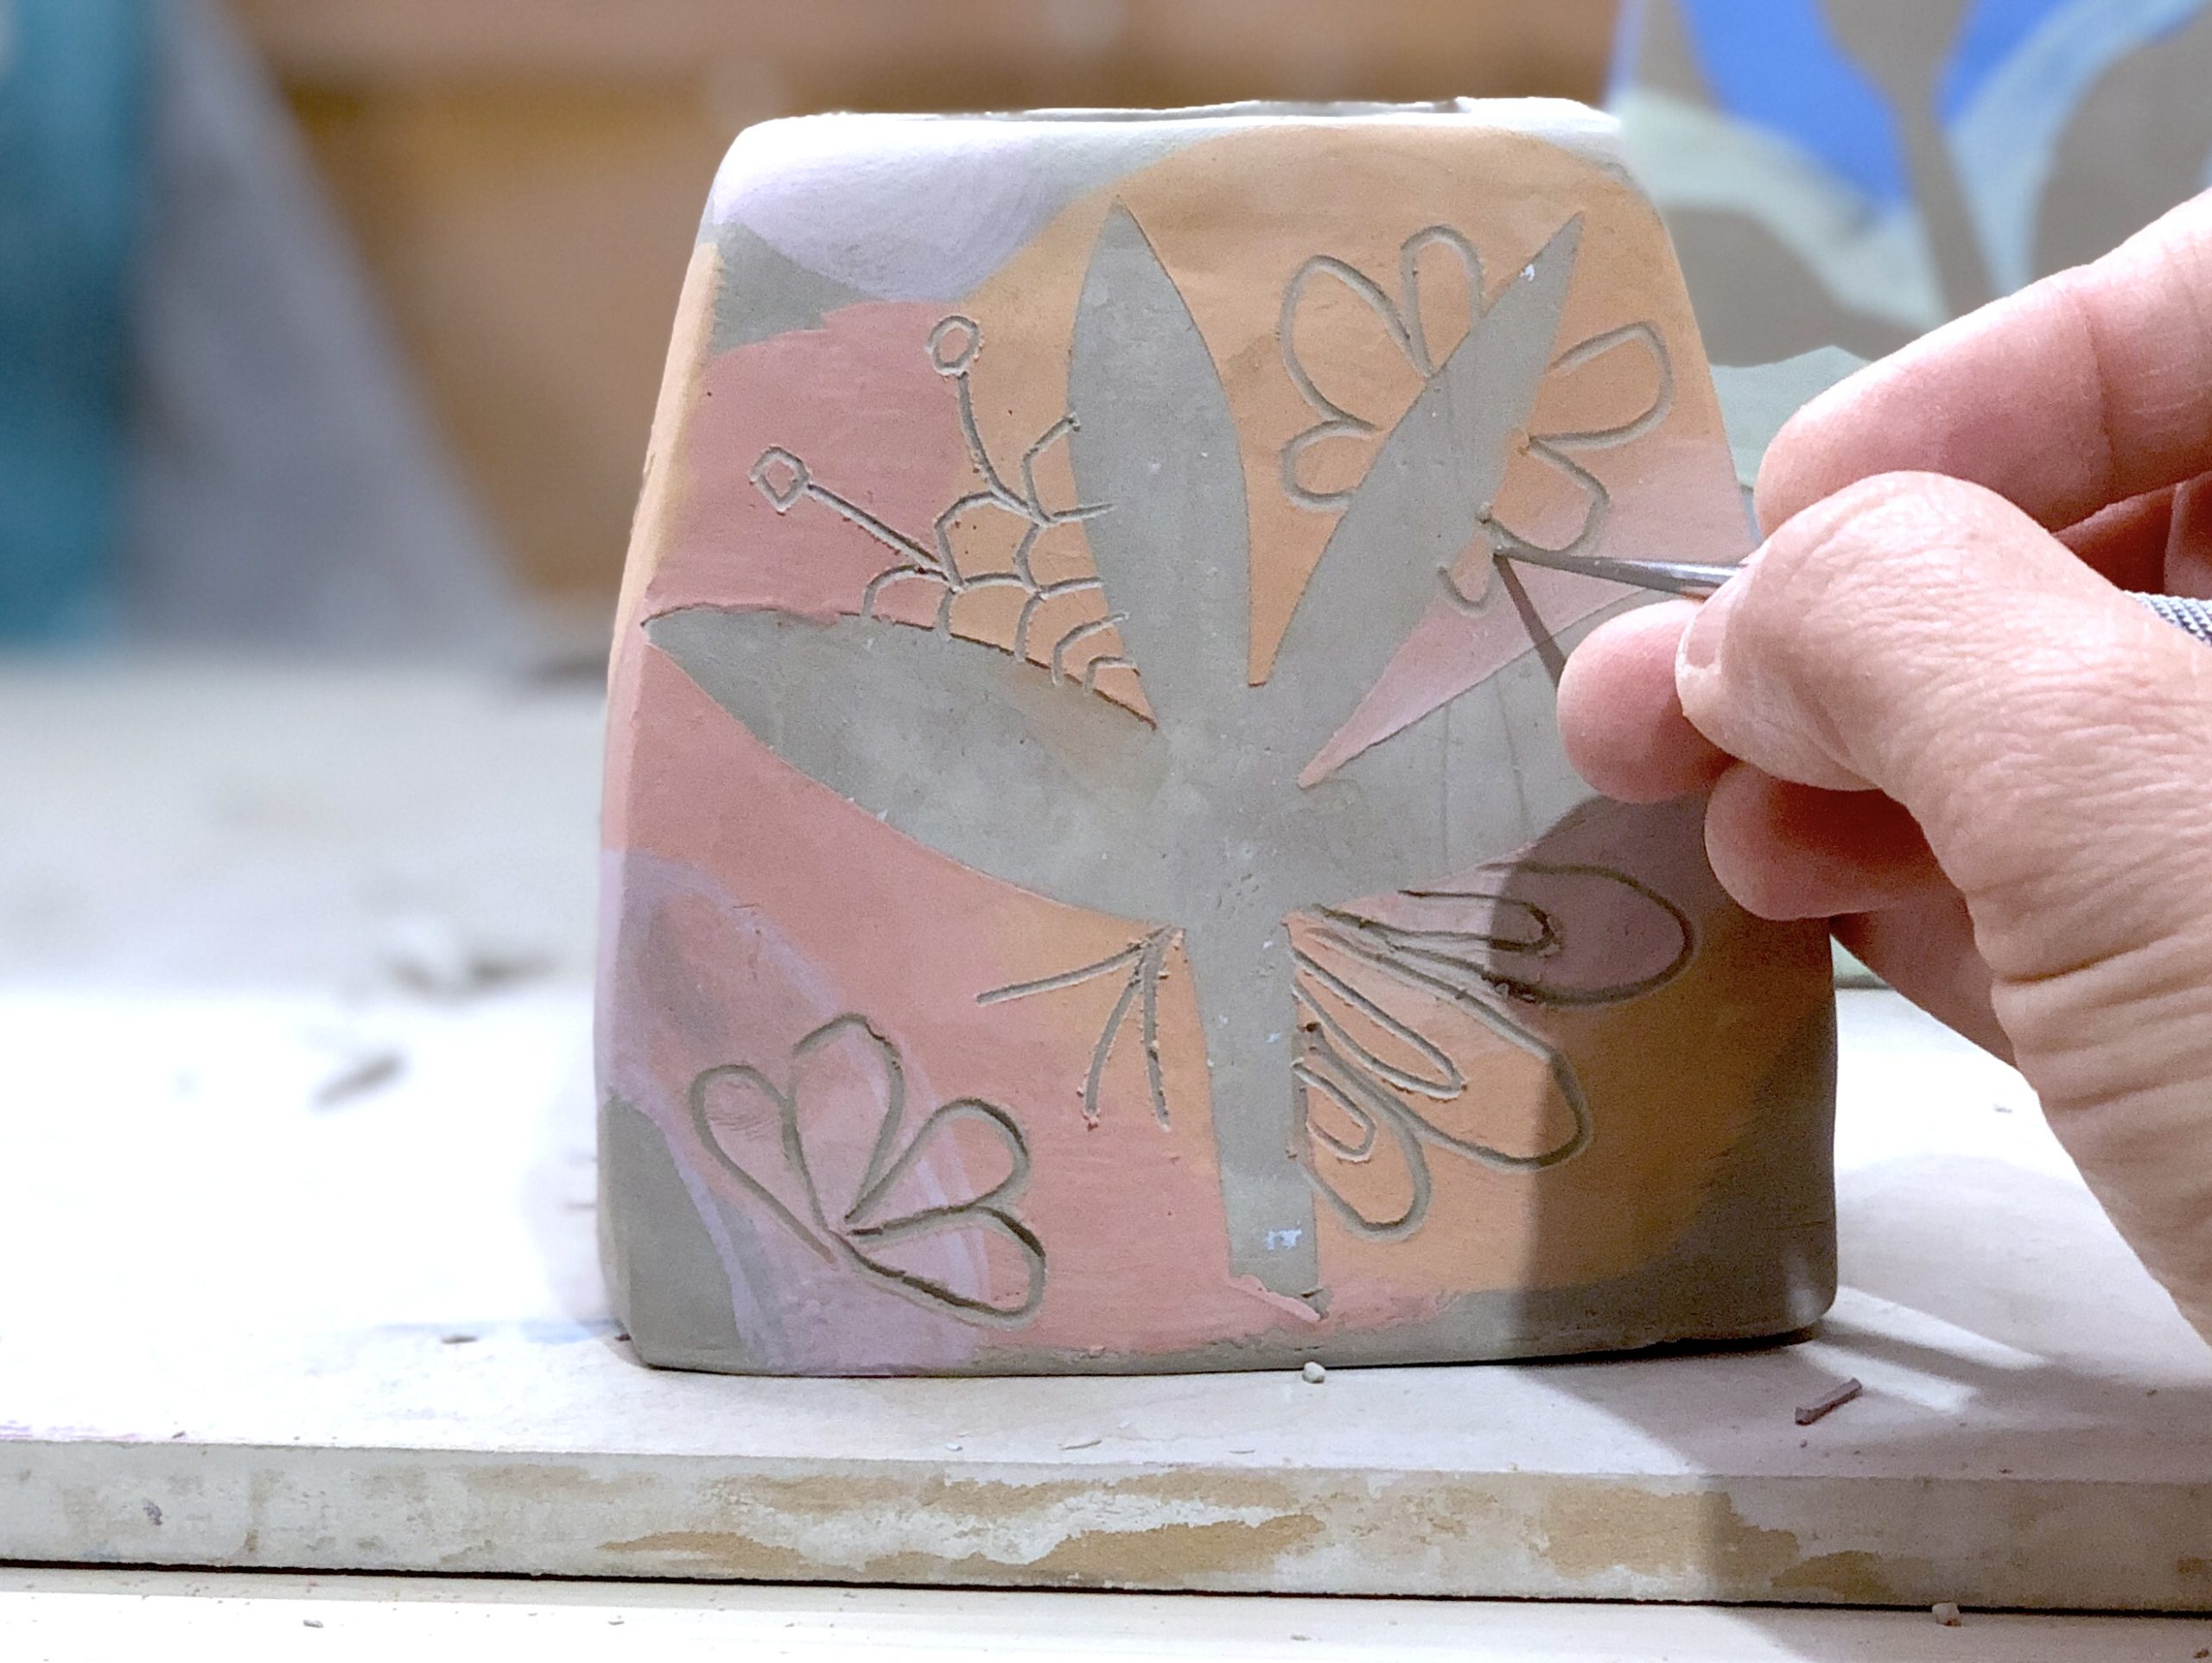
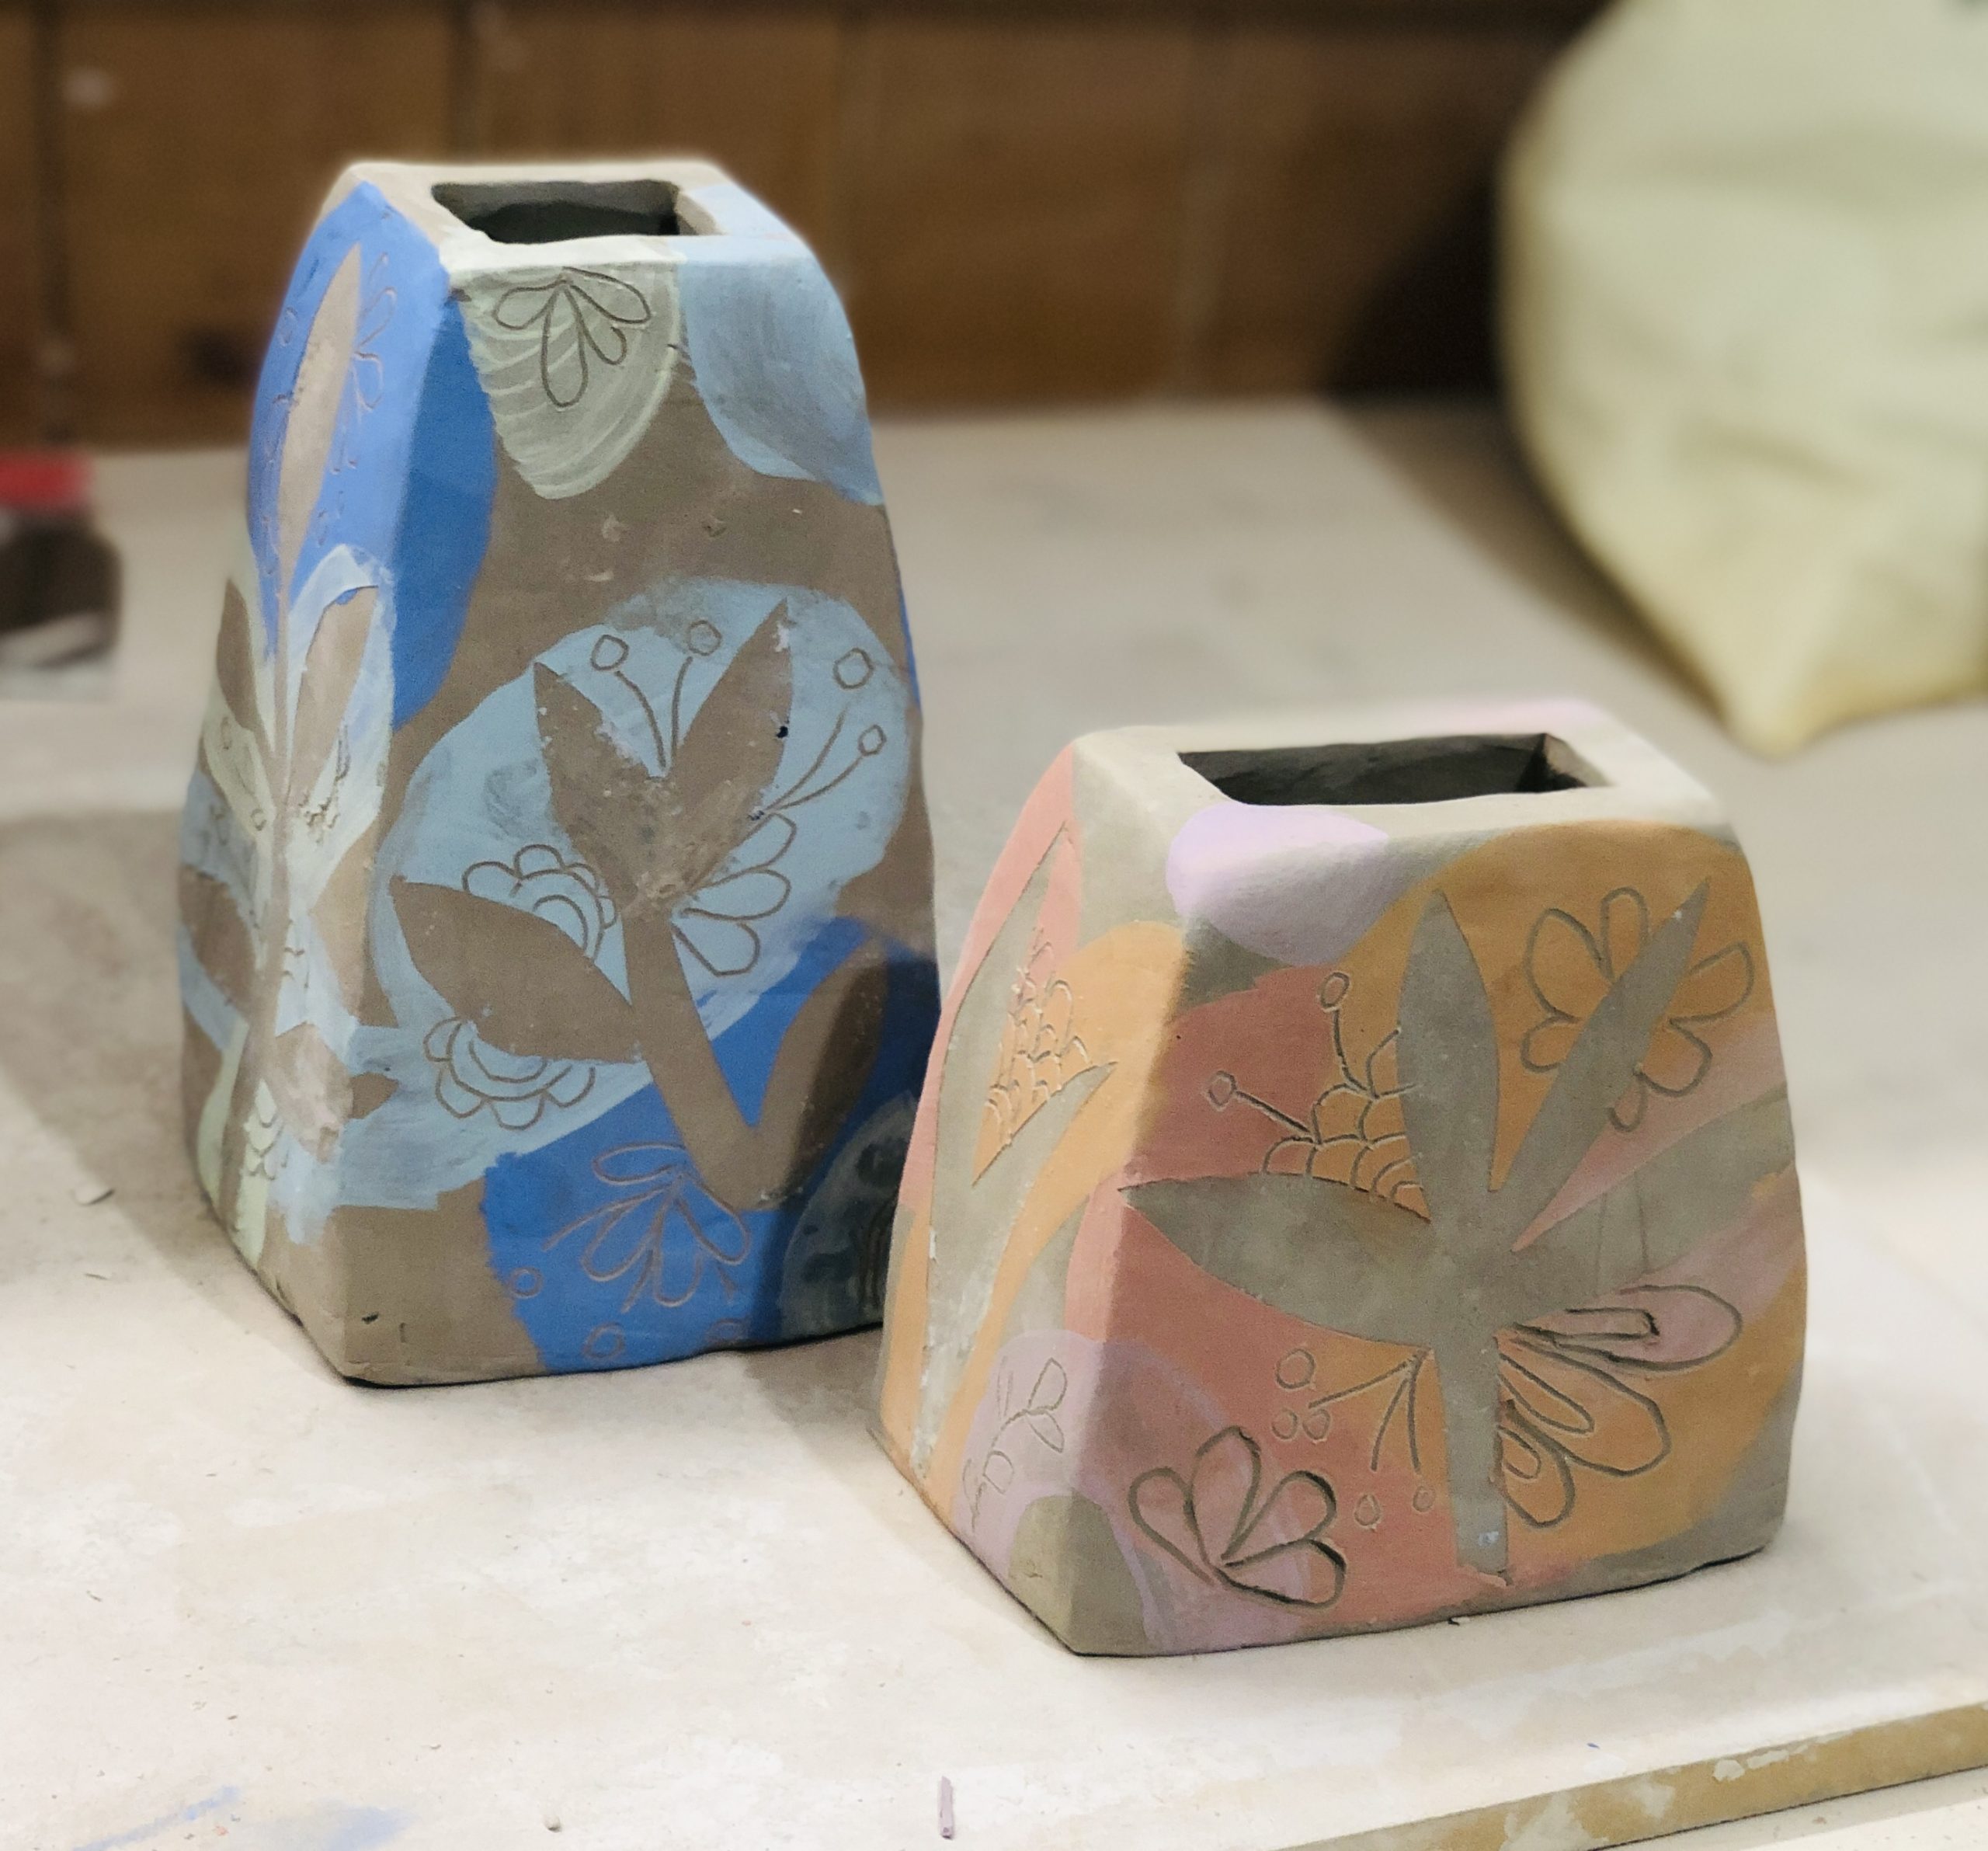
Afterward, while the clay was still leather-hard, students used the sgraffito technique, carving lines and patterns into the colored areas to add texture and detail. Some students completed their pieces with brushwork, adding personal touches to their decorations.
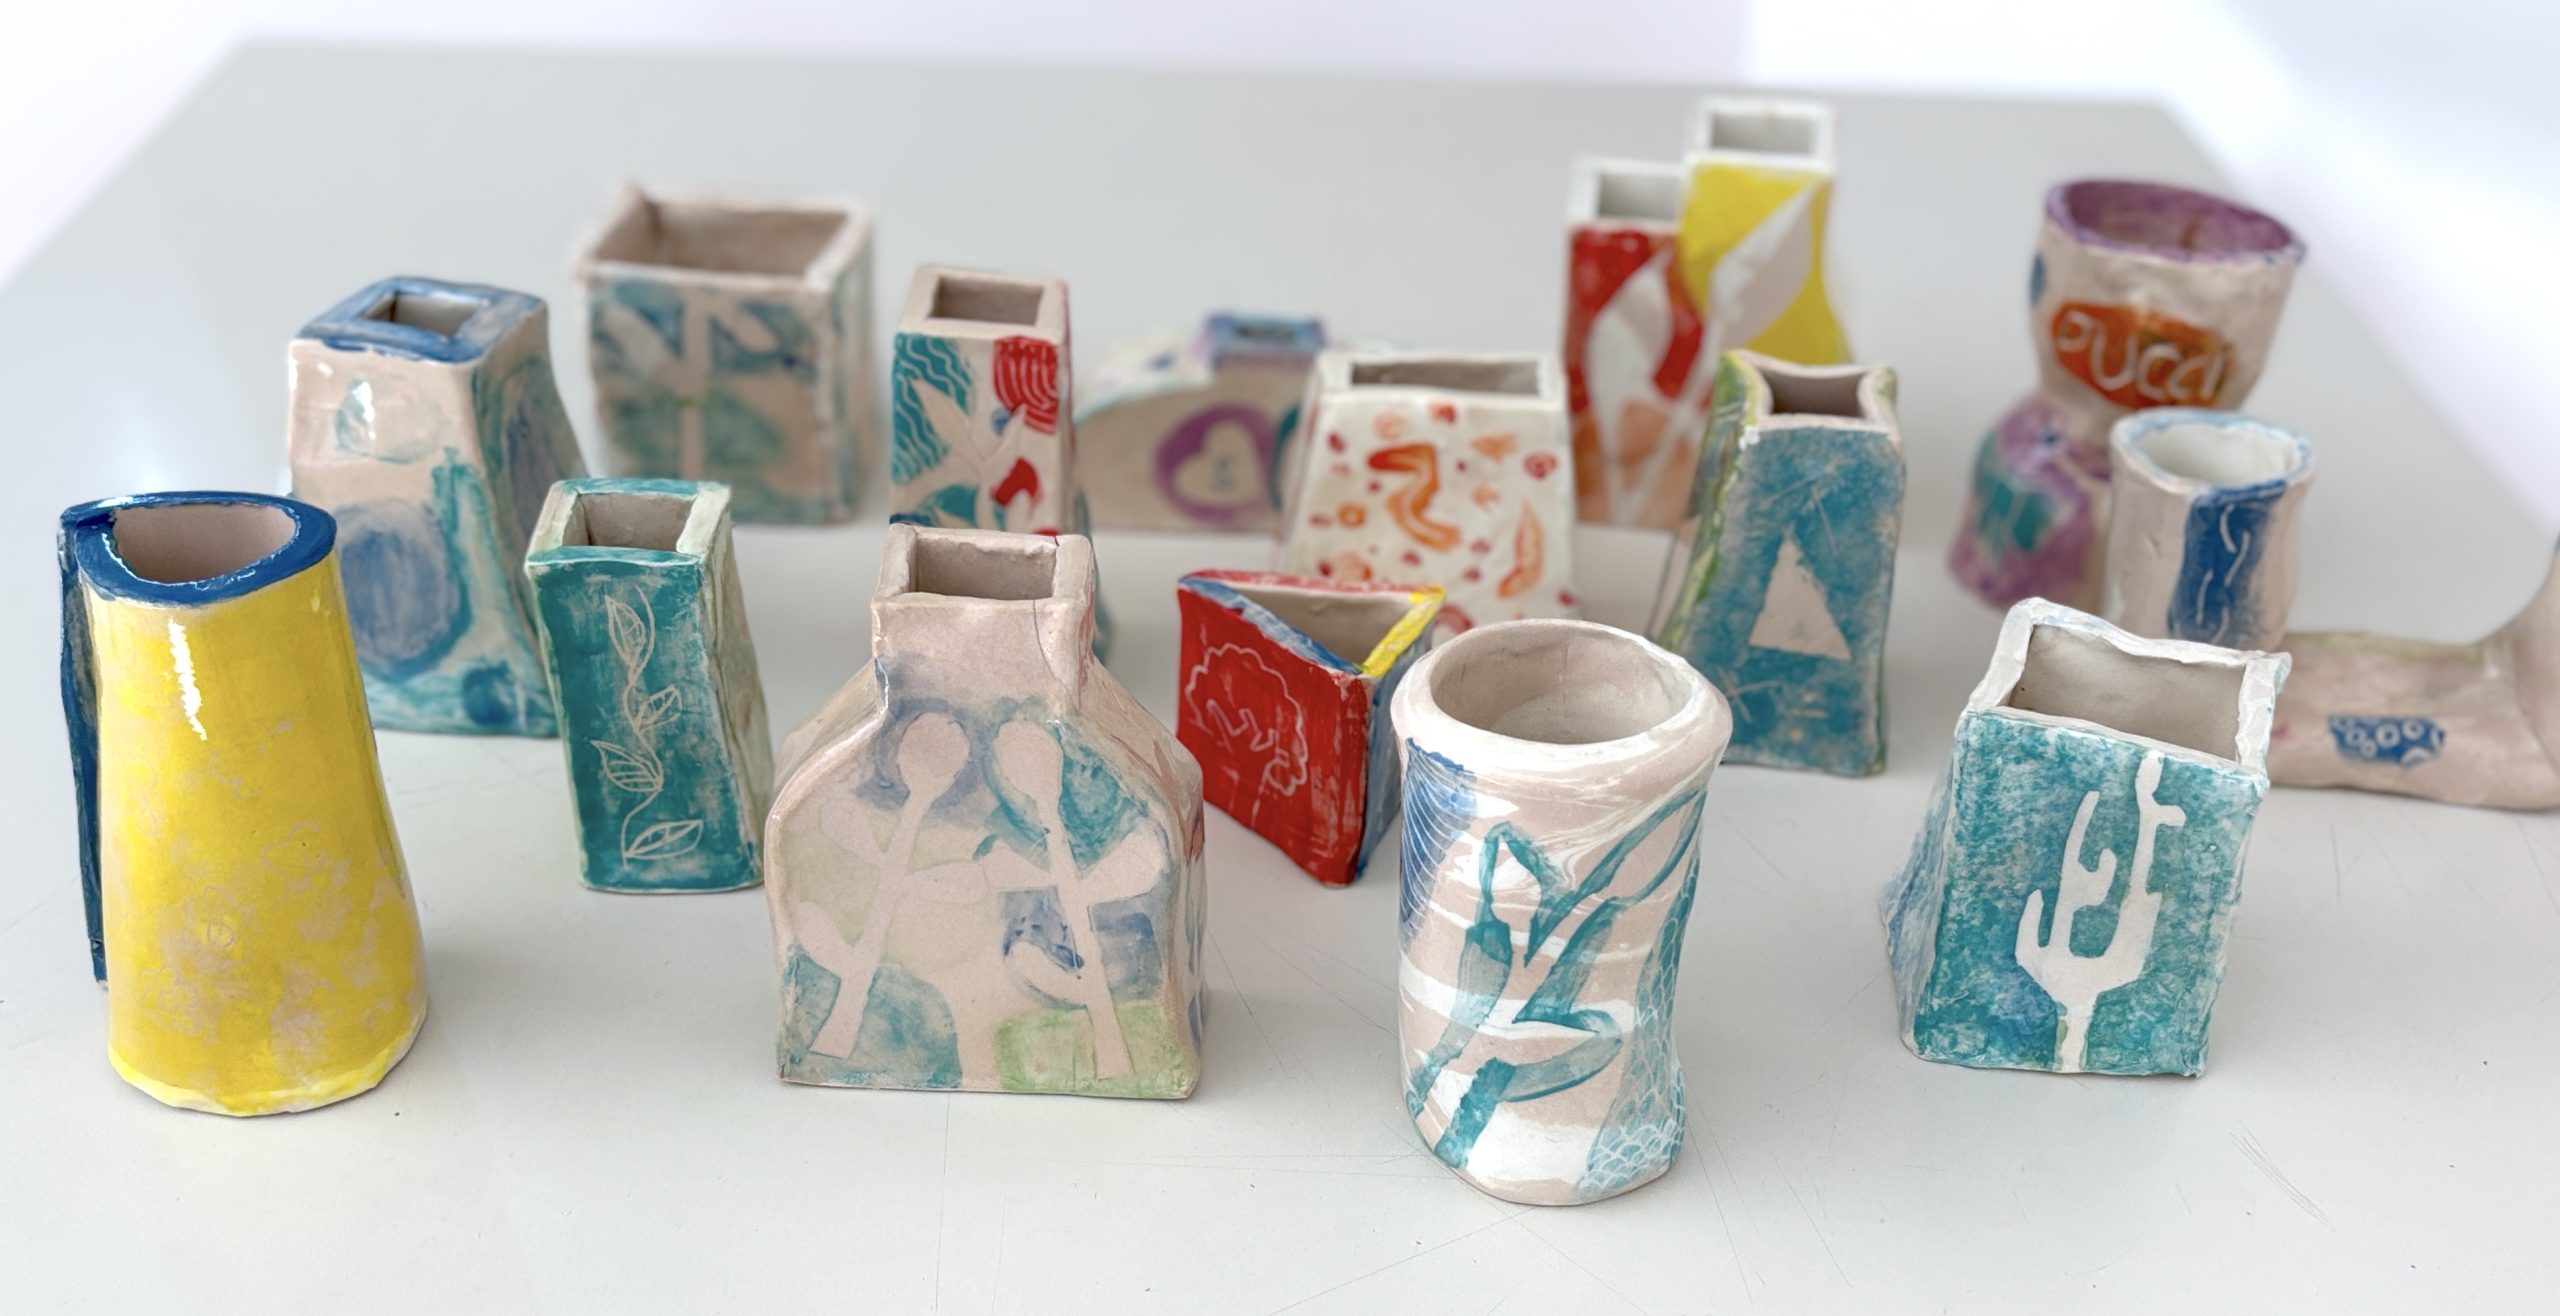
Finally, the vases underwent a first firing to obtain the bisque, were then glazed with a transparent glaze, and placed in the kiln for a second firing.
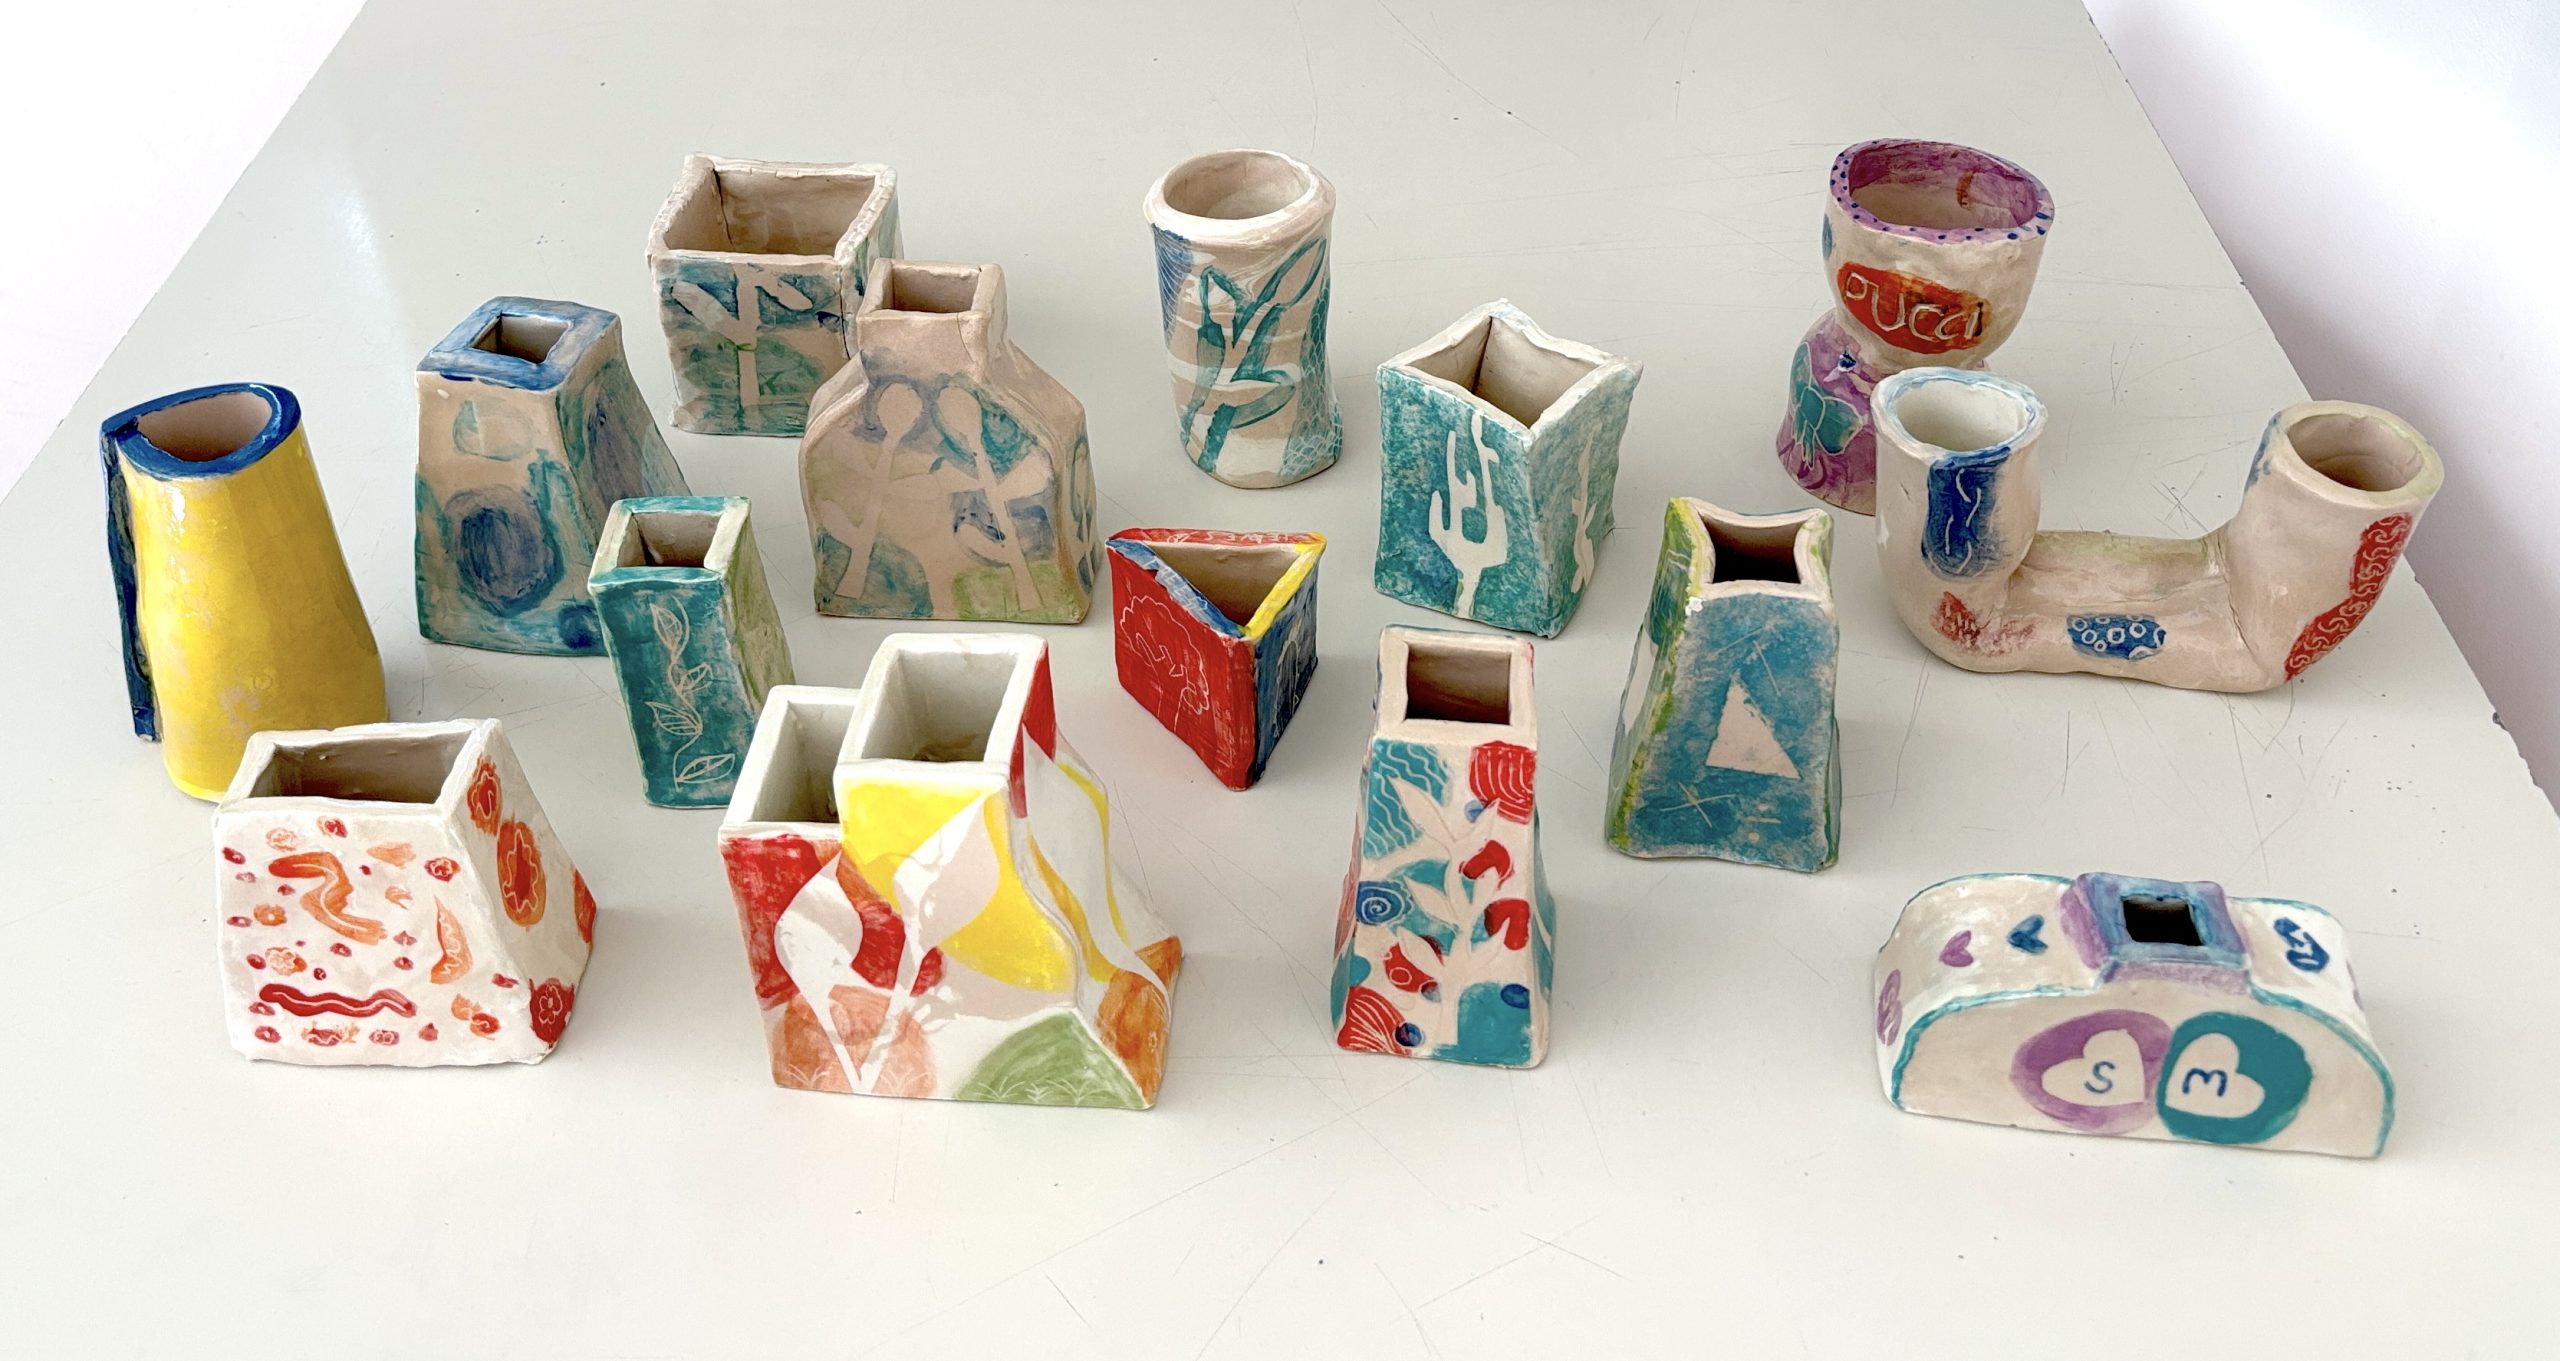
The result? A collection of unique, personal vases, each different in shape, color, and decoration—the result of every student’s creativity and effort.