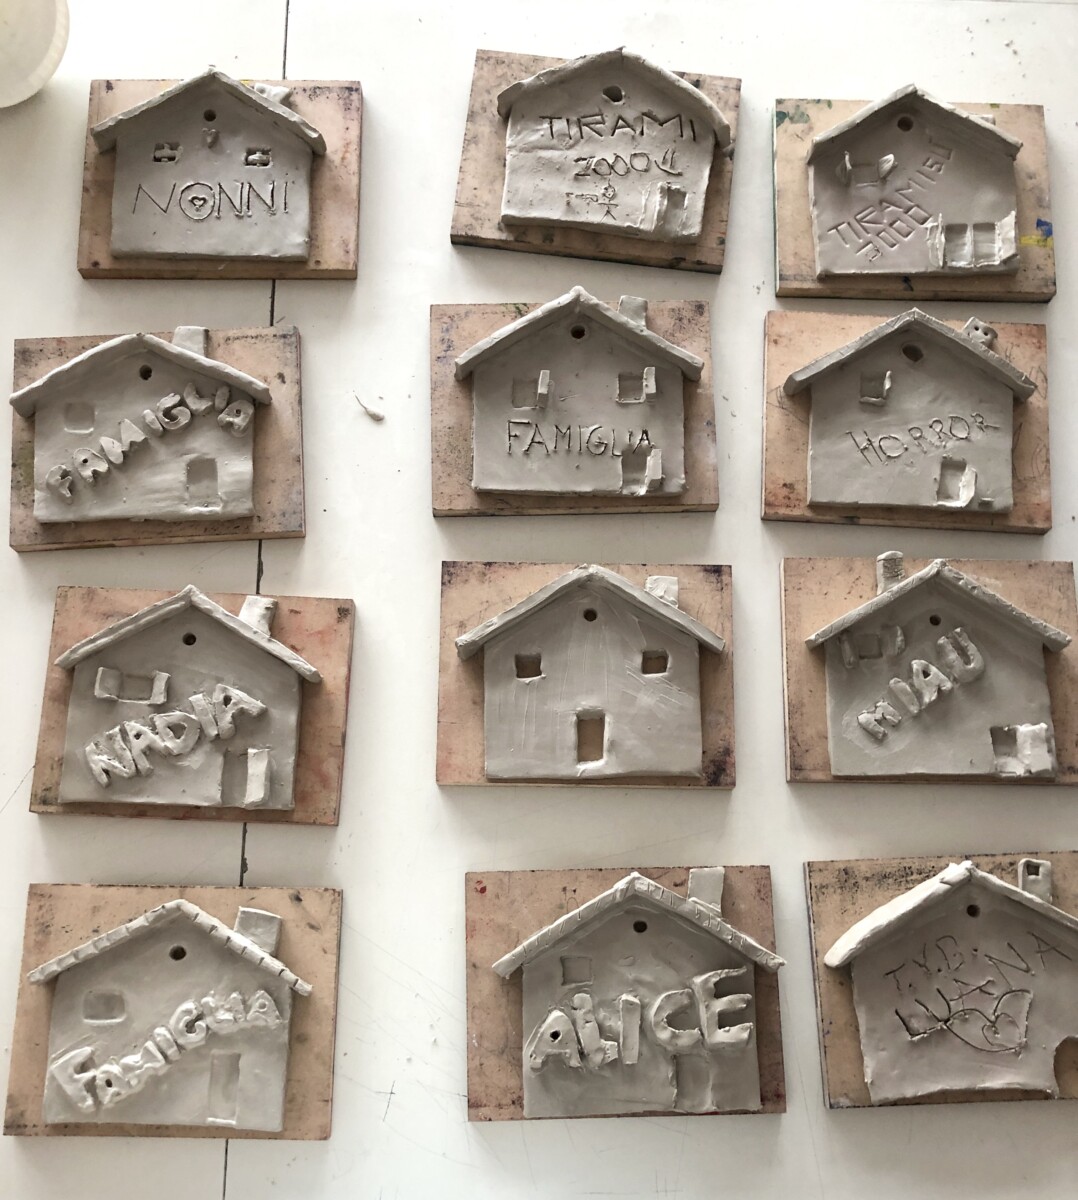
These ceramic houses were made by seventh grade students with the slab technique. For the main parts of the house (façade and roof) we used paper templates (templates to reproduce the profile of the shapes on the clay) which you can find below:
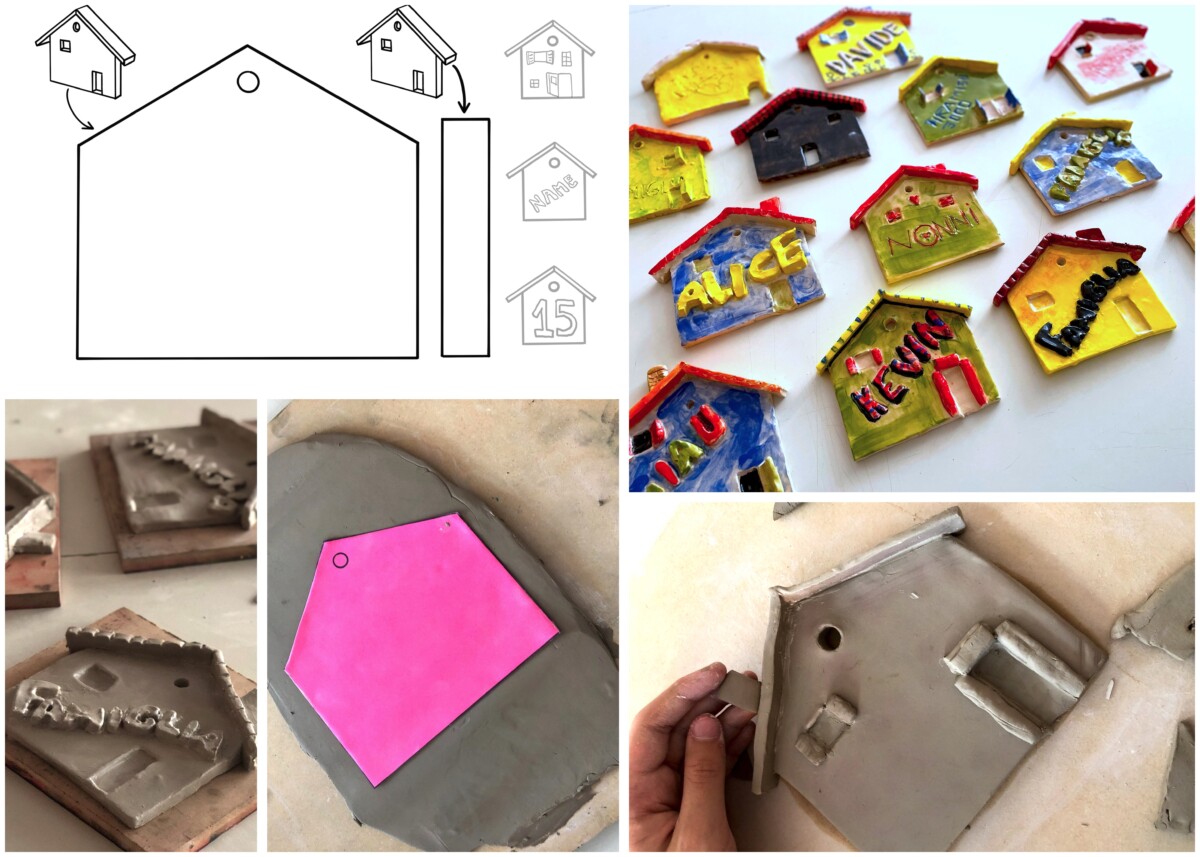
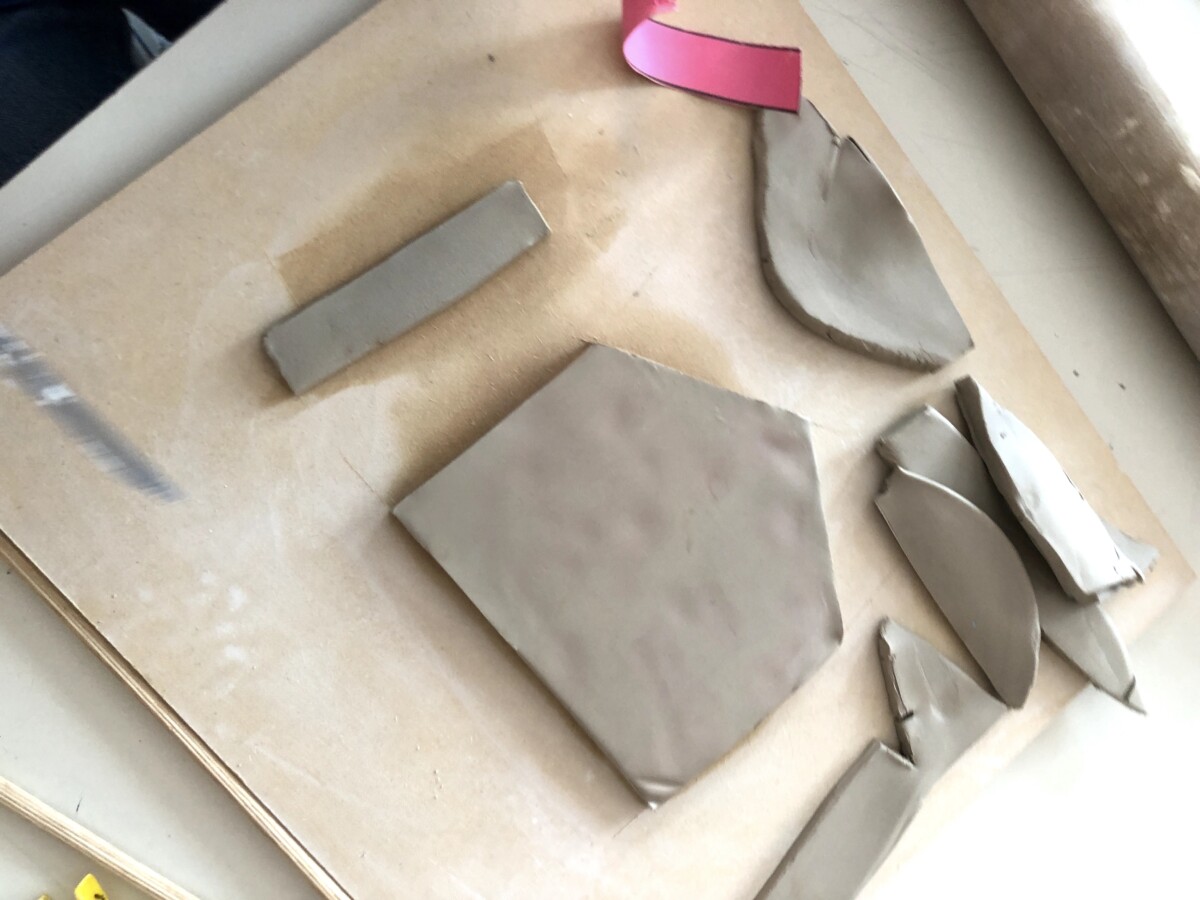
To make the slab of clay, we flattened the clay with hands on a wooden board, and then we flattened it with a rolling pin, using two sticks on the sides of the slab to maintain a thickness of about 7 mm. Once the clay slab was made, we cut out the facade and the two slopes of the roof using the paper templates.
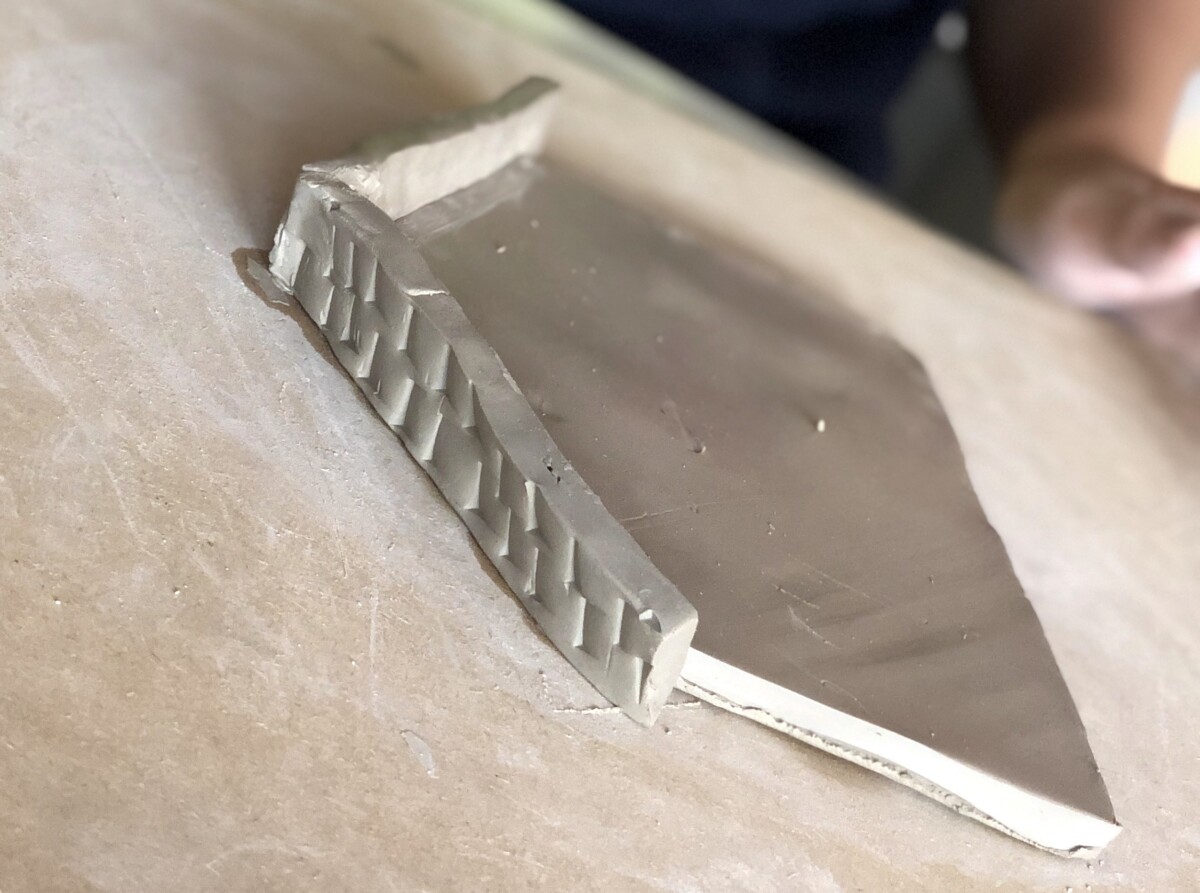
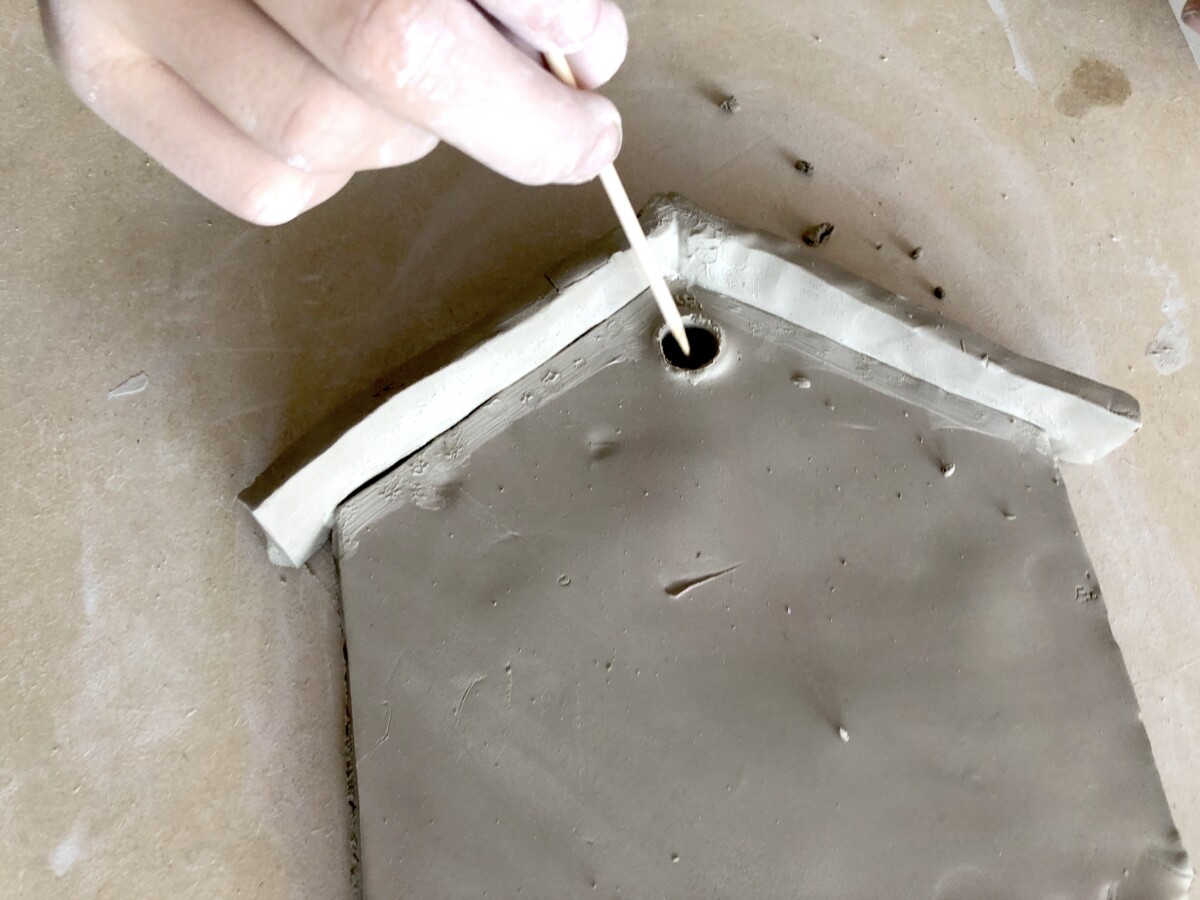
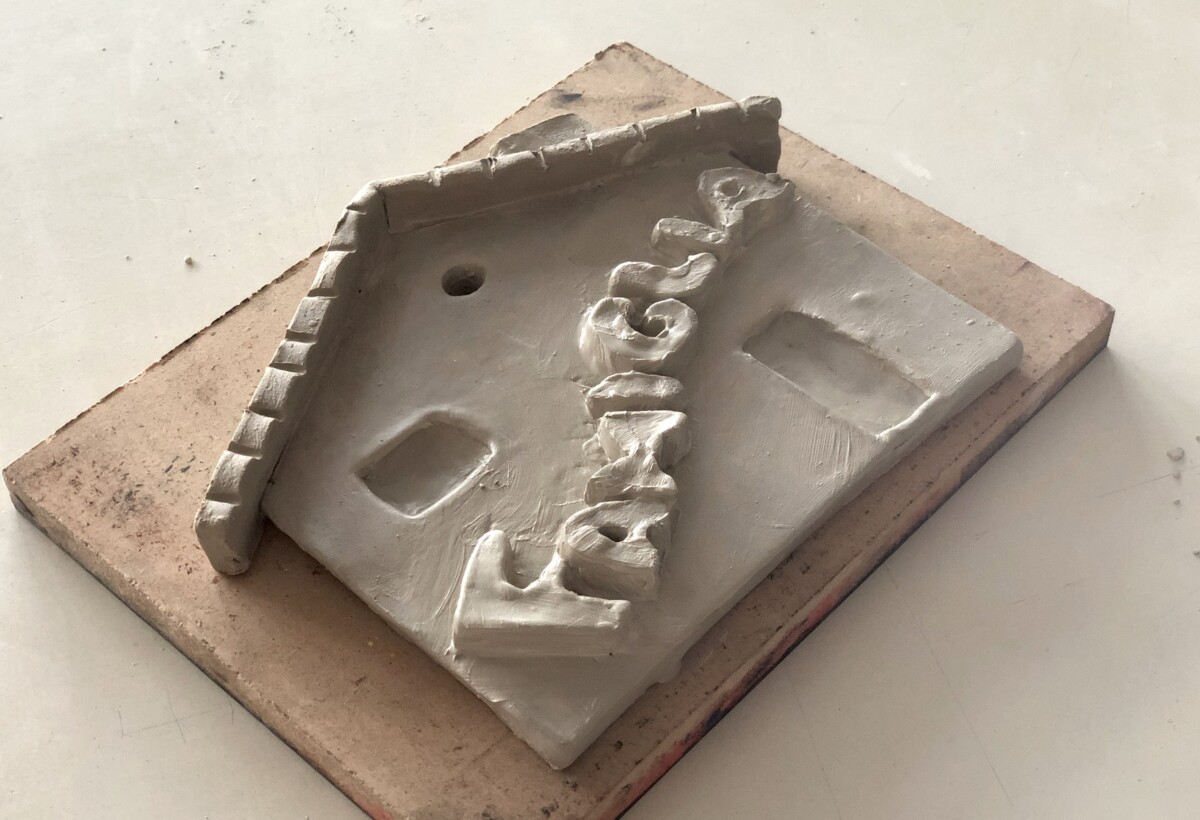
After that we assembled the pieces joining them with the clay slip. To be able to hang the house, we made a central hole in the upper part of the facade.


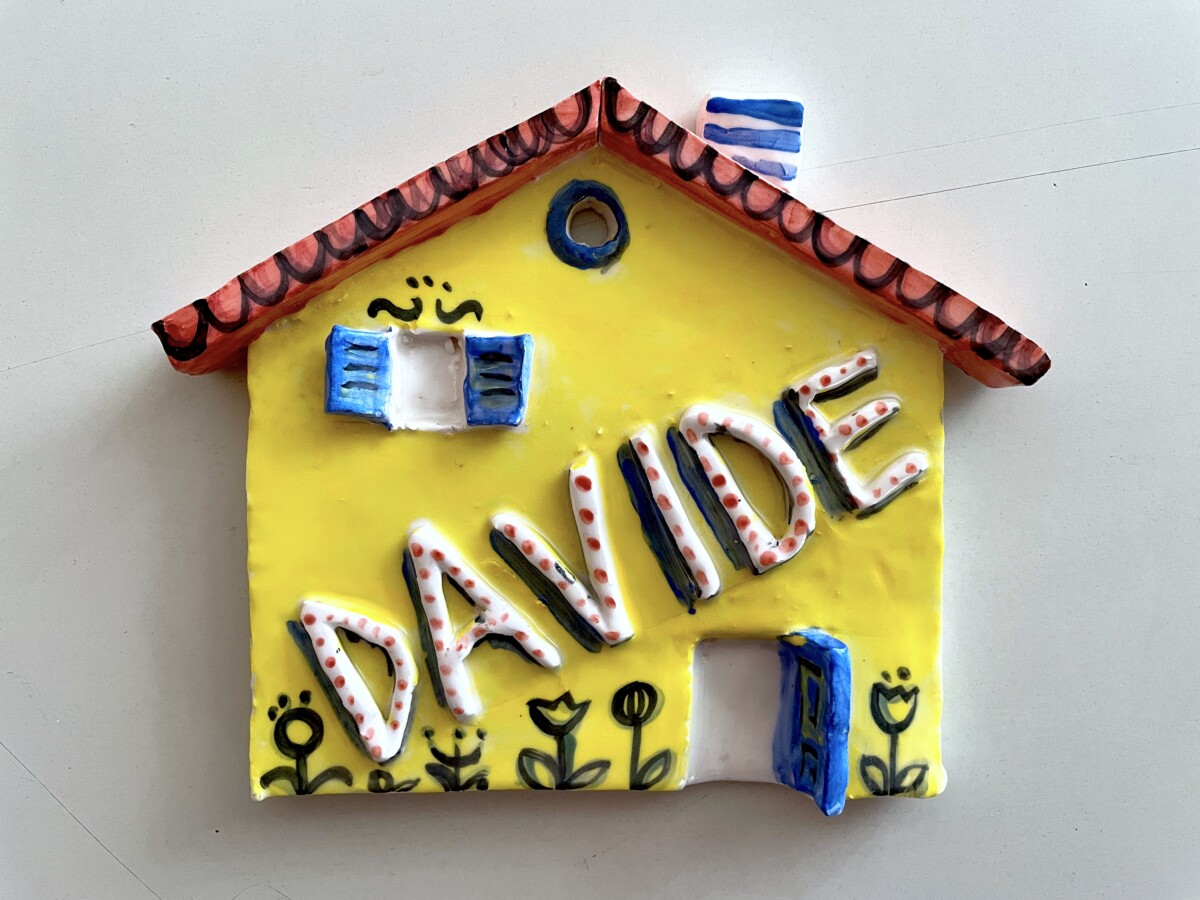
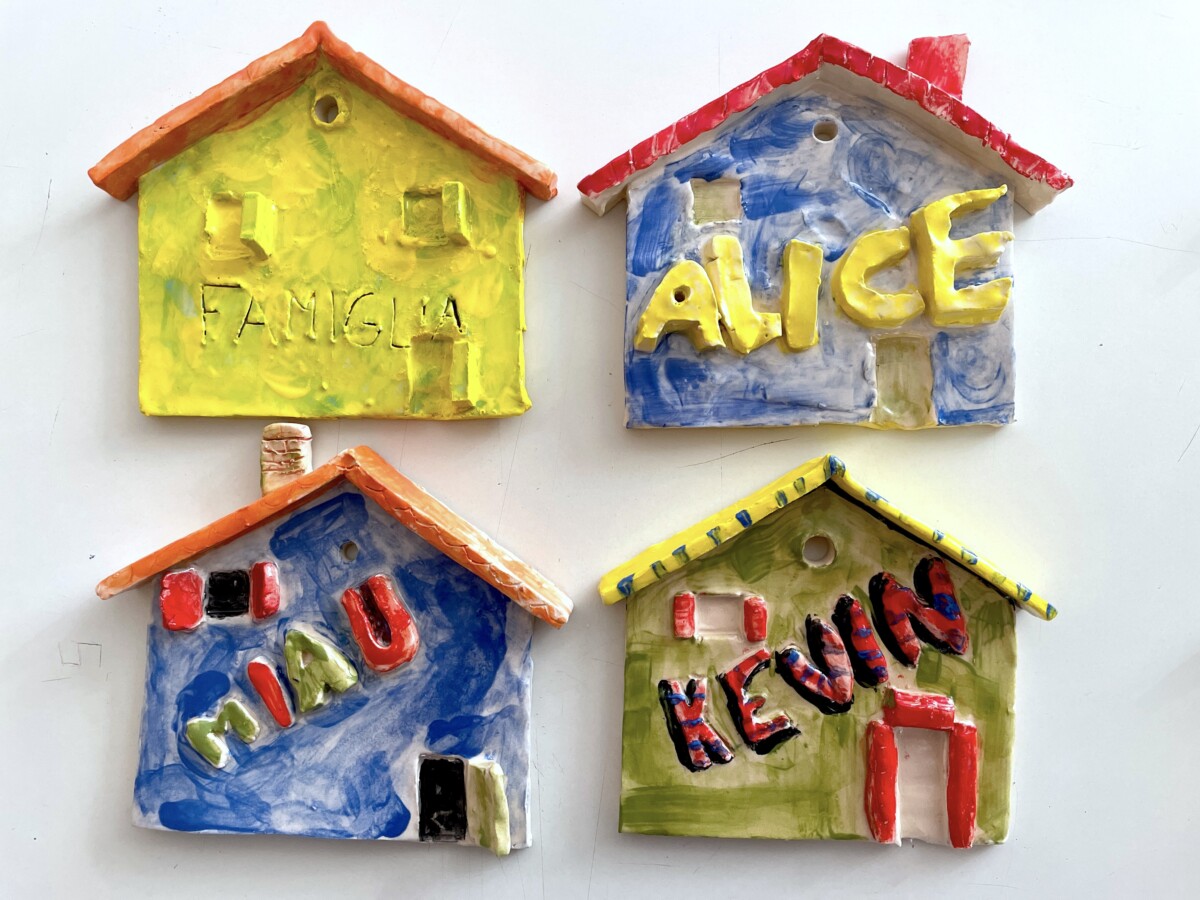
Once the main shape was ready, each student decorated his own house with windows, doors, shutters, a fireplace, writing and decorations.

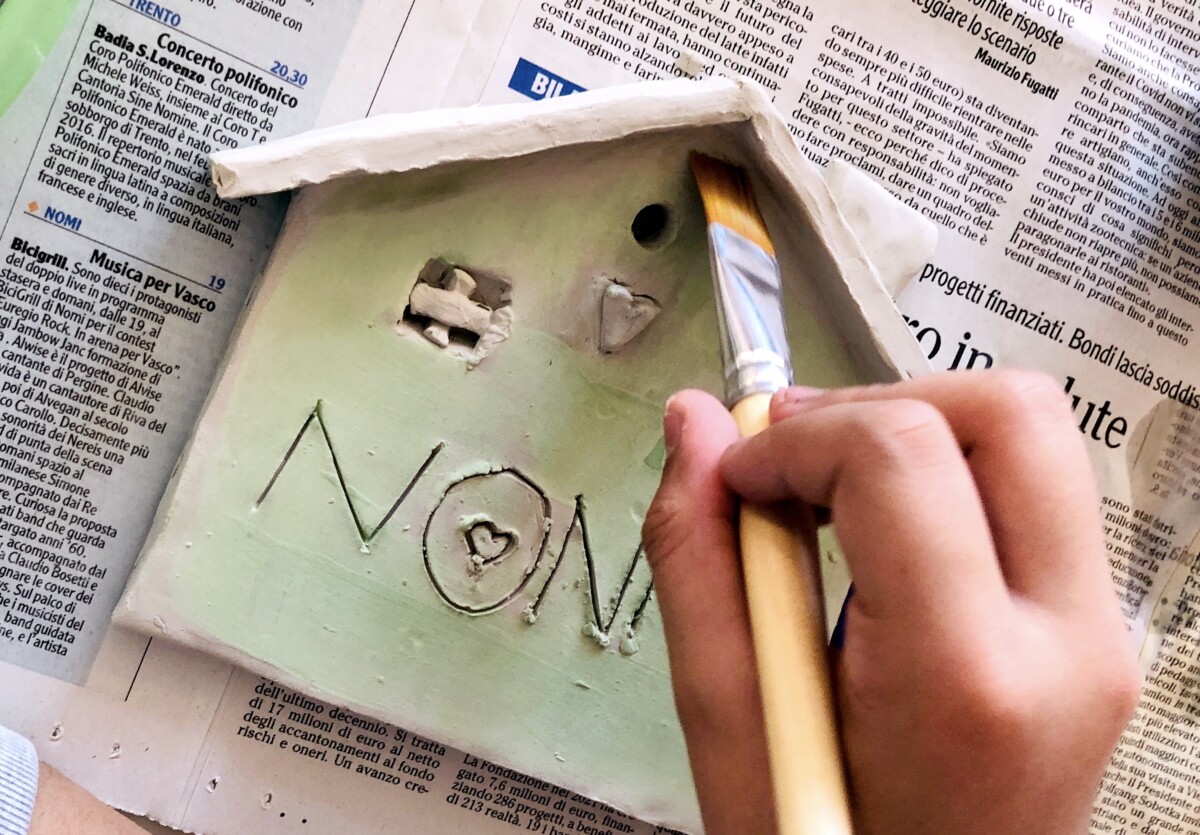
When the clay has been leather hard, we decorated the houses with colored engobes and made the first firing to obtain the biscuit.

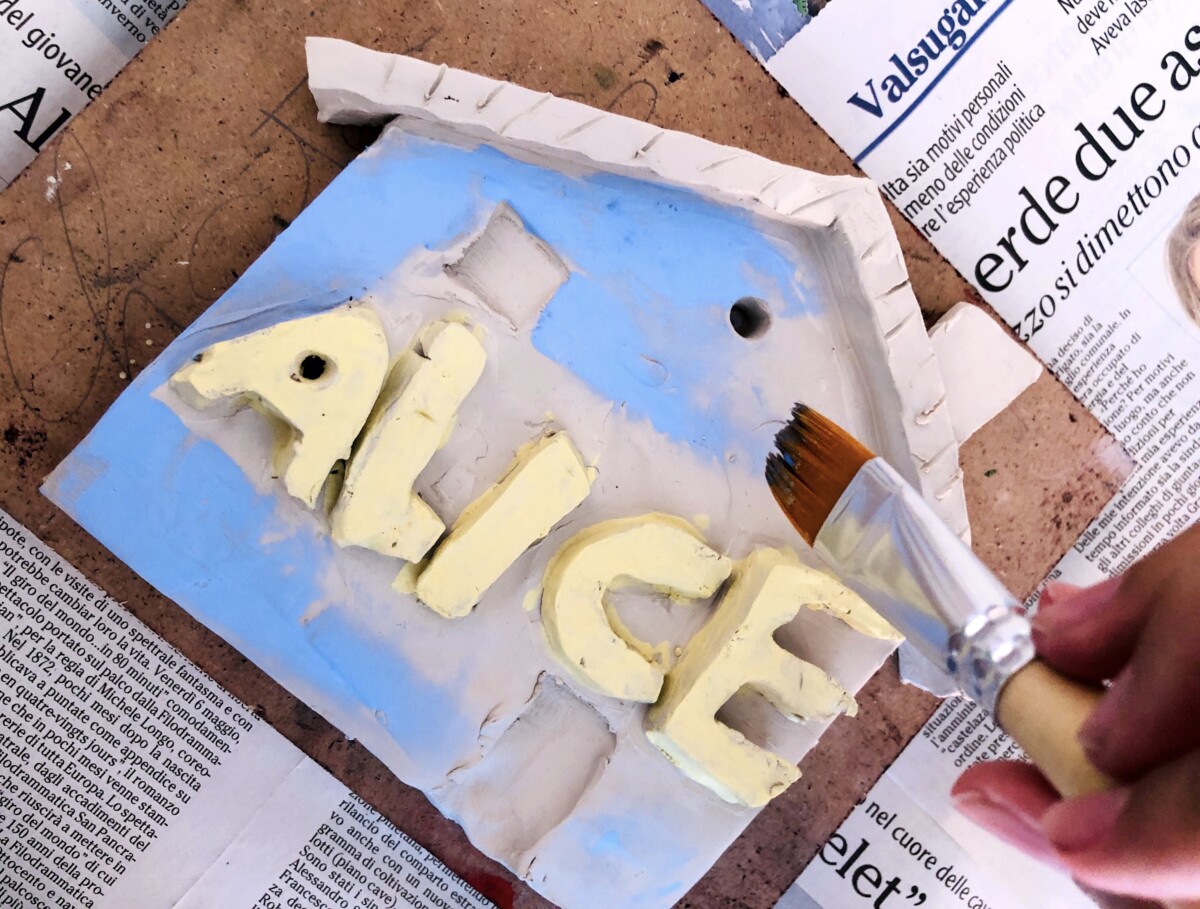
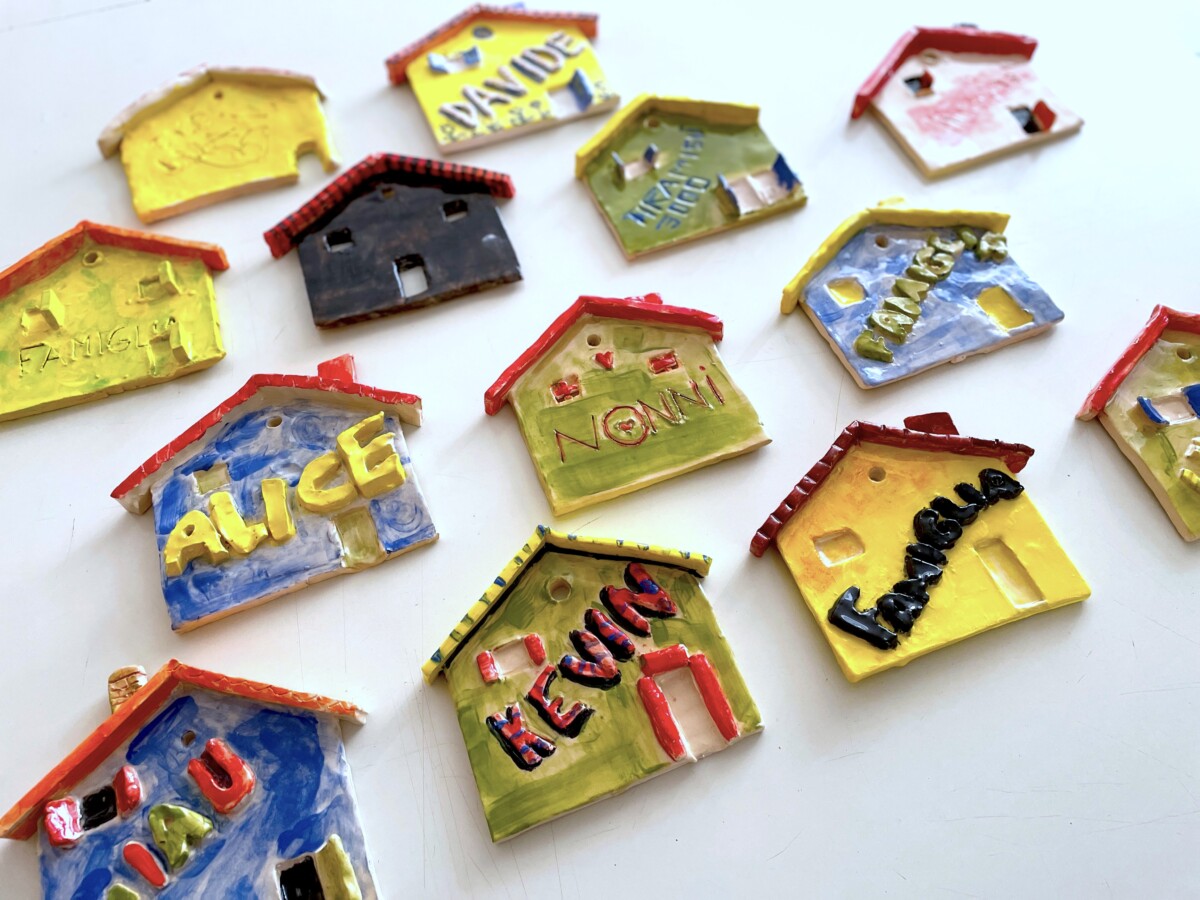
After the first firing, the houses were glazed with lead-free transparent crystalline, to obtain the final effect of the glazing.

Can this be done with air-dry clay?