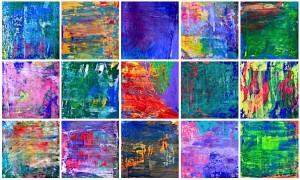
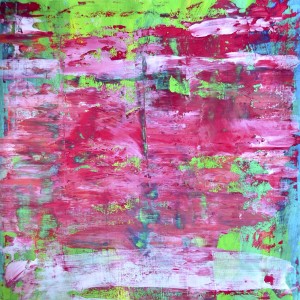
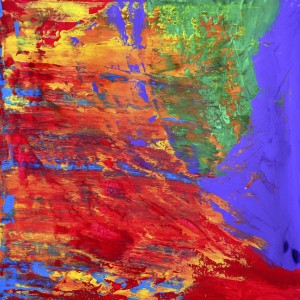
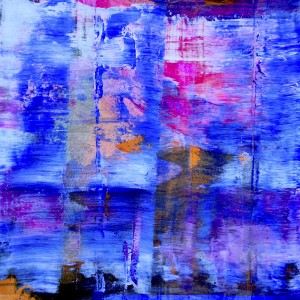
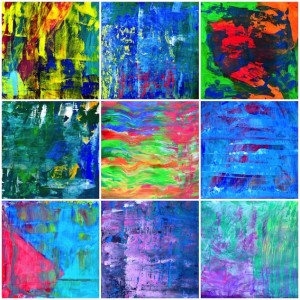
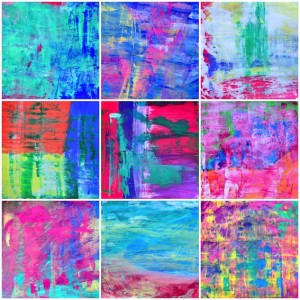
Gerhard Richter is one of the most outstanding living artists of our time. After a long discussion in class about the role of art, and about the developments of modern and contemporary art, I showed the students the works of Richter, from the most figurative, to the most abstract. We talked about how the abstract painting is a matter for the artist’s choices, and certainly not the skills. Another interesting aspect was to break away from the purpose of the project and simply rely on the action of painting, on the wonder of creation, on the surprise that “doing” can give.
Quoting the words of Gerhard Richter: “When I paint an abstract picture (the problem is very much the same in other cases), I neither know in advance what it is meant to look like nor, during the painting process, what I am aiming at and what to do about getting there.” -Gerhard Richter
After watching this video on how the artist practically works, we defined the three steps for the creation of our abstract work
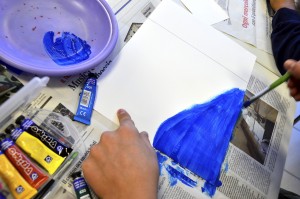
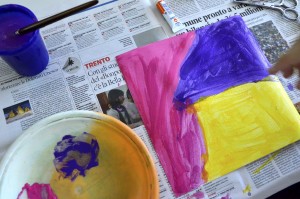
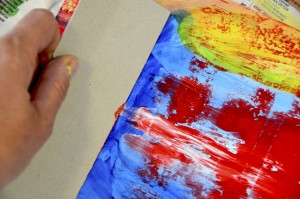
- paint a background in three or four colors, with solid colors and free-slide slowform shapes.
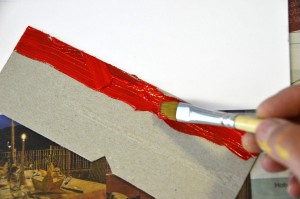
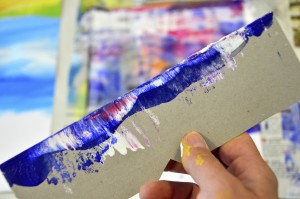
- put one or two thick colors on the edge of a strip of cardboard that will serve as a spatula. Choose colors in order to have some kind of contrast with the colors of the background (light / dark, or contrasting colors / complementary)
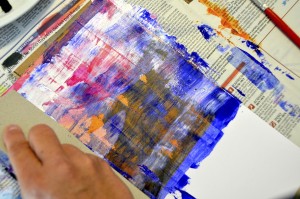
- slide slowly your cardboard “spatula” full of paint over the painting, in a single direction (from top to bottom, from left to right or vice versa), varying the inclination, and the pressure.
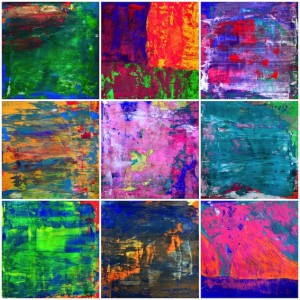
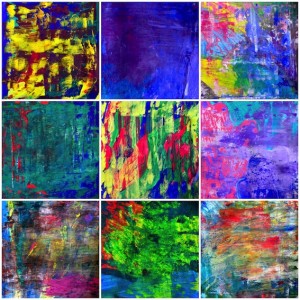
At the end of this “abstract” experience we talked about how we felt in facing the blank page without instructions, limits or projects, and how we reacted to the surprise of the result. Somebody felt discomfort in painting so freely, somebody has felt joy and euphoria. Some seemed wasting their picture in the third phase, someone else has discovered color combinations and surprising depths. On one thing we are all agreed: we had fun!
Here we have the video of our experience: Gerard Richter in three steps

Wonderful art lesson, Miriam! Love following you!!
thanks Jeanne!!! You bright my day 🙂
I am always so inspired be your art lessons! I just love this one! What type of paper did your students paint on?
Hi Trish! We used a smooth drawing paper, 220 gr/m2. We always use this kind of paper when we paint, because is strong an resistant 🙂
This was cool
Thanks Devon! Are you an art teacher? Your student will enjoy this activity! 😉
This is another project my art teacher told us to do. And again, Thanks for this website. – Julian
Oh, and Happy Veterans’ Day!
Did you do it? I hope you enjoyed it!
Hello, could you please tell me what paint you used? It looks a bit watery in some shots. Thank you. These are beautiful by the way.
Hi Gretchen. It is tempera paint (or gouache) that is a bit more watery than acrylic colors, but I think you could use also acrylics, diluting them a bit. Thank for your comment, let me know if you need some other suggestions. 🙂
Thanks Miriam!
Hi, this looks like a fun project I will be using for my upcoming co-op. Could you tell me what type and size of paper you used? Thanks!
The paper is a smooth drawing sheet 220gr/meter square. The size is 24×24