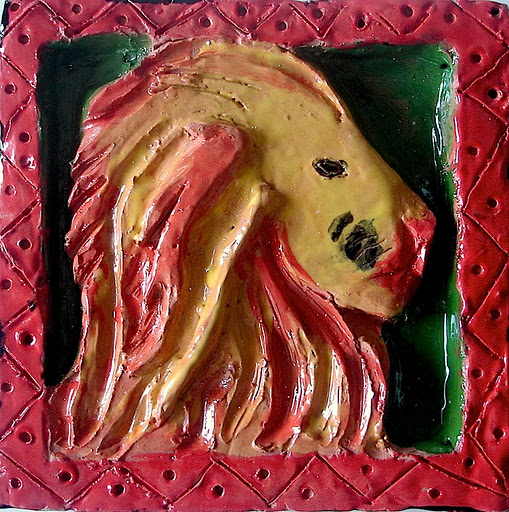
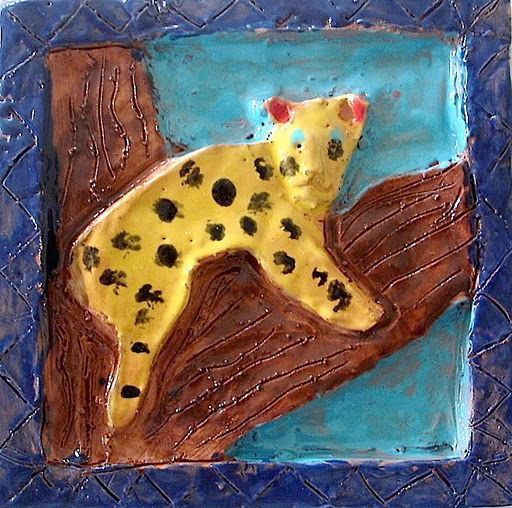
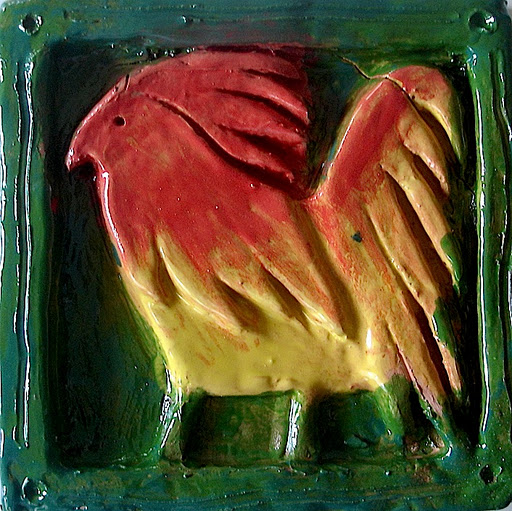
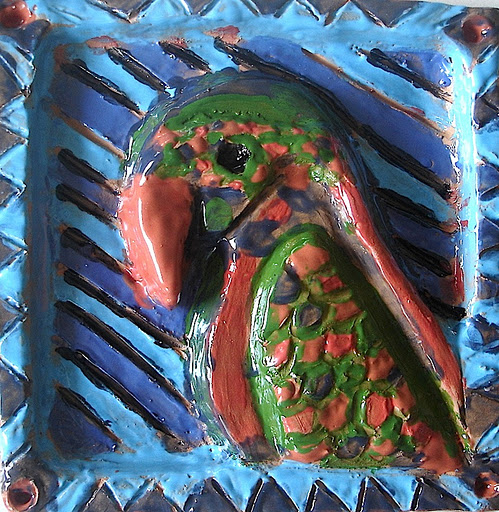
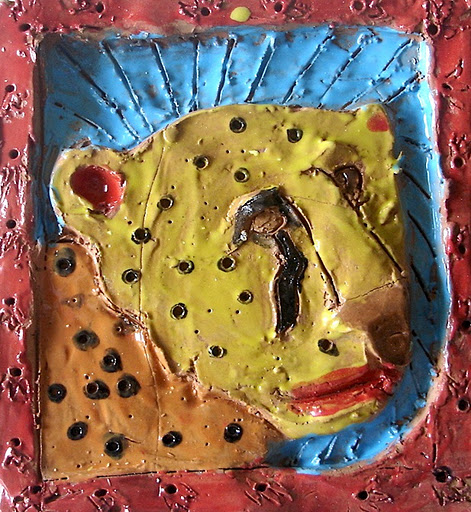
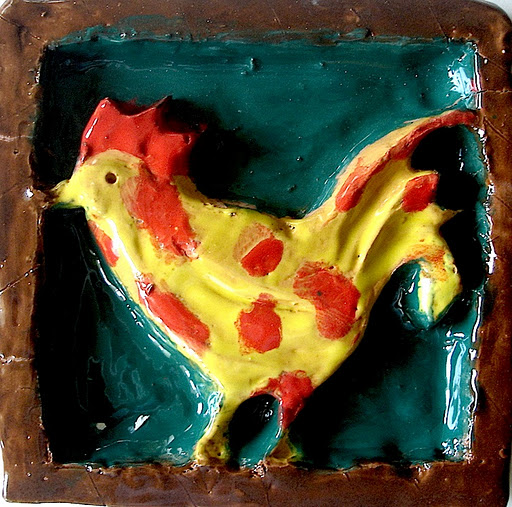
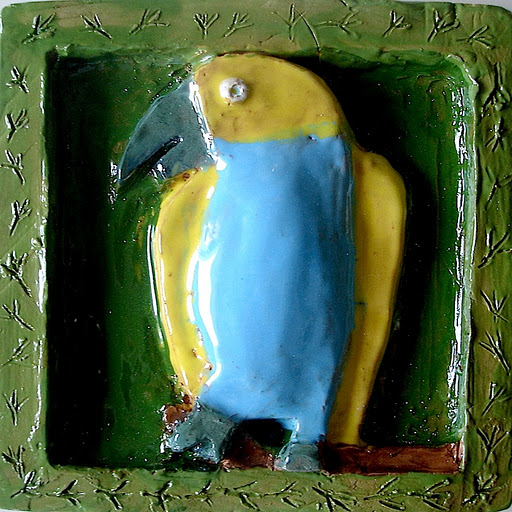
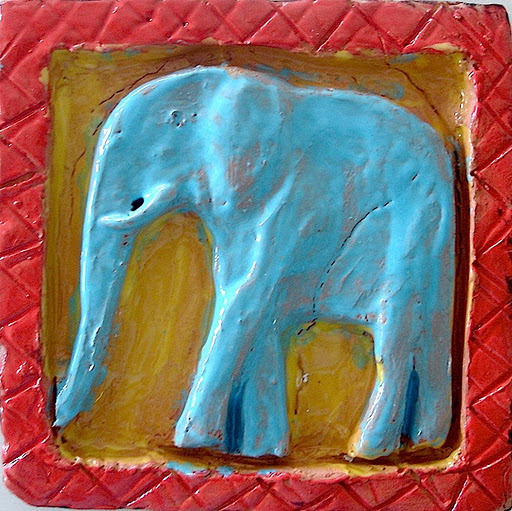
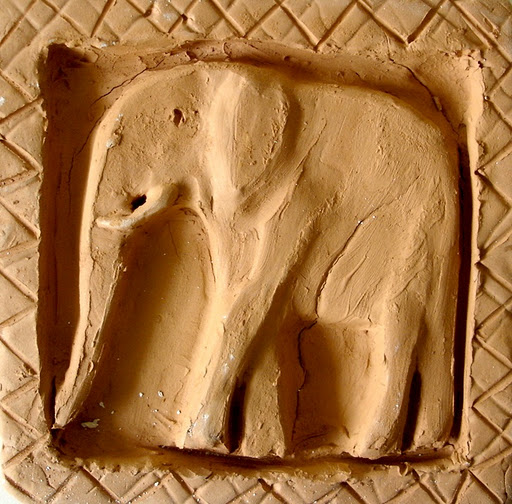
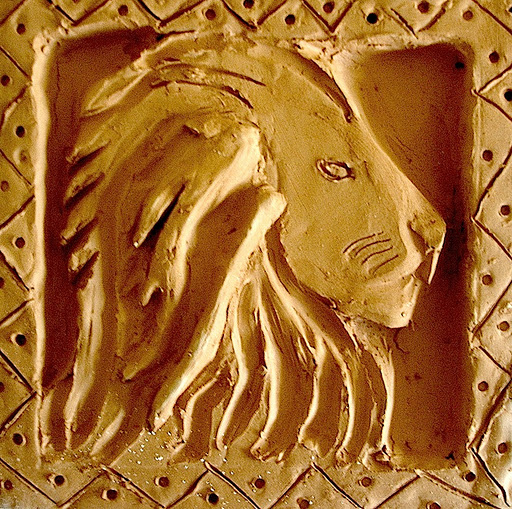
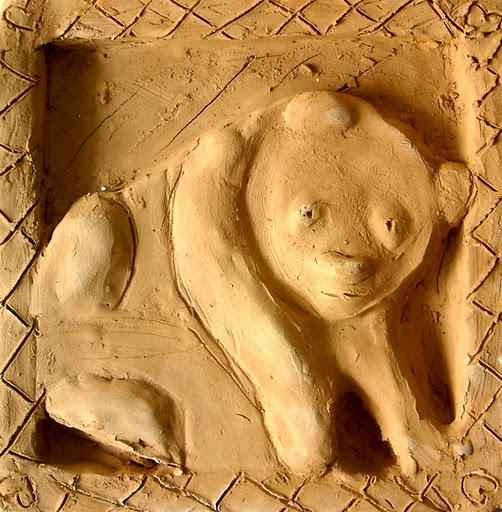
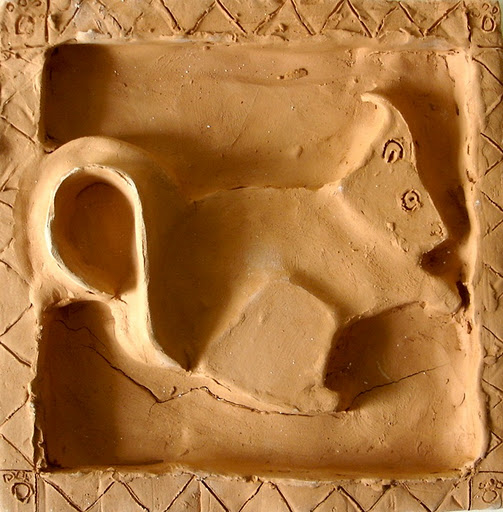
The bas-reliefs were made starting from a slab of clay of 3 cm. After drawing the subject on the clay the students have dug the clay to create the background and added the clay on the parts in relief. After the first firing the pottery was decorated with the glaze and fired a second time.

ciao, grazie per il tuo commento. Hai un bellissimo blog! a presto
Molto belli, complimenti! Con tutte queste belle idee, hai mai pensato di scrivere un libro di testo per "arte e immagine"?Oggi ho visto il nuovo laboratorio a scuola, non è ancora finito però. Appena sarà agibile ti invierò le foto!!!Ciao
BELLISSIMO!!! Stiamo preparando un lavoro molto simile…Grazie per averli pubblicati così i ragazzi di M.A.Gia avranno un ottimo esempio da seguire!!!Grande Miriam!!! e grandi i tuoi allievi…
It is funny that you should comment on my blog so positively. I was amazed by yours as well and I have 'Pinned' many of your images for future reference. I'm not sure if you know about Pinterest. Check it out if you haven't already… http://pinterest.com/nichahn/in-the-classroom/Thanks for your comment and in regards to the glue I used for the oil pastel projects… We used Elmers School Glue. It dries clear. Nic HahnMiniMatisse.blogspot.com
bellississisissiisssssiisississsiisssiiissimiiii, davvero, mi dispiace molto ke lei se ne sia andata, era proprio brava, la ammirò e spero ke sia felice i inghilterra… veronica manna della 2a dell'IC di mezzocorona, italy, trentino, treto 🙂
ciao Veronica! Qui va tutto bene, sto facendo qualche lezione di Arte in una scuola qui a Bristol! Spero che tutto proceda bene anche per te… come sempre salutami un po' di compagni… mi ricordo di tutti voi!! Grazie del messaggio e a presto!