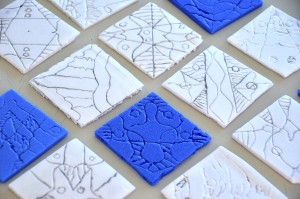
Small prints made with styrofoam matrices to experience the radial symmetry. This type of symmetry is based on the principle of rotation of an element, respect to a central point. To realize the printing plate we cut out of small squares (8×8 cm) from styrofoam food trays.
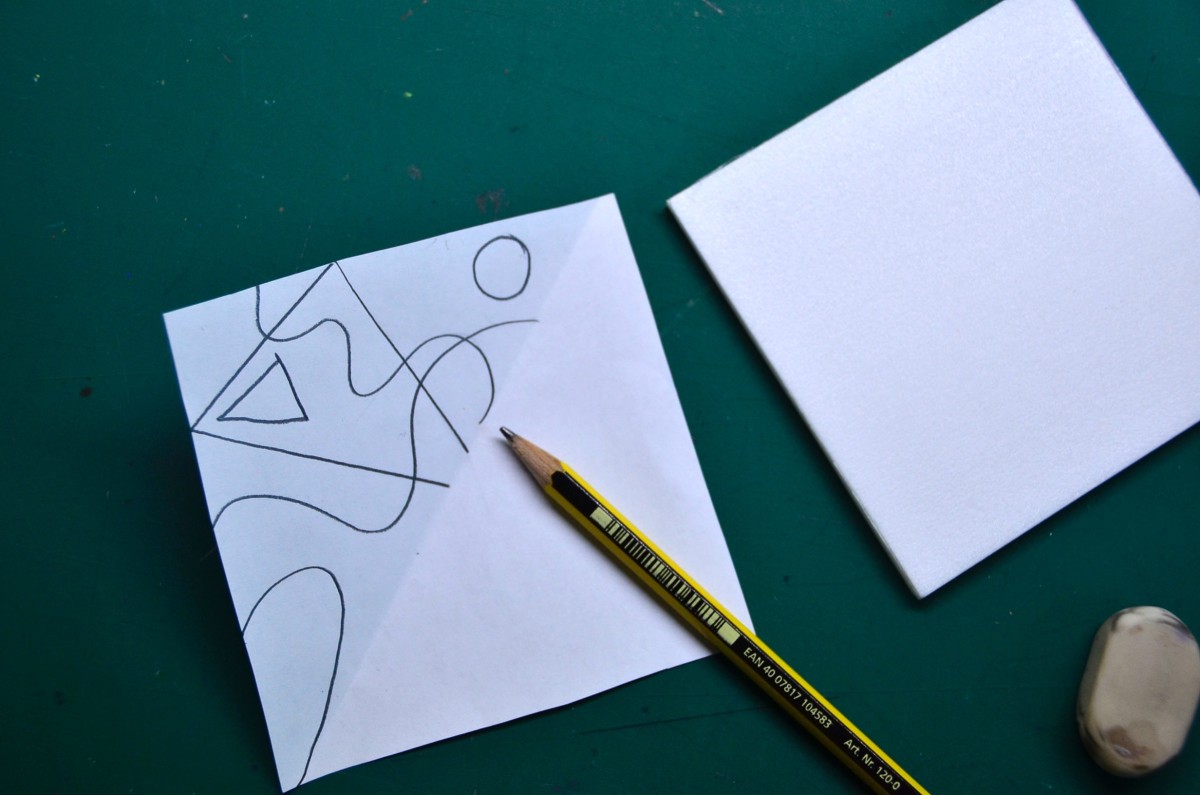
Now we need a small square of paper, the same size of the printing plate, to plan the design to be engraved. The square of paper is folded in half along the diagonal. On the paper triangle thus obtained, we draw three curves lines, two straight lines, two or more small circles and some decorative dashes. These indications are useful for maintaining a certain simplicity in the drawing, since the matrix is not very easy to engrave, it is preferable not to make too intricate patterns. The design made on half of the leaflet, is traced on the second half, in order to obtain a symmetrical design on the diagonal.
Superimposing the leaflet on the printing plate, you draw the design with a pencil, in order to leave a slight trace on polystyrene. This trace is then engraved with a sharpened pencil in a deeper way into the styrofoam surface.
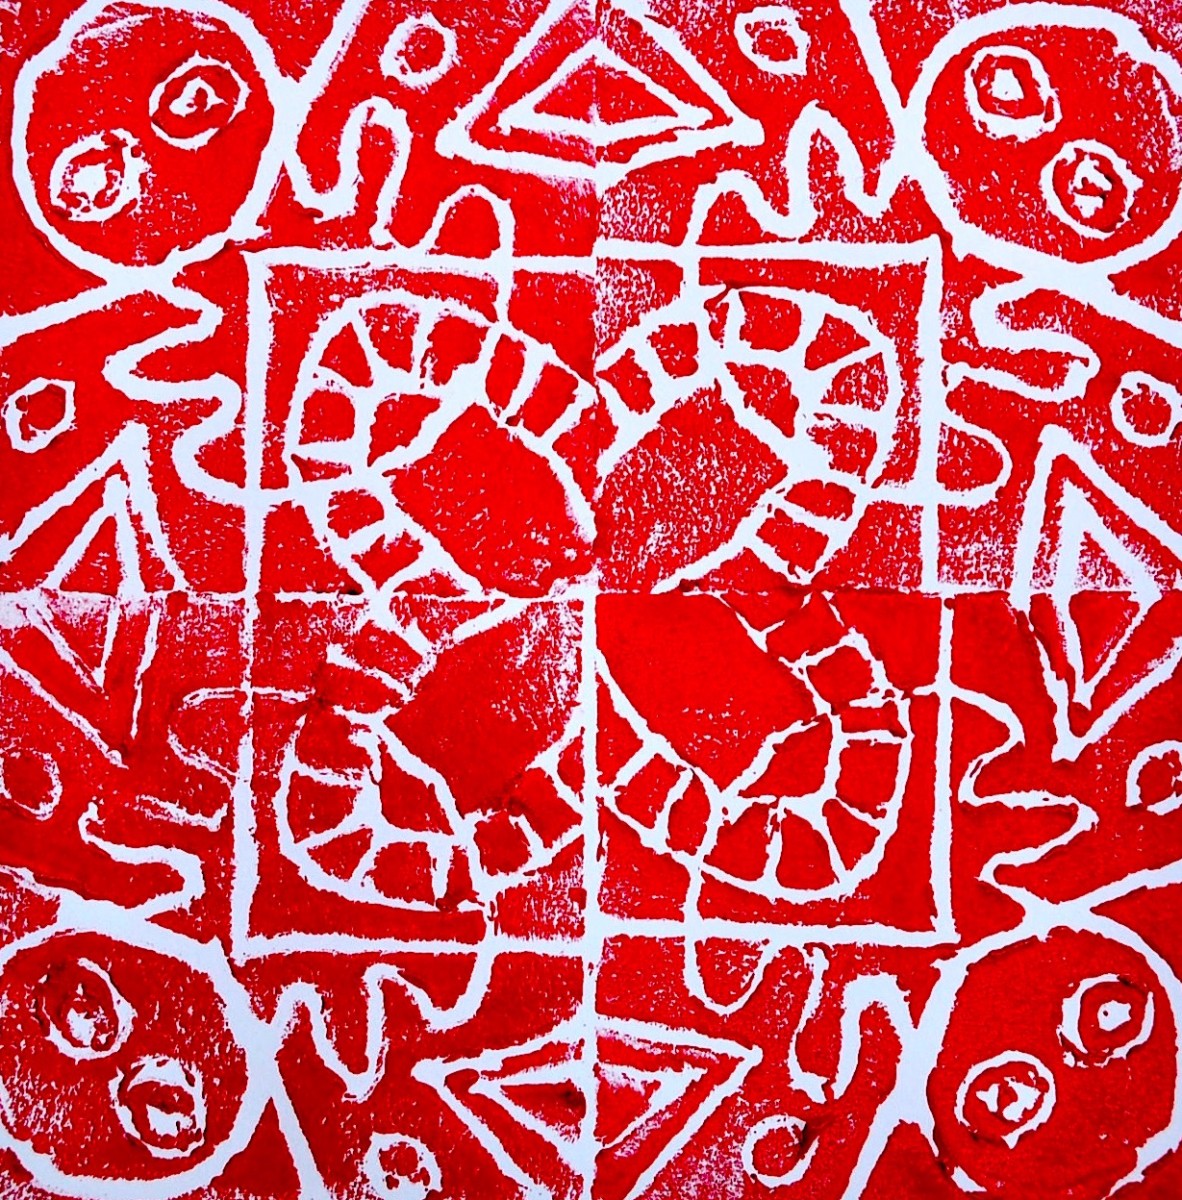
To put the color on the printing plate we used flat brushes, smearing a thin layer of acrylic color in different directions. Printing is done by hand without the use of press, pressing the polystyrene plate on a white sheet. We have to be careful not to put too much color on the printing plate, and to “rotate” the matrix around a corner, in this way you will get a print in radial symmetry. We need:
- small styrofoam plates 8×8 cm
- piece of paper 8×8 cm
- sharp pencil
- flat brush
- acrylic painting
- drawing paper or white card
- duration of the activity: 3 hours


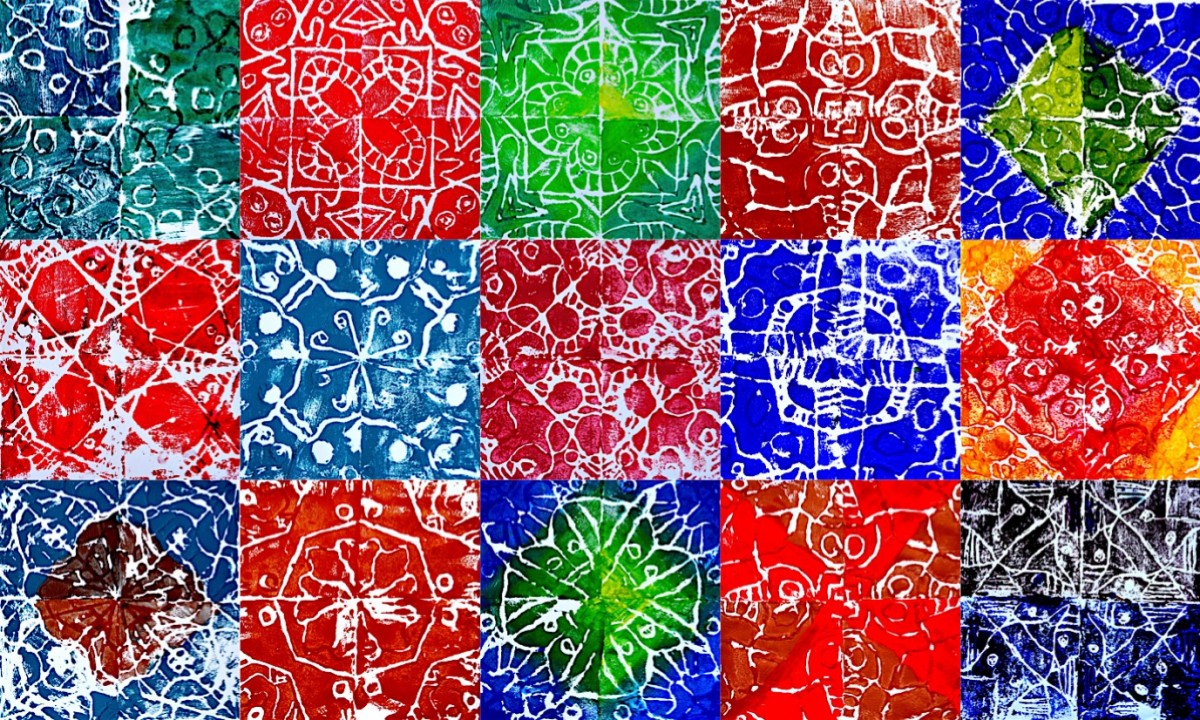
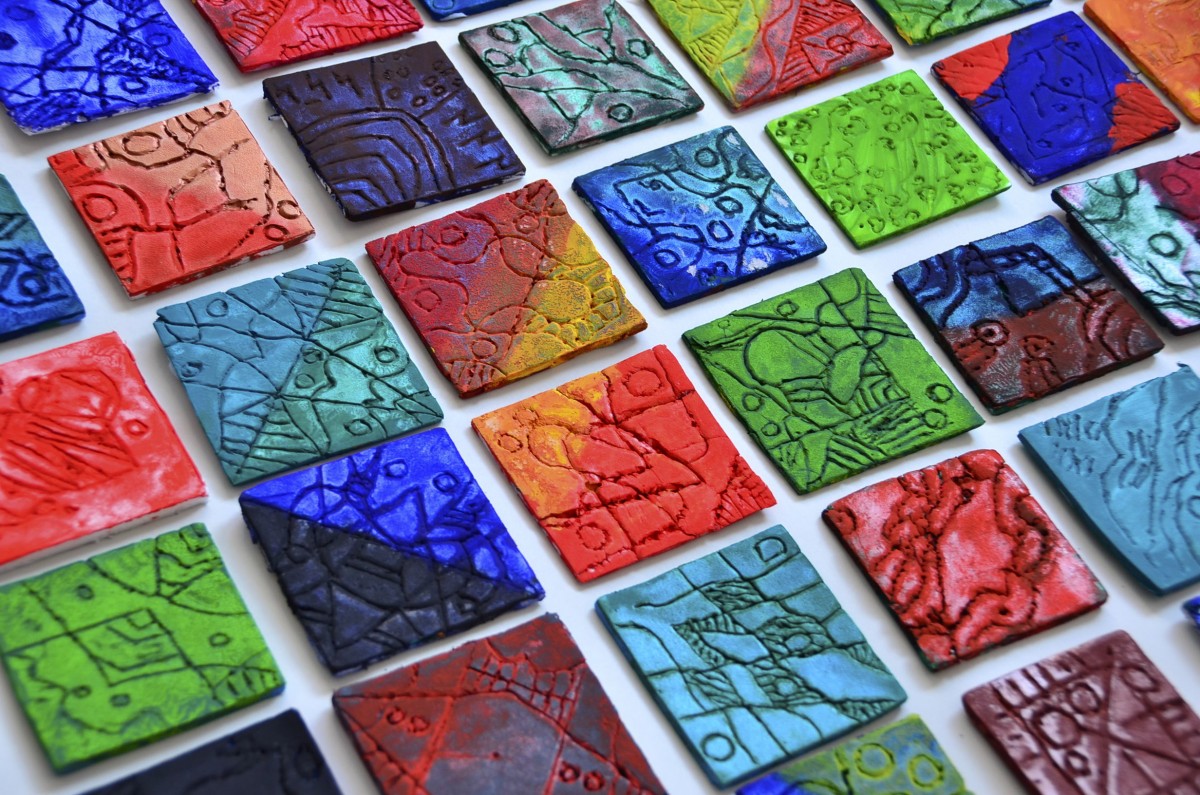
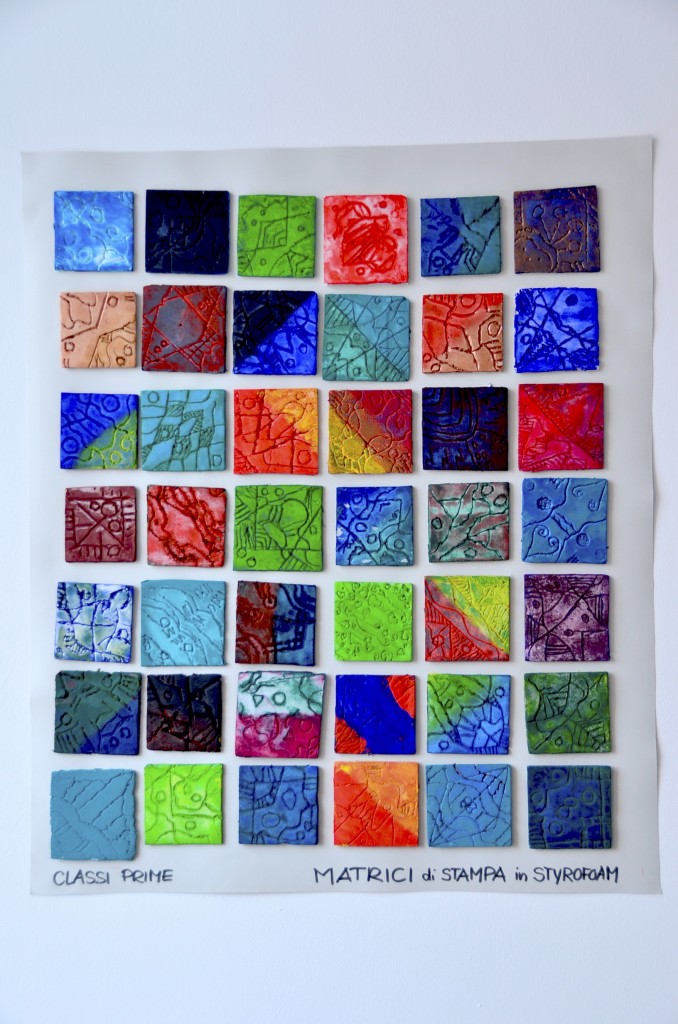
At the end of the work, we have observed our printing plates used, and we found them really beautiful! So we decided to use the colored styrofoam plates to create a decorative panel. We glued all them on a poster to be hung in the classroom:
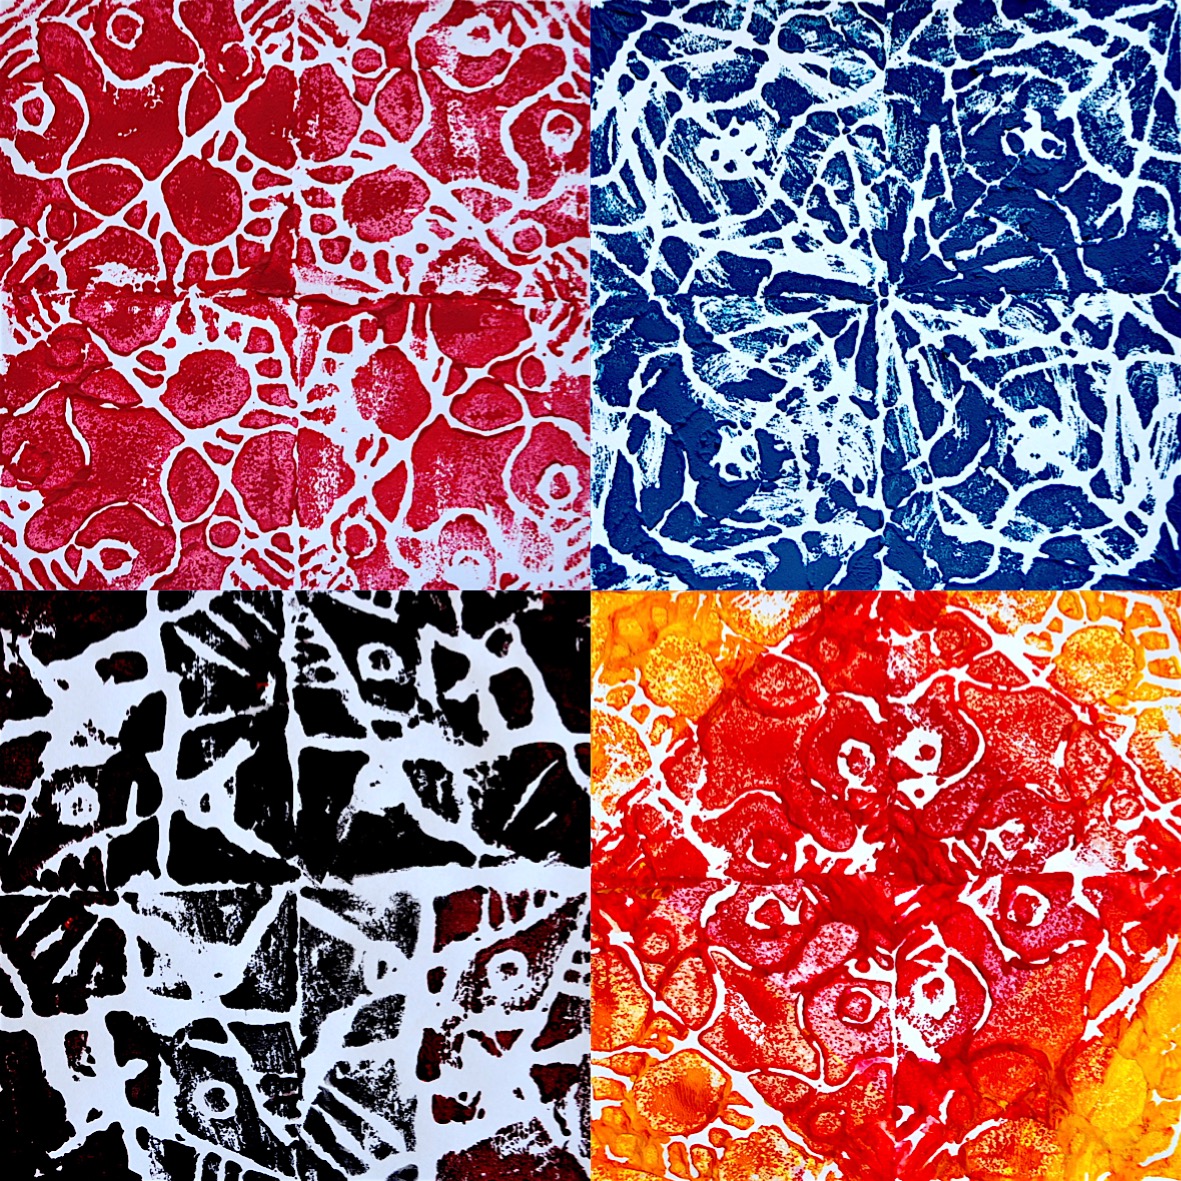
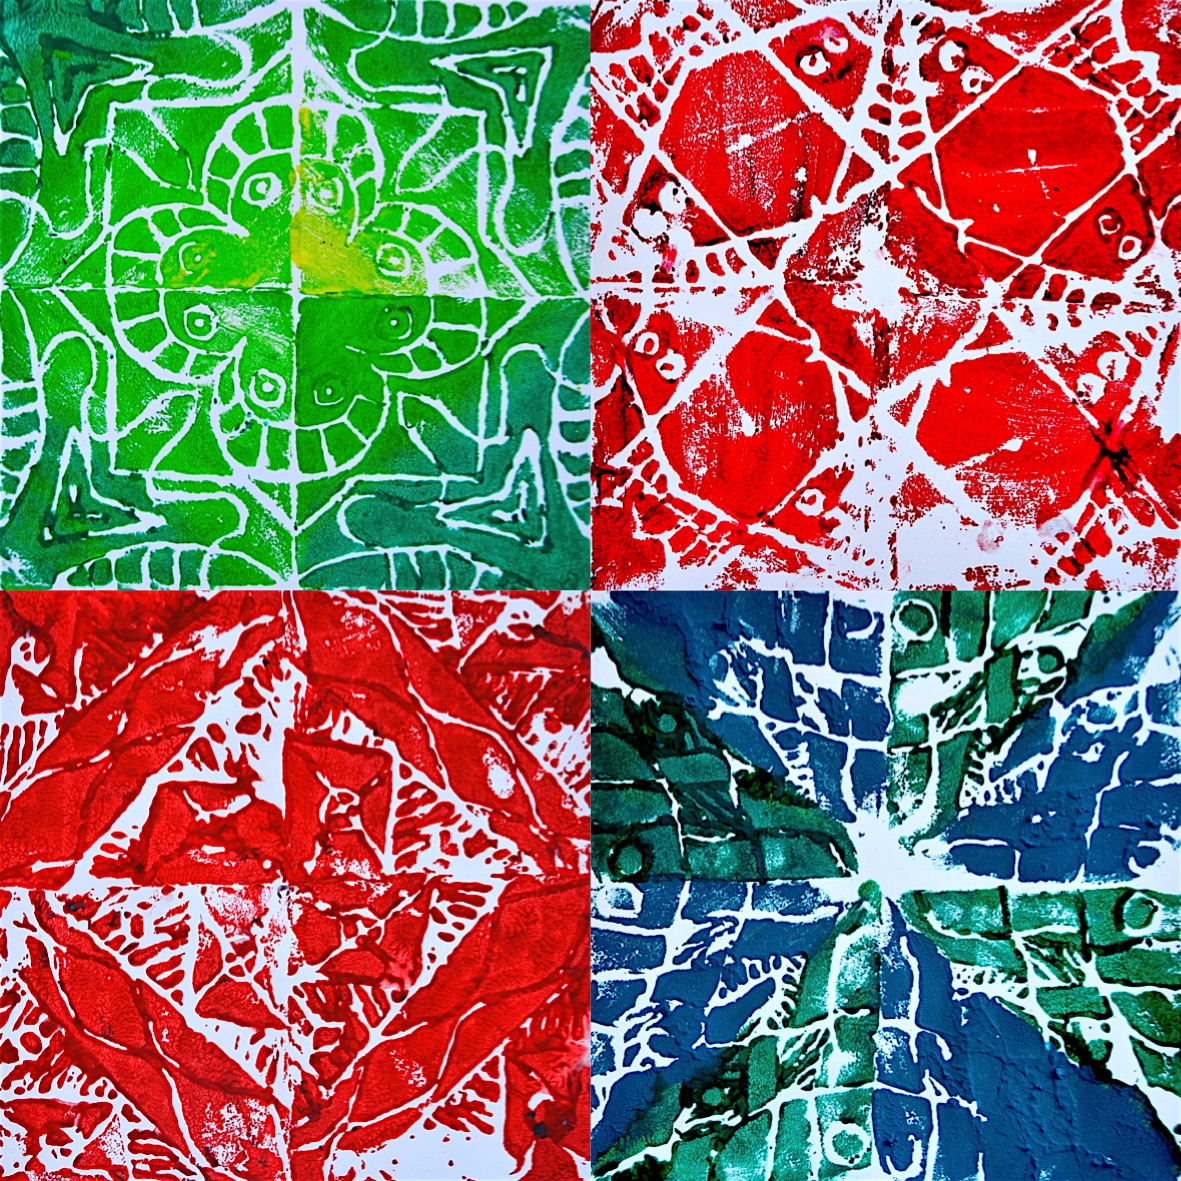
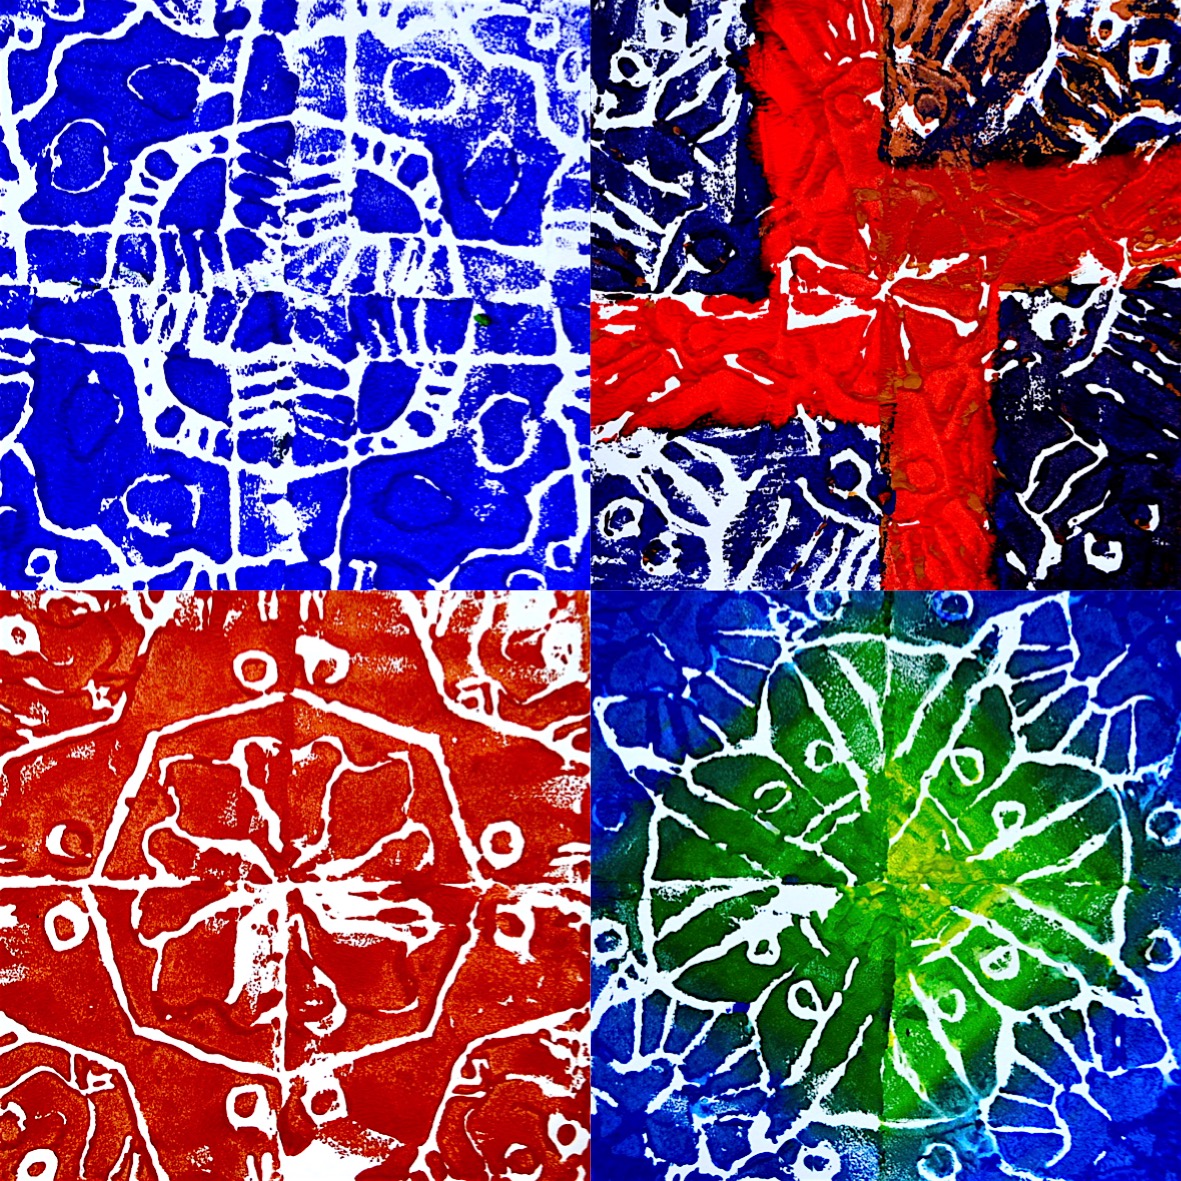
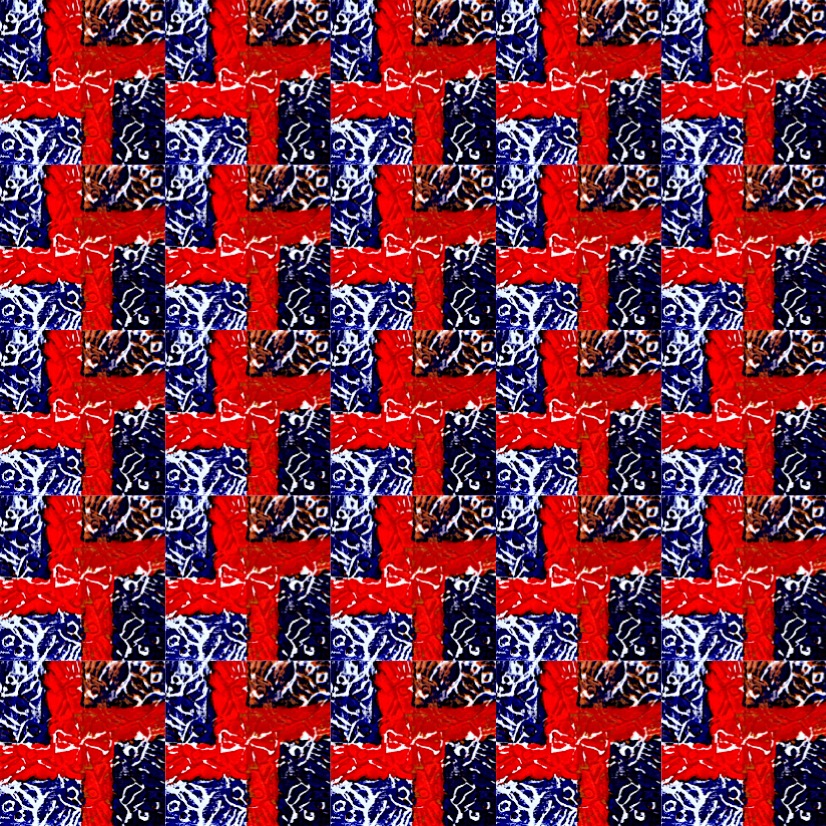
Another experiment was to create modular surfaces with a photo collage program on the computer. The patterns that we got are very charming!


Did you know there is a website called spoonflower (http://www.spoonflower.com/welcome) where you could upload those beautiful images and have fabric made out of the designs.
Hi Jen, thanks for the suggestion, the idea is amazing! 🙂
I love these!
Love them! Gearing up for my printmaking unit. I really dig the installation of plates as well.
Hi Don Masse, nice to meet you. I hope your students enjoy the lesson! 🙂
Love the idea!!
This is a fantastic idea & I really love the grouping of the printing plates. This could be a group project that could be sold in a fundraiser for the art department or for the school! ~Michelle
Thanks Michelle. I’m used to follow your website, your ideas are amazing, thanks for linking and sharing!
Did this activity with a group of grade 5 and 6 students and it turned out awesome!!! We used meat styro-foam trays and they worked well.
Thanks for the great idea and will definitely do it again 🙂
Chantal Ouellette
grade 3/4 french immersion teacher
Winnipeg, Manitoba
Hallo Chantal! I’m glad to know that my lesson was useful to you! Thanks for your message! 🙂
Thanks for linking my website !
HI,COOL ART!!!!!!!!!!!!!!!!!!!!!
thanks Dalton!!
Could liquid tempera paints be used?
Hi Devon, I think that liquid tempera doesn’t stick well to the styrofoam, but the best way is to try with your supplies because perhaphs it could work (depend on the quantity and the type of glue/medium in the tempera paint). I used acrylic paint because my tempera paint didn’t work (but it is an italian brand, maybe your tempera works). I’m going to post another activity with prints in radial symmetry with an amazing outcome, stay tuned 😉