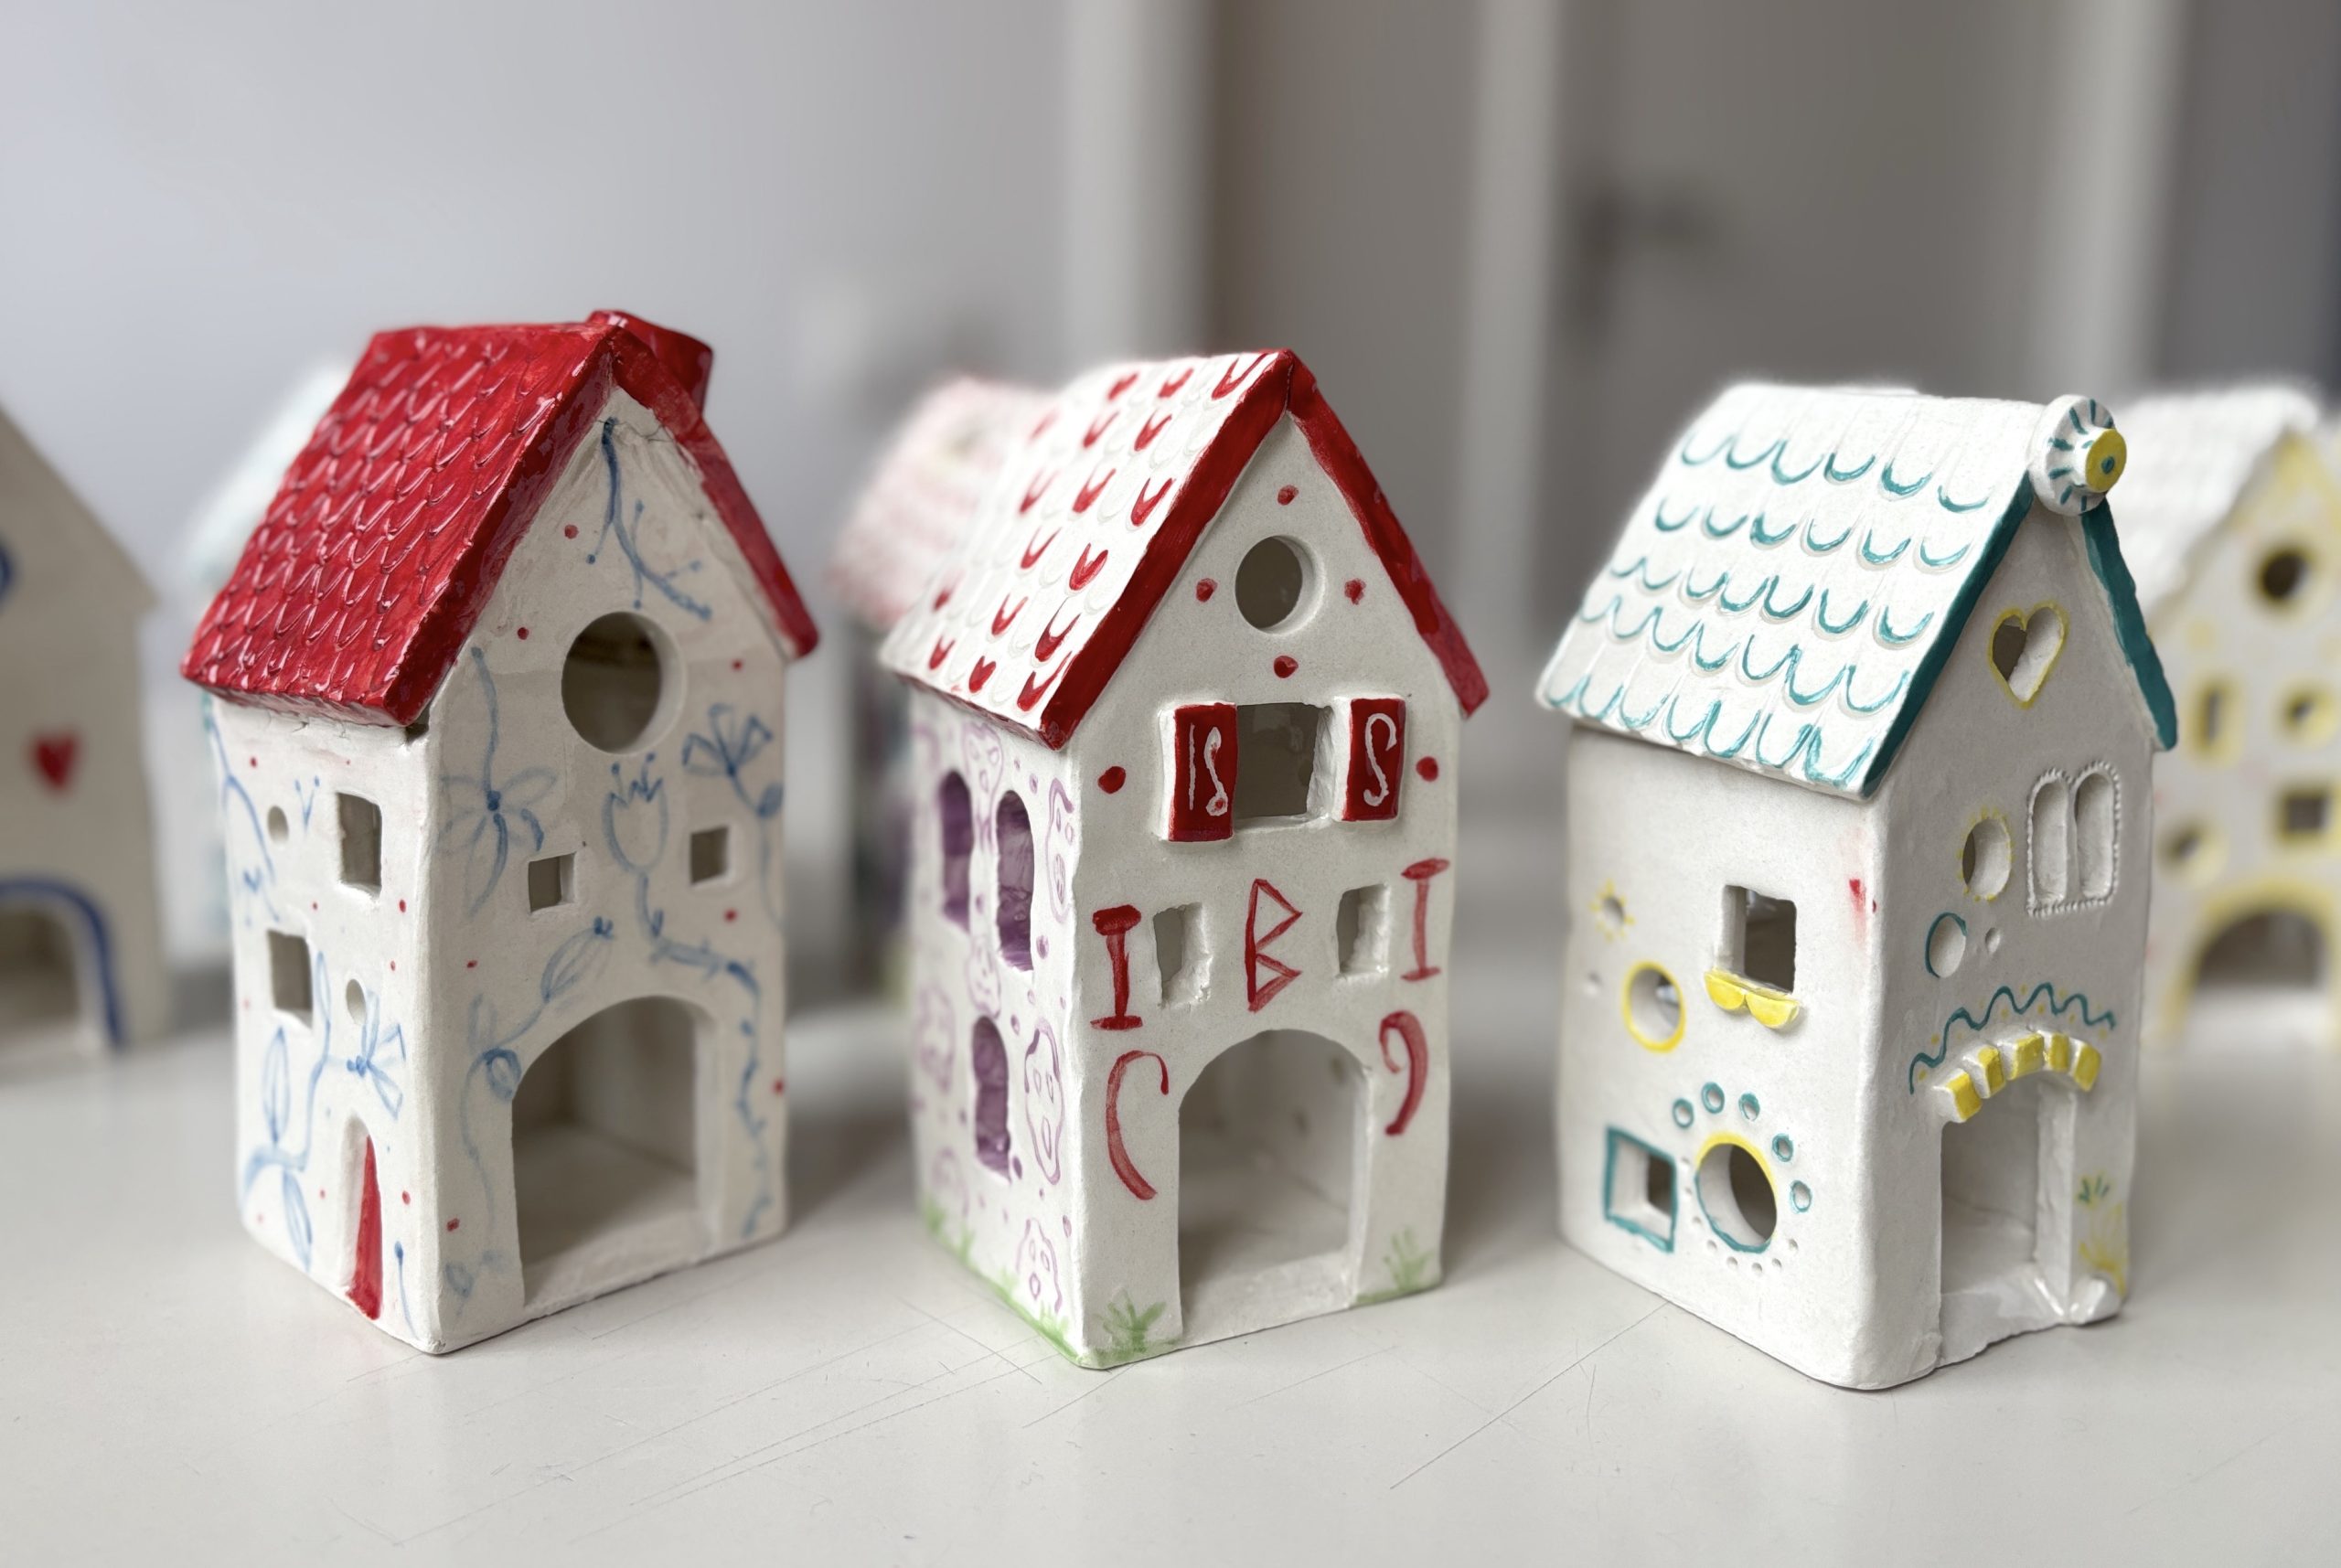
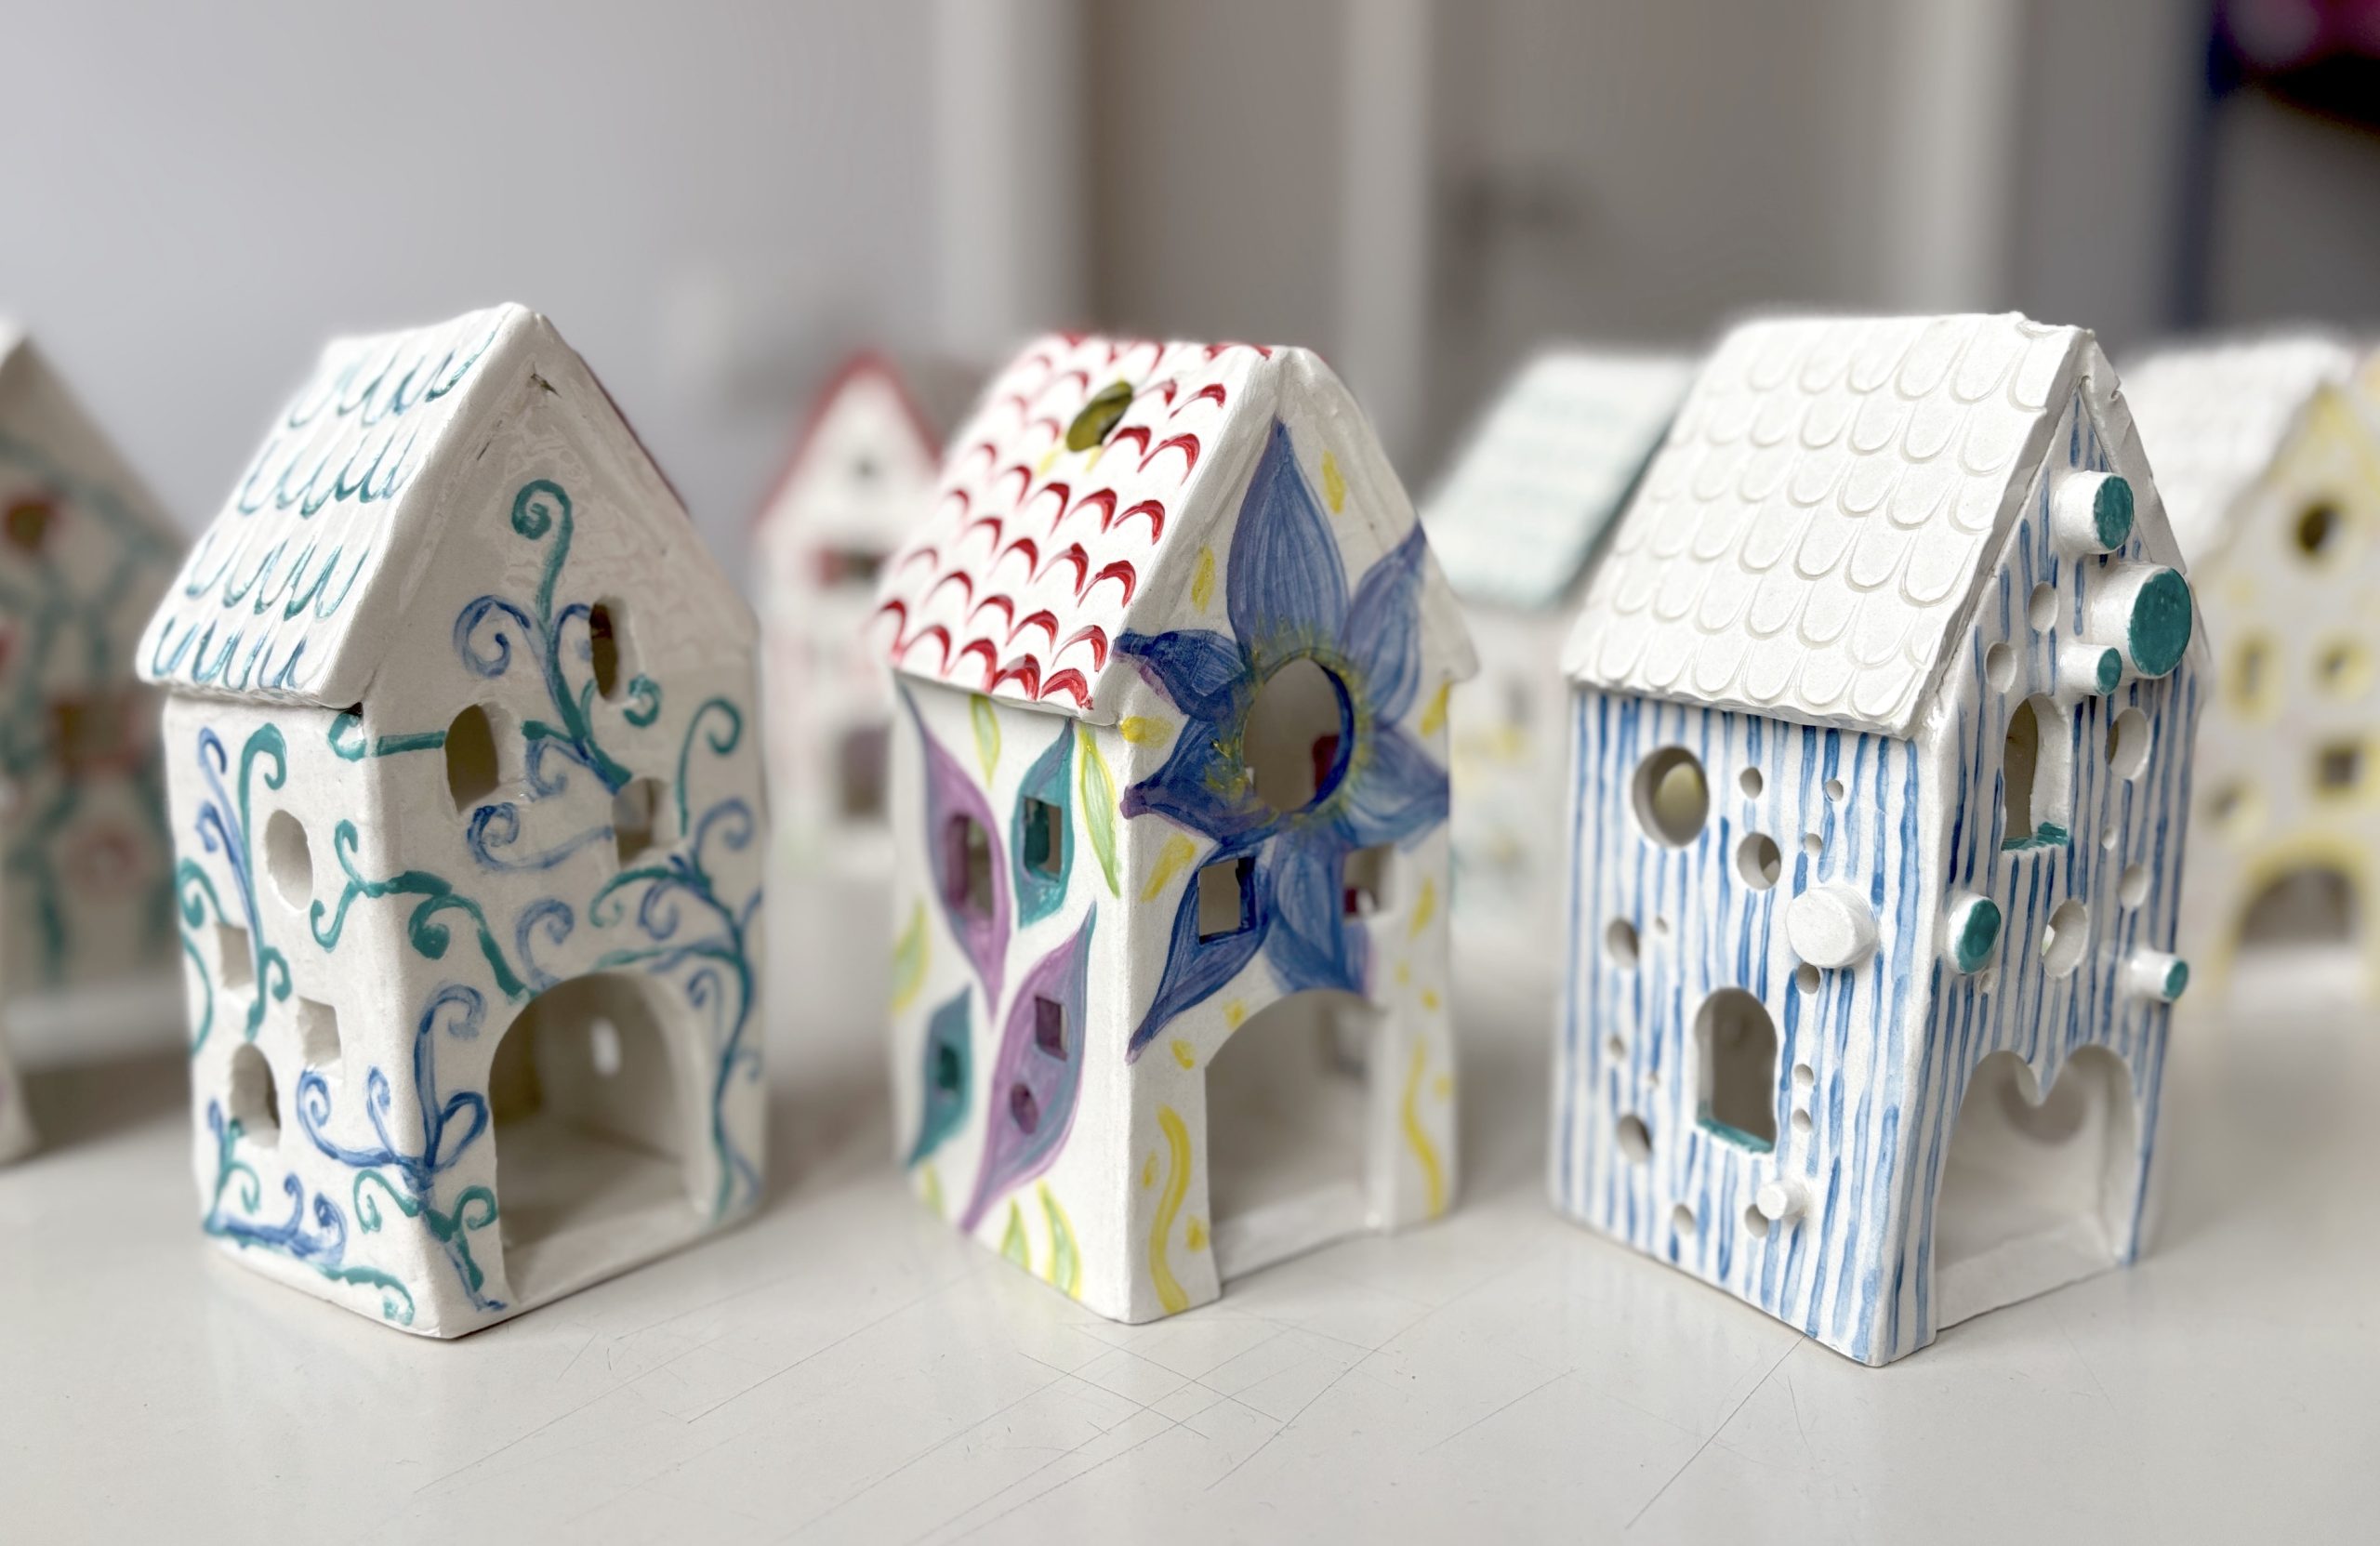
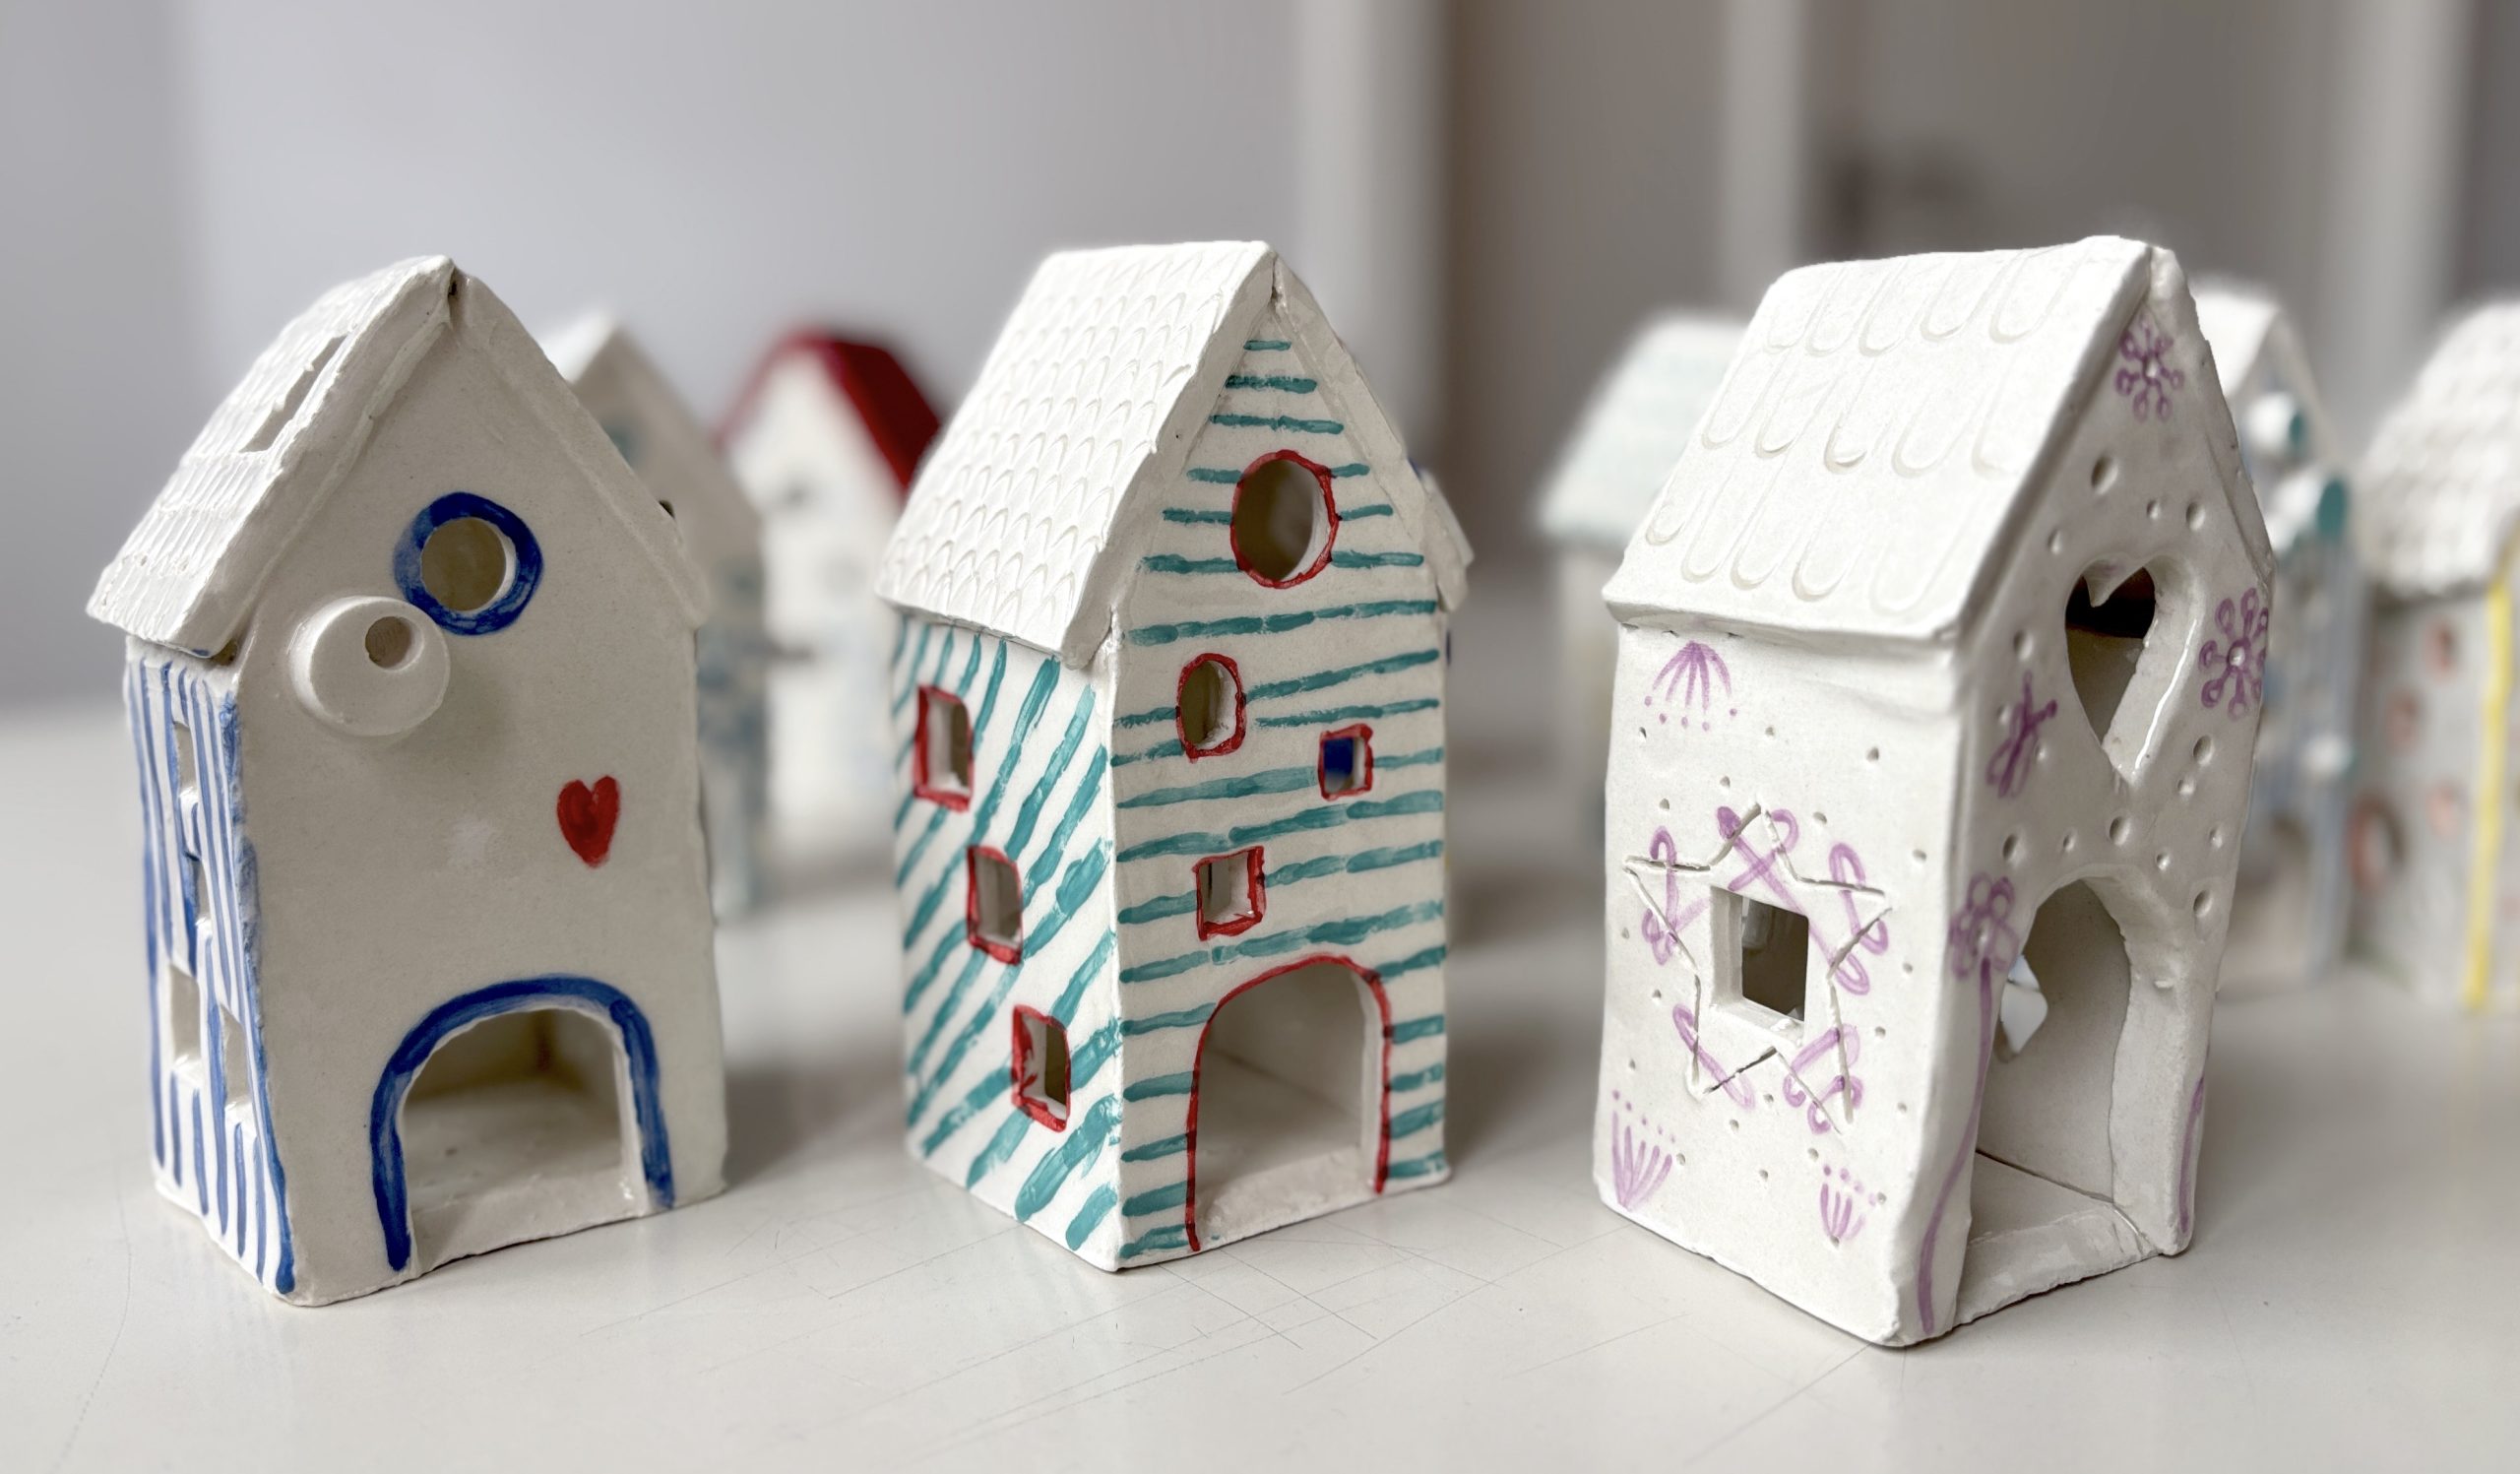
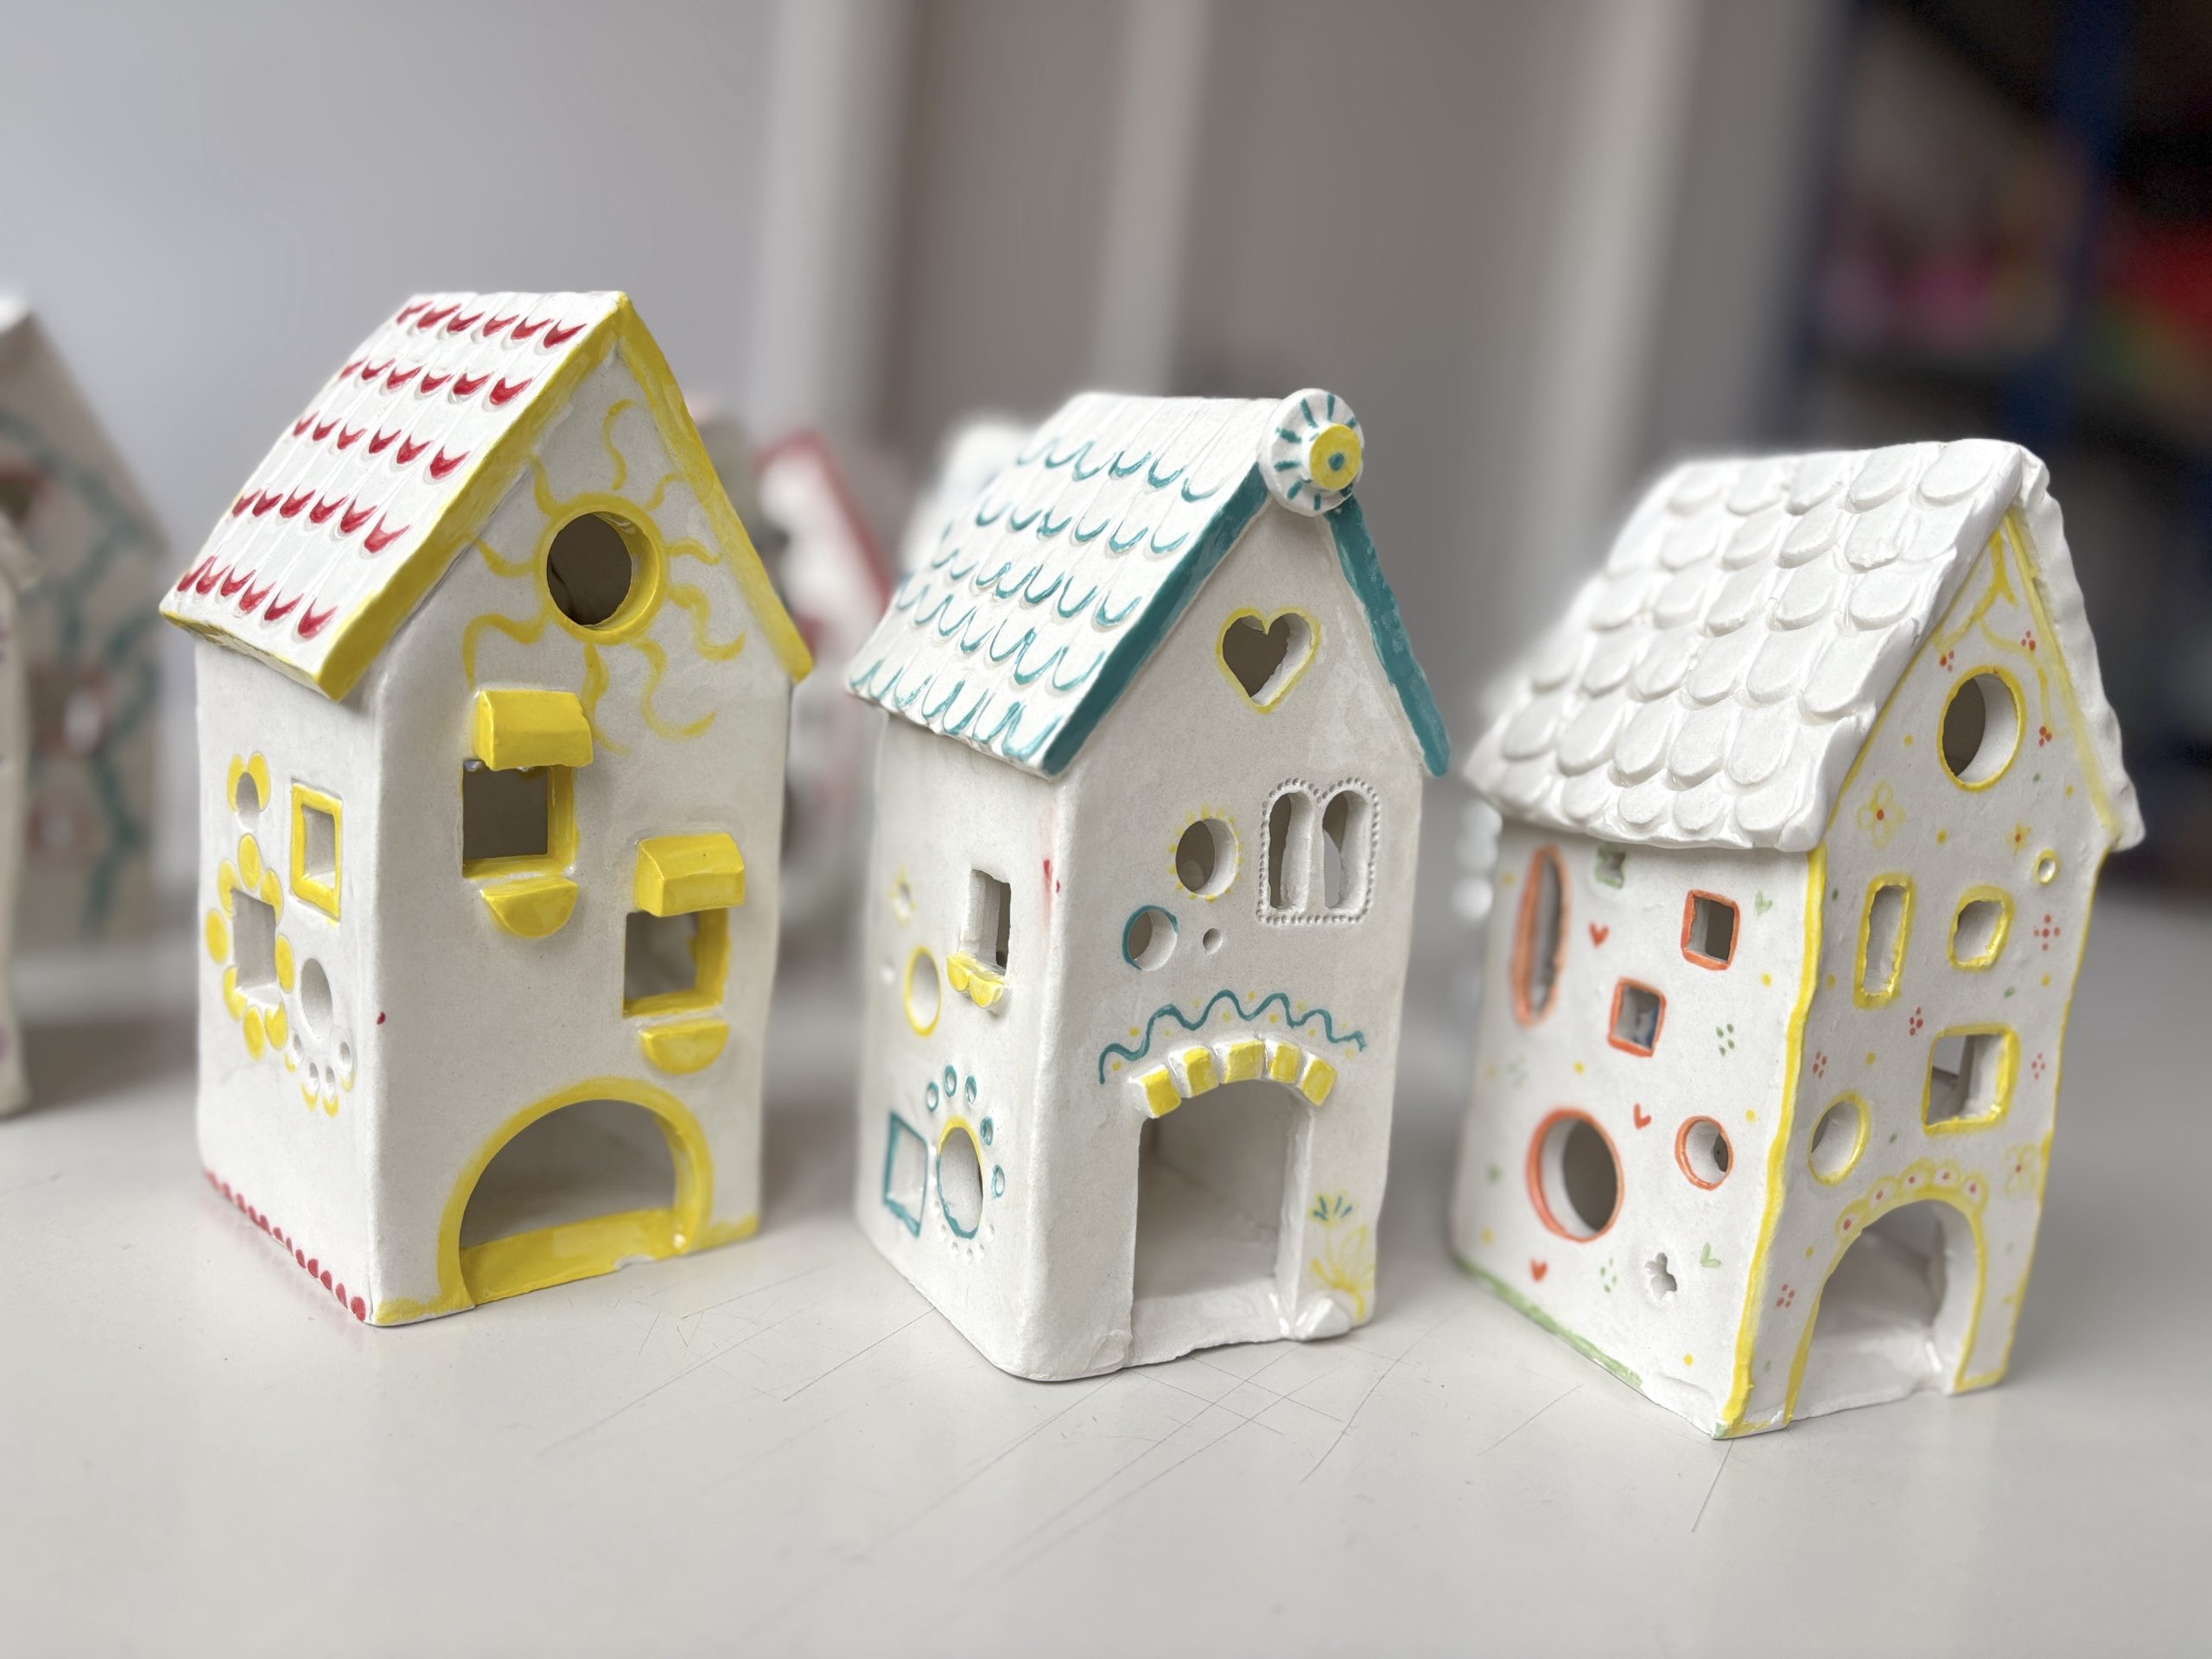
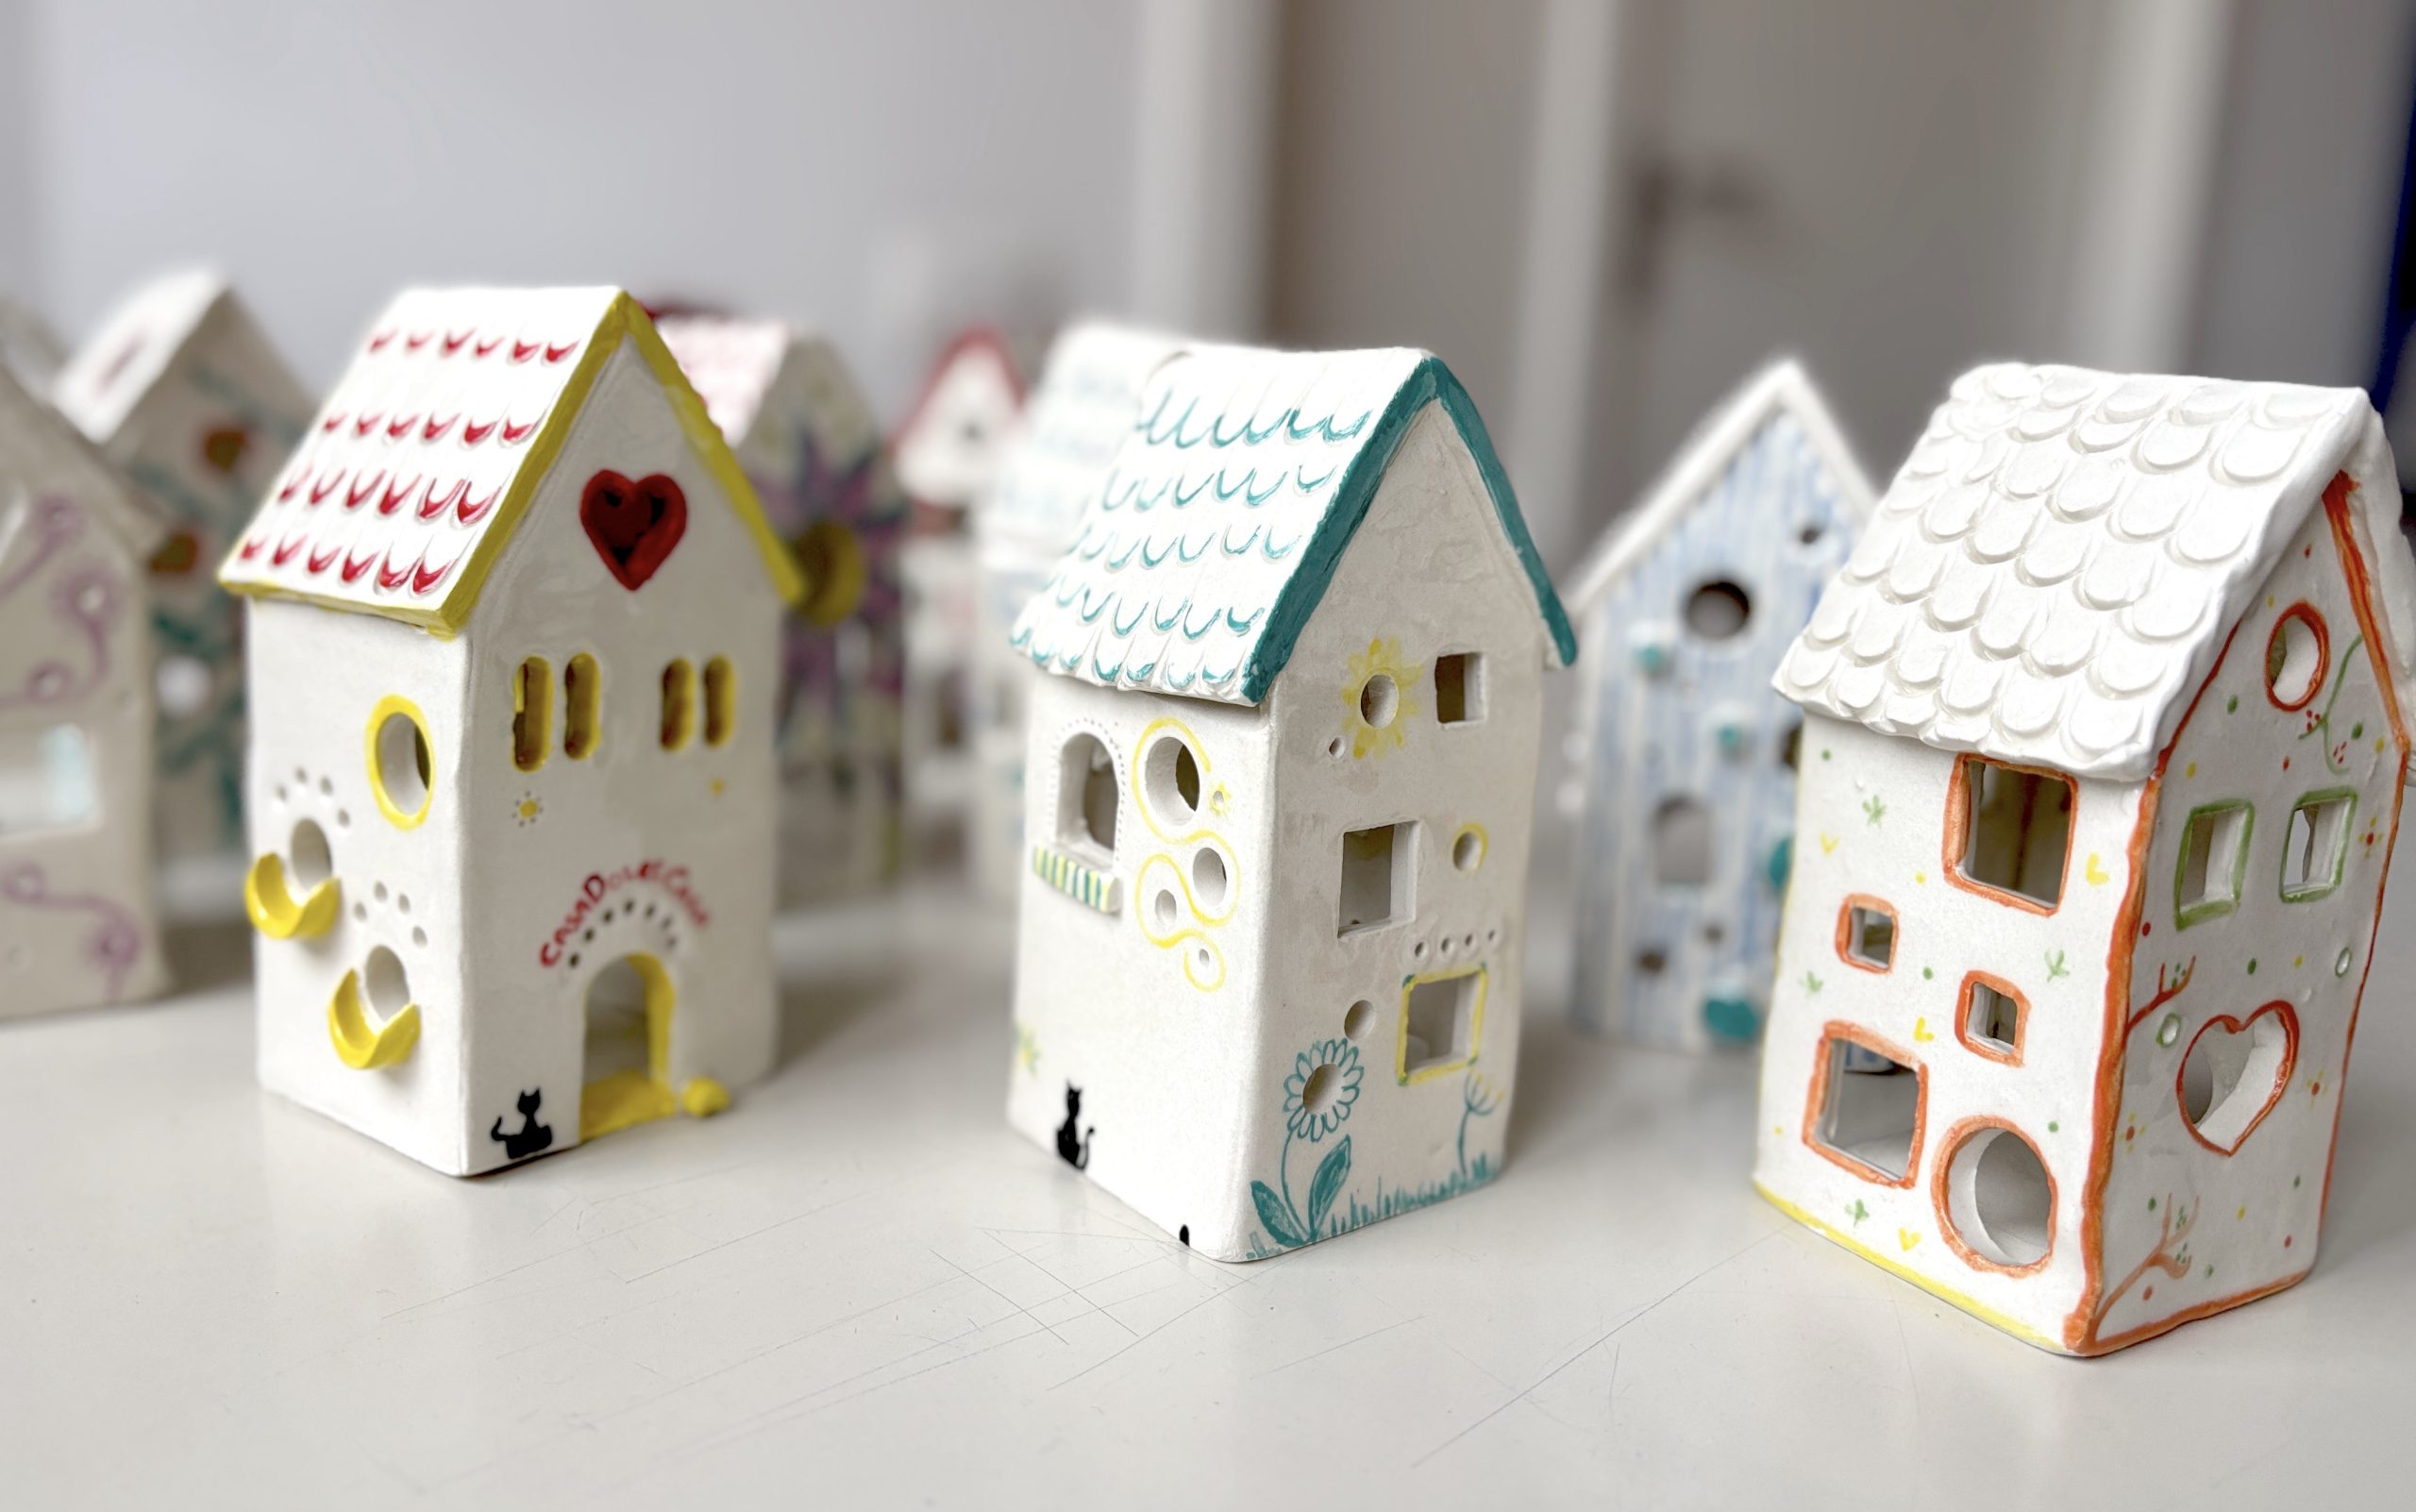
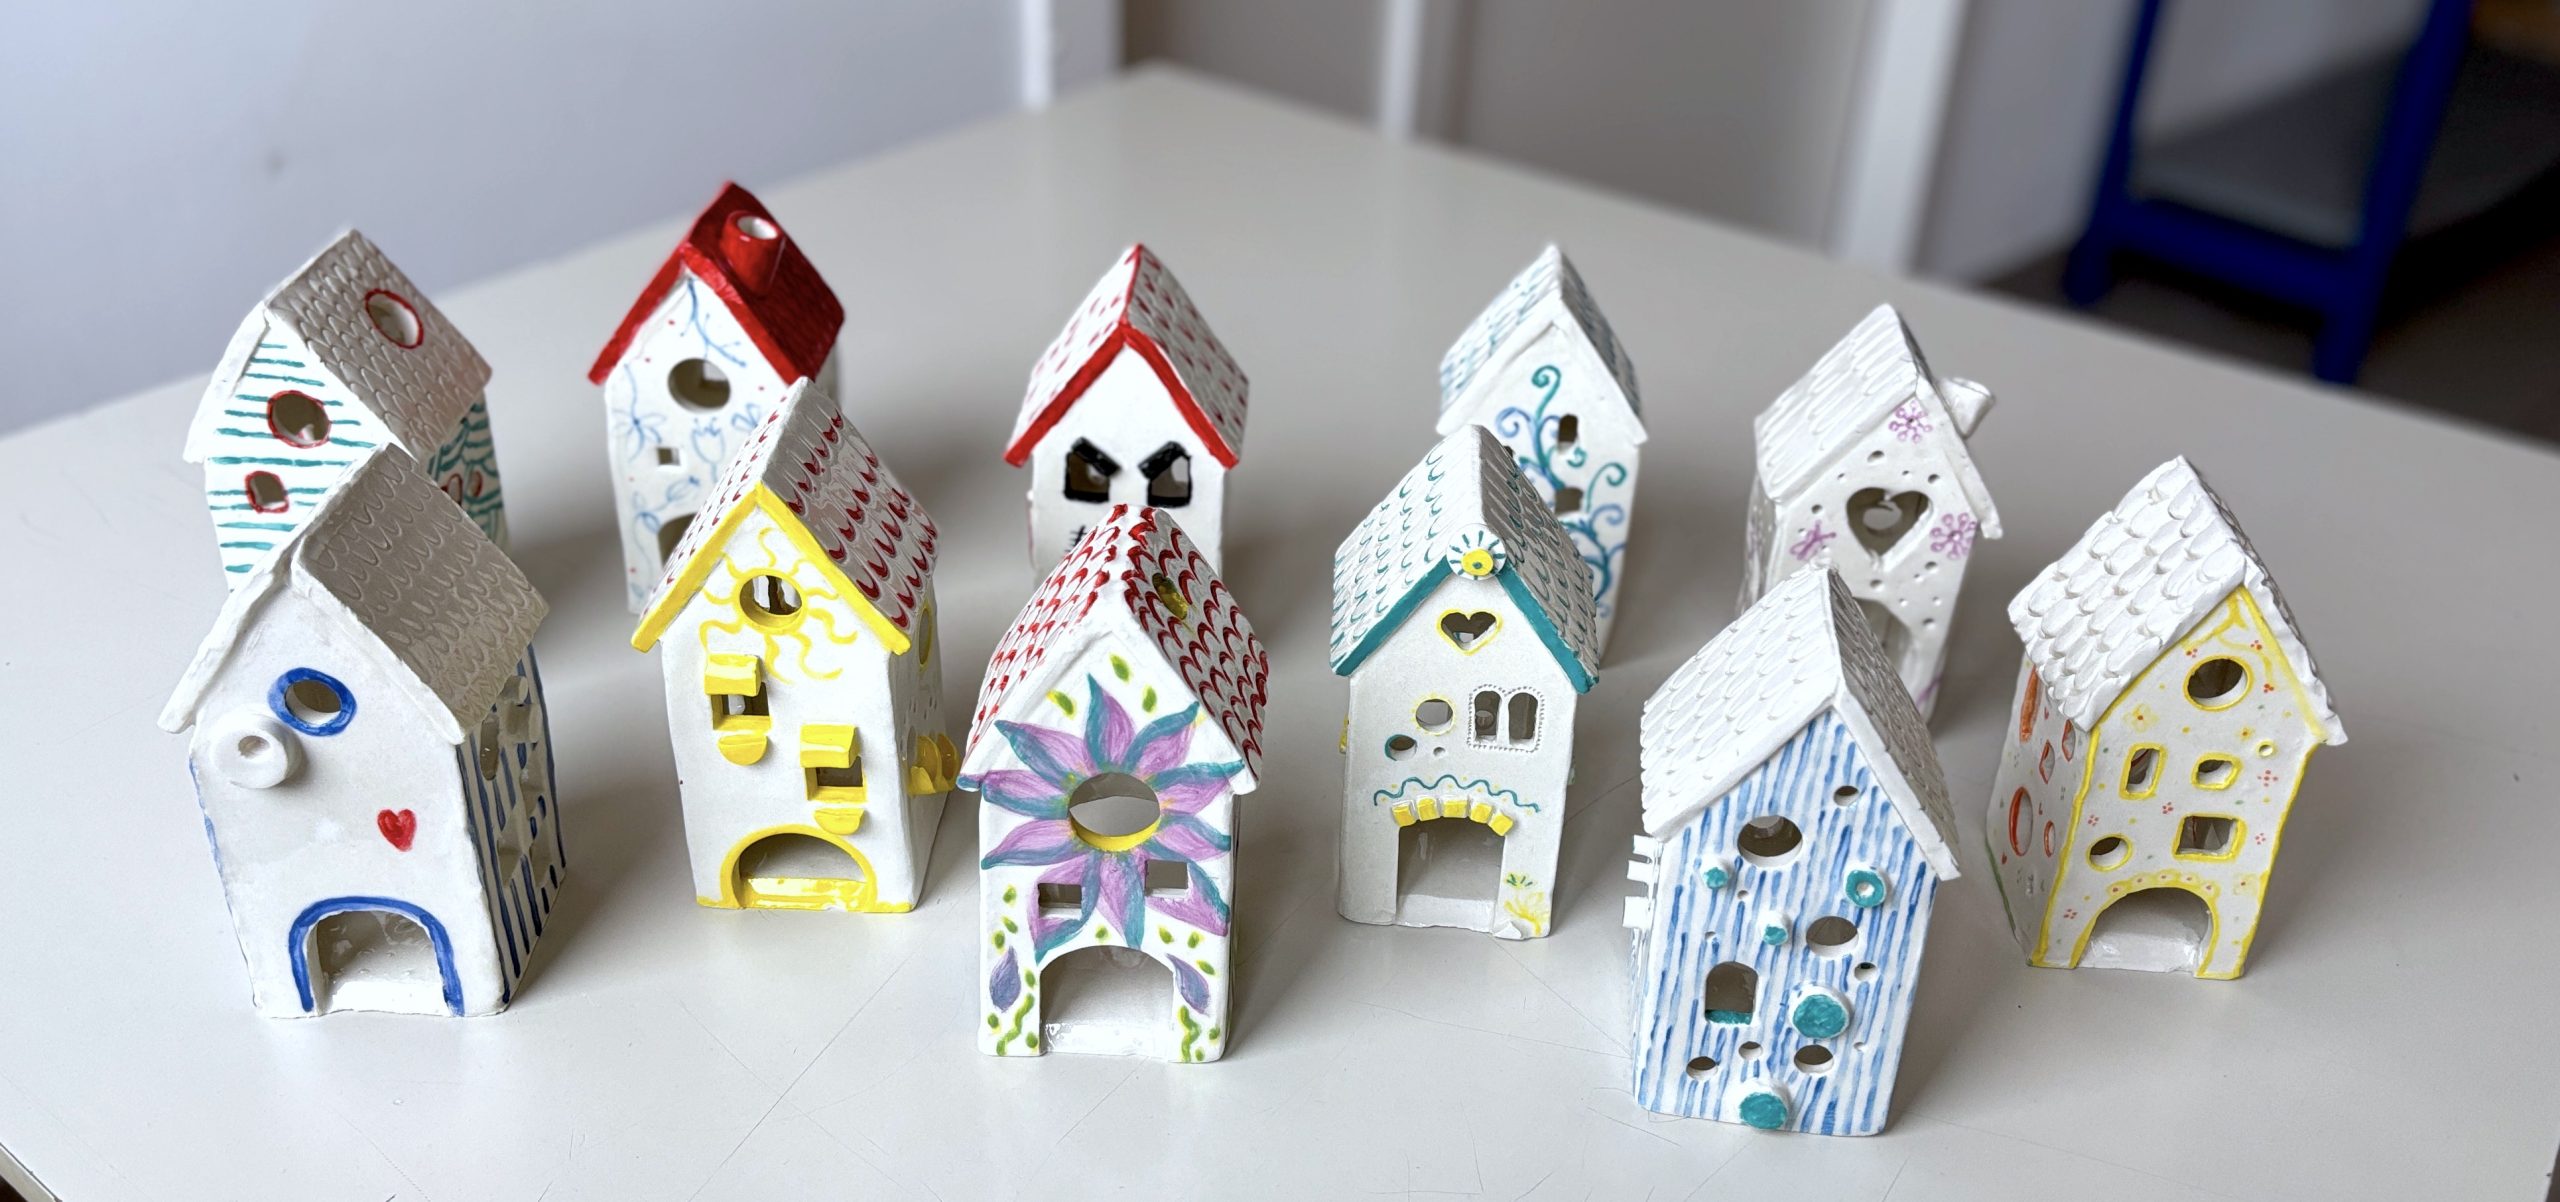
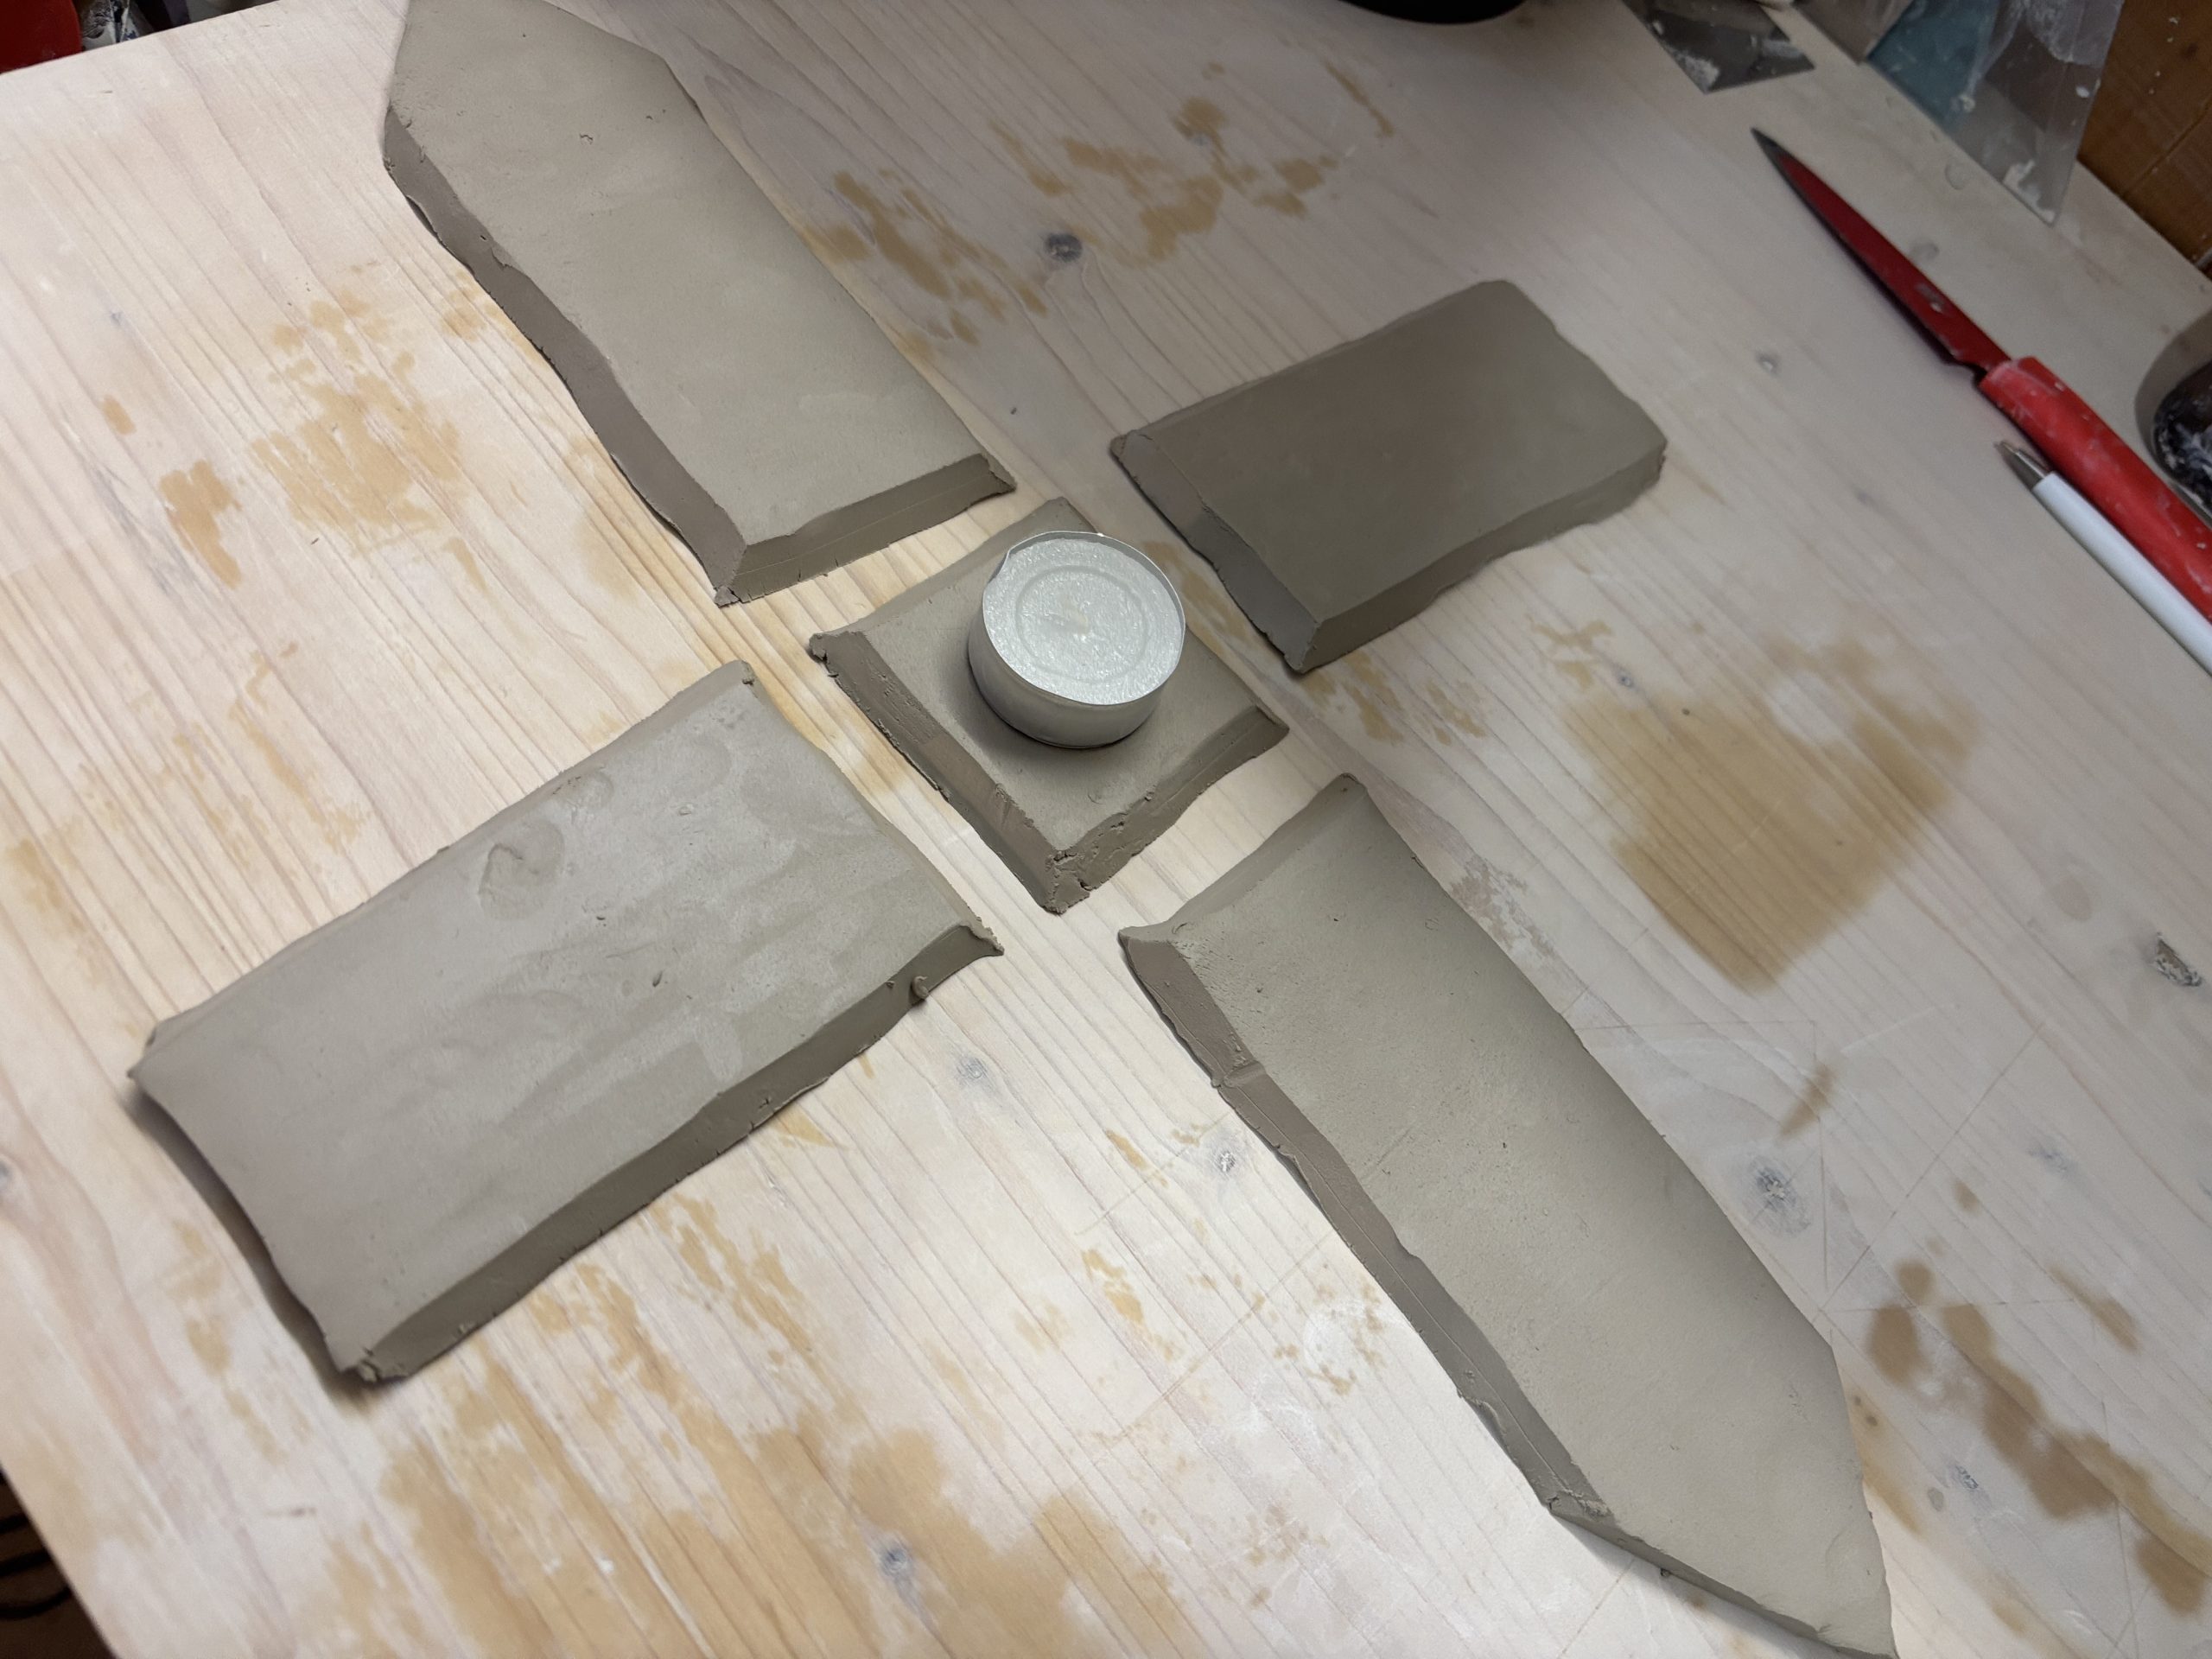
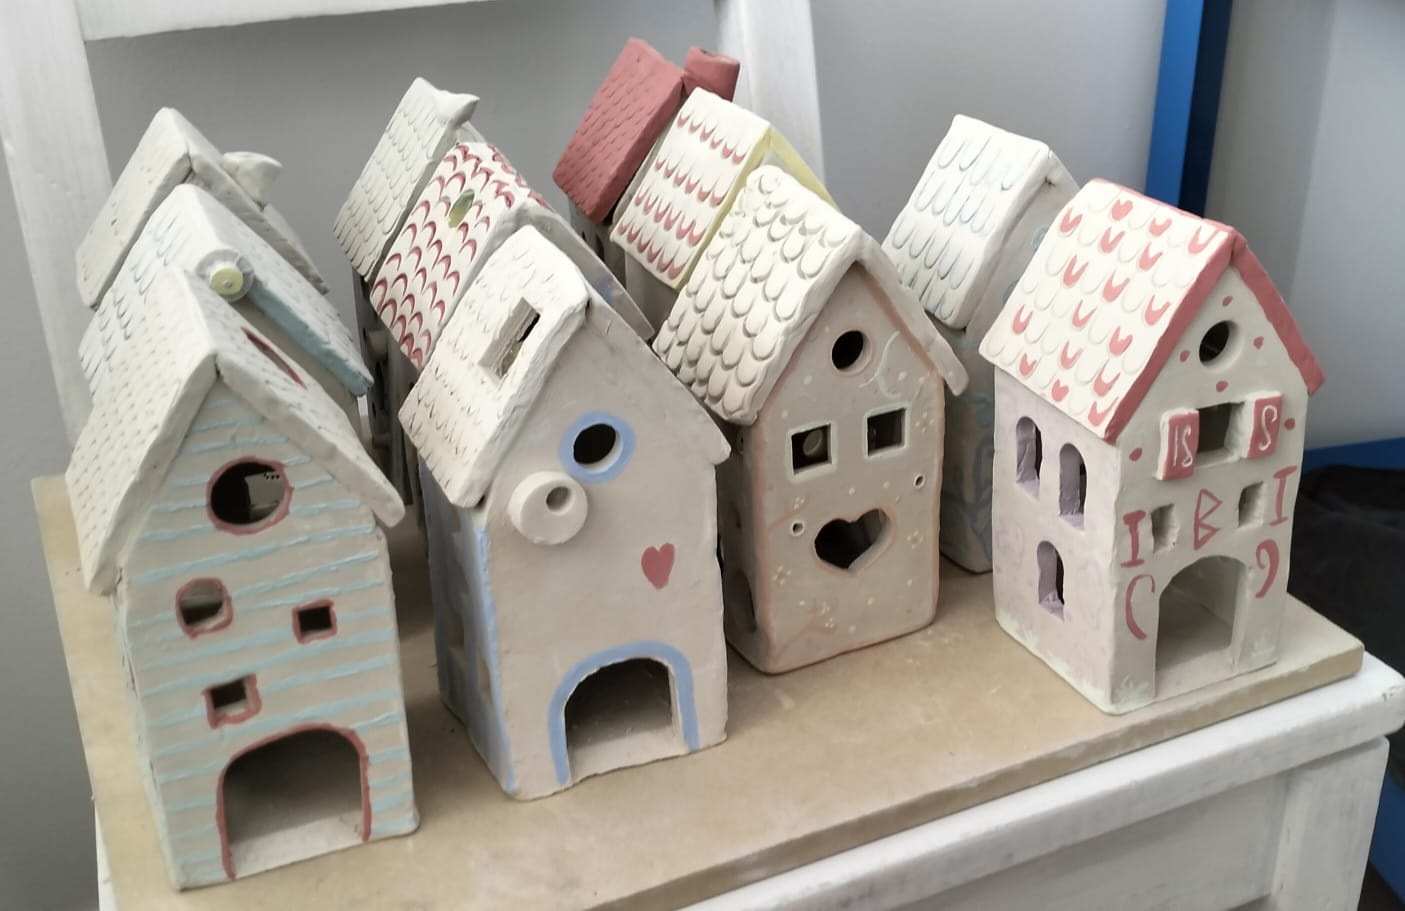
With the students of the ceramics workshop, and this year, also with the teachers from the Primary and Secondary School, we made these little ceramic candle holder houses, using the slab technique and cutting out the parts to assemble from a worksheet that you can find below:

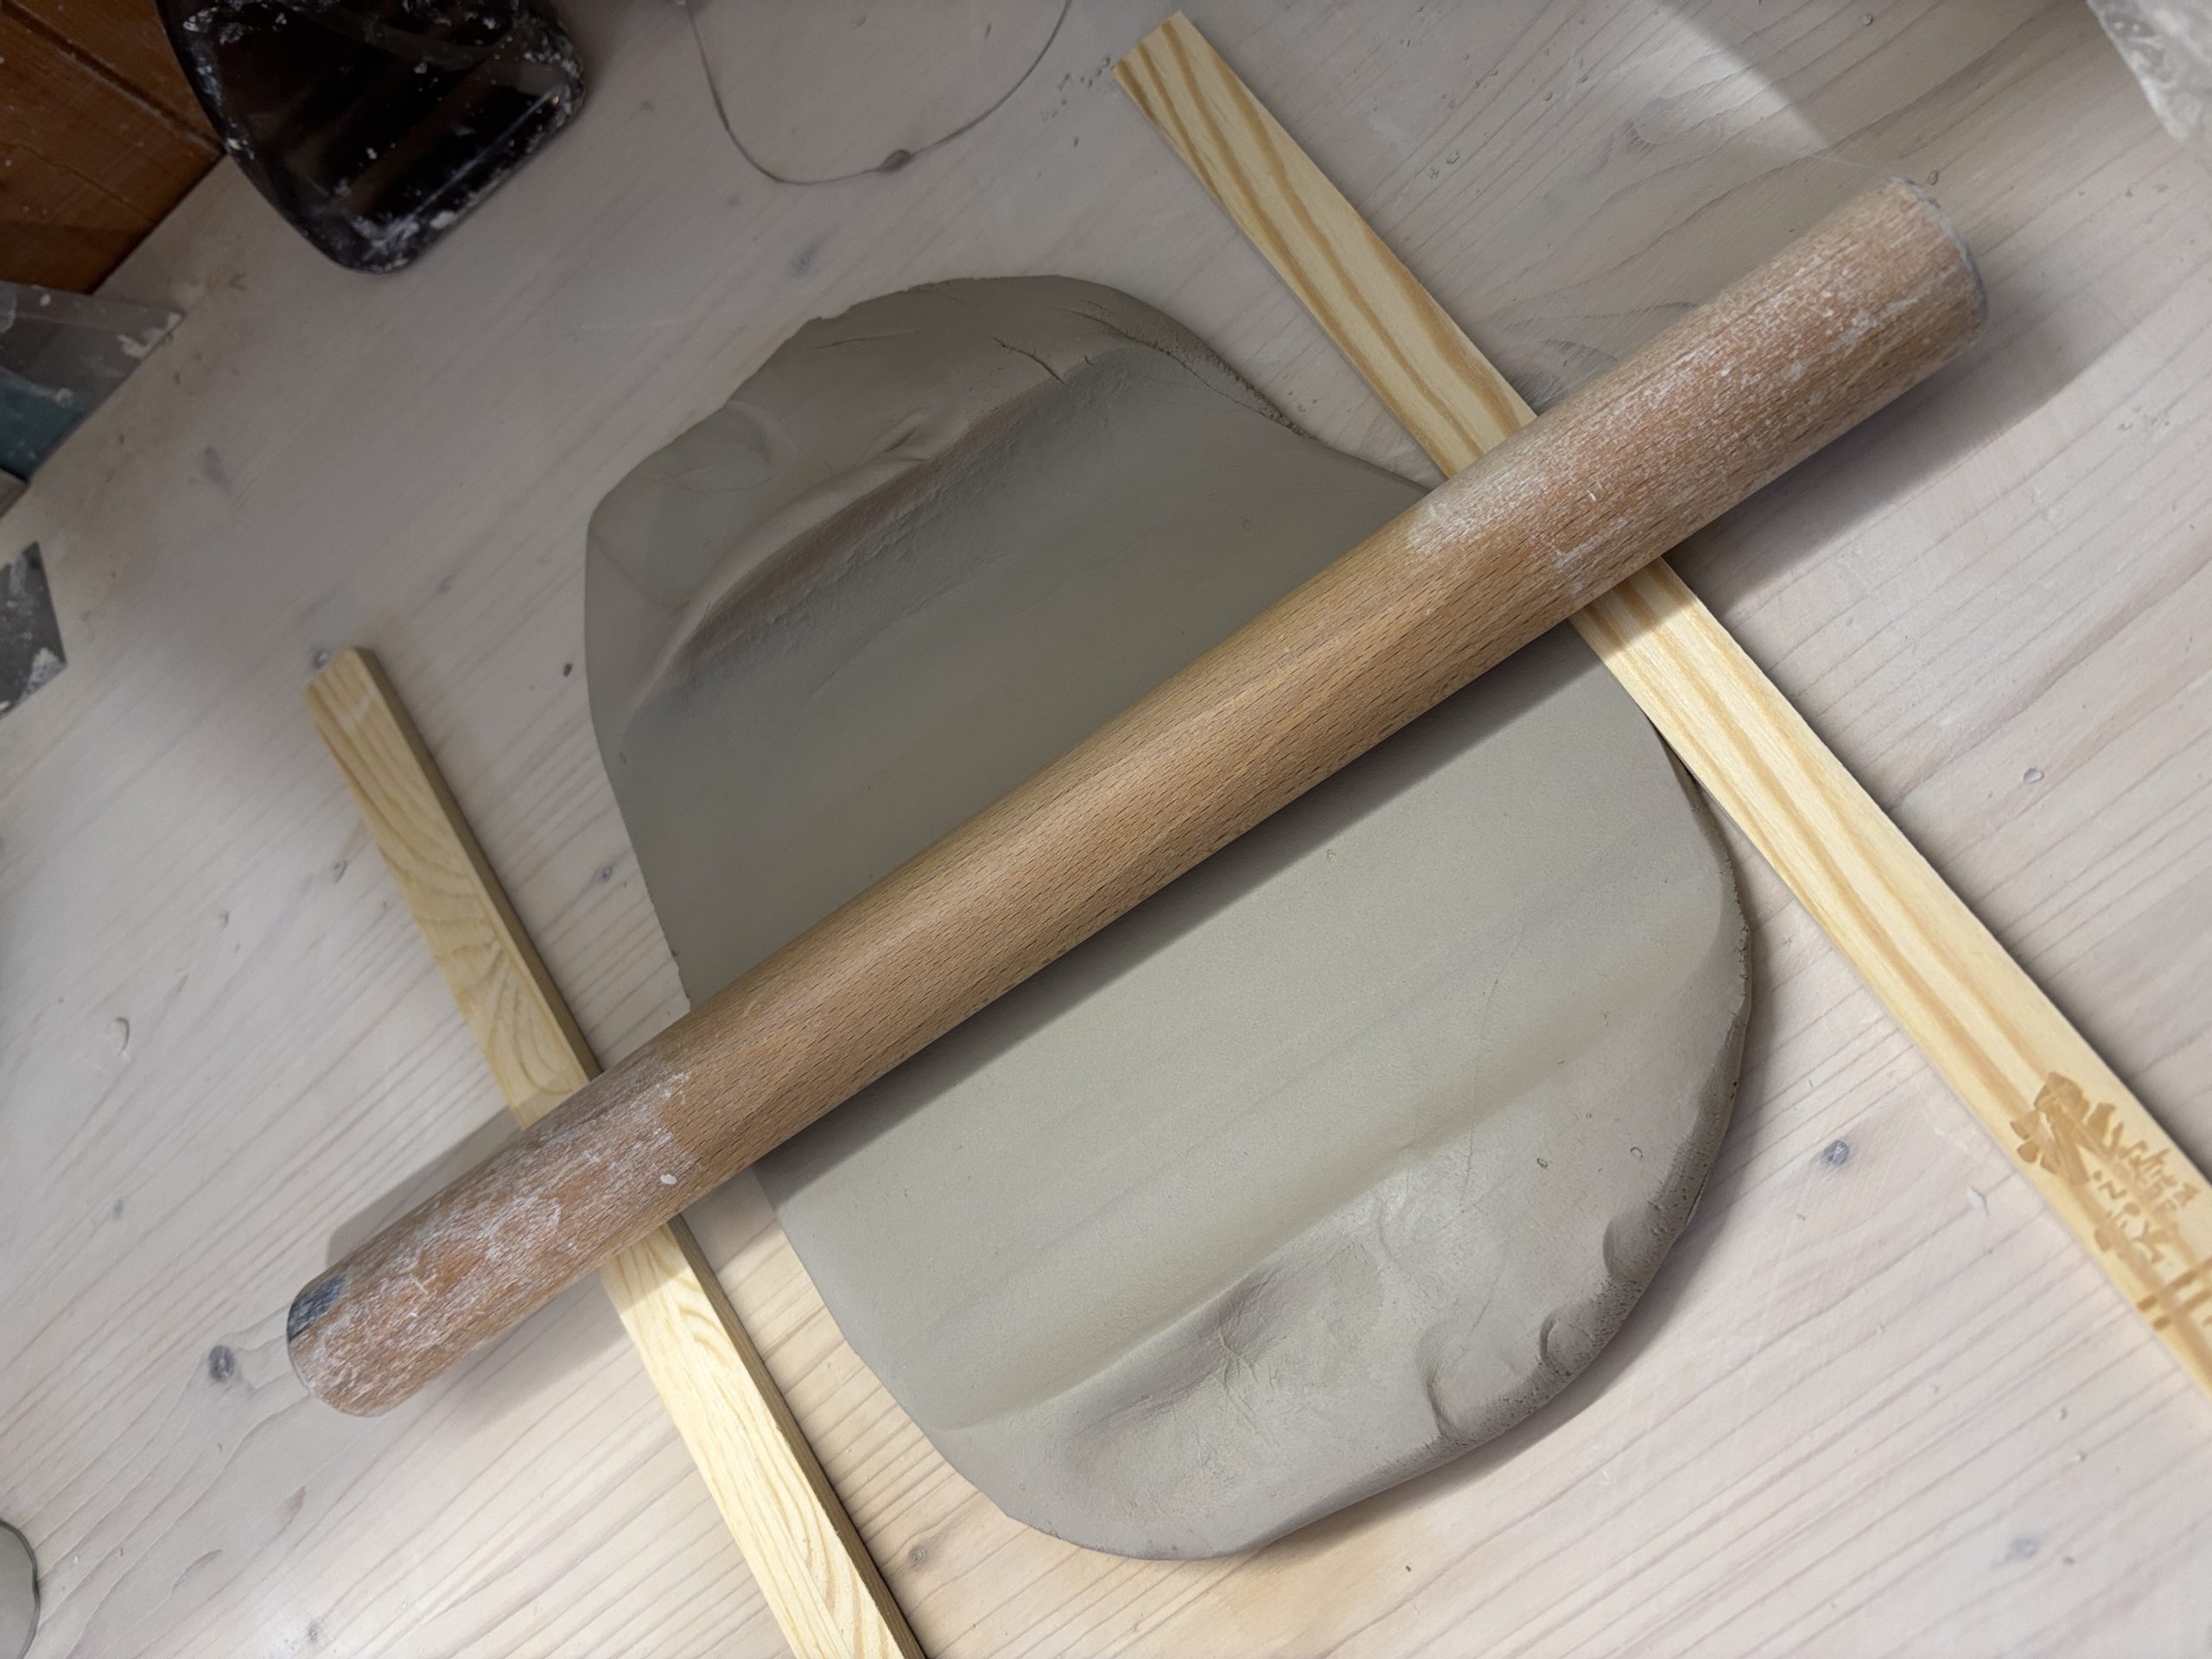
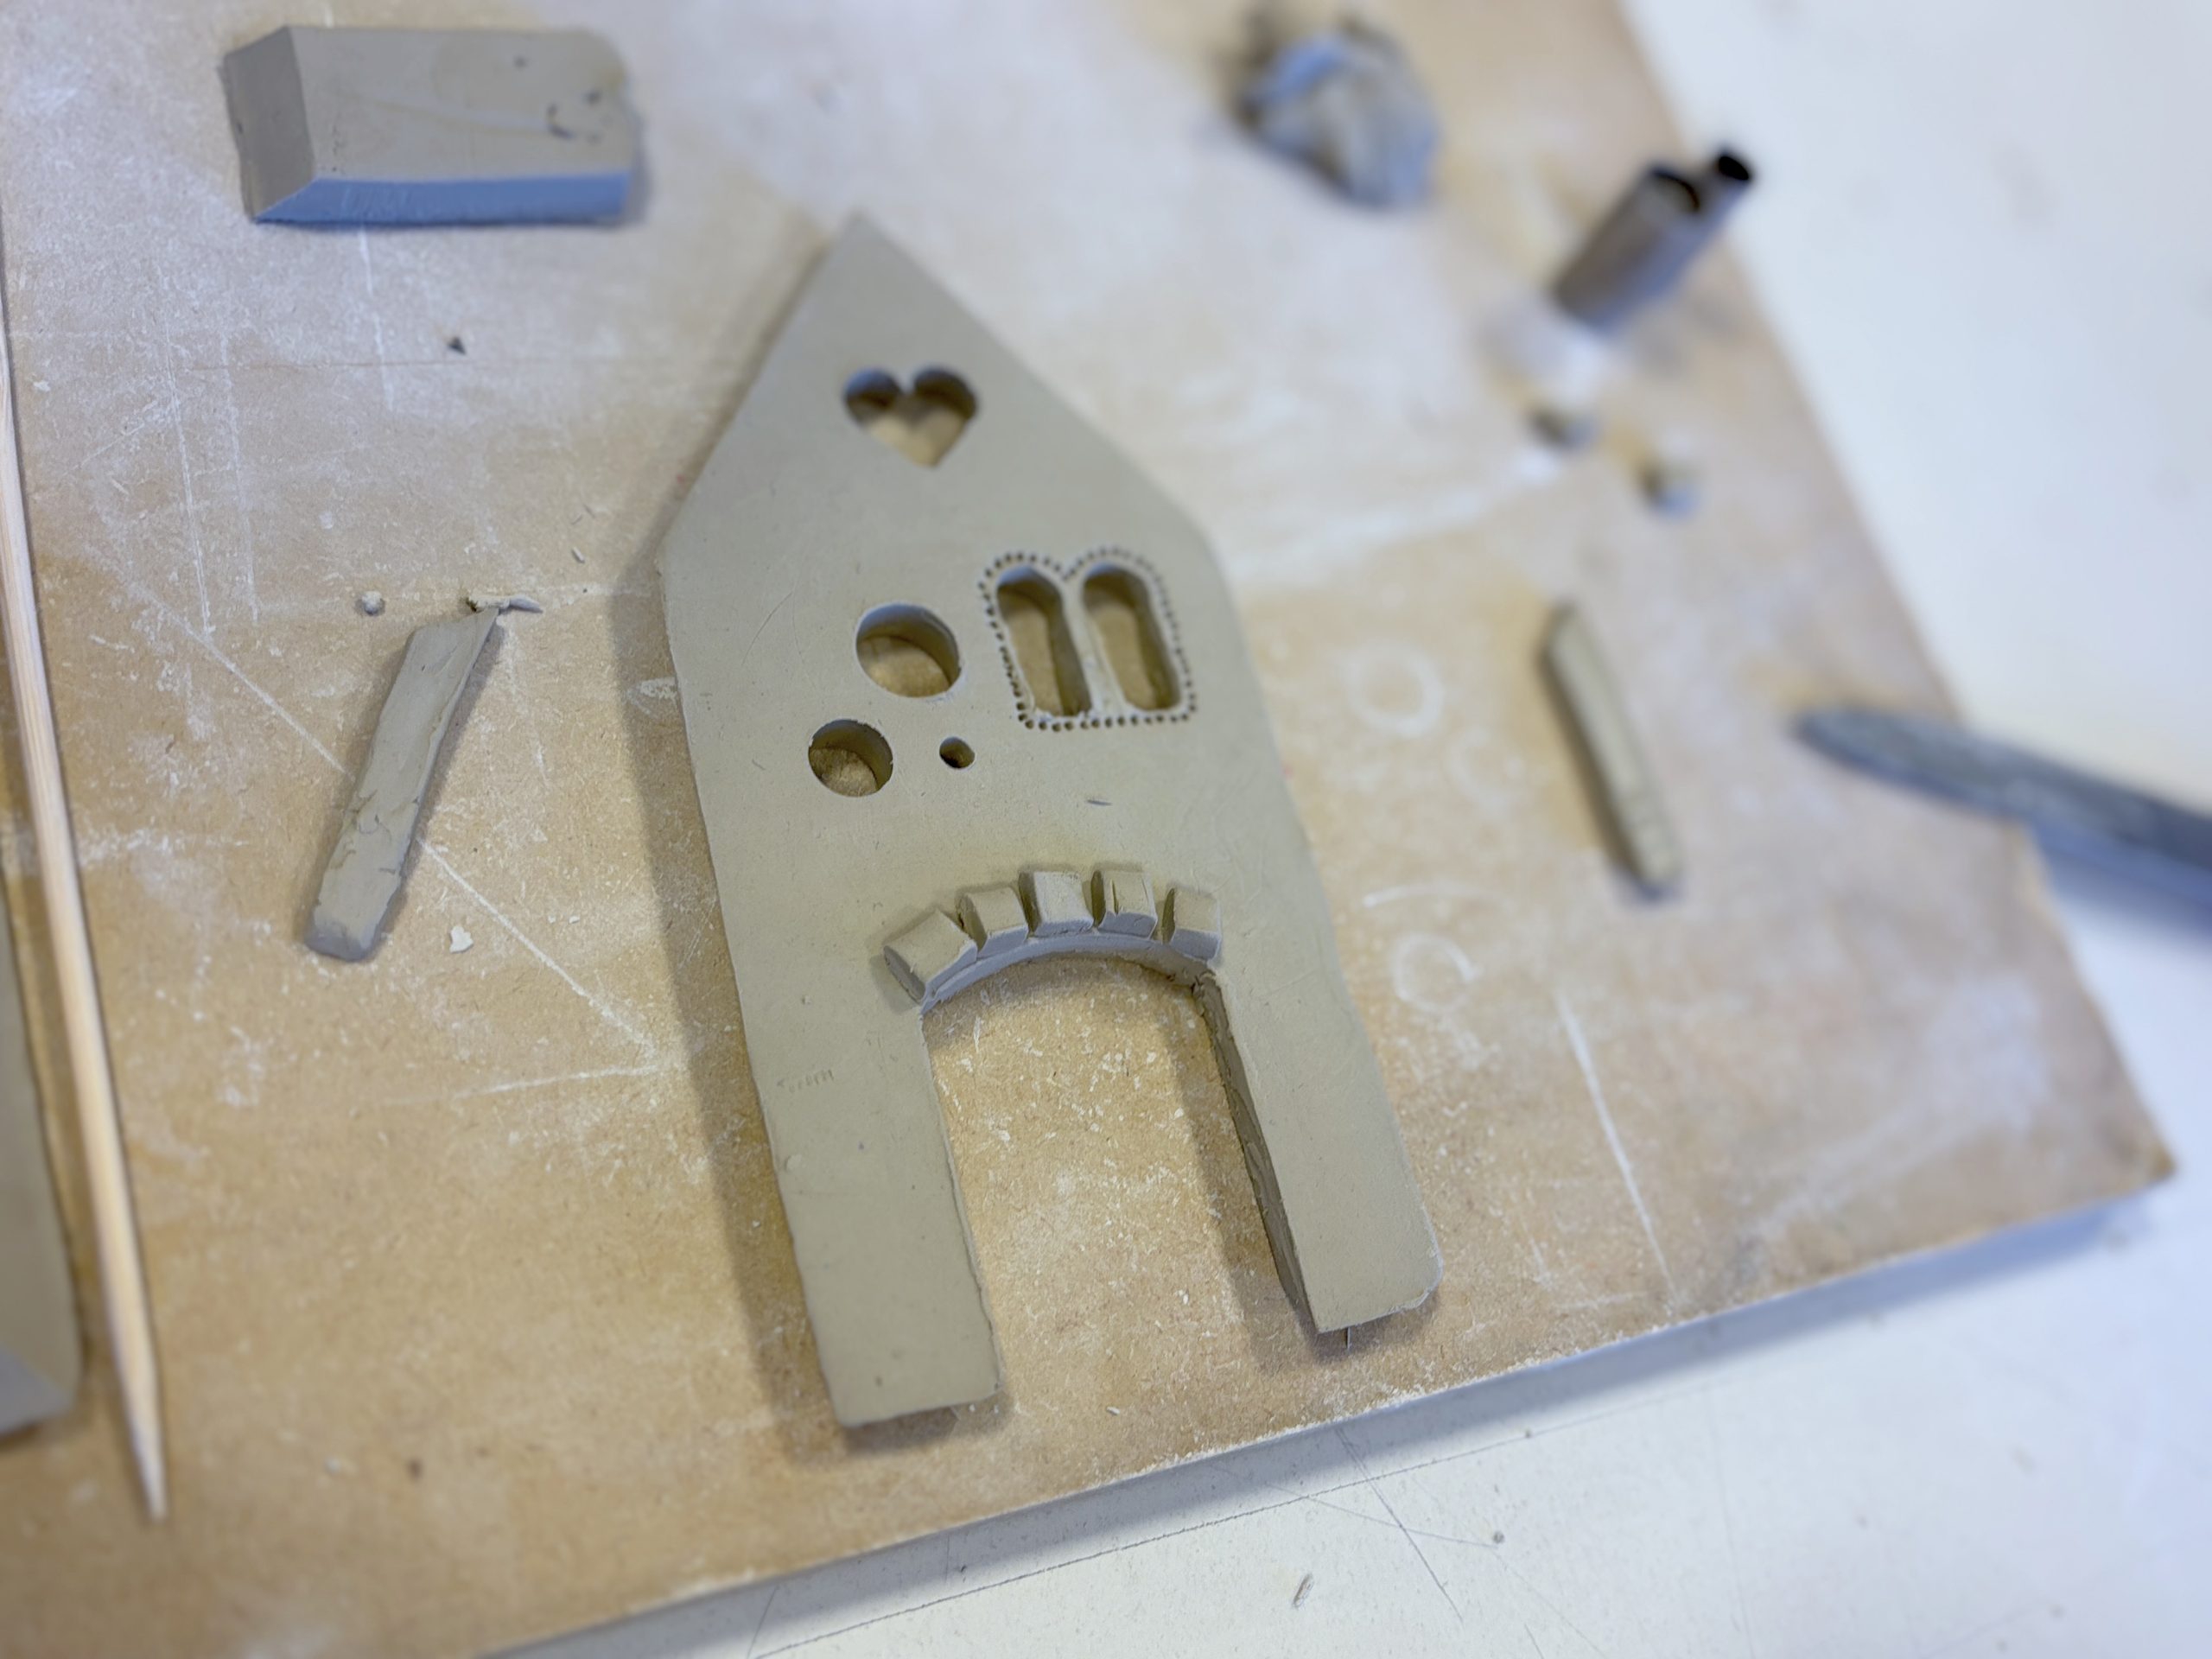
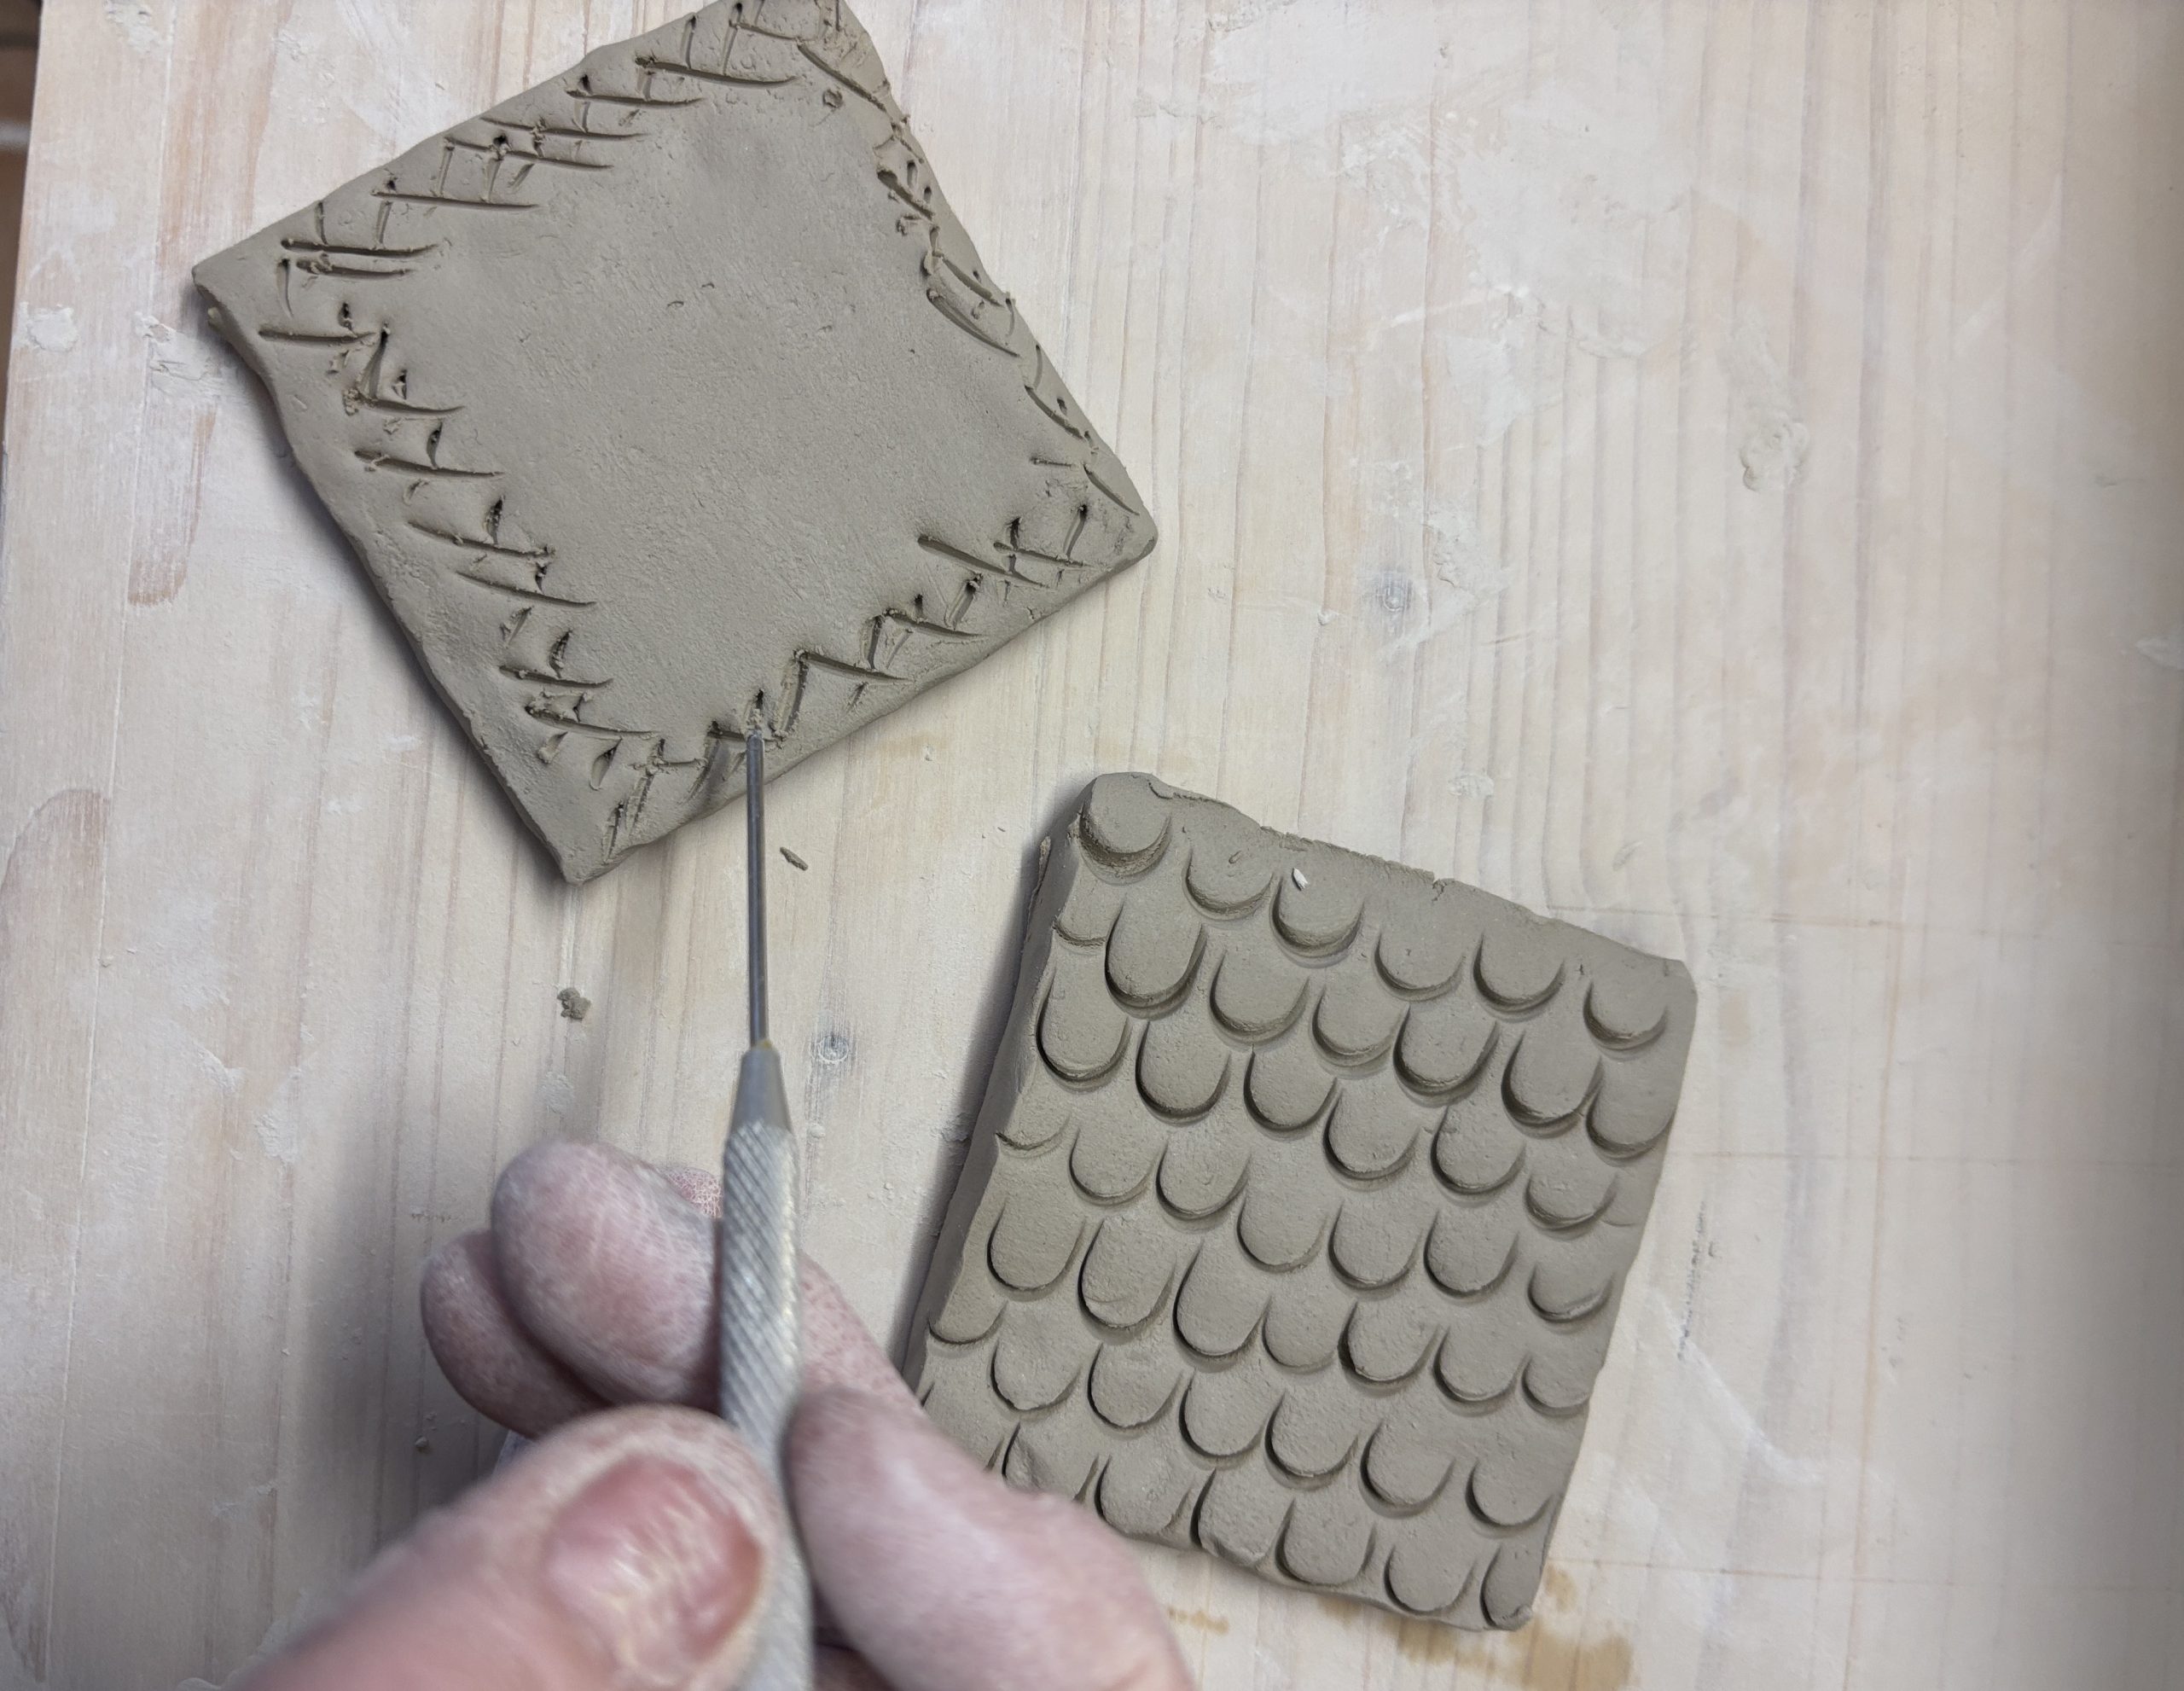
After having flattened the slab with the 0.7 cm wooden guides and a rolling pin, we use the cardboard templates to cut out the walls, the base and the roof slopes.
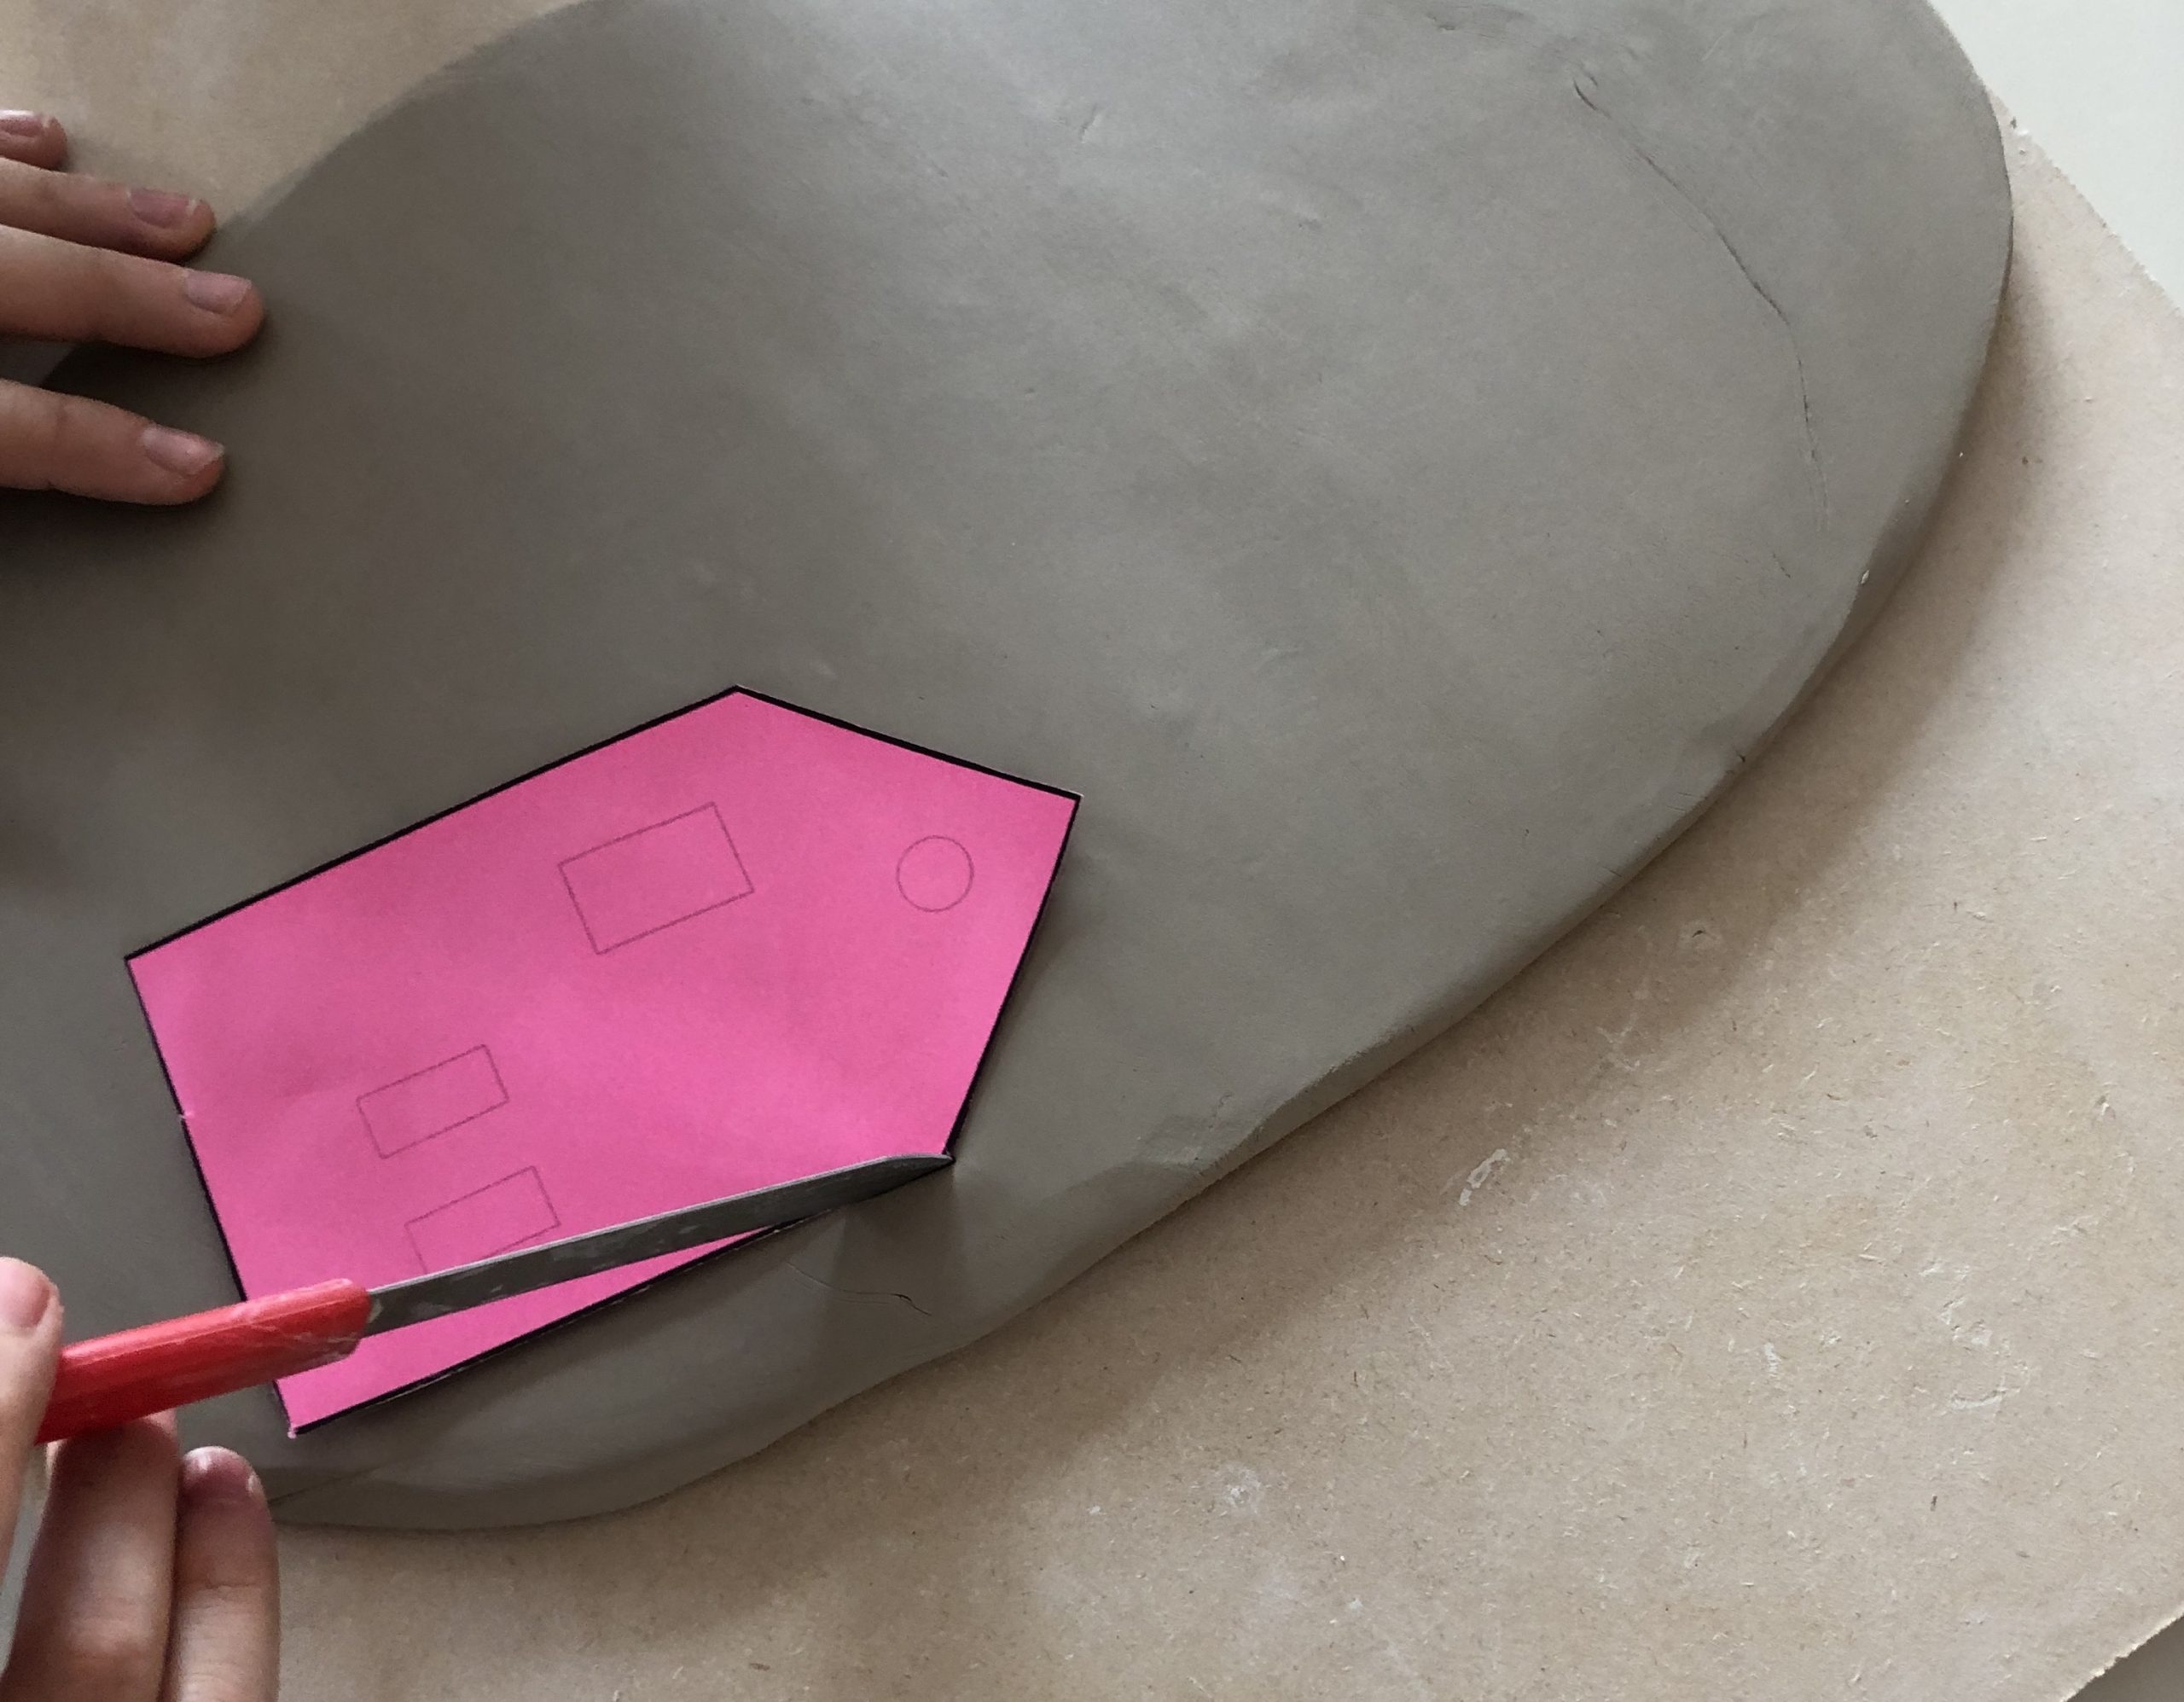
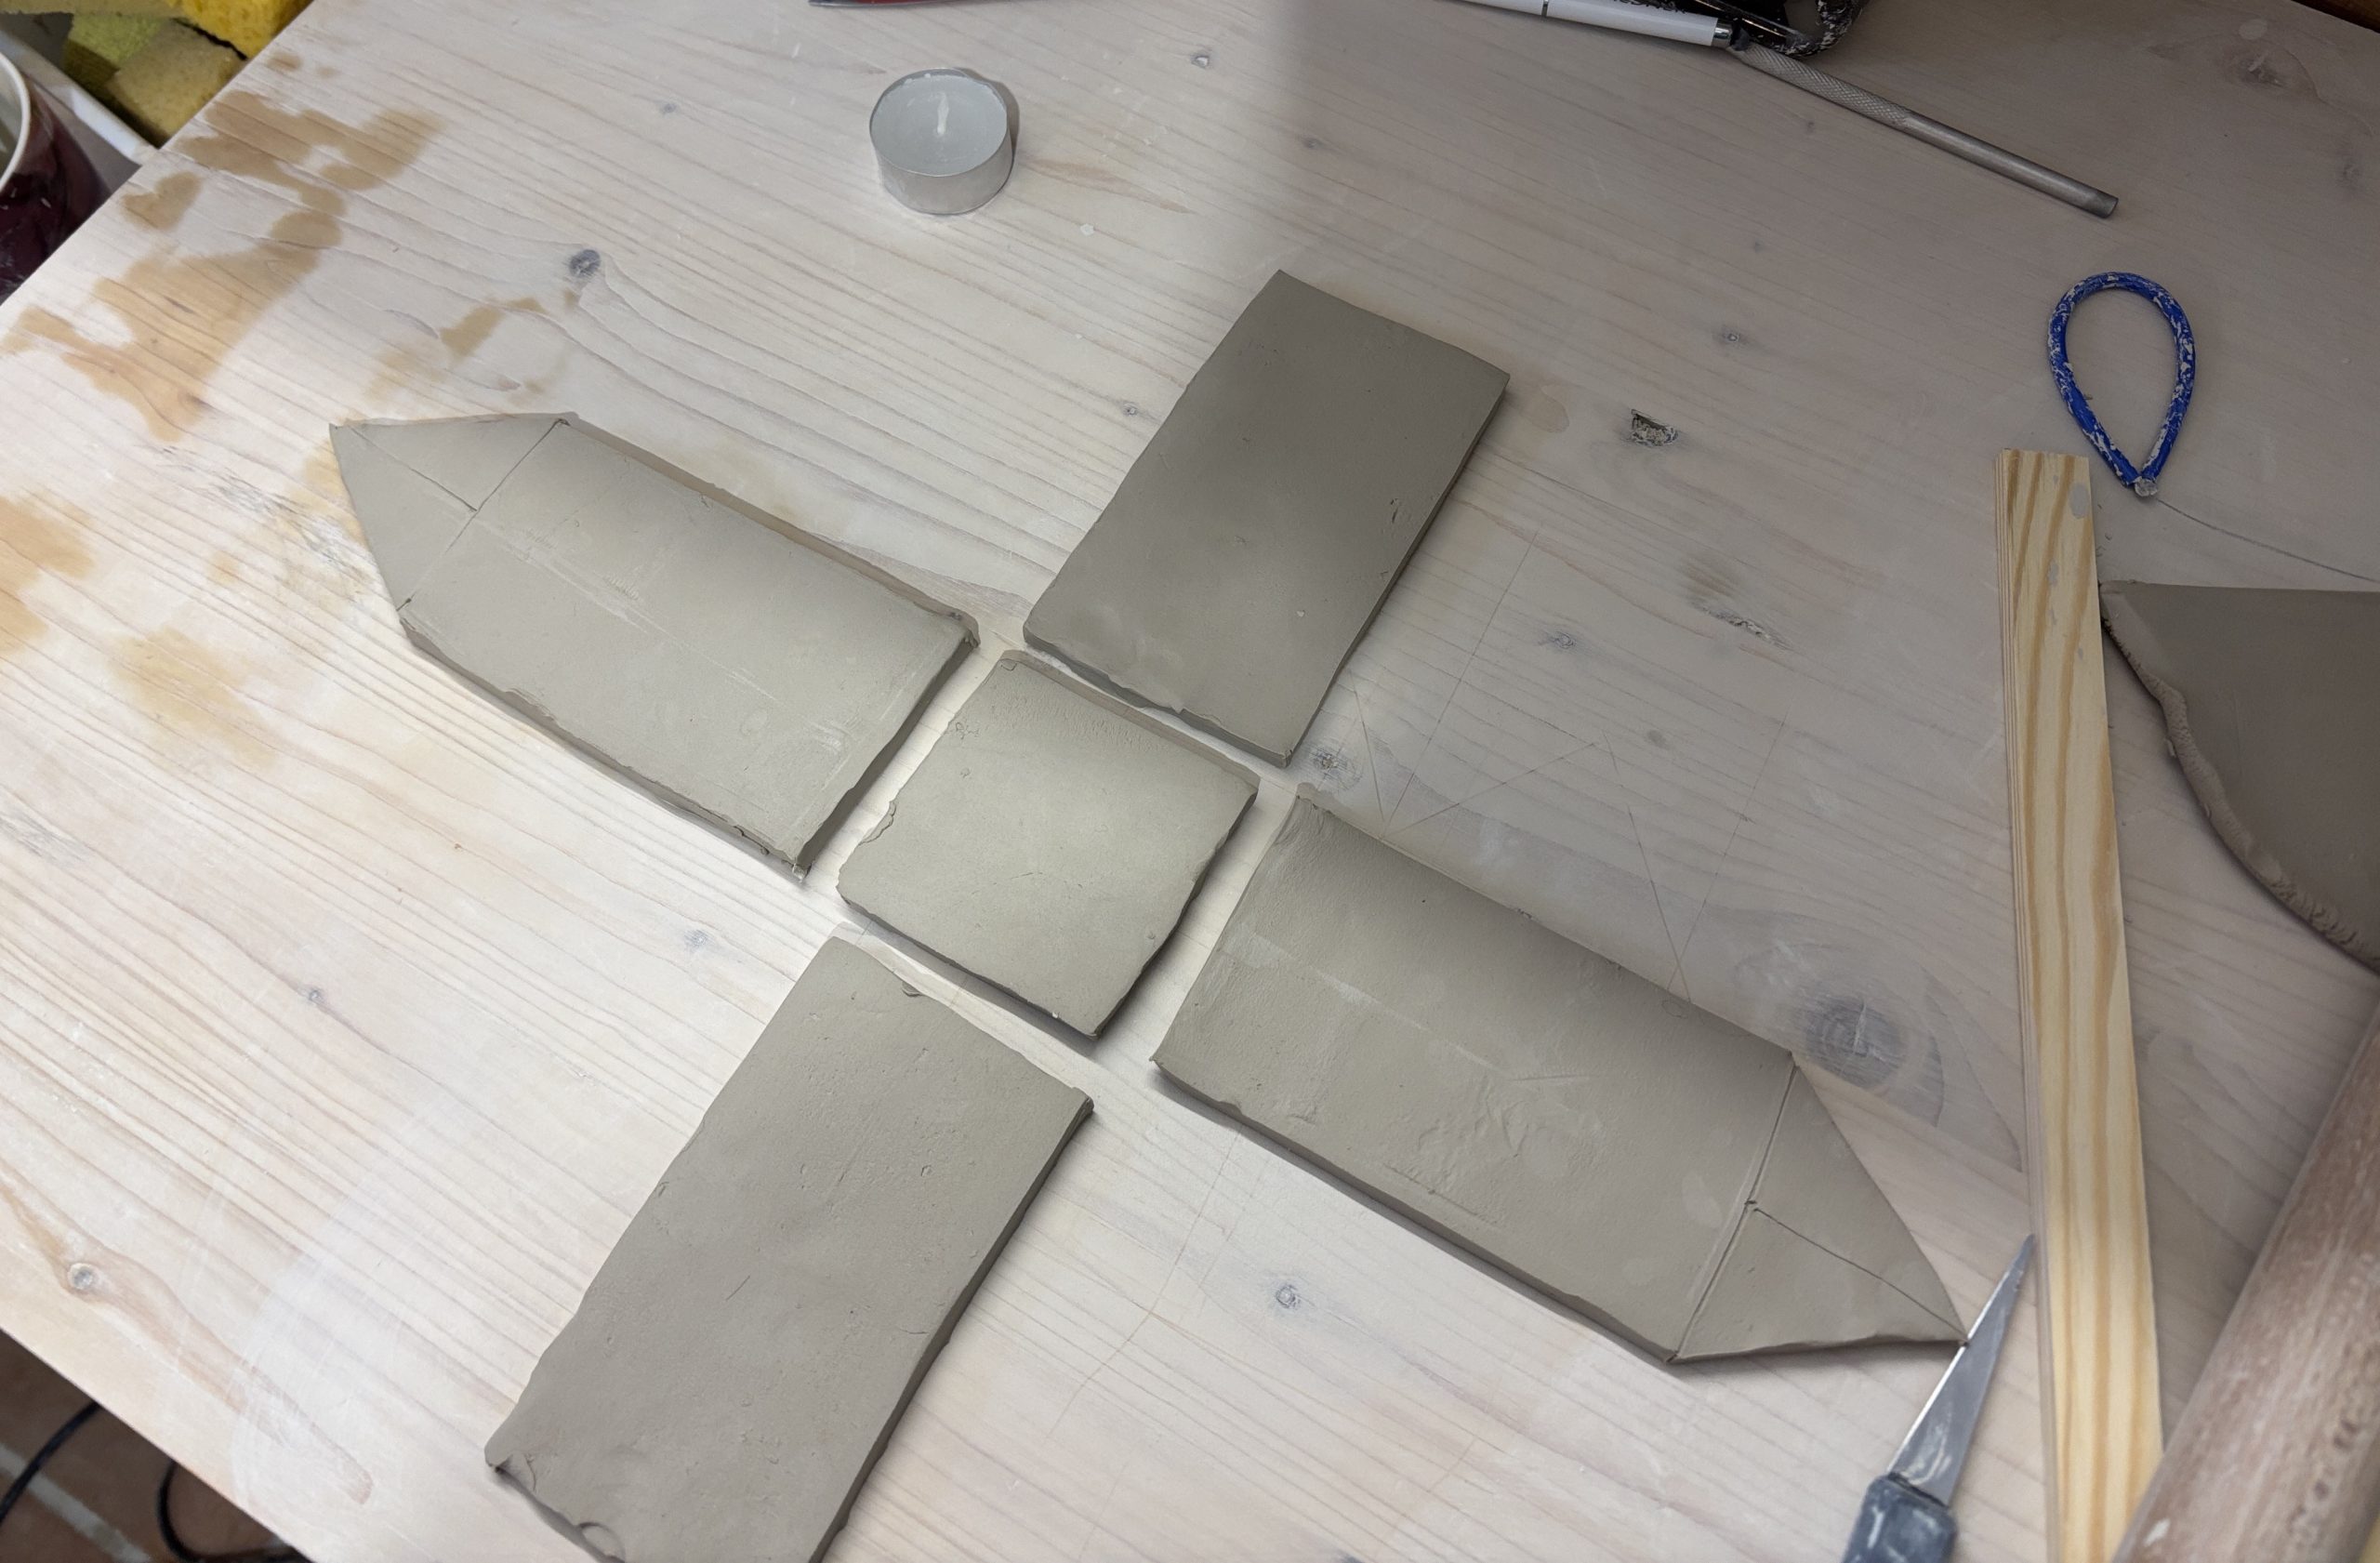
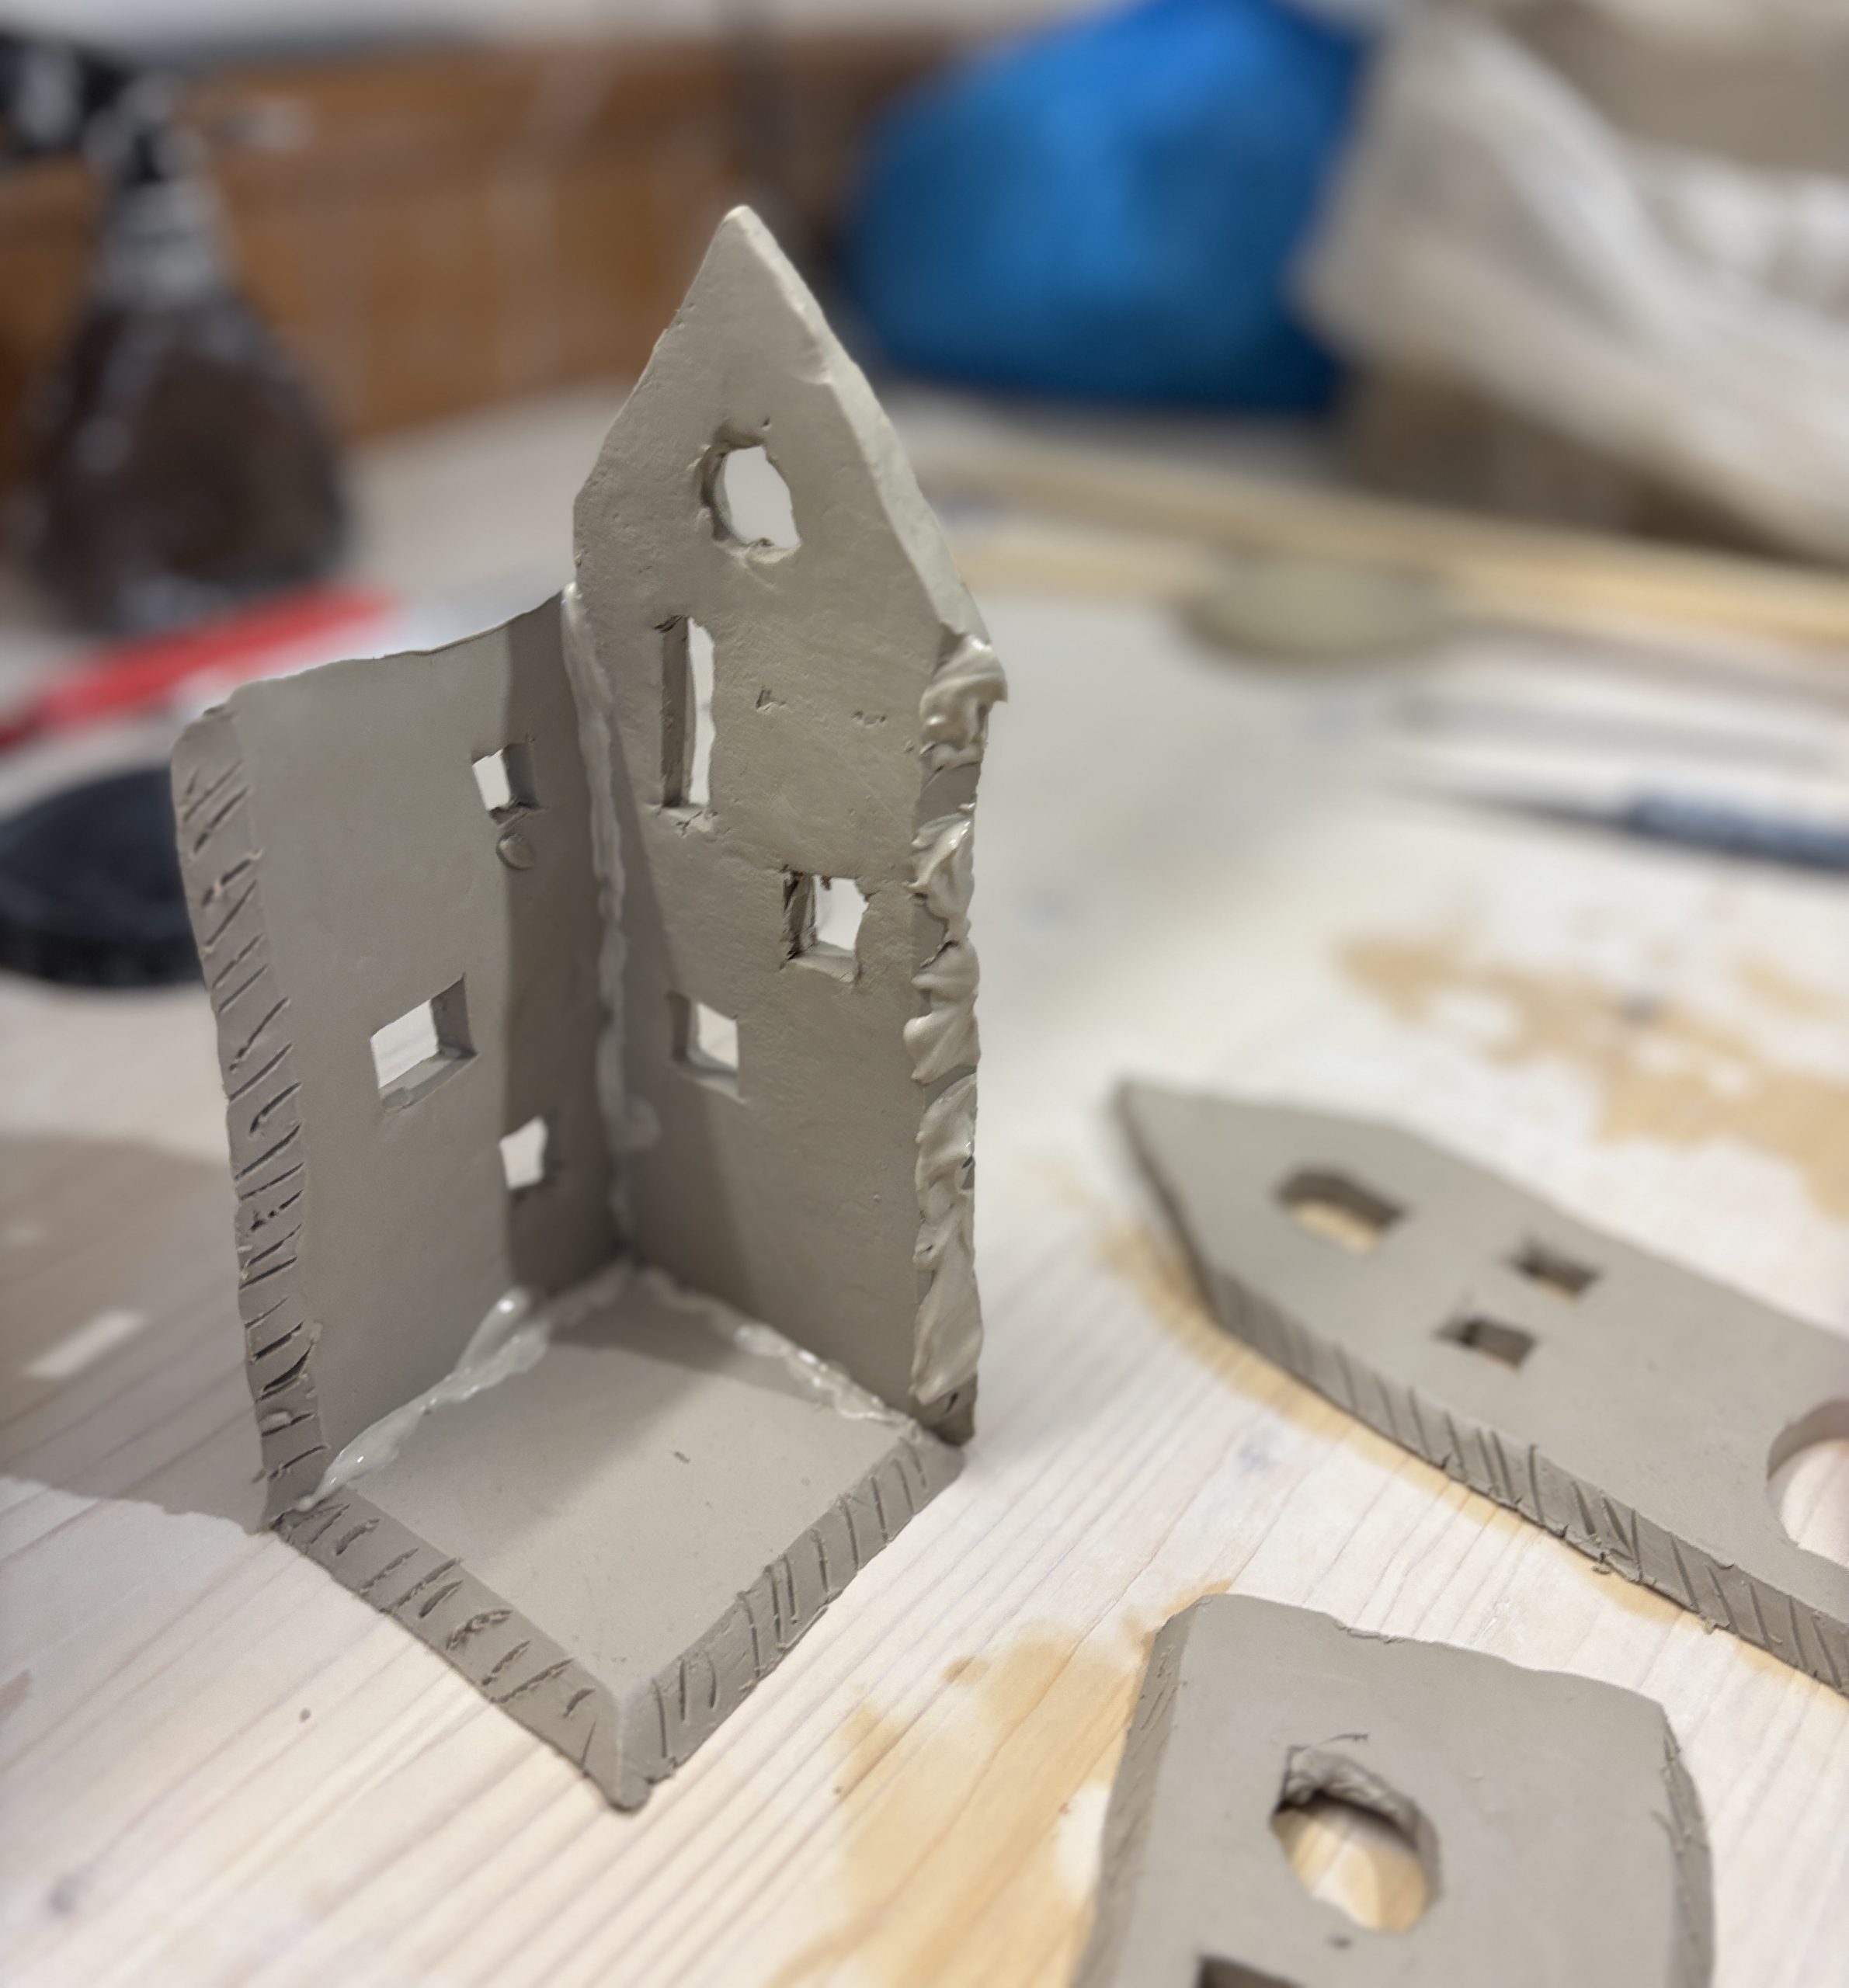
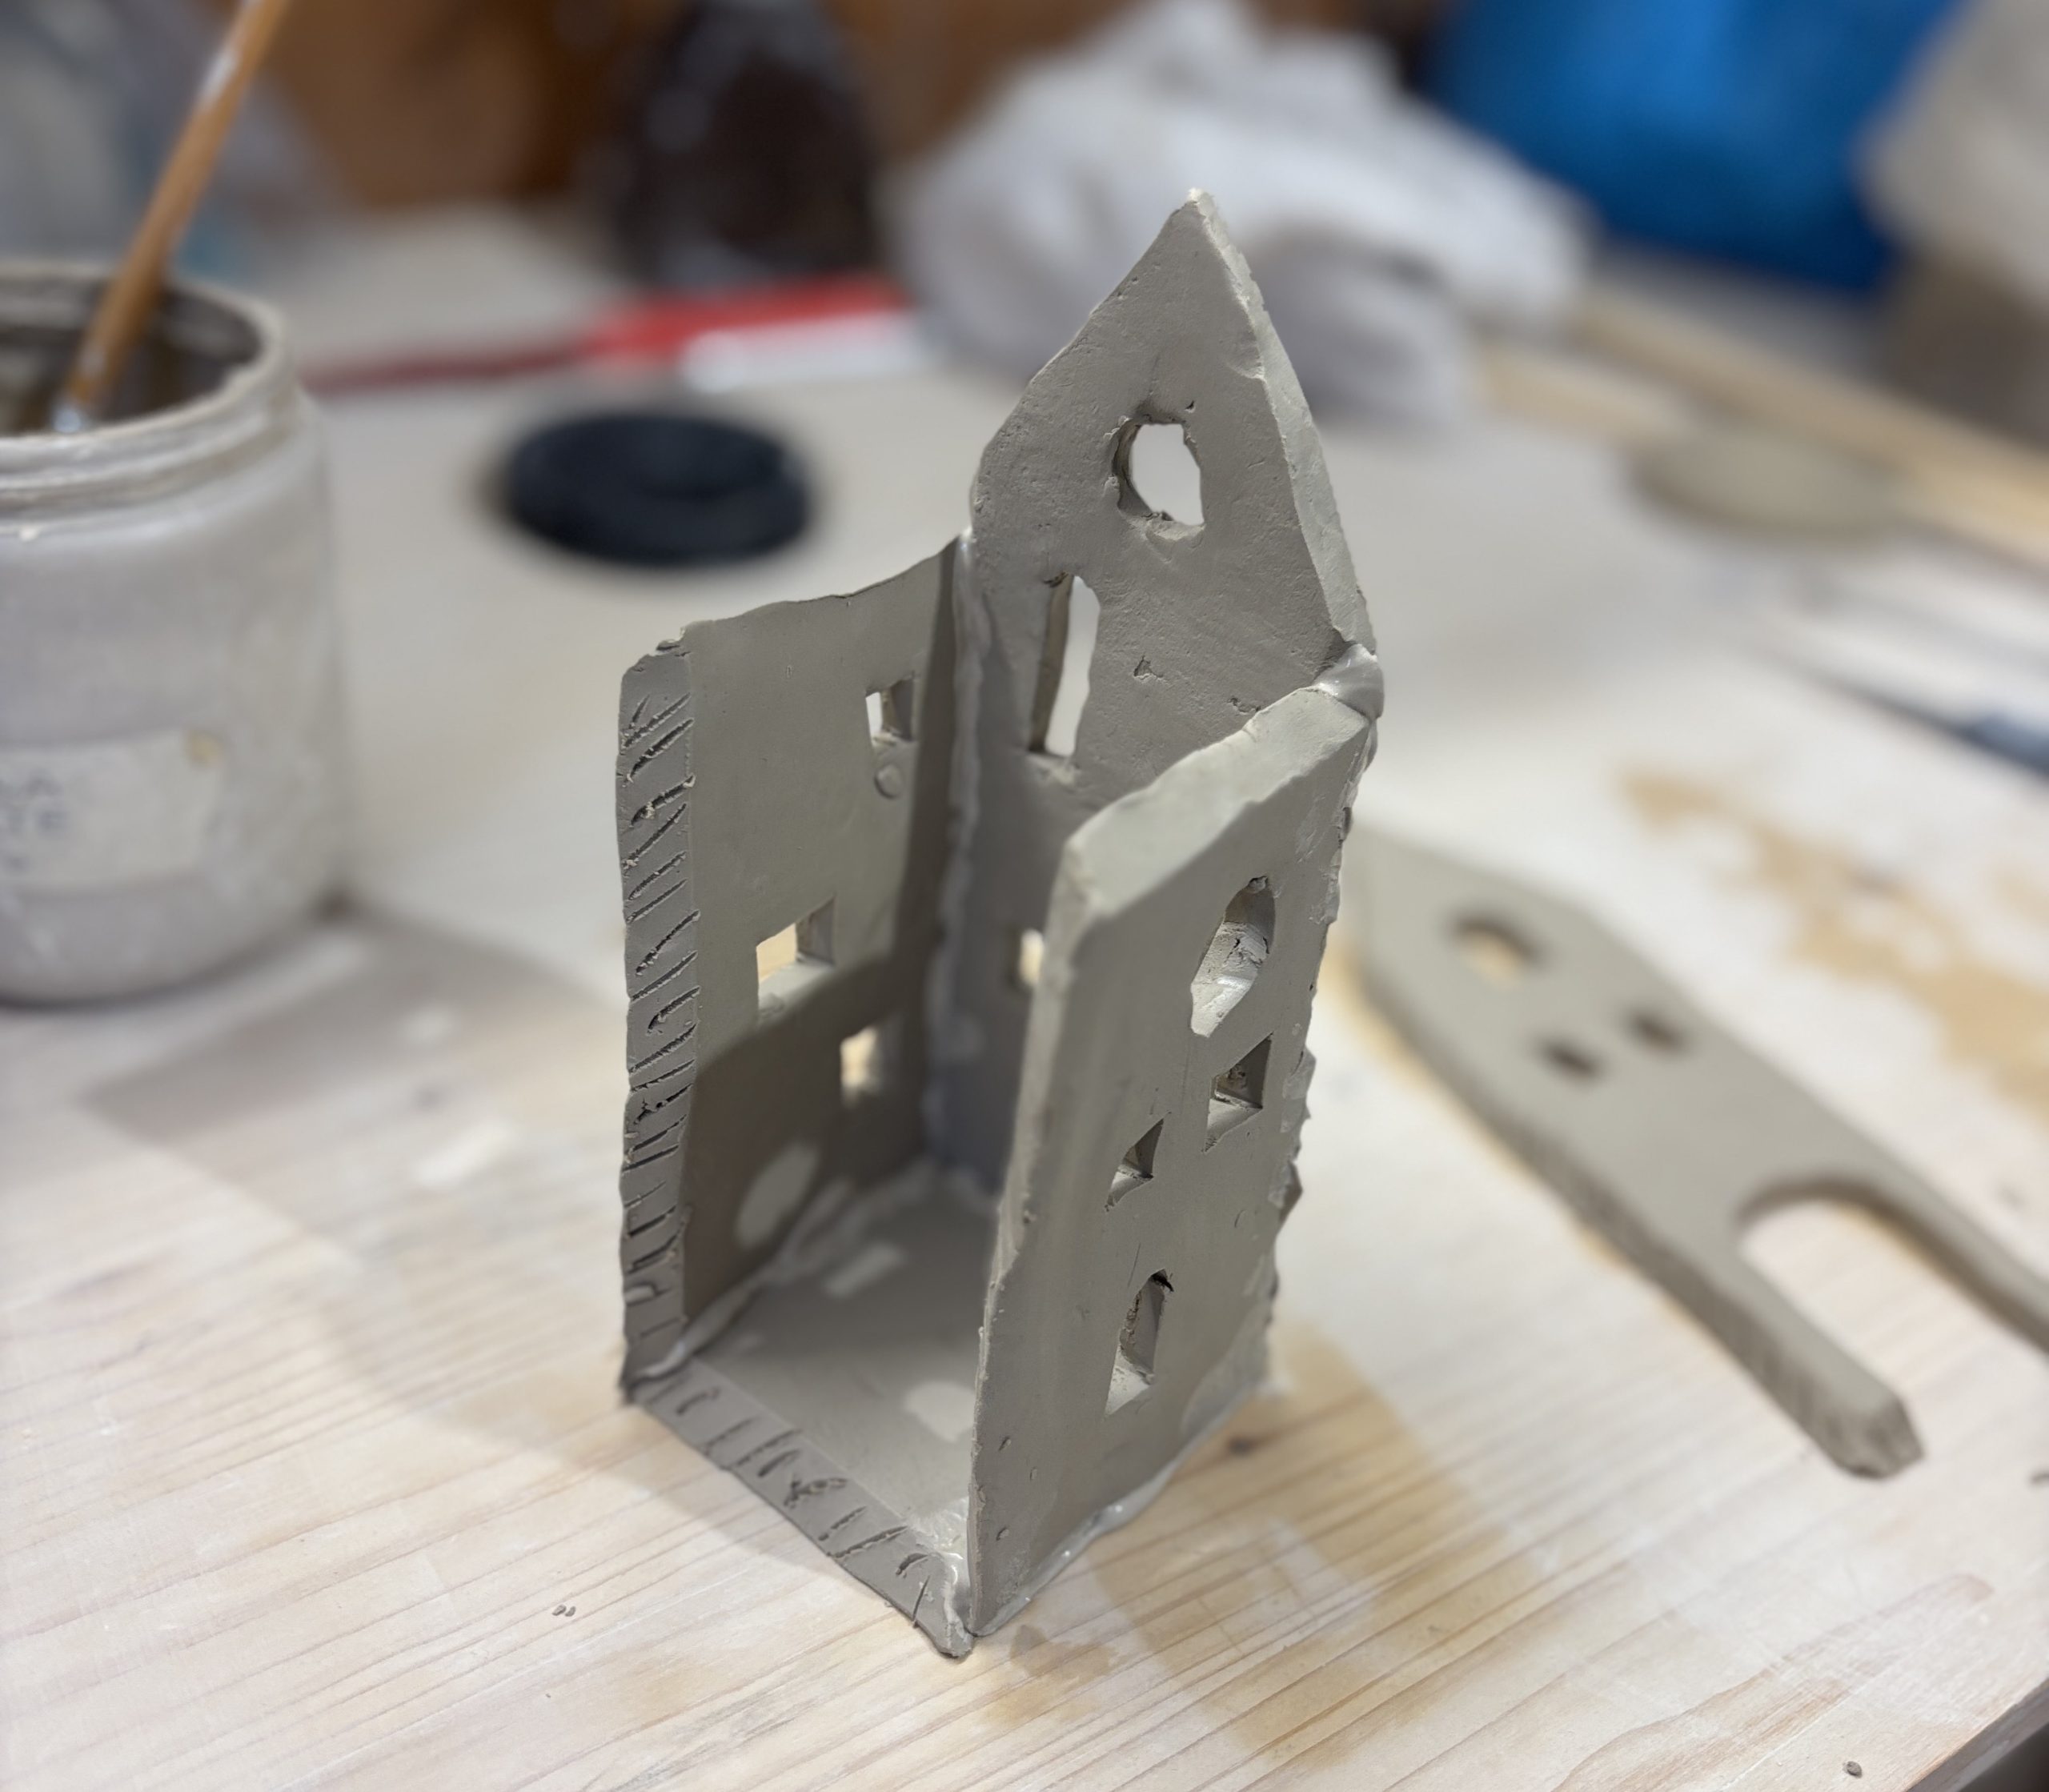
The edges of the walls to be assembled must be cut at 45° with a small knife, this will make it easier to assemble and build the edges. You must be careful because ONLY the SIDES that must join must be cut, so it is not necessary to cut the roof slopes and the two squares that make up the roof

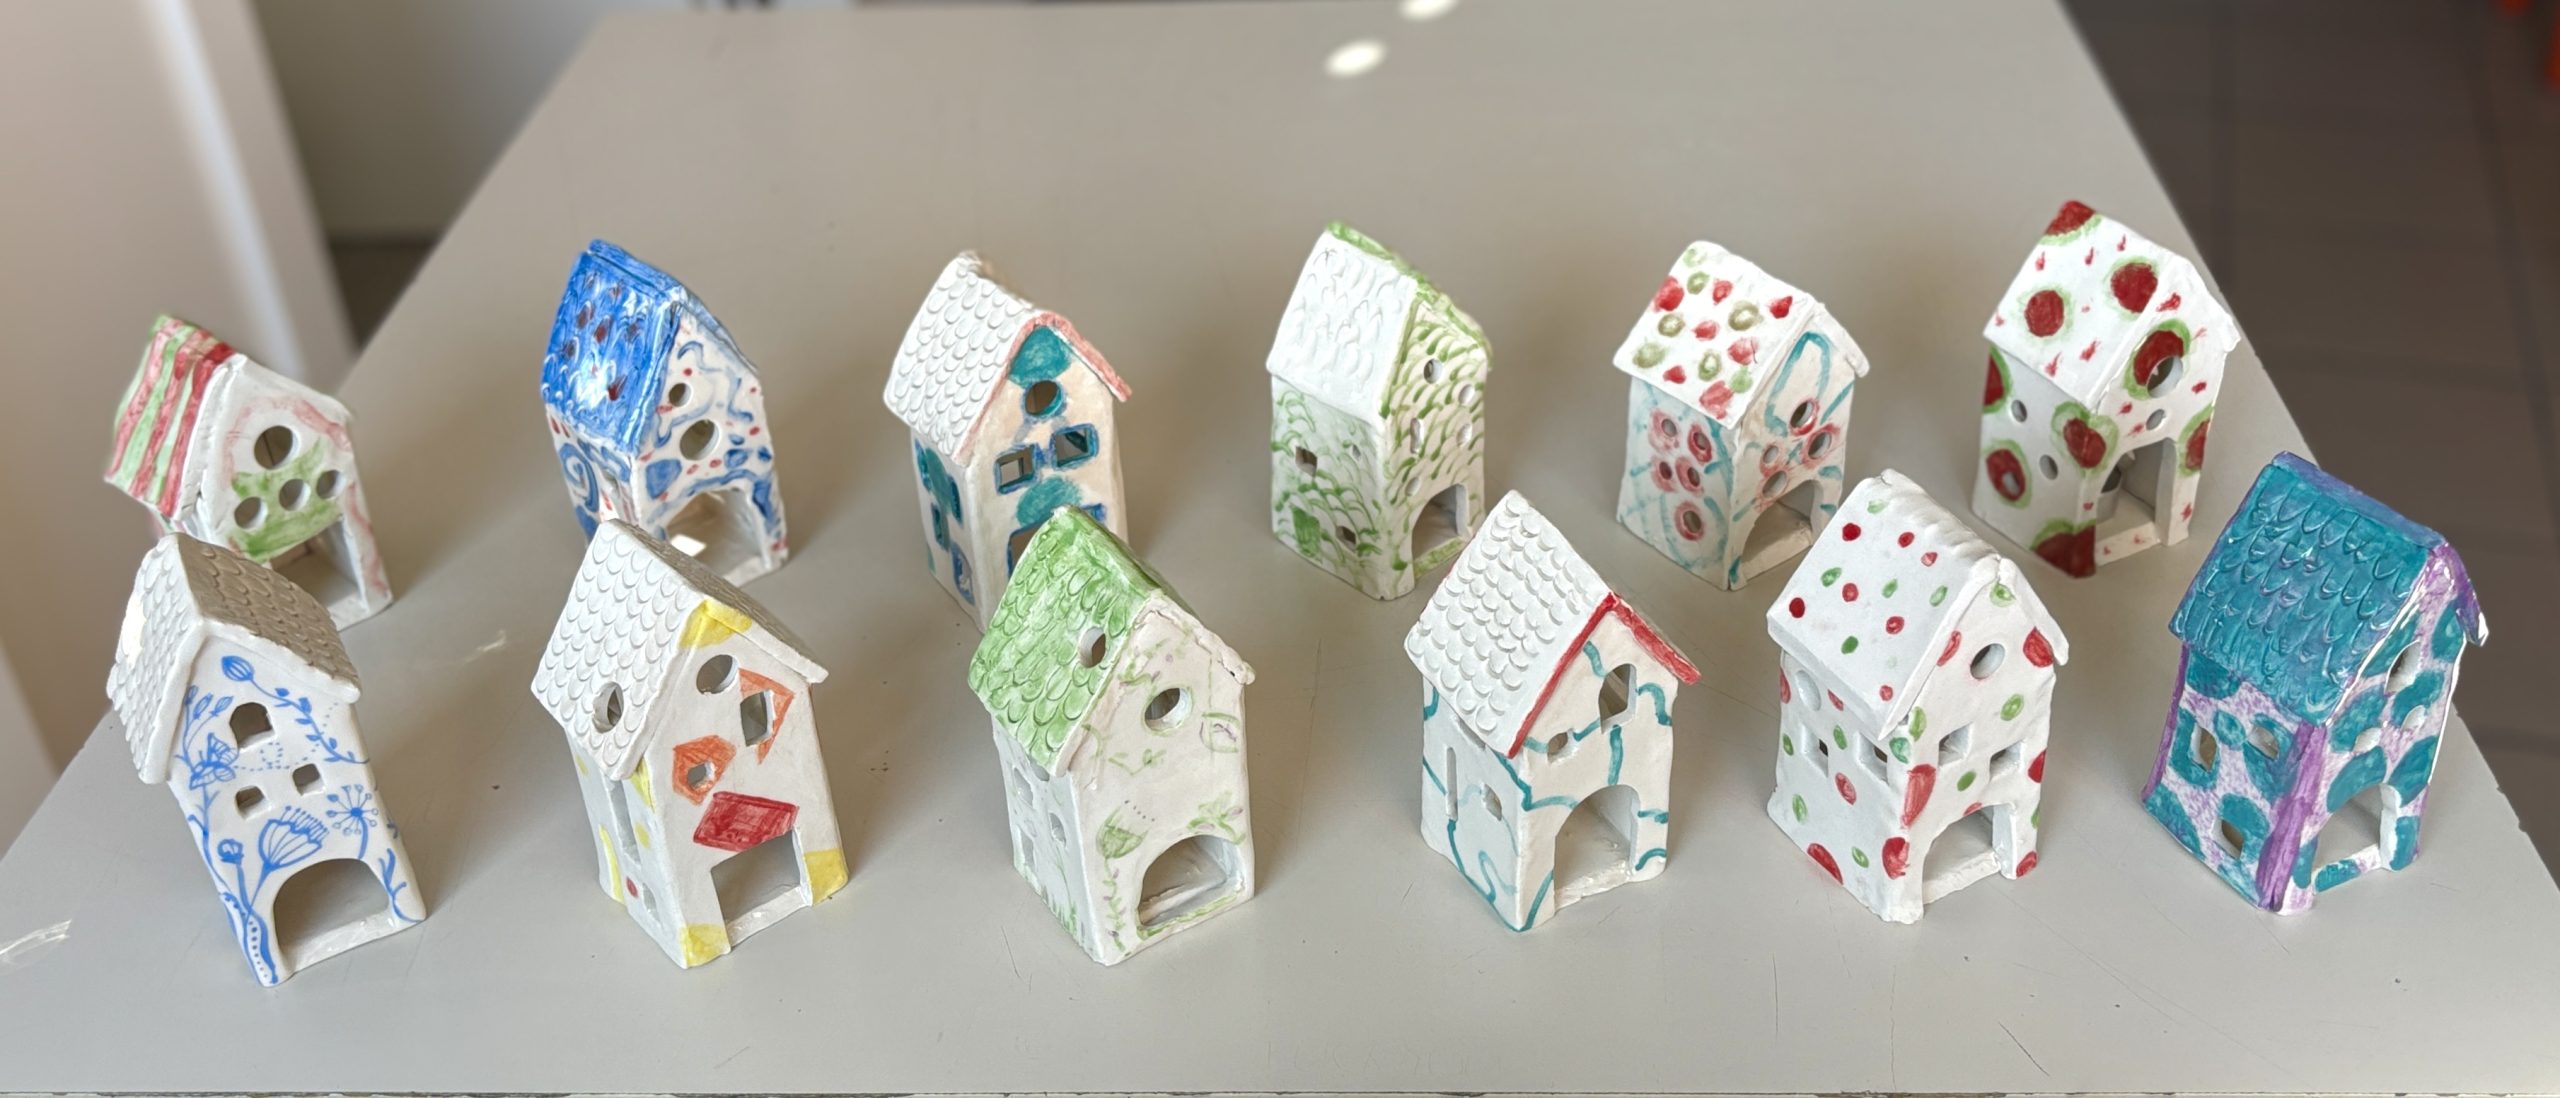
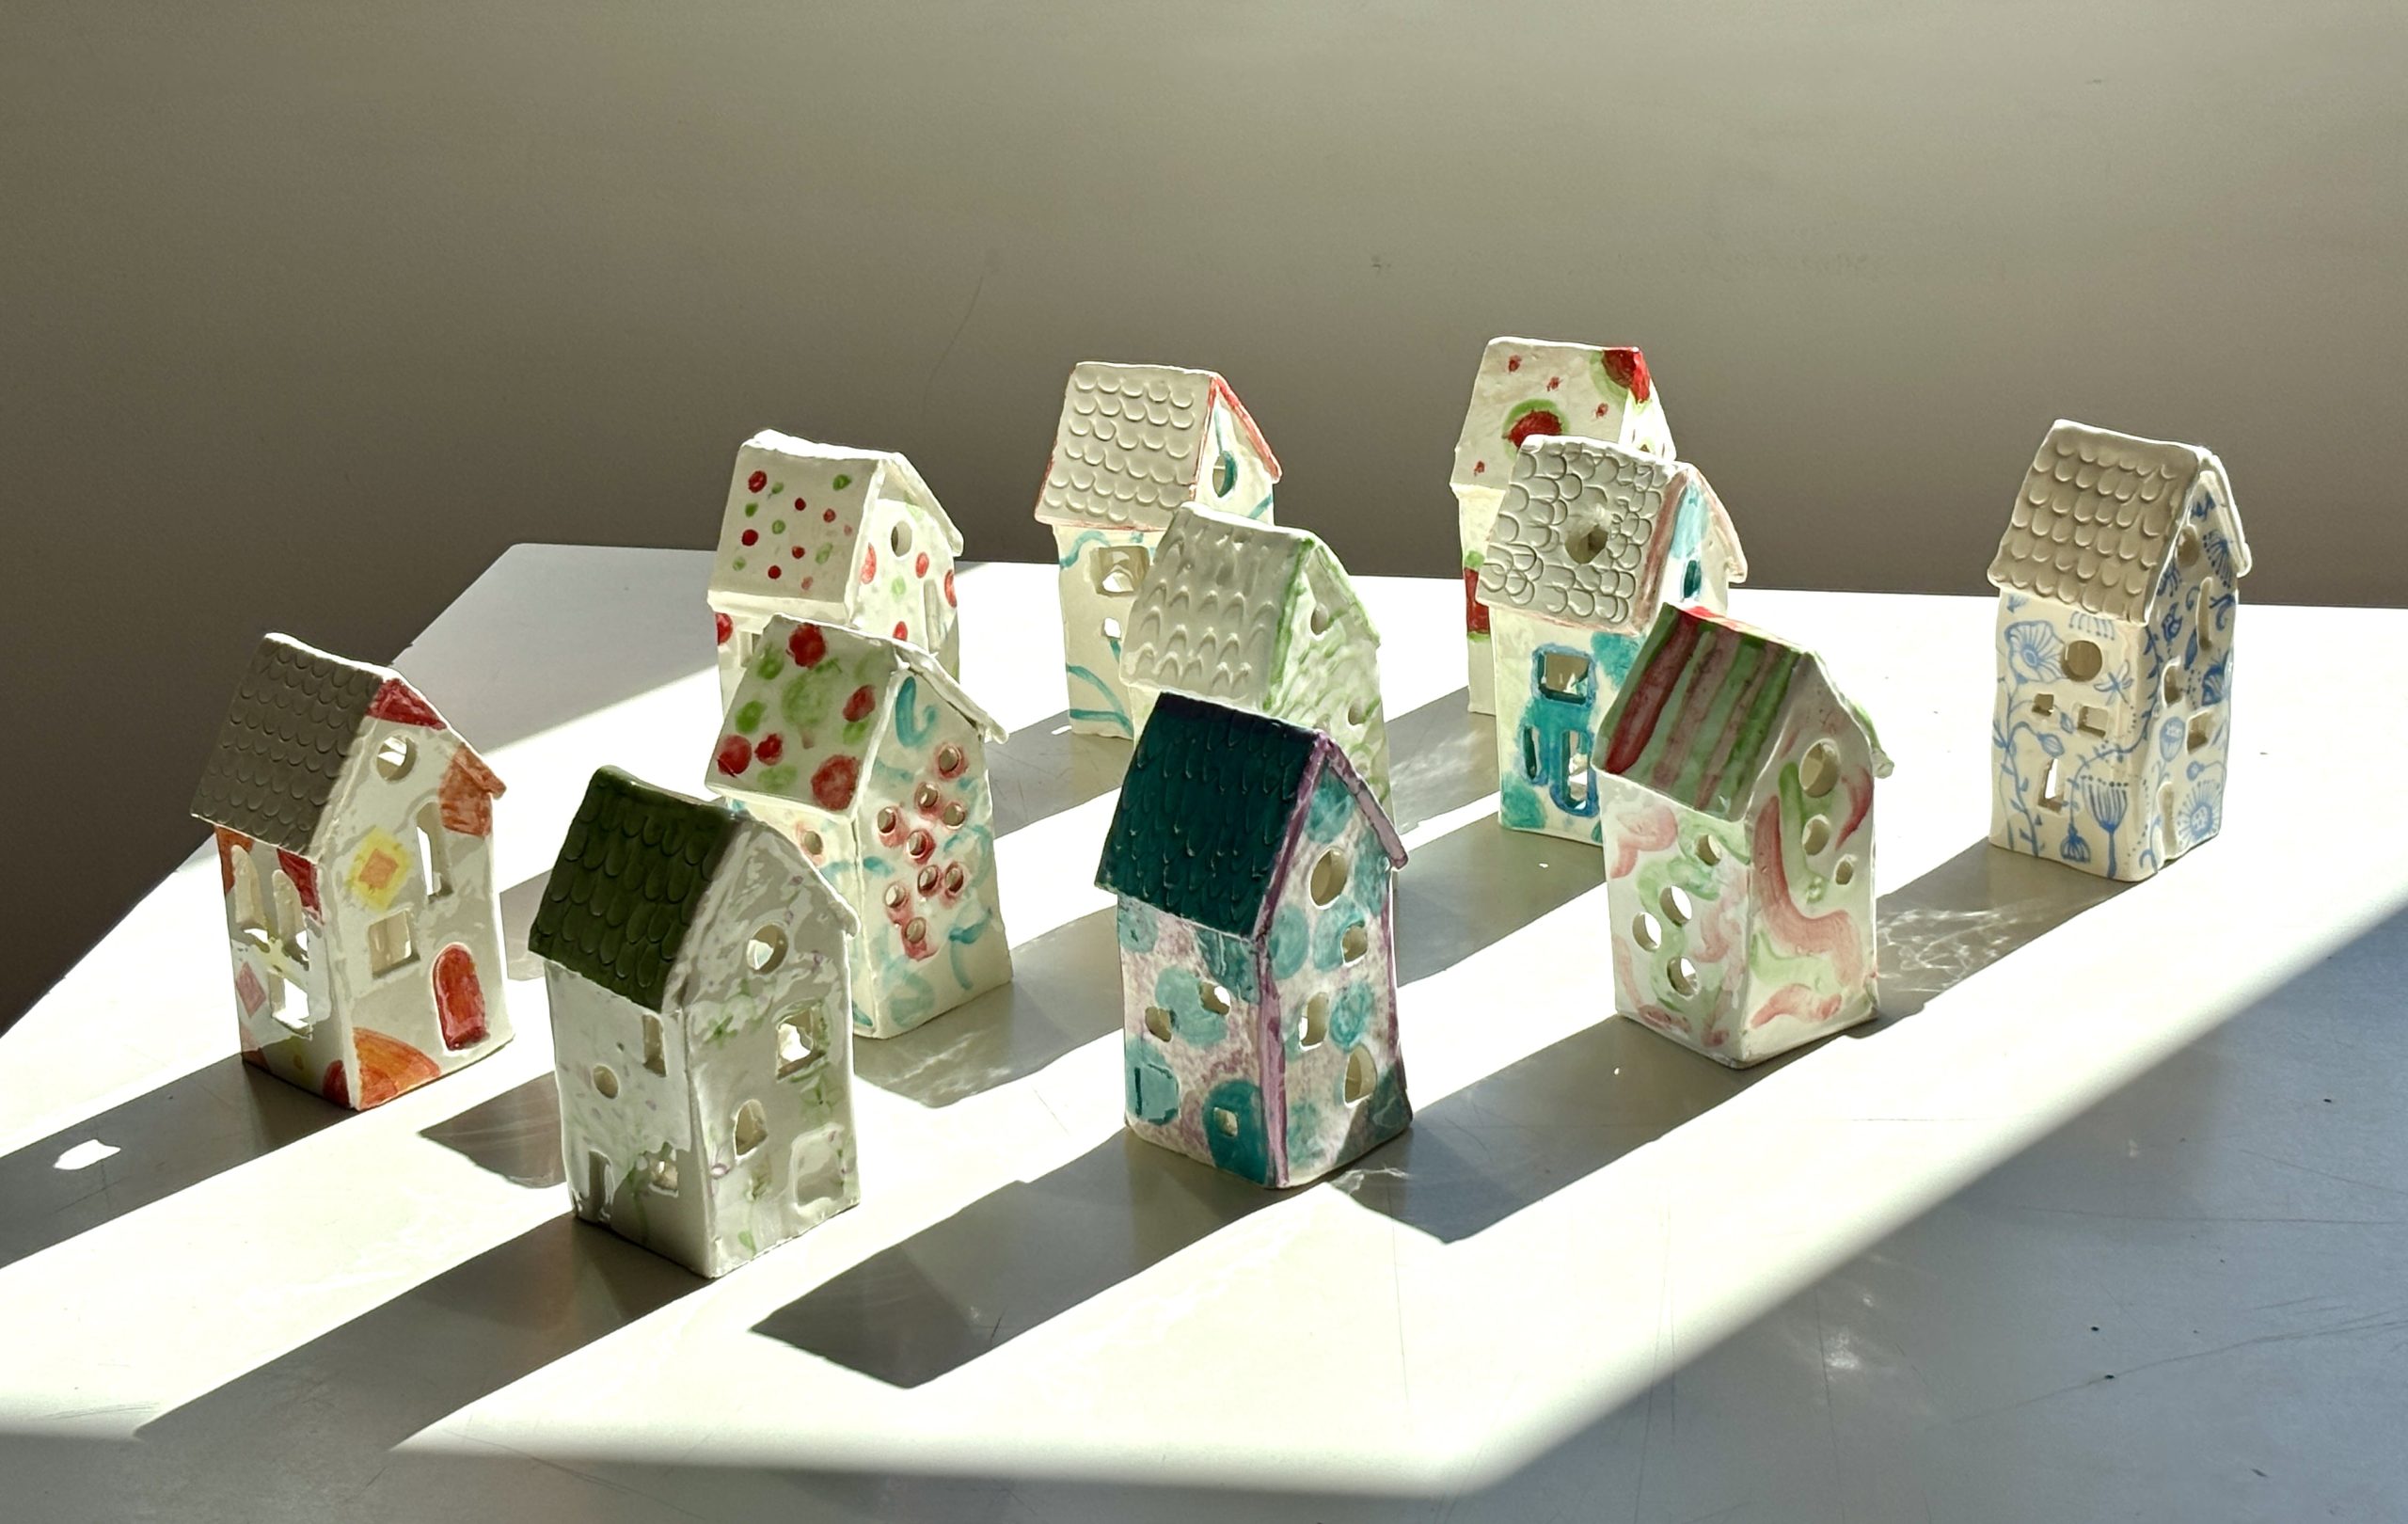
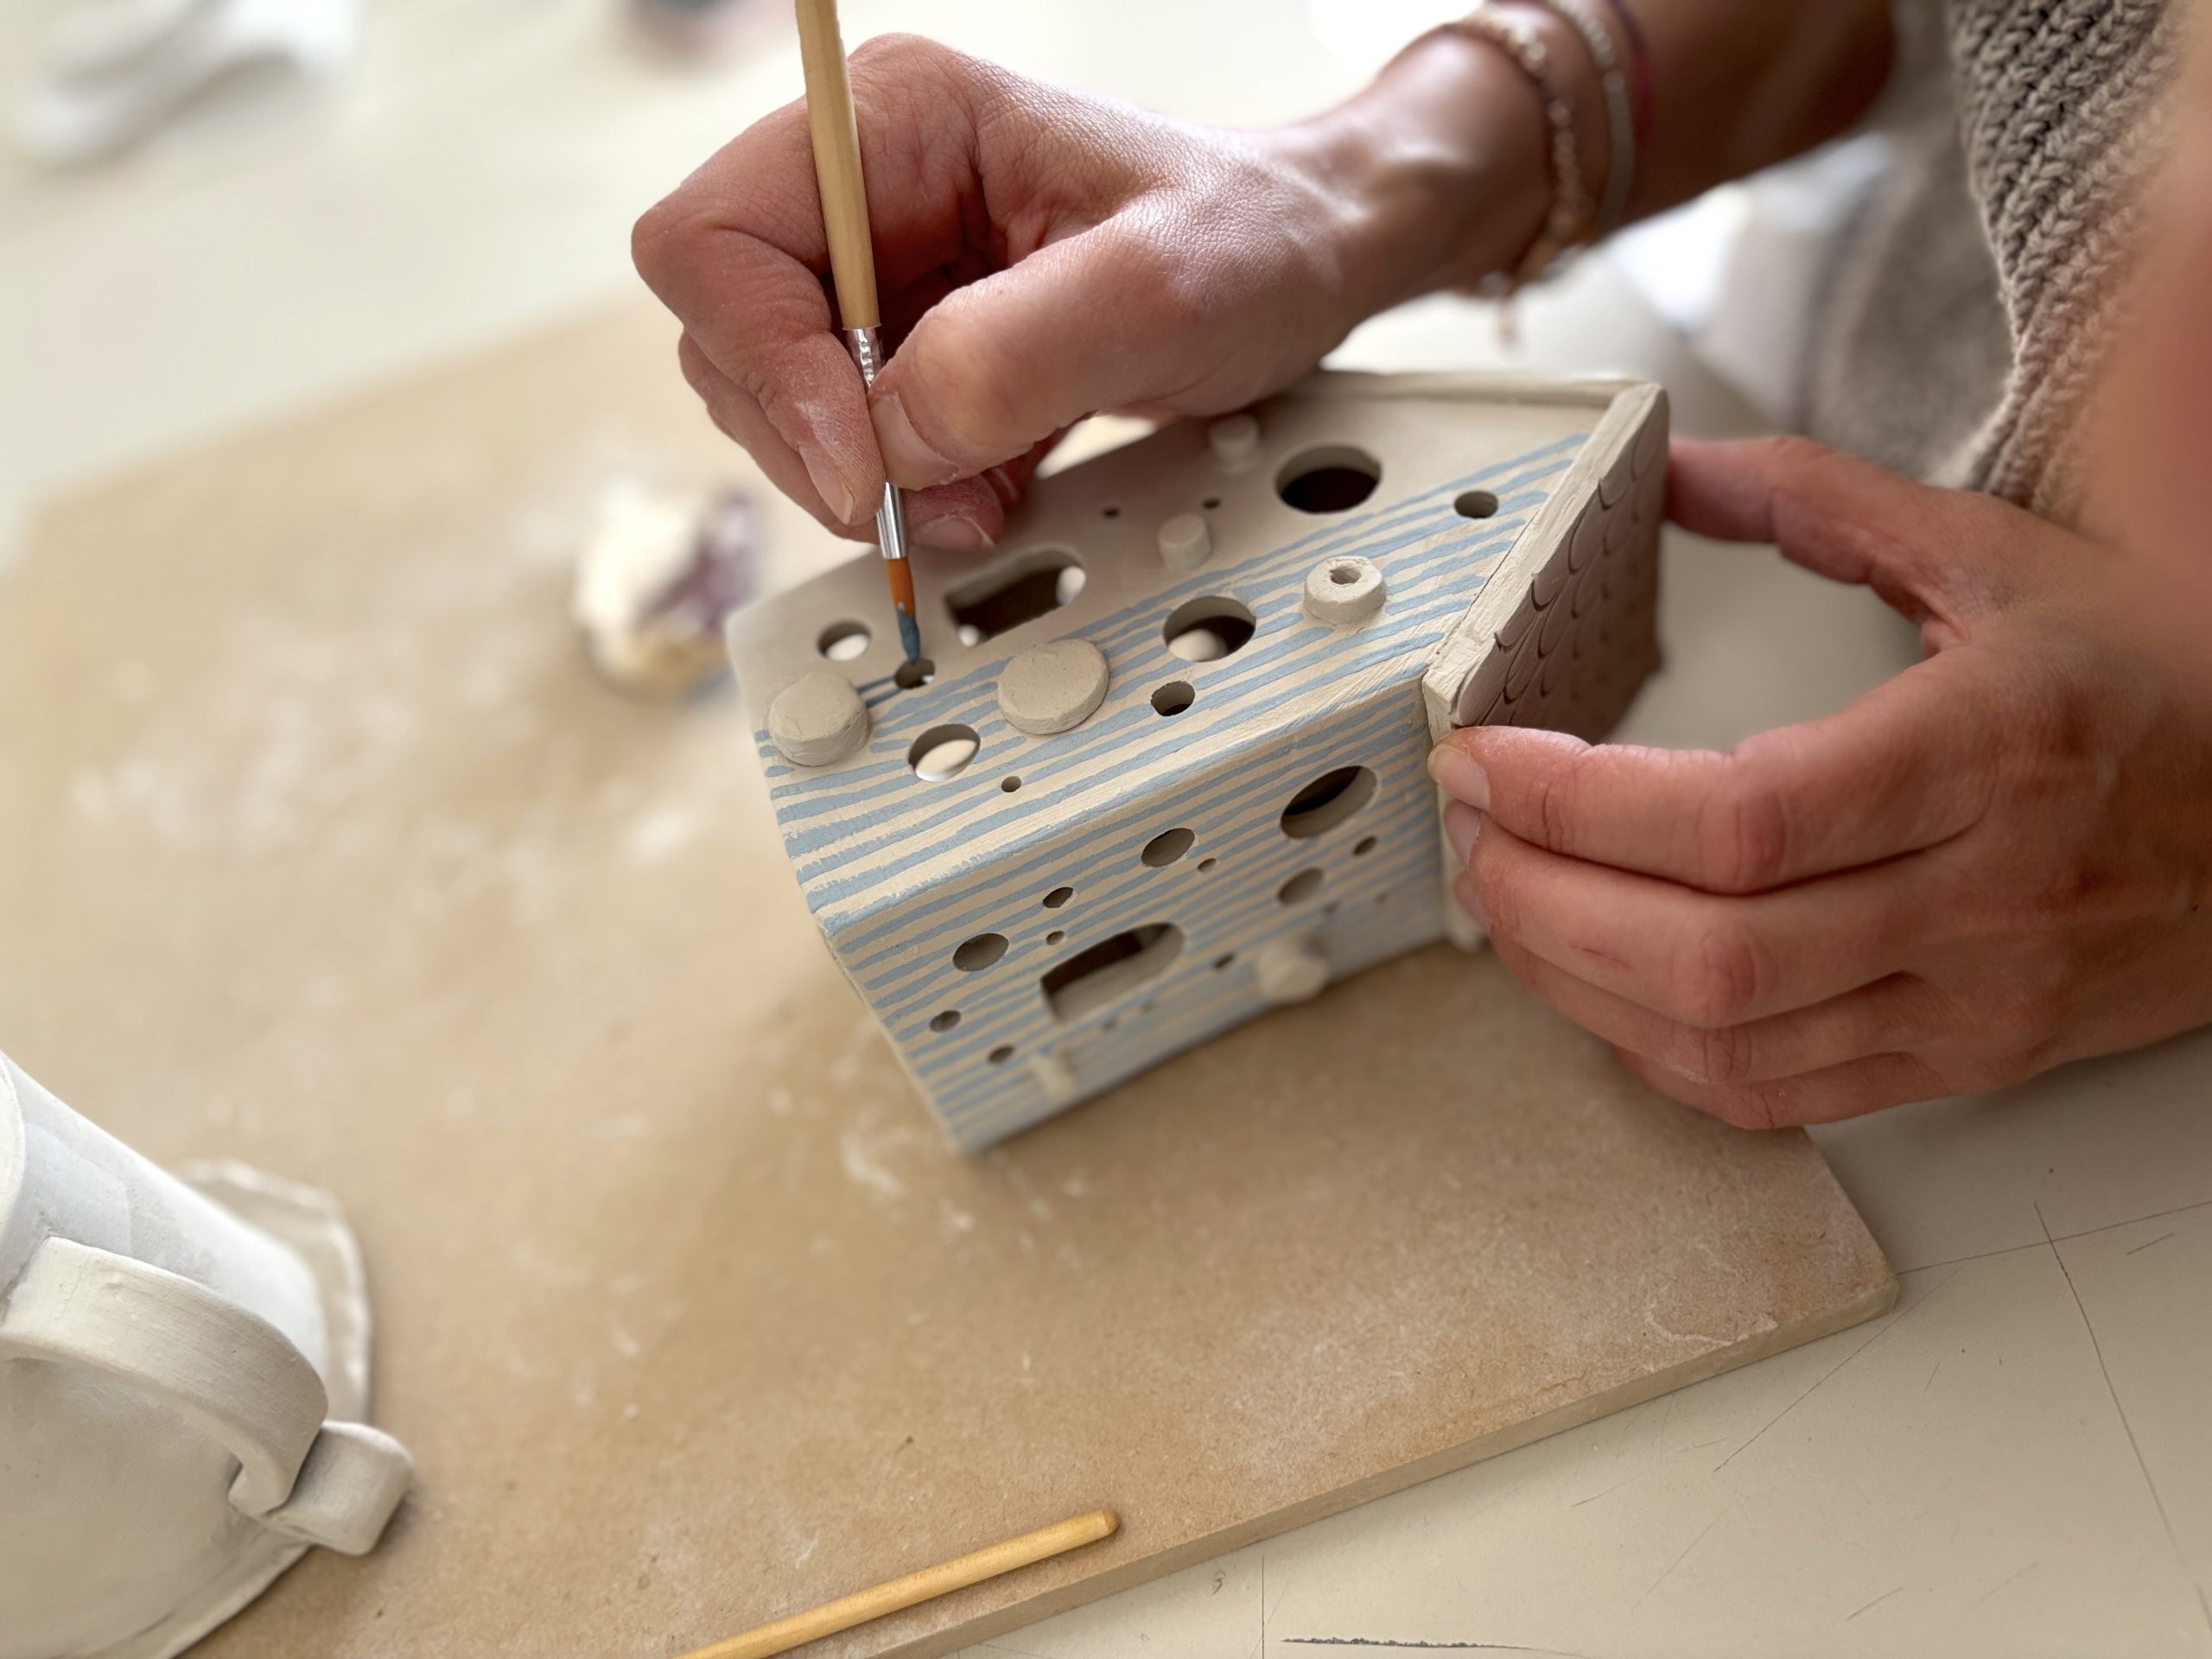
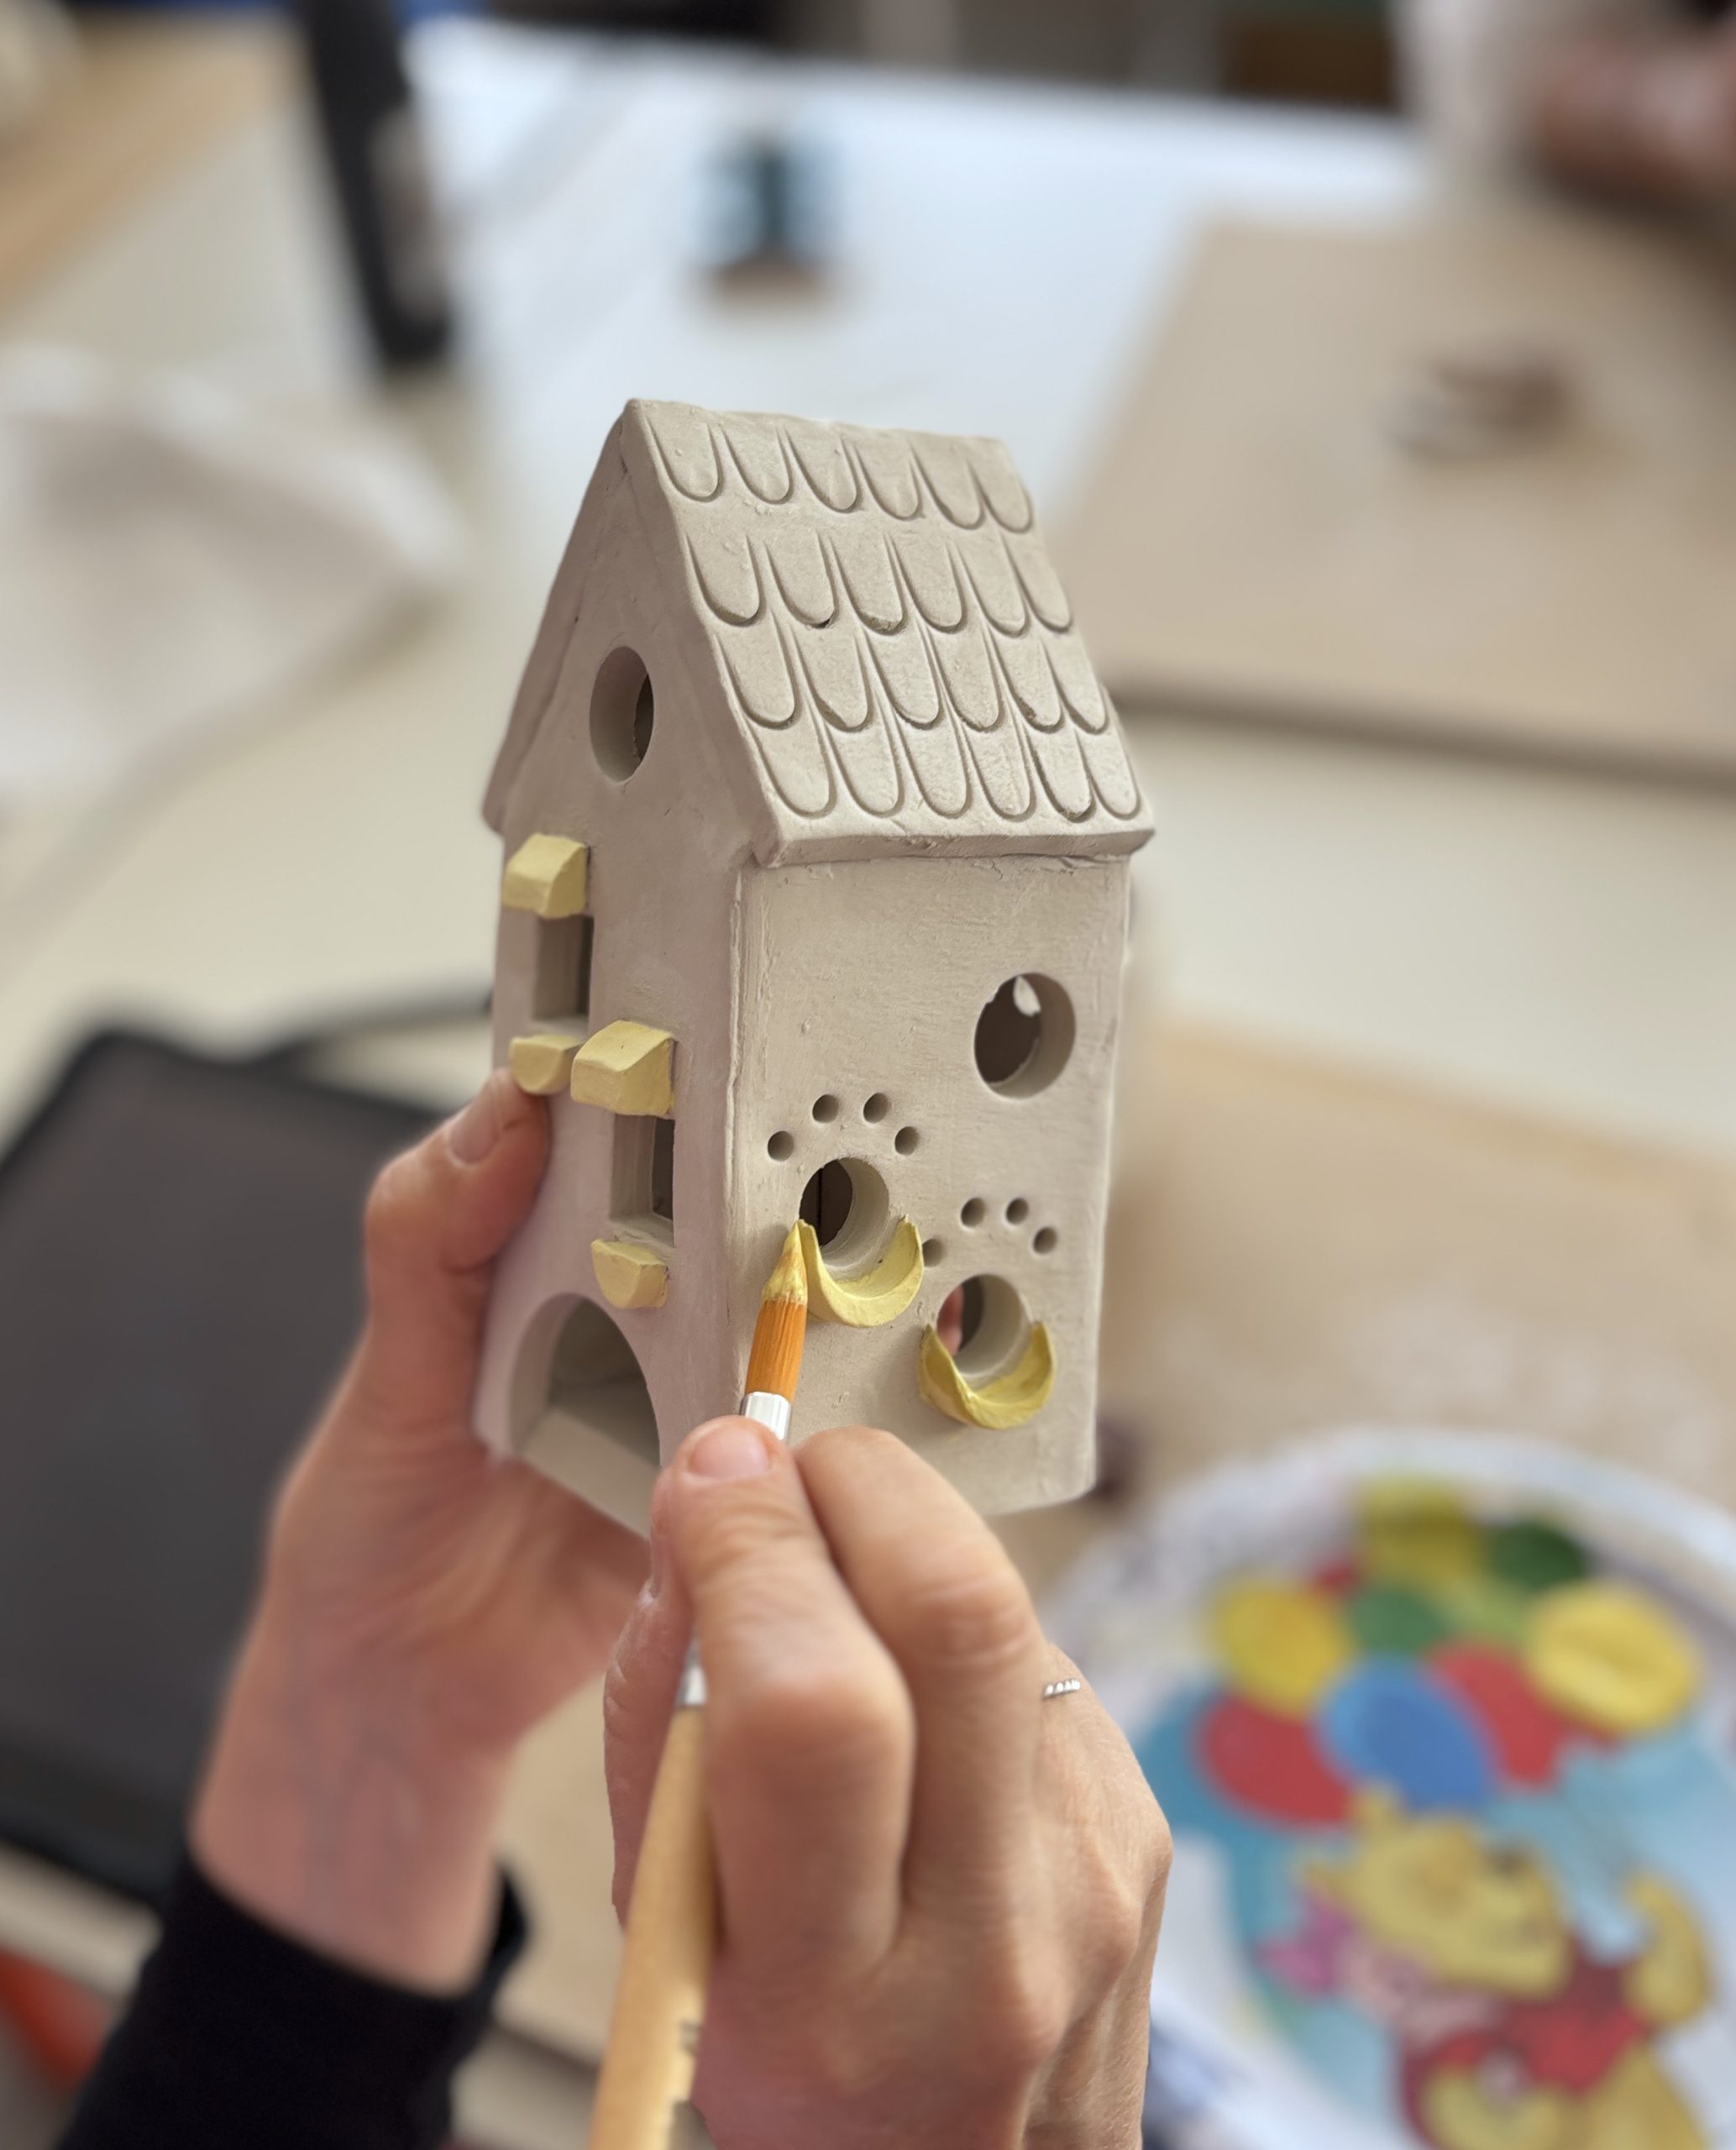
Once the sides to be joined at a 45° angle have been cut, windows and doors of various shapes and sizes can be opened. It is also possible to decorate the walls with the addition of decorations, textures or engravings.

Before assembly, always remember to knurle all the surfaces that need to be “glued” and to add plenty of slip, the liquid clay that serves as glue between the parts.


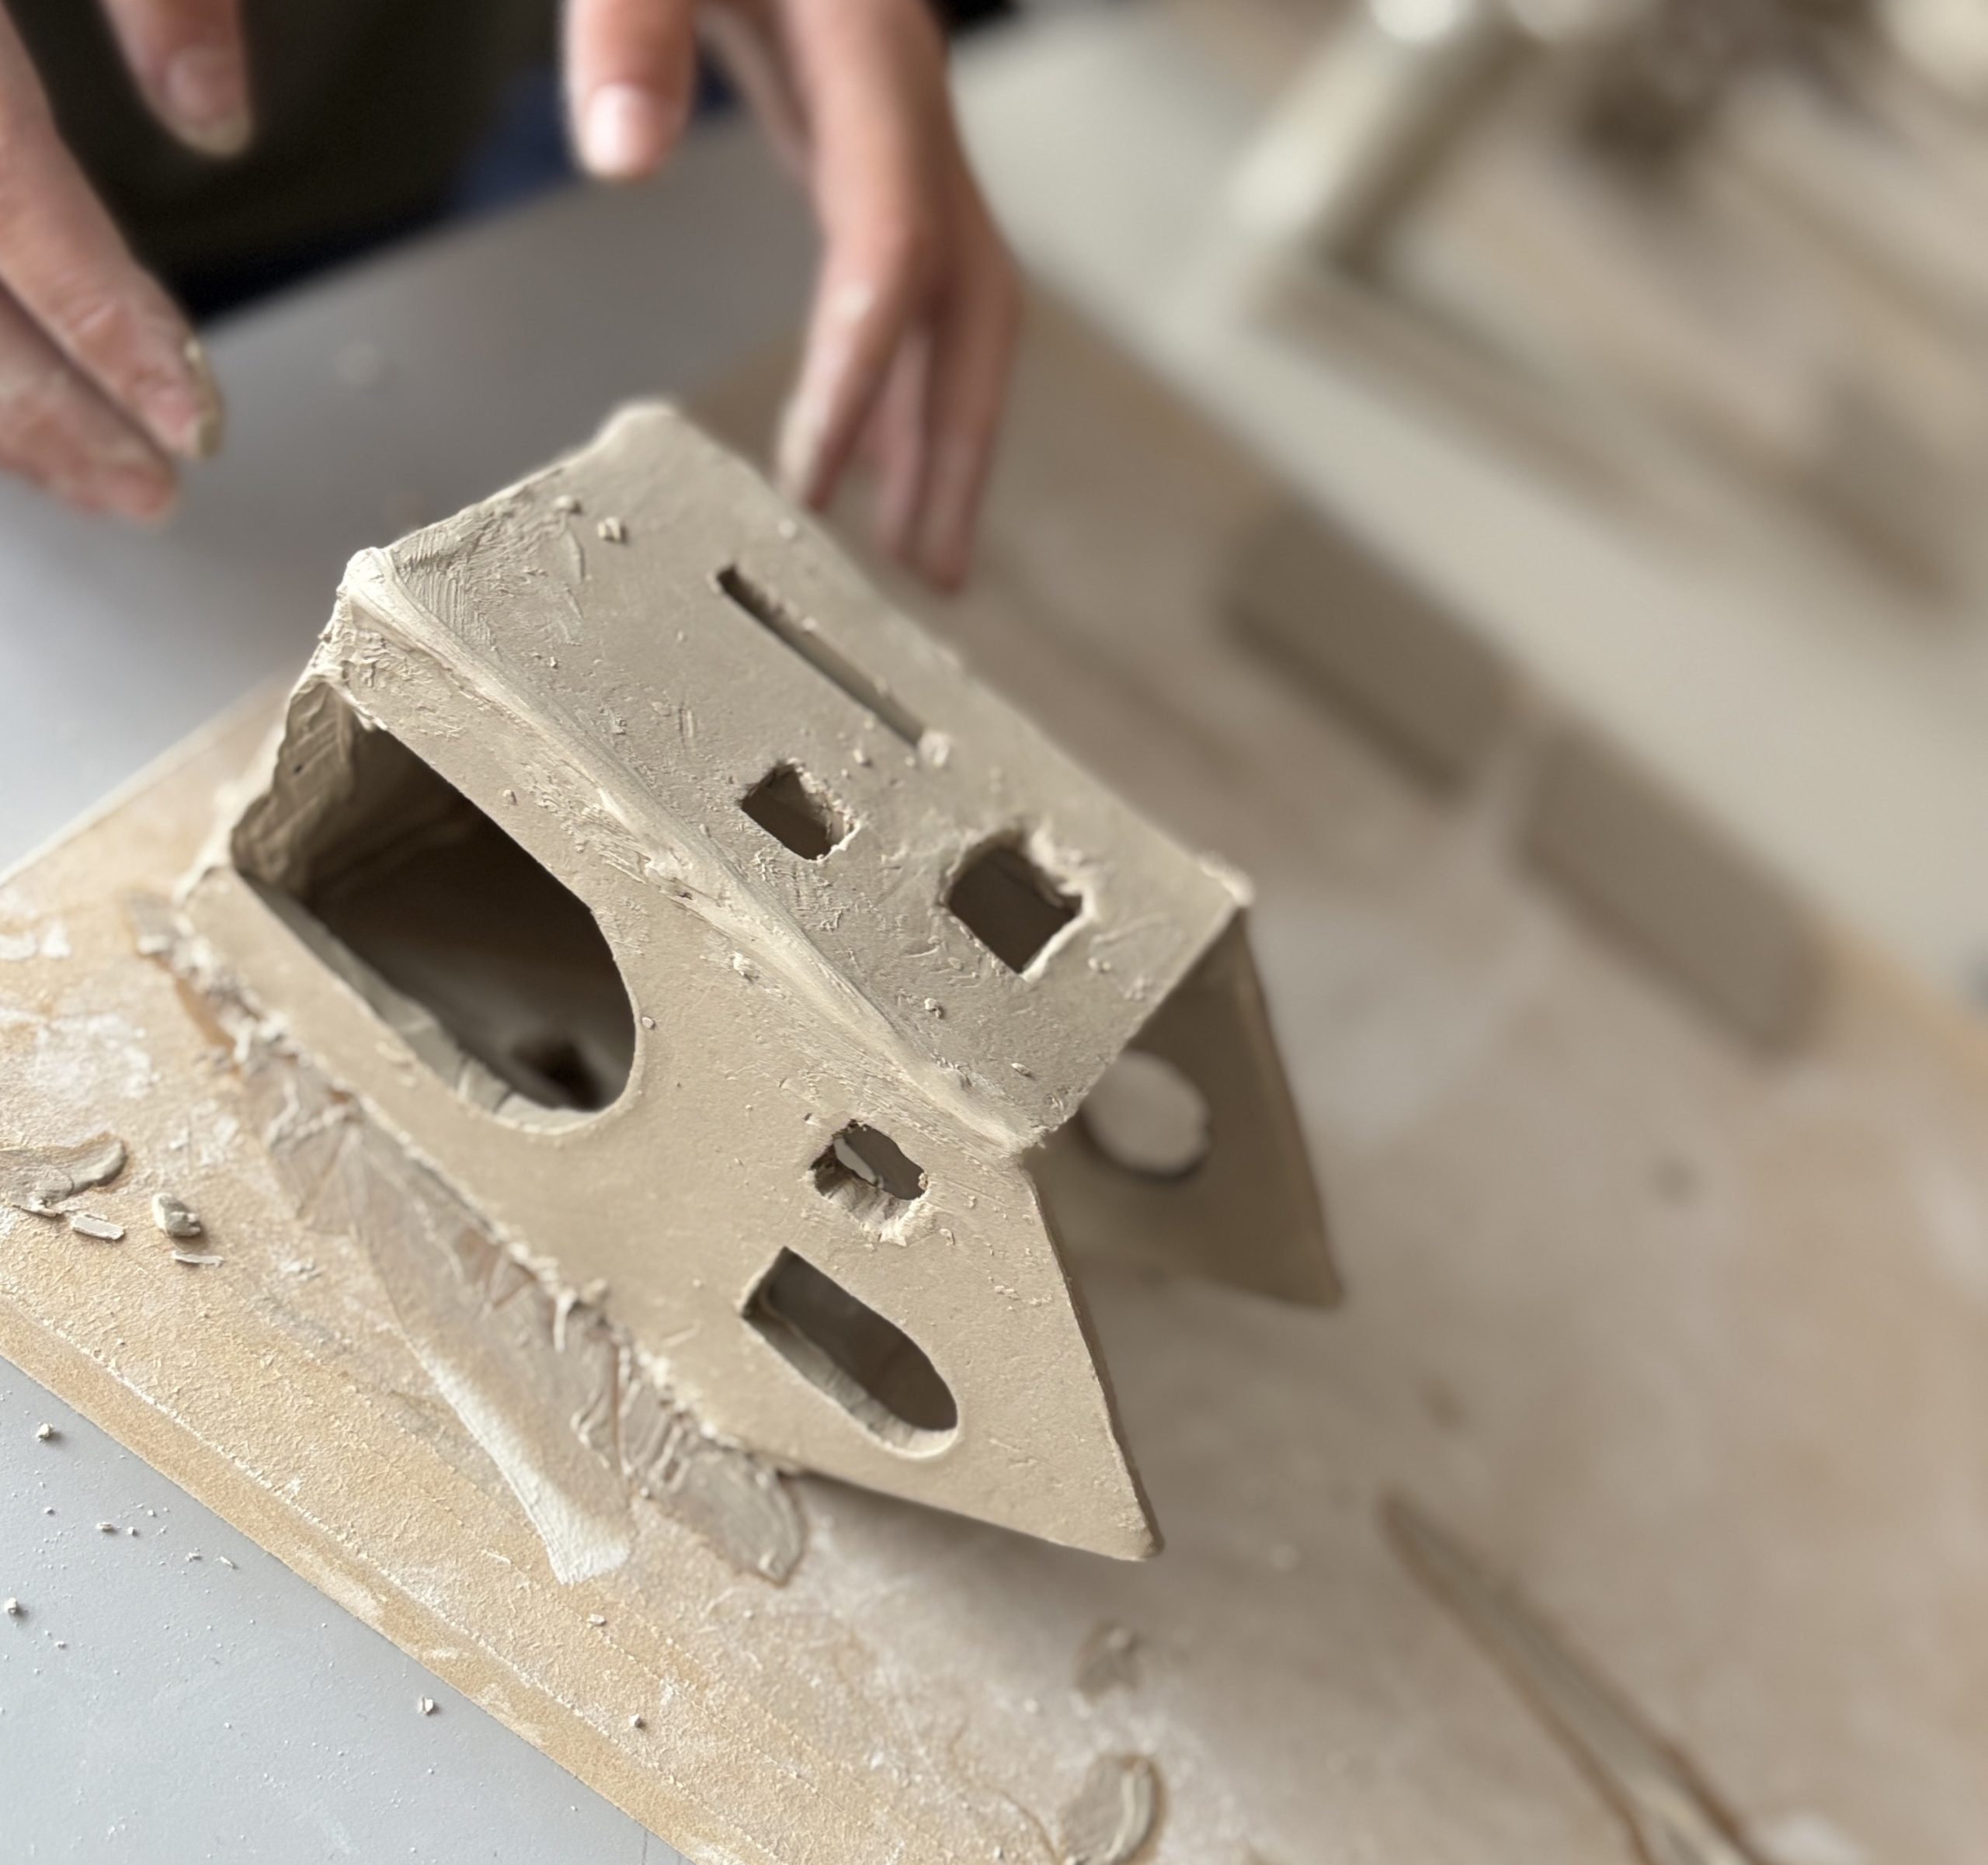


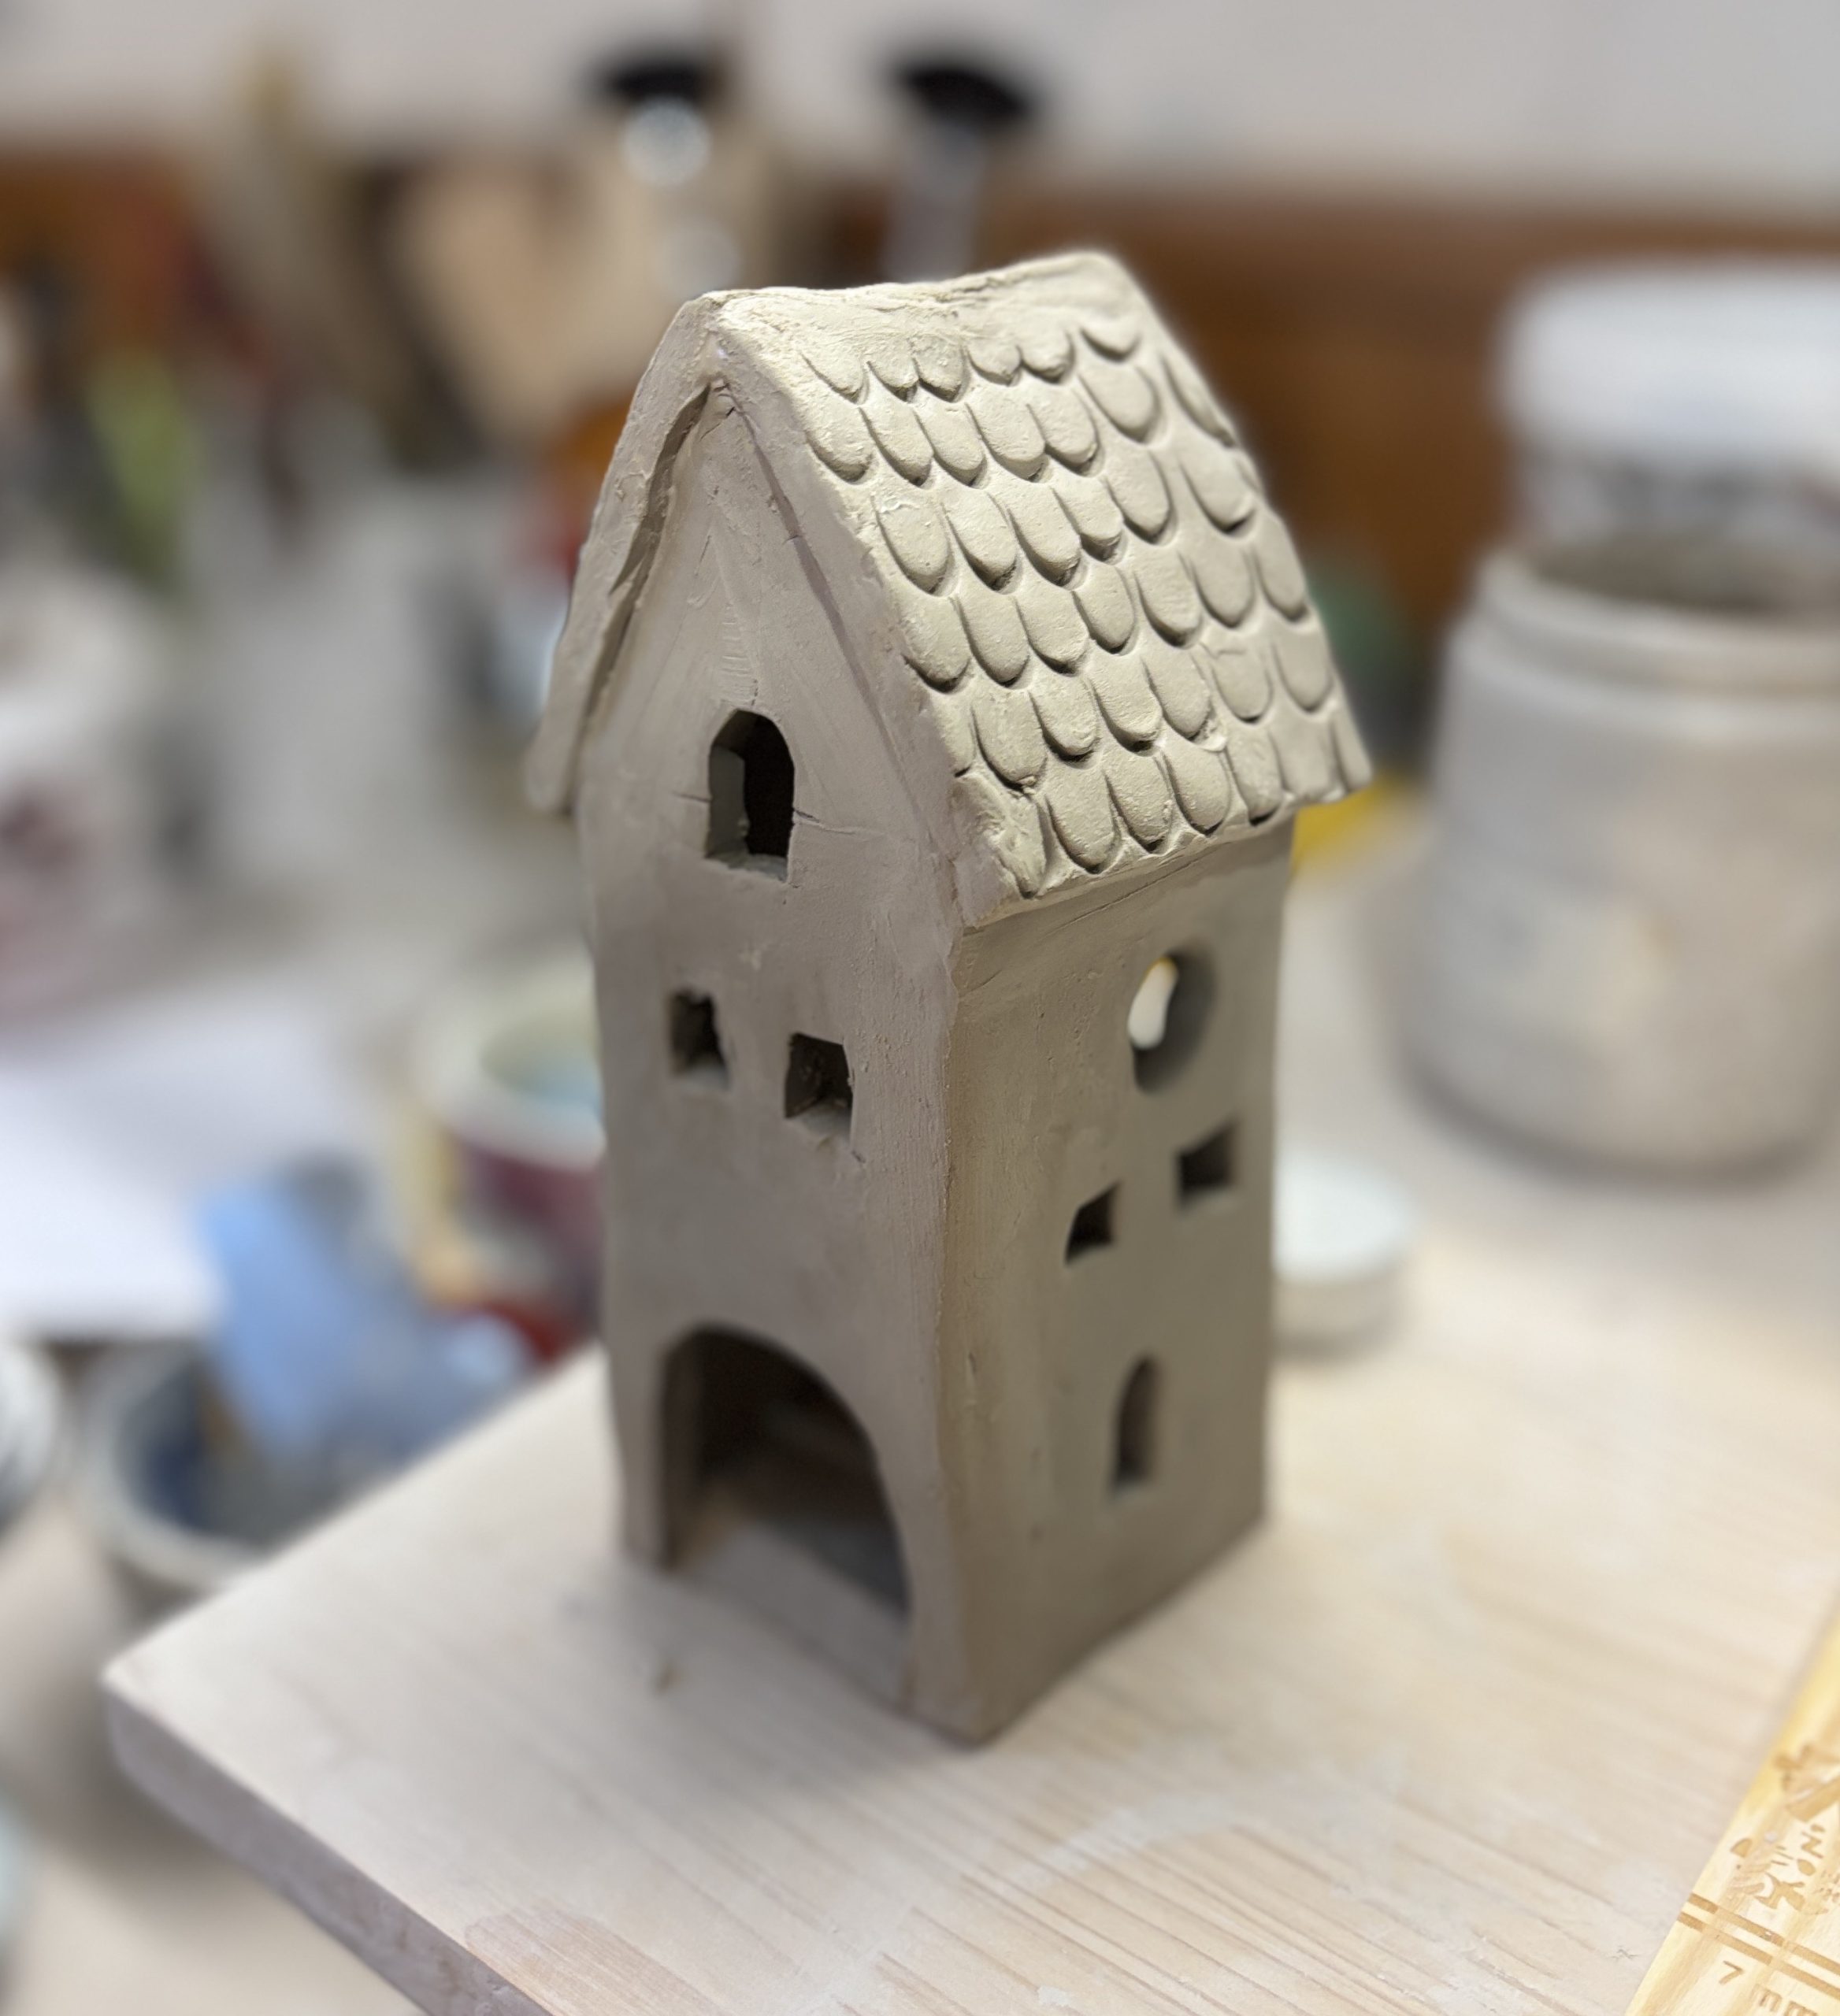
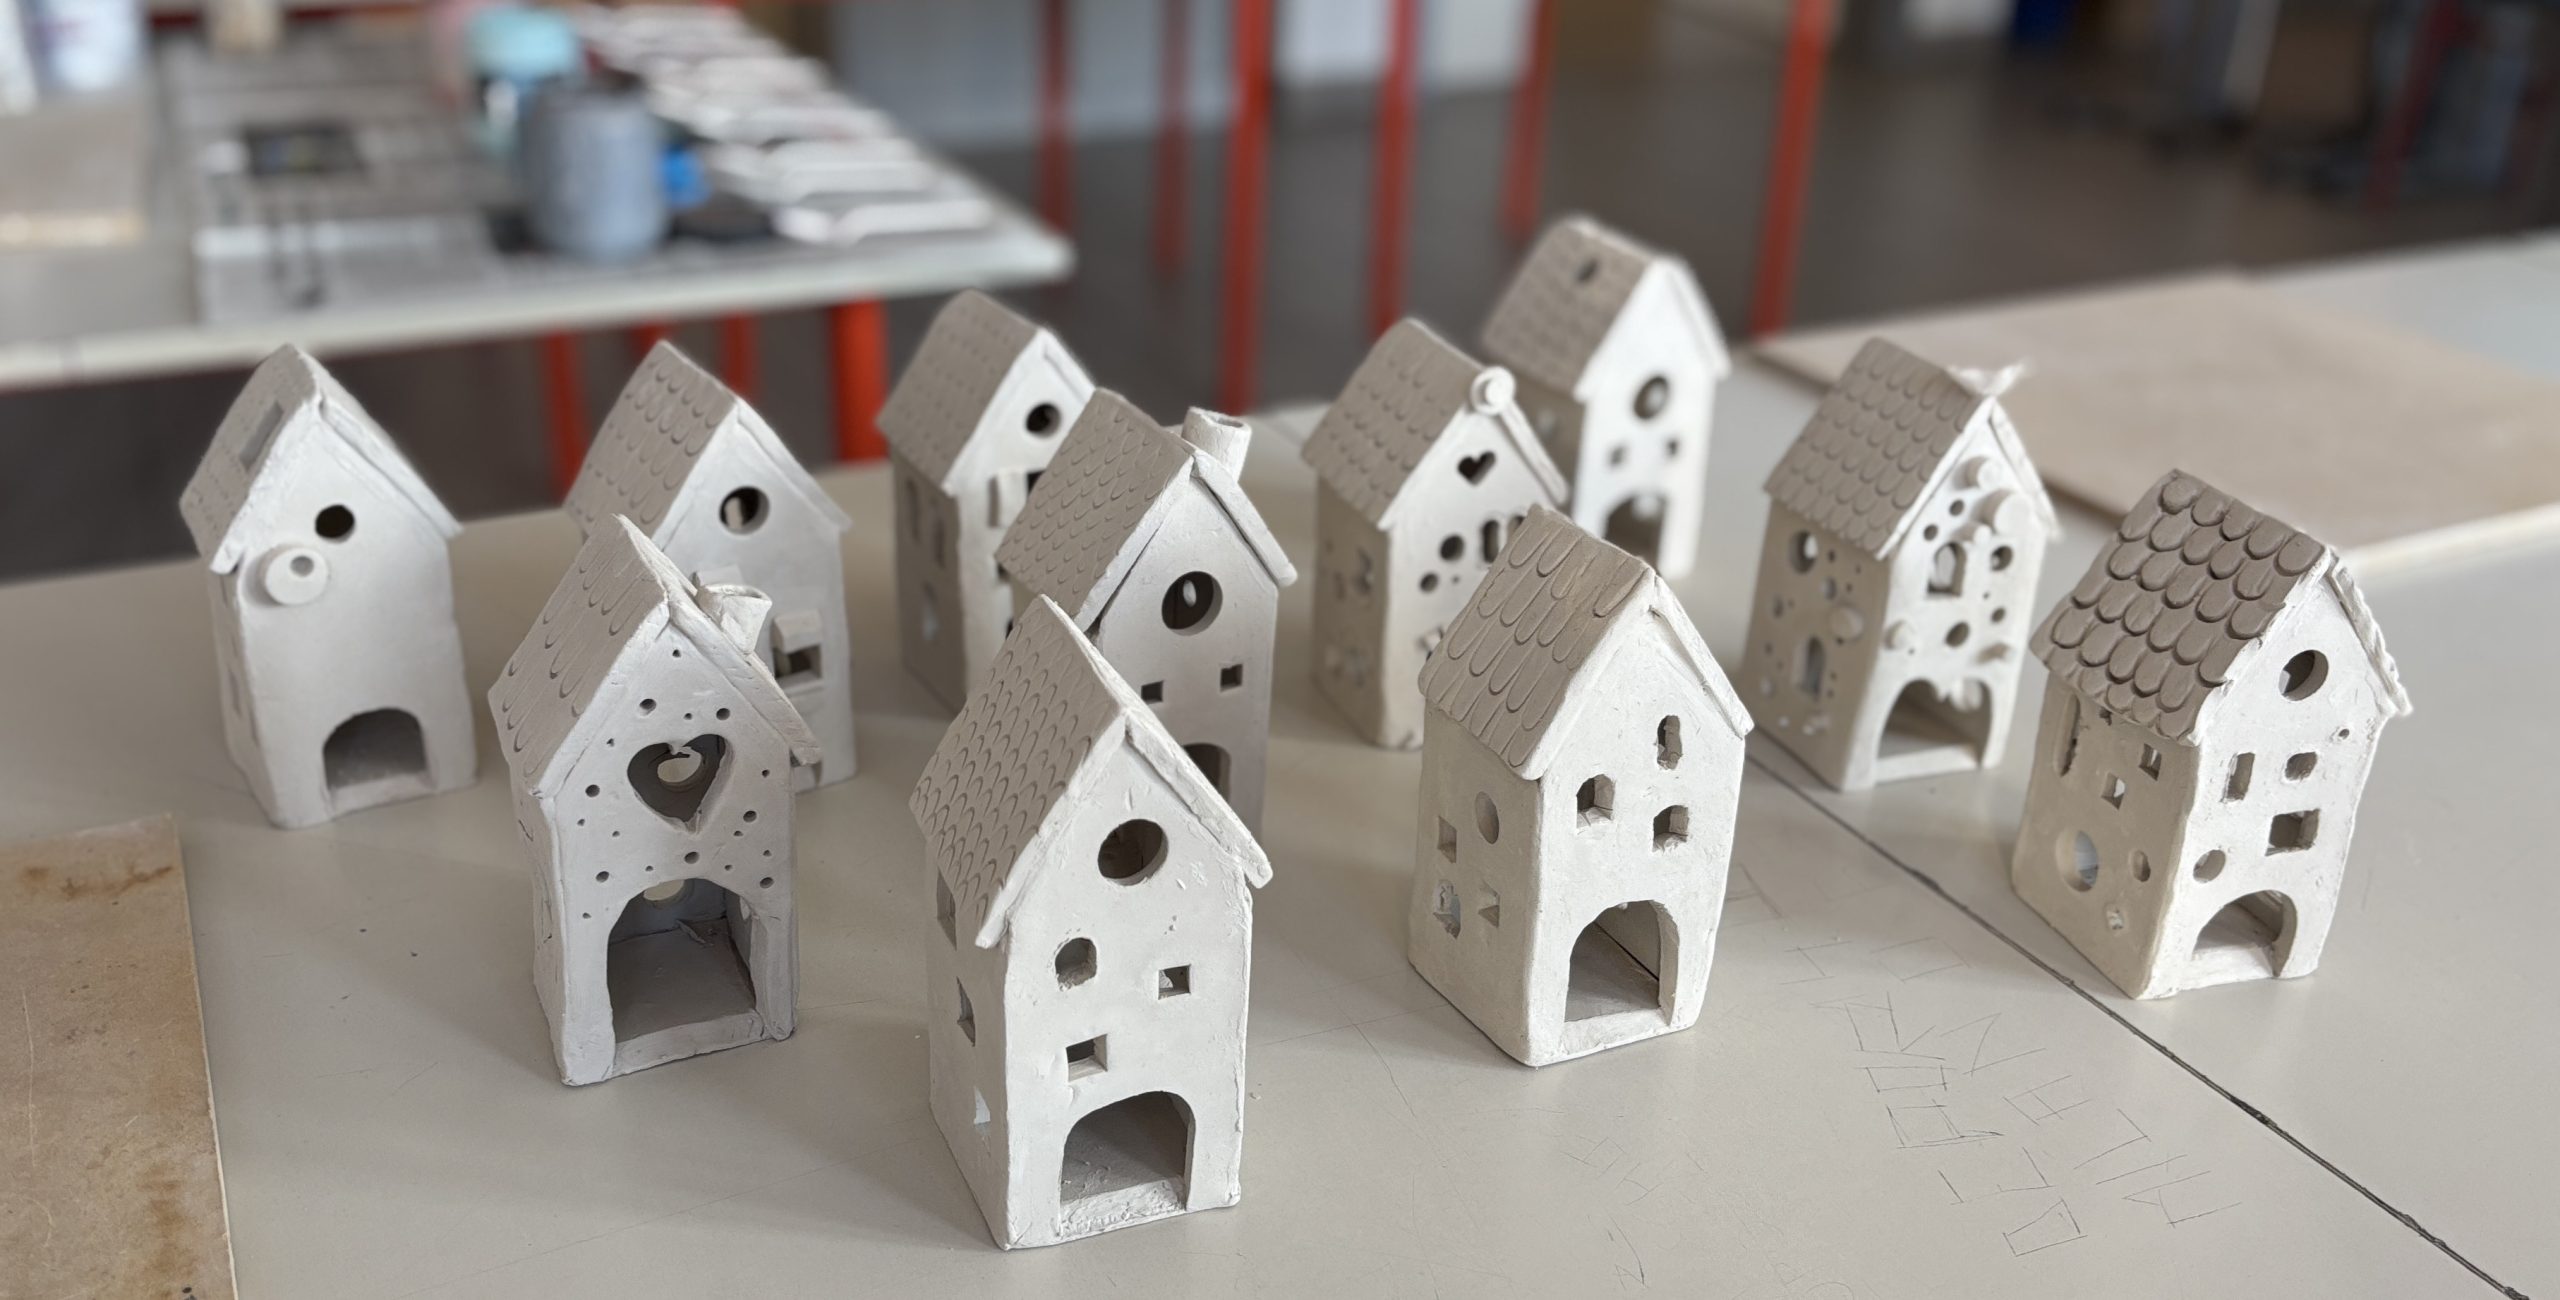
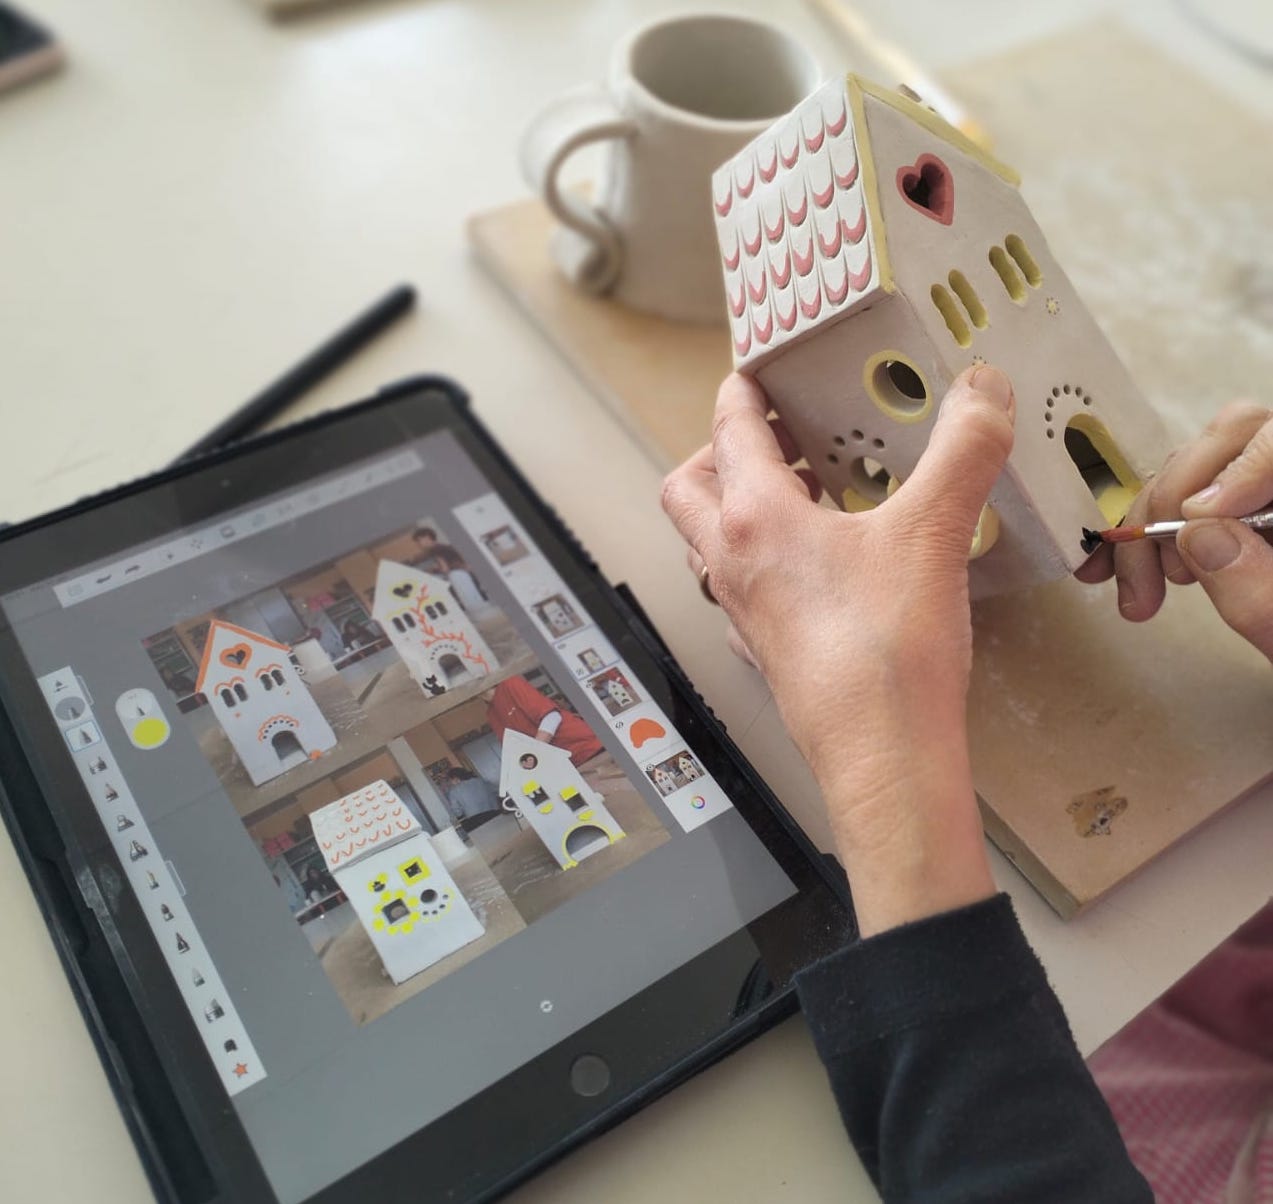
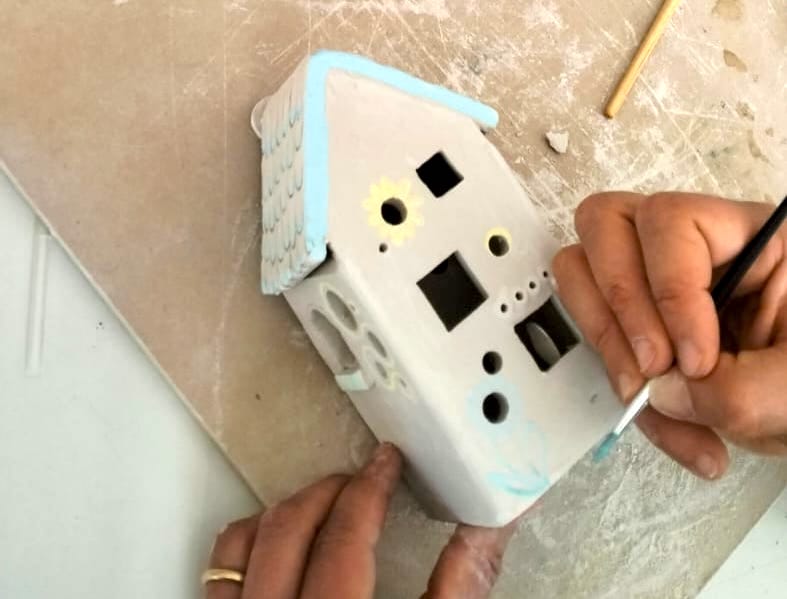
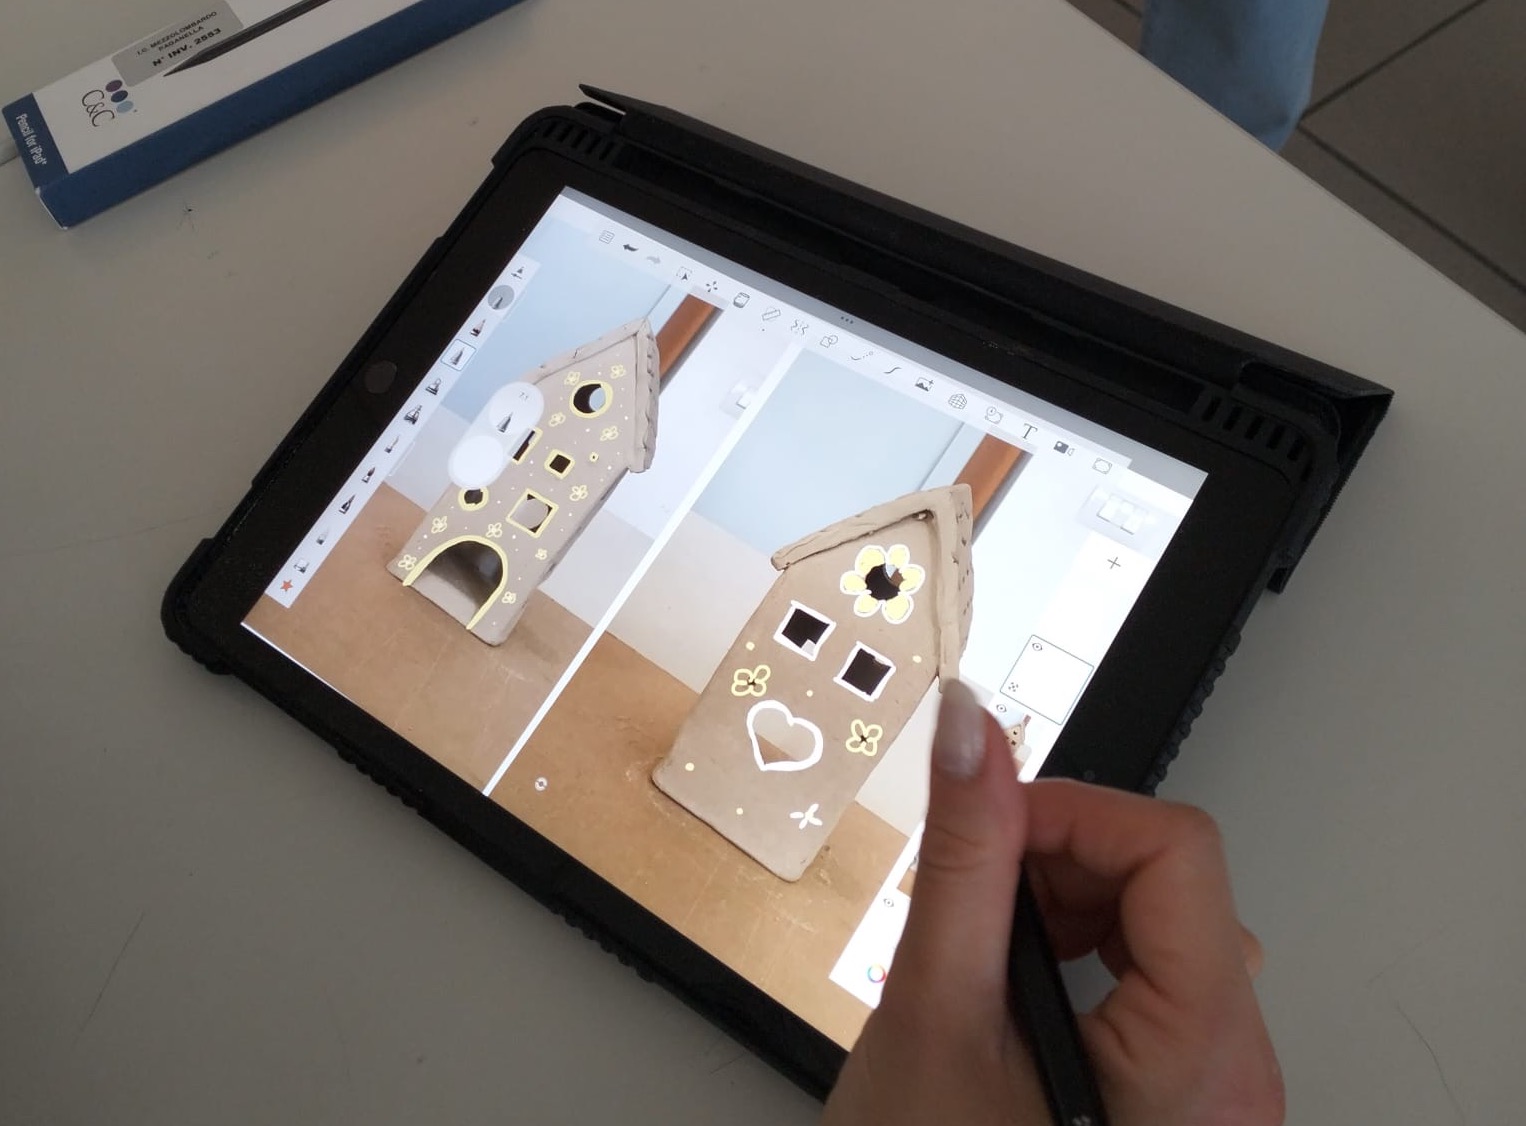
Once assembled, the houses are left to dry until they reach bone hardness. For the decoration we worked on the raw pieces, at bone hardness, with the engobes. To create a SKETCH of the decorations we photographed our pieces with the iPads and we decorated them digitally first using the Sketchbook APP and digital pens, so as to be sure of the decorations to be painted definitively on the piece.


After being decorated, the houses were put in the kiln for the first biscuit firing, then glazed with transparent crystalline and fired for the second time.